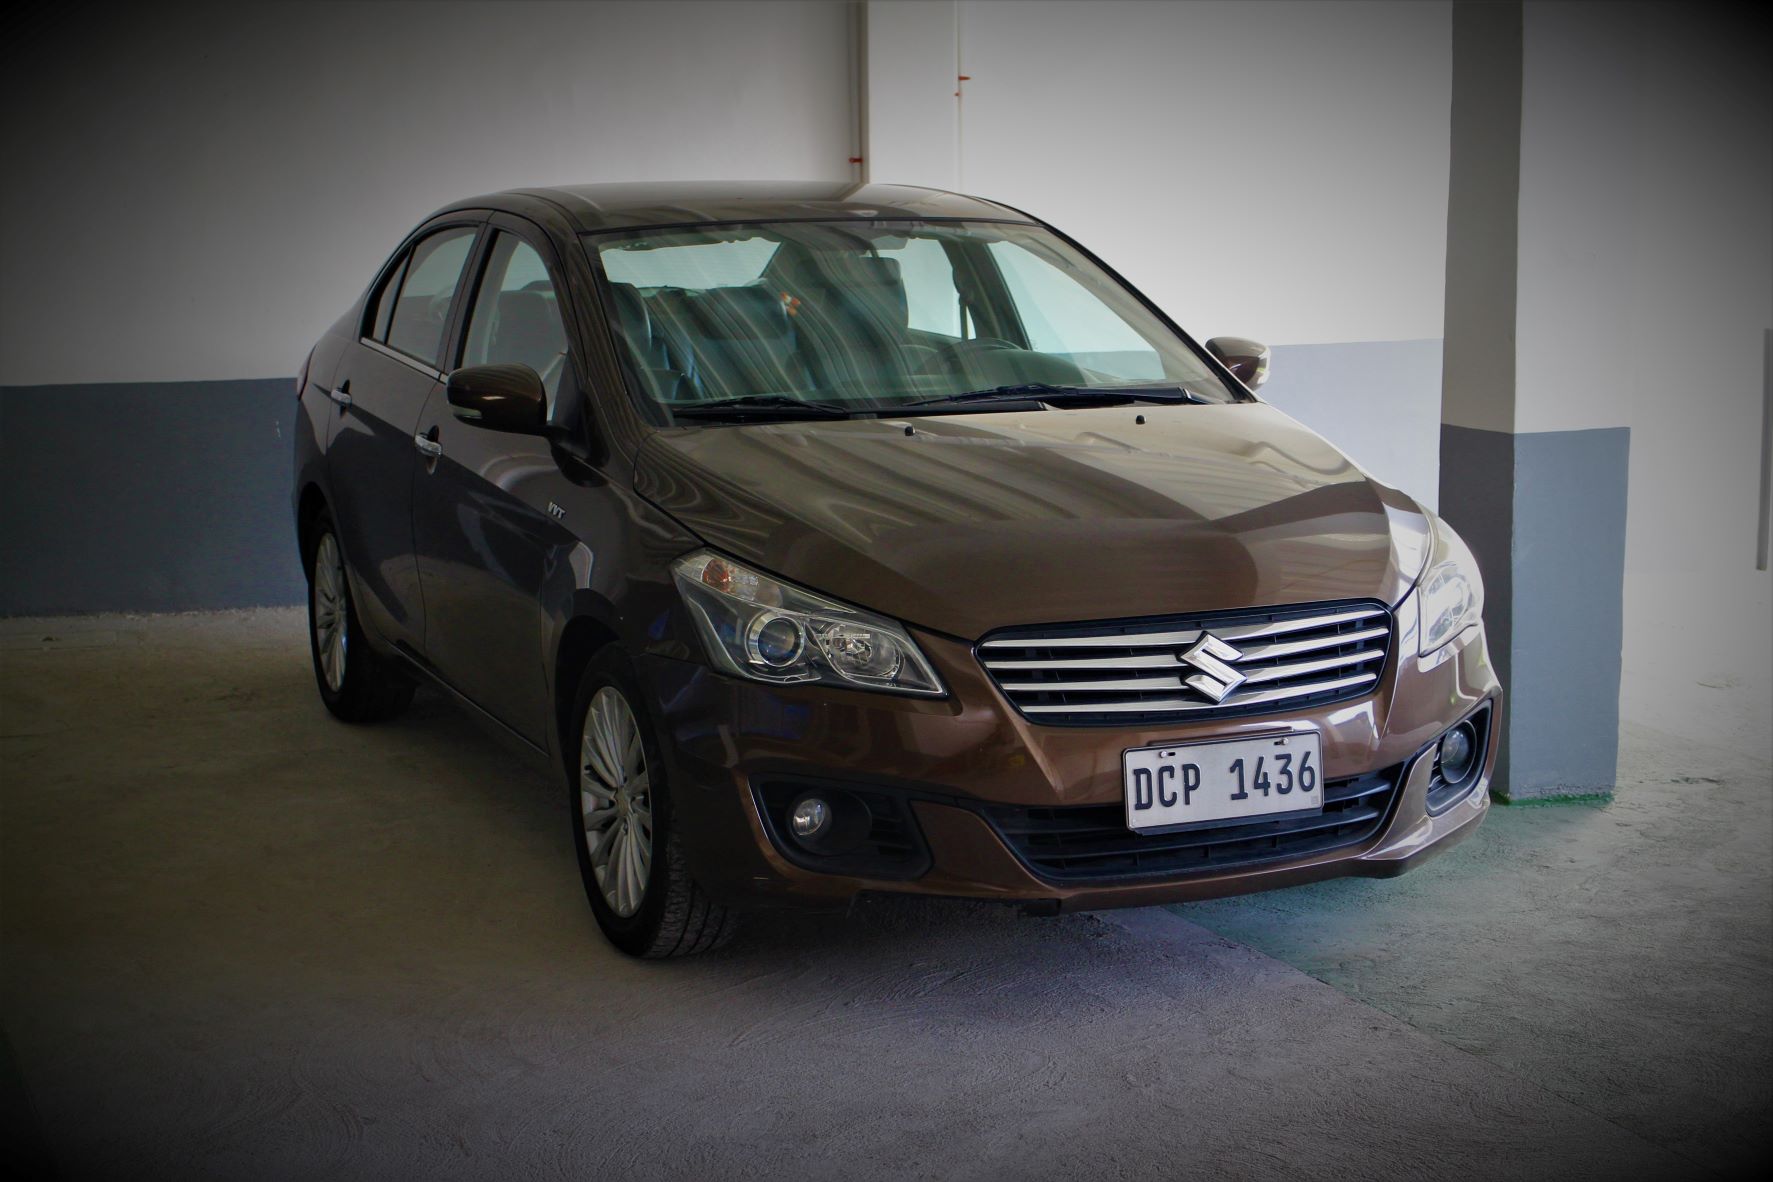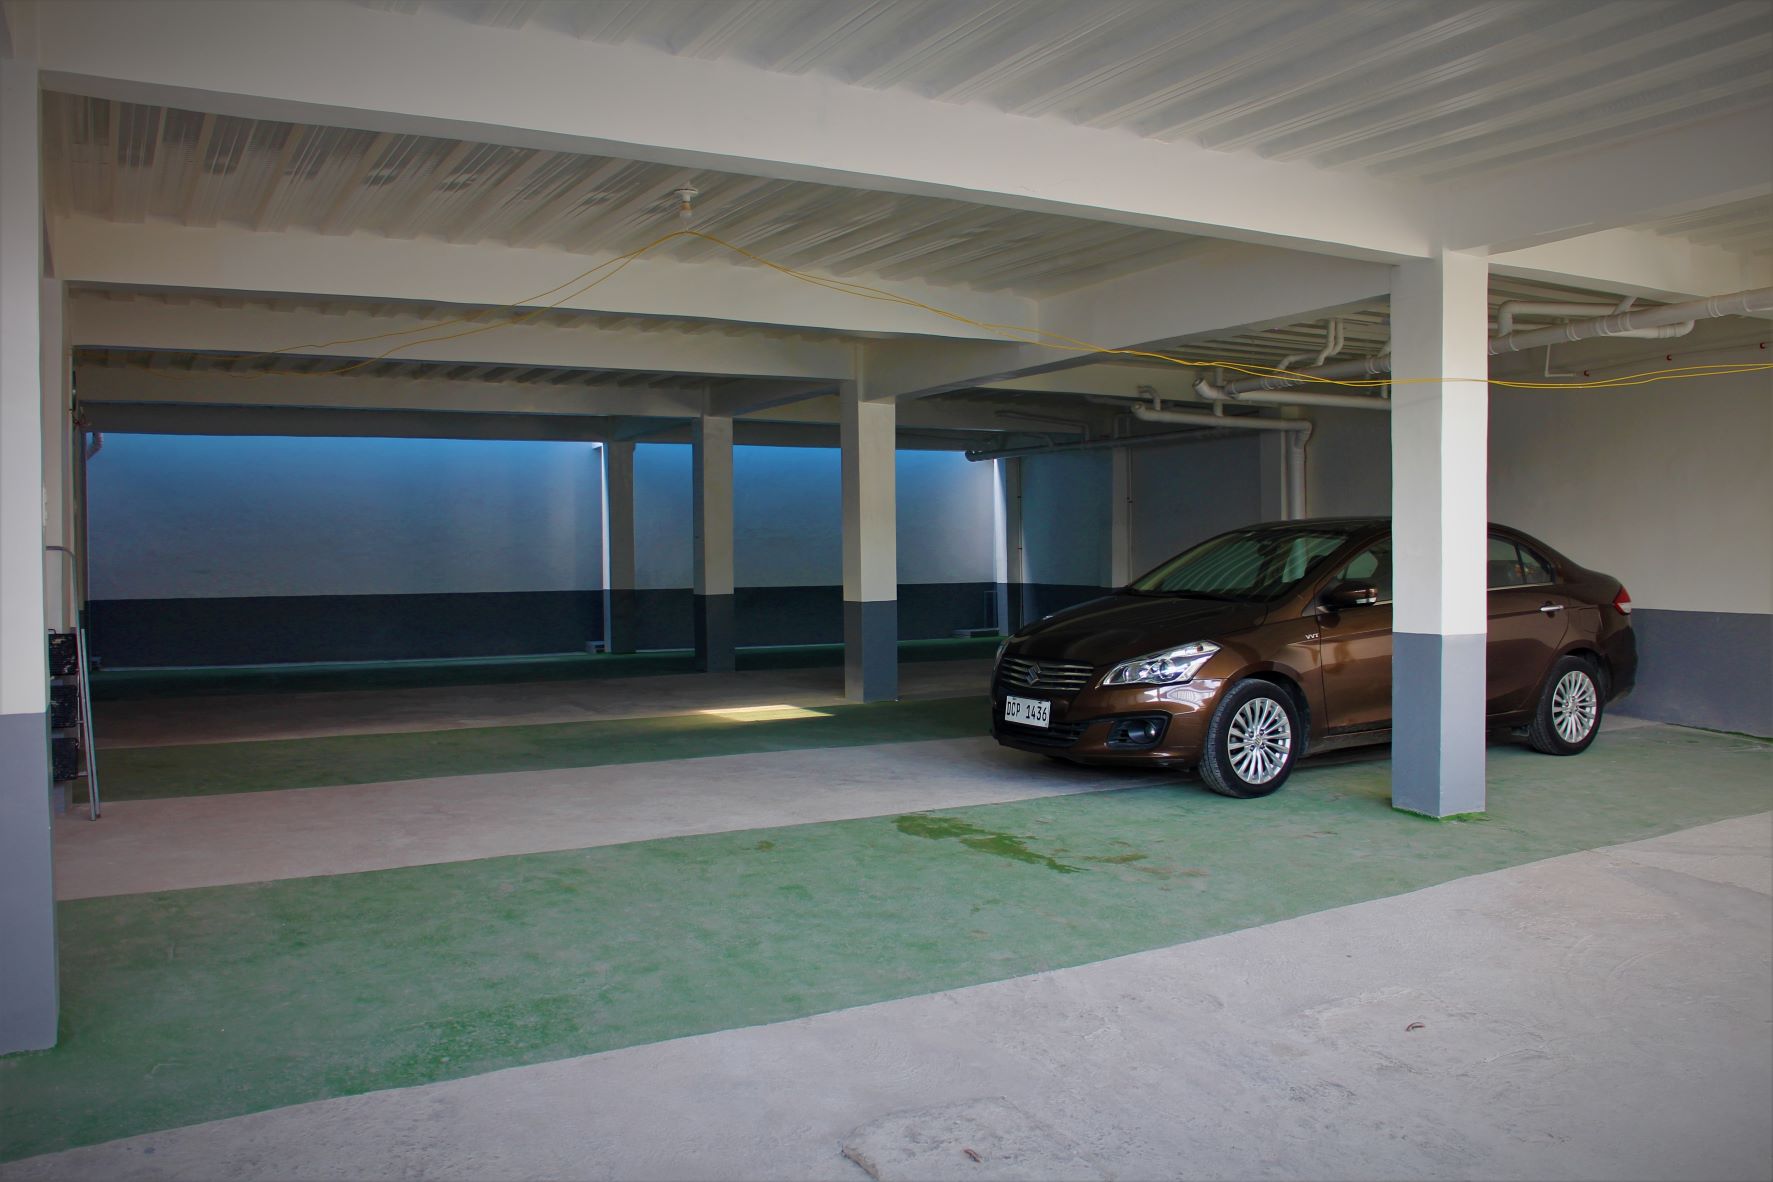
As often is the case, our almost 6-year-old Power Wheels Magazine Long Term Test vehicle sometimes gets parked and sits unused for a couple of weeks because of the number of media test drive units that we get to review, as well as project cars that we get to drive around every once in a while. When we do need to drive our 2016 Suzuki Ciaz 1.4 GLX A/T, it usually starts up immediately and reliably takes us to our destination and back home – except on March 21, 2022 when it just won’t start…
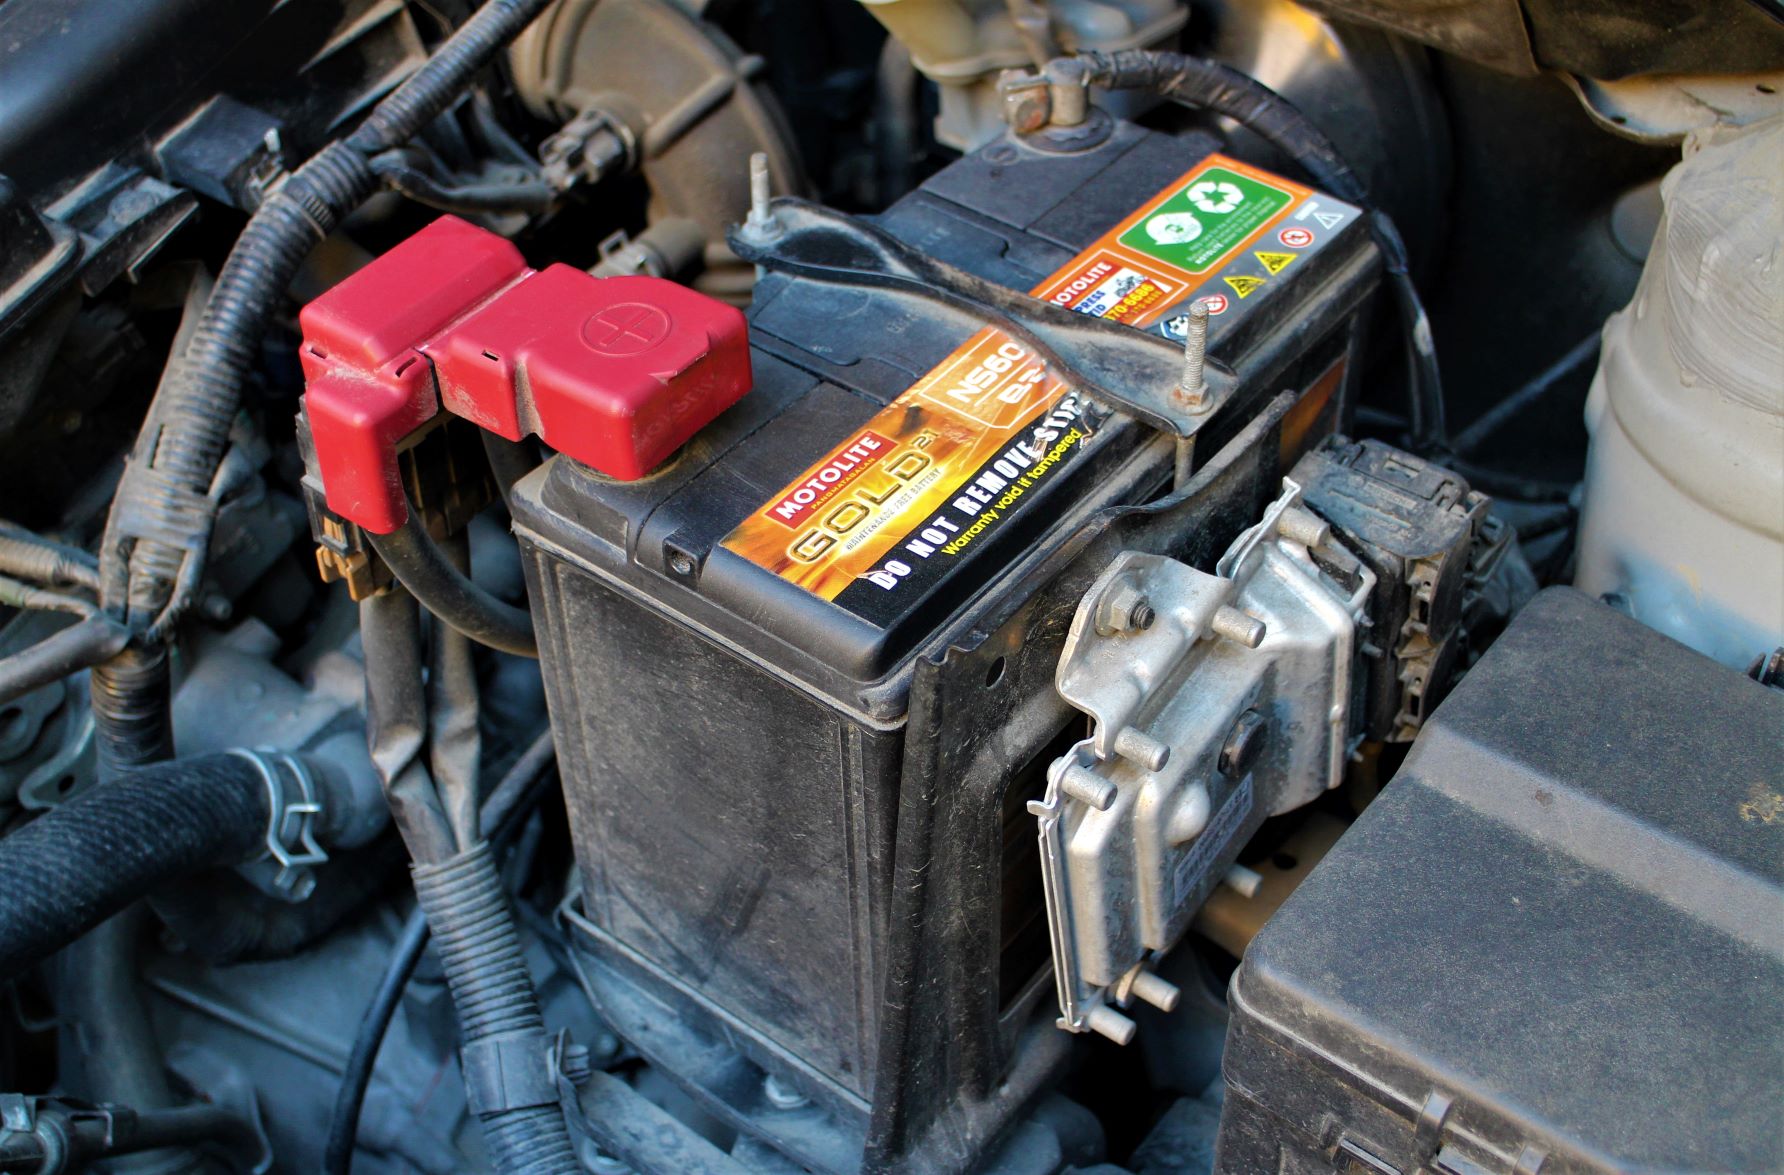
We thought the battery of our Prime Dignity Brown Suzuki just went flat because we haven’t started it in two weeks, so we got the INCOE battery of our 1995 Jaguar XJ6 Power Wheels Magazine Project Car, hooked it to a pair of jumper cables, and immediately, our Ciaz started. However, the next morning, the starter felt lethargic before it whirled the engine to life. It was then we realized that its Motolite Gold 2SNF battery is now almost 3-years-old since we replaced the original factory-installed battery in May 2019 at 30,250 kilometers. It’s time to get a new battery for our Ciaz!
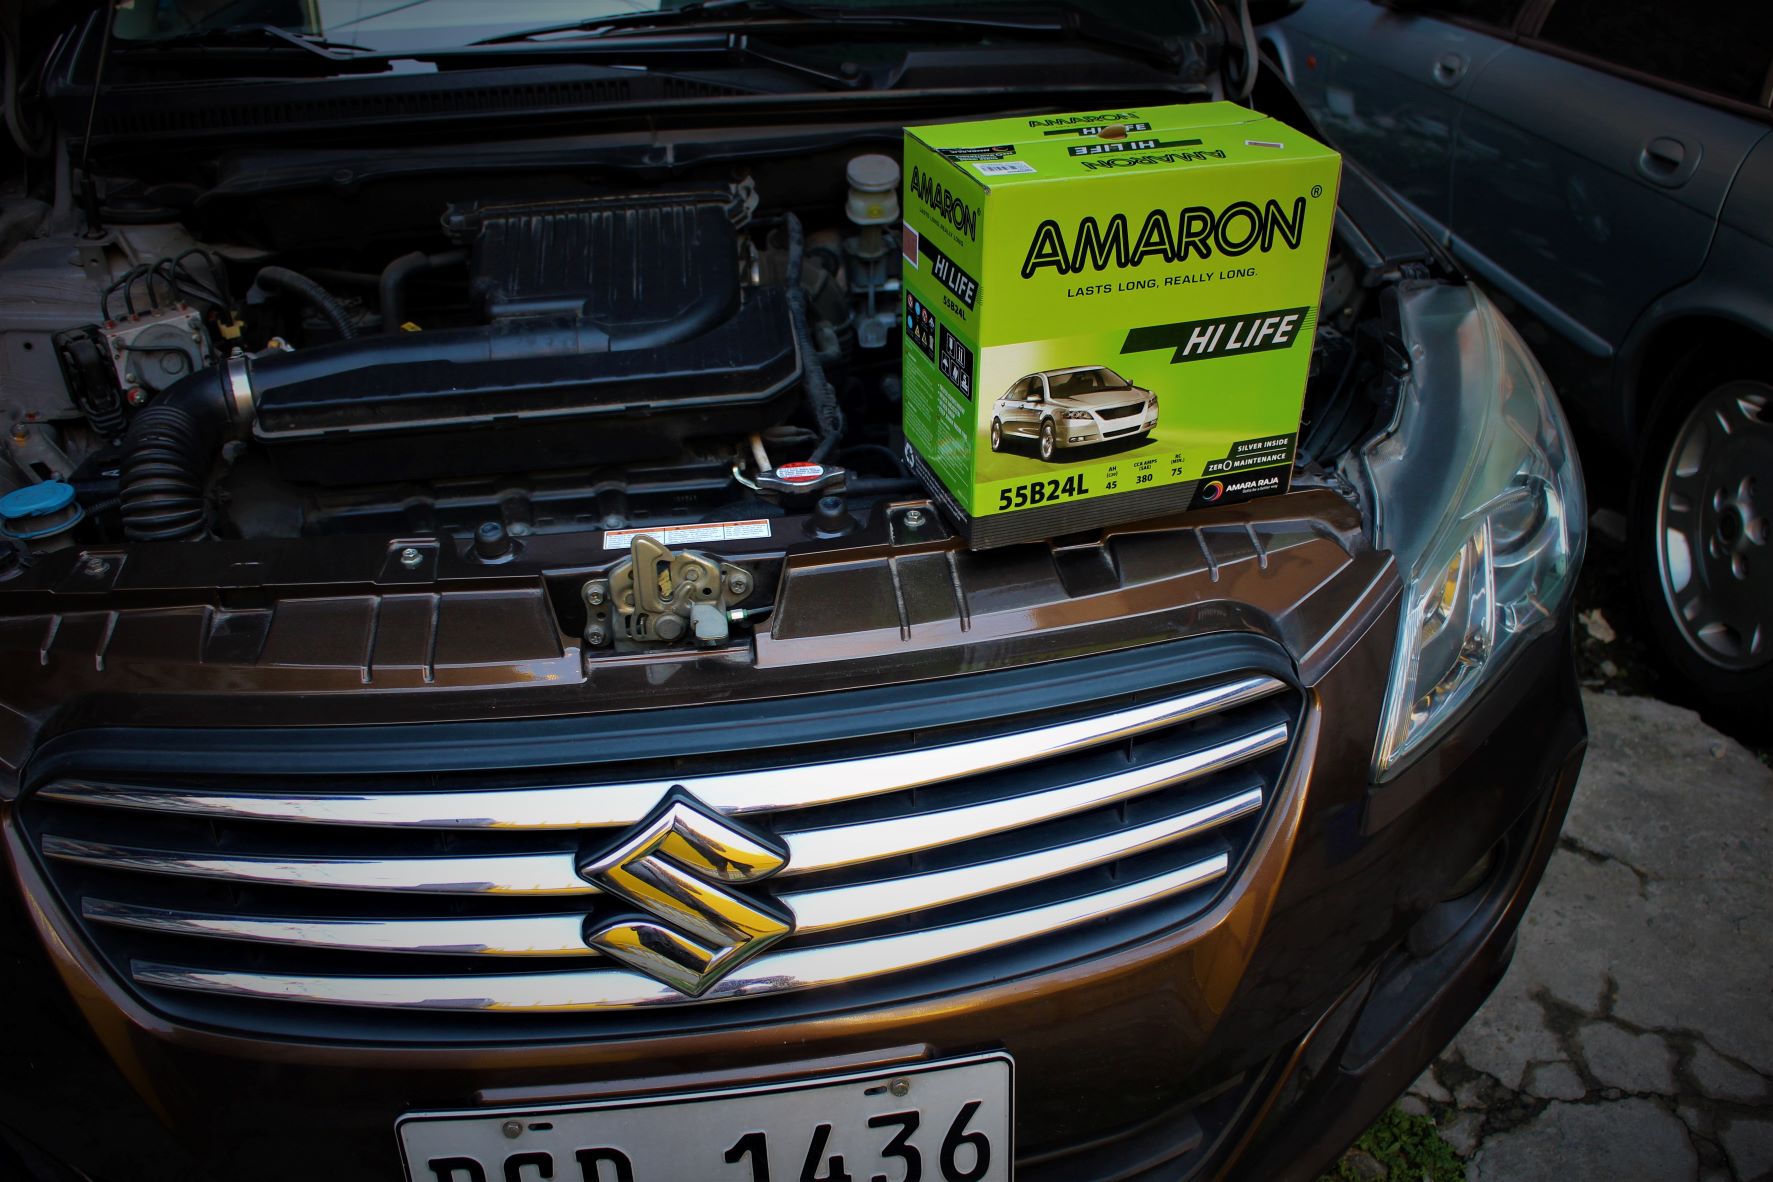
We called our good friend, Brain Kaw, whose company distributes Amaron, INCOE, GS, and other automotive battery brands, and asked for a new one to replace the old battery of our long term test car. We received an Amaron Hi-Life 55B24L that is SAE rated at 380 CCA amperes, 45 ampere-hours and with a recharging time of 75 minutes. We decided to do a D.I.Y. (Do It Yourself) and install the new Amaron battery ourselves but we want to make the installation look as professional as we possibly could.
Here’s what we did:
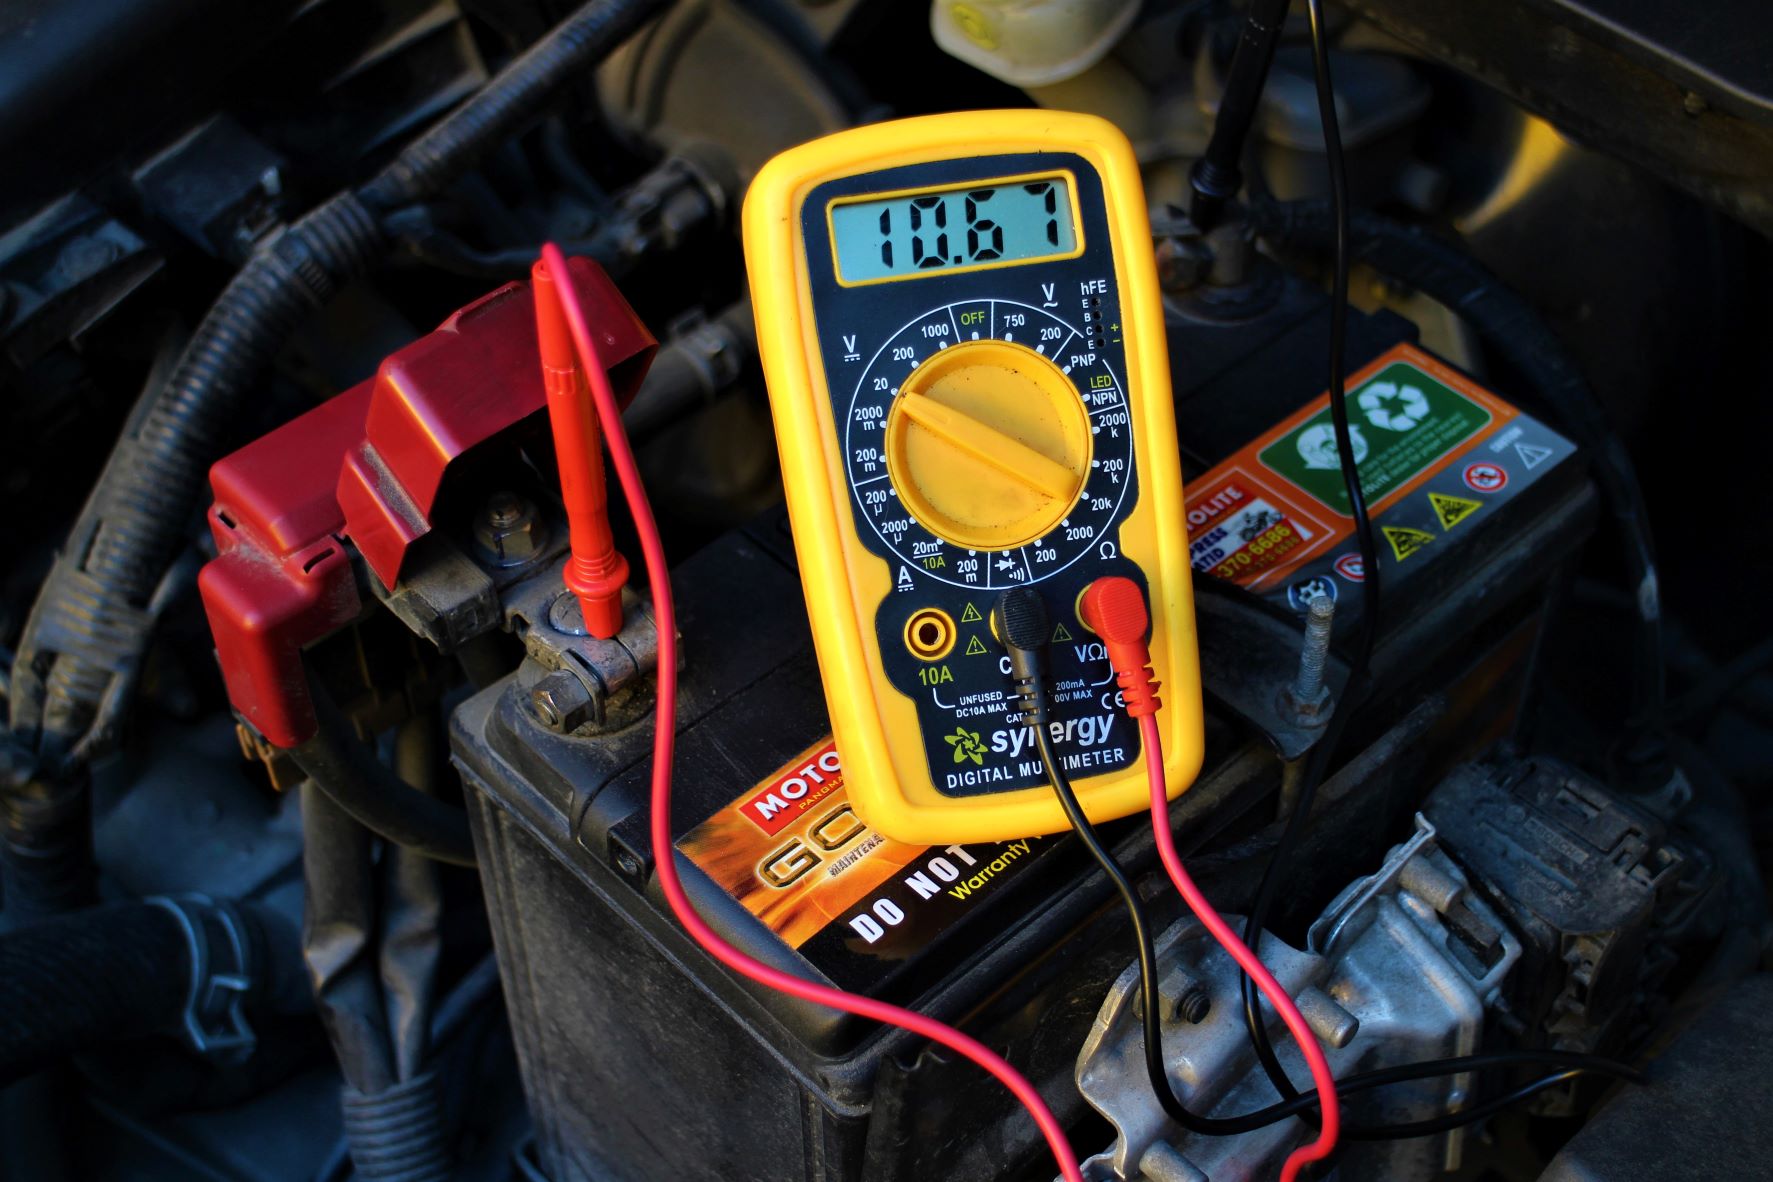
Before we replaced the old Motolite battery, which was near the end of its service life, we first tested it to see if we can just recharge it and still use it. After being left overnight, the battery voltage would drop to around 10.7 volts and would go even lower, which was not enough to turn the engine, and can cause starting problems along the way. A new battery was definitely needed.

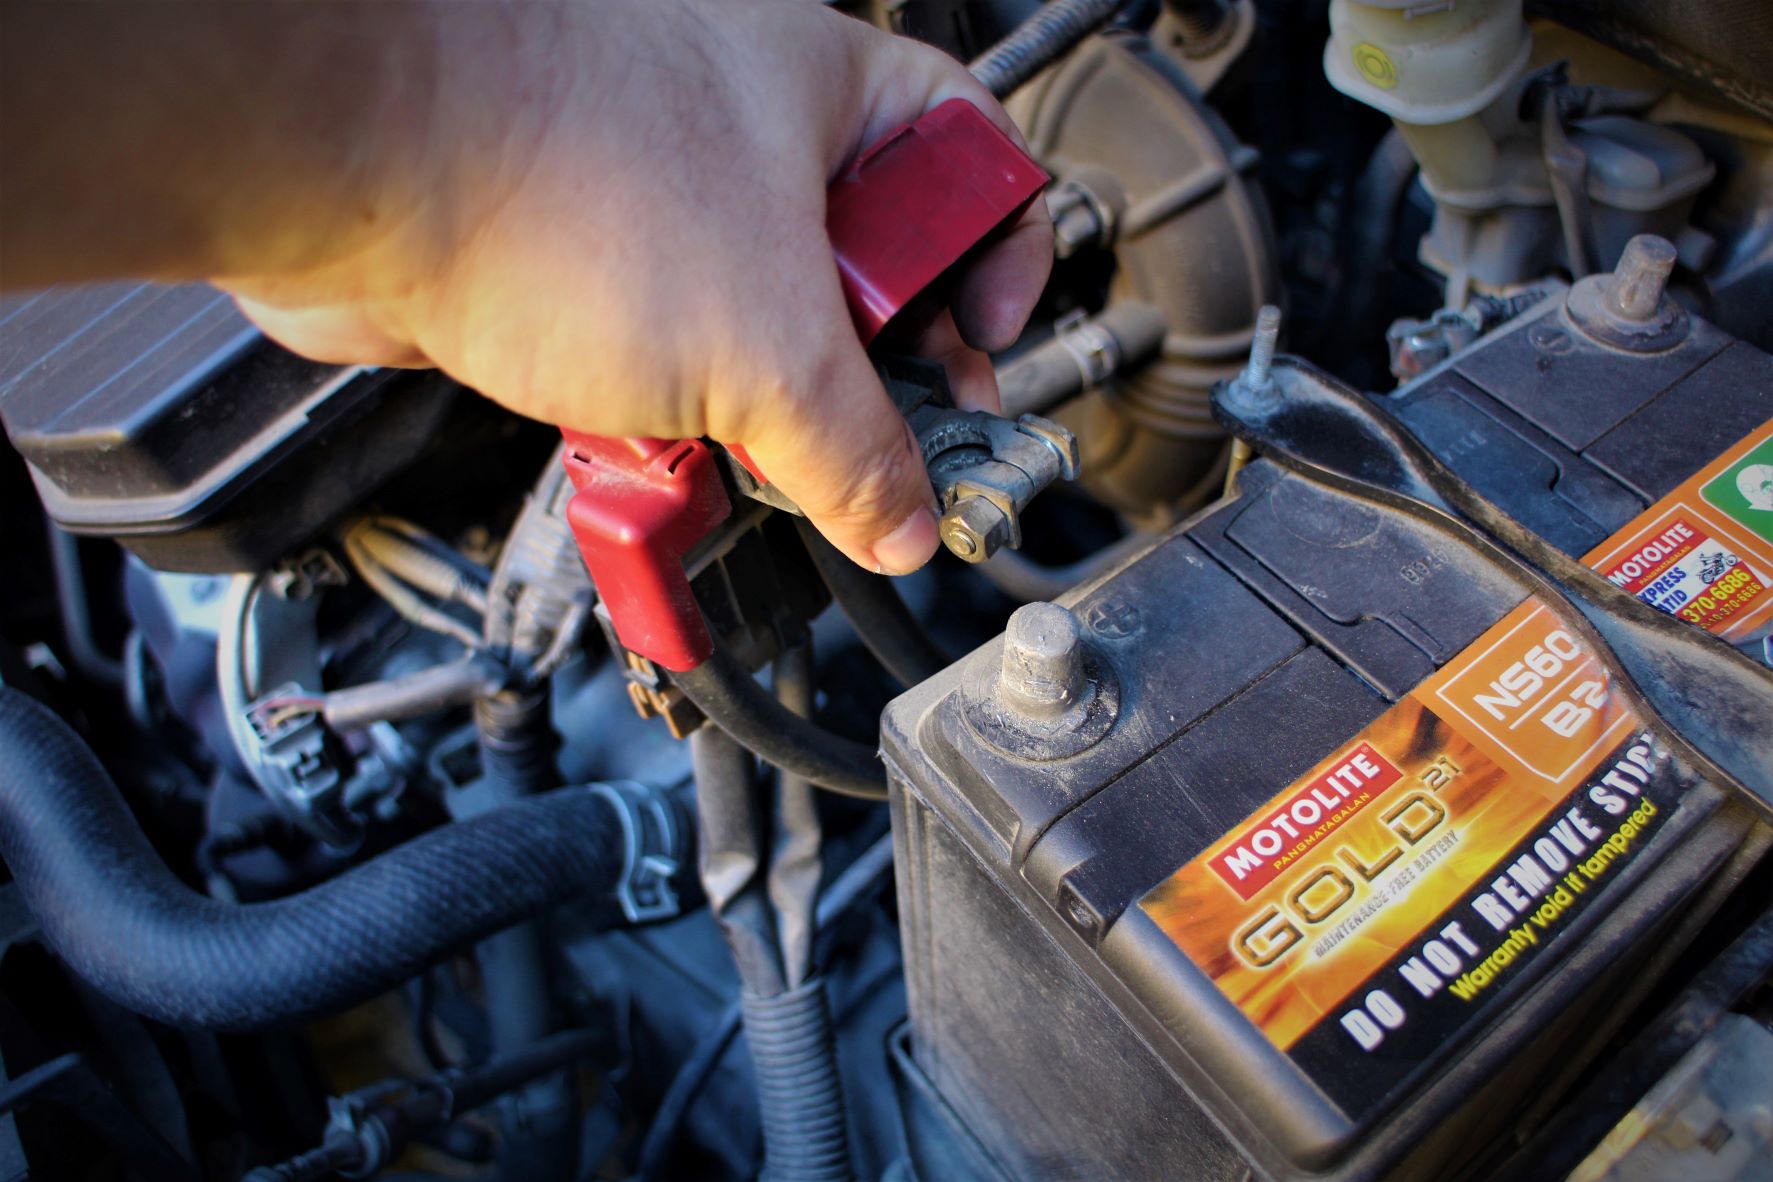
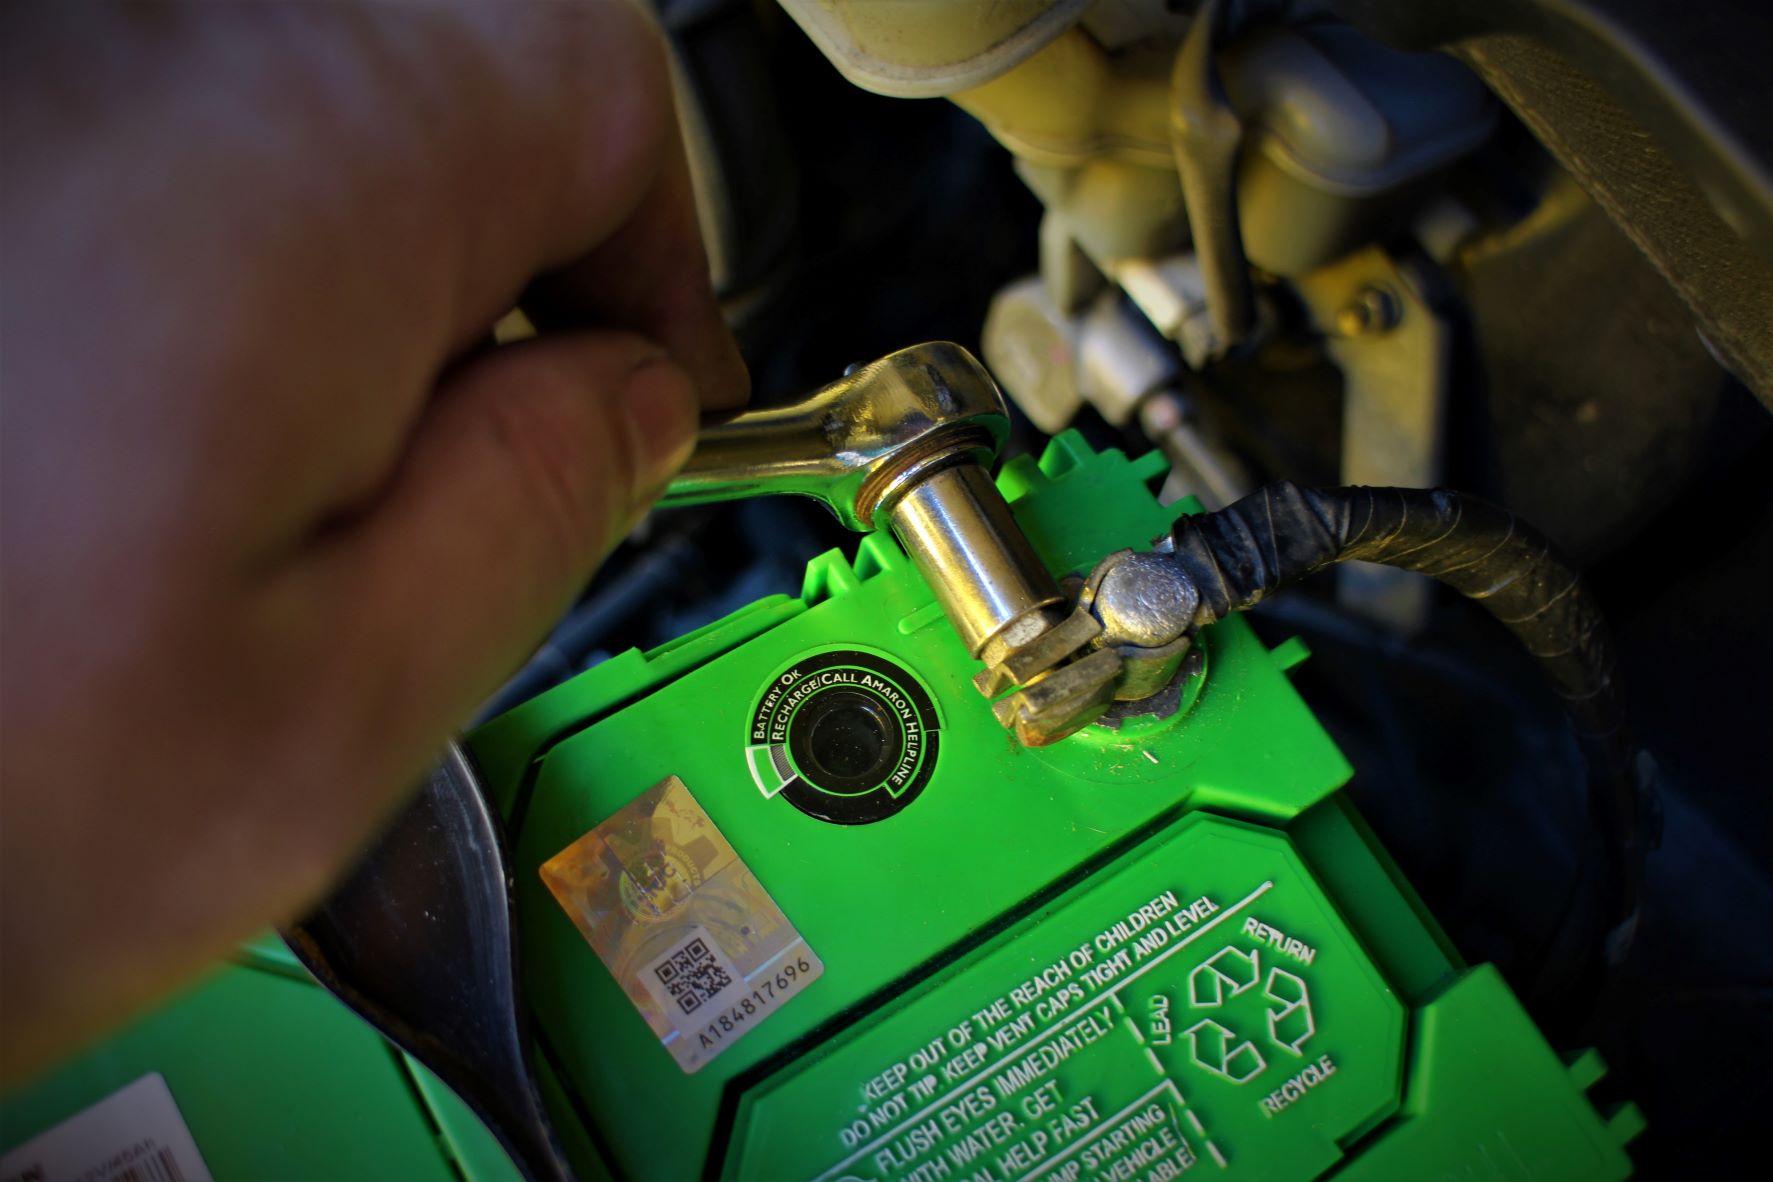
Professional auto electricians always remove the negative (-) terminal clamp first as a safety practice. The reason they do that is if you loosened the 10mm bolt of the positive terminal first and your wrench comes in contact with any metal part within the engine compartment, it will cause a short circuit since the negative terminal is still connected. We decided to follow the professional’s method.
With the negative terminal disconnected, we can easily loosen and disconnect the positive (+) terminal without any worries. We just needed to make sure that the battery cables are placed to the sides and free of the battery.
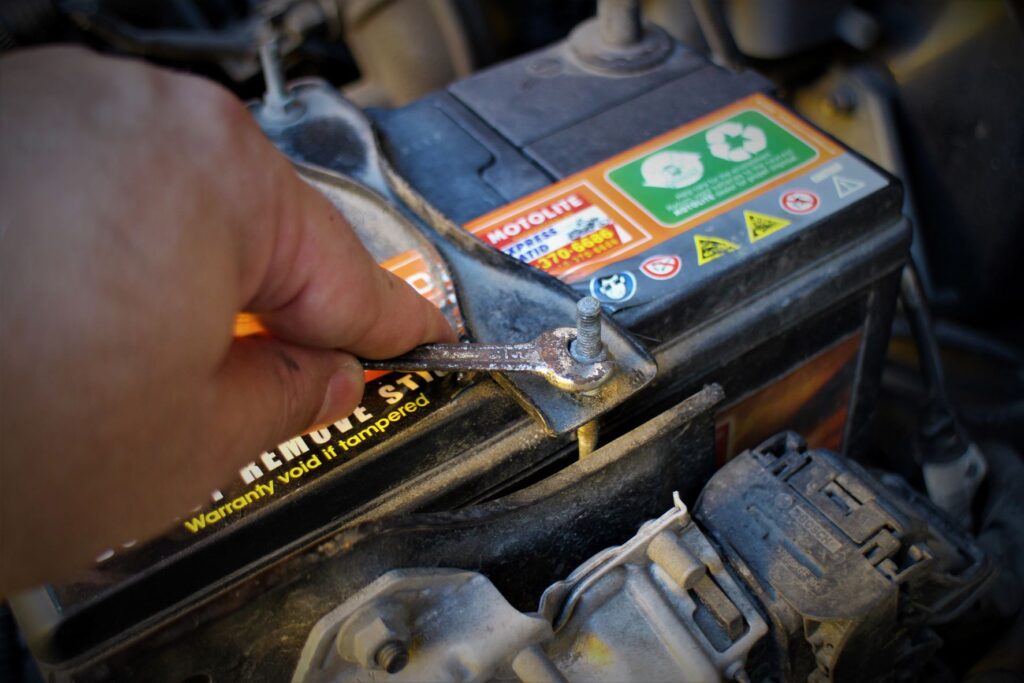
Using an open wrench, we loosened the two retaining nuts of the battery bracket/holder. We didn’t need to completely remove the two small nuts because once the lower hooks of the holding rods are loose, we just wiggled it off its eyelet on battery tray to free the bracket/holder.

With the battery bracket/holder removed and the positive and negative battery cables on the side, the old battery could be easily removed.

It’s also a good practice to clean the steel battery tray underneath and check it for any signs of corrosion. After all, the battery sat on the tray for almost 3 years without being removed, so dirt and rust can accumulate on it. We used a brush to remove the soil, dust and what looks like rat droppings off the steel tray.

We wiped the steel battery tray clean and made sure that there was no rust forming on it or around it.

Our Ciaz came with a plastic battery mat to protect the steel tray from acids that might leak or ooze out of the battery, even though modern maintenance-free batteries are sealed and don’t leak any more. Better safe that sorry, we always say…

With the plastic mat securely tucked underneath, we carefully dropped the brand-new Amaron car battery into place…
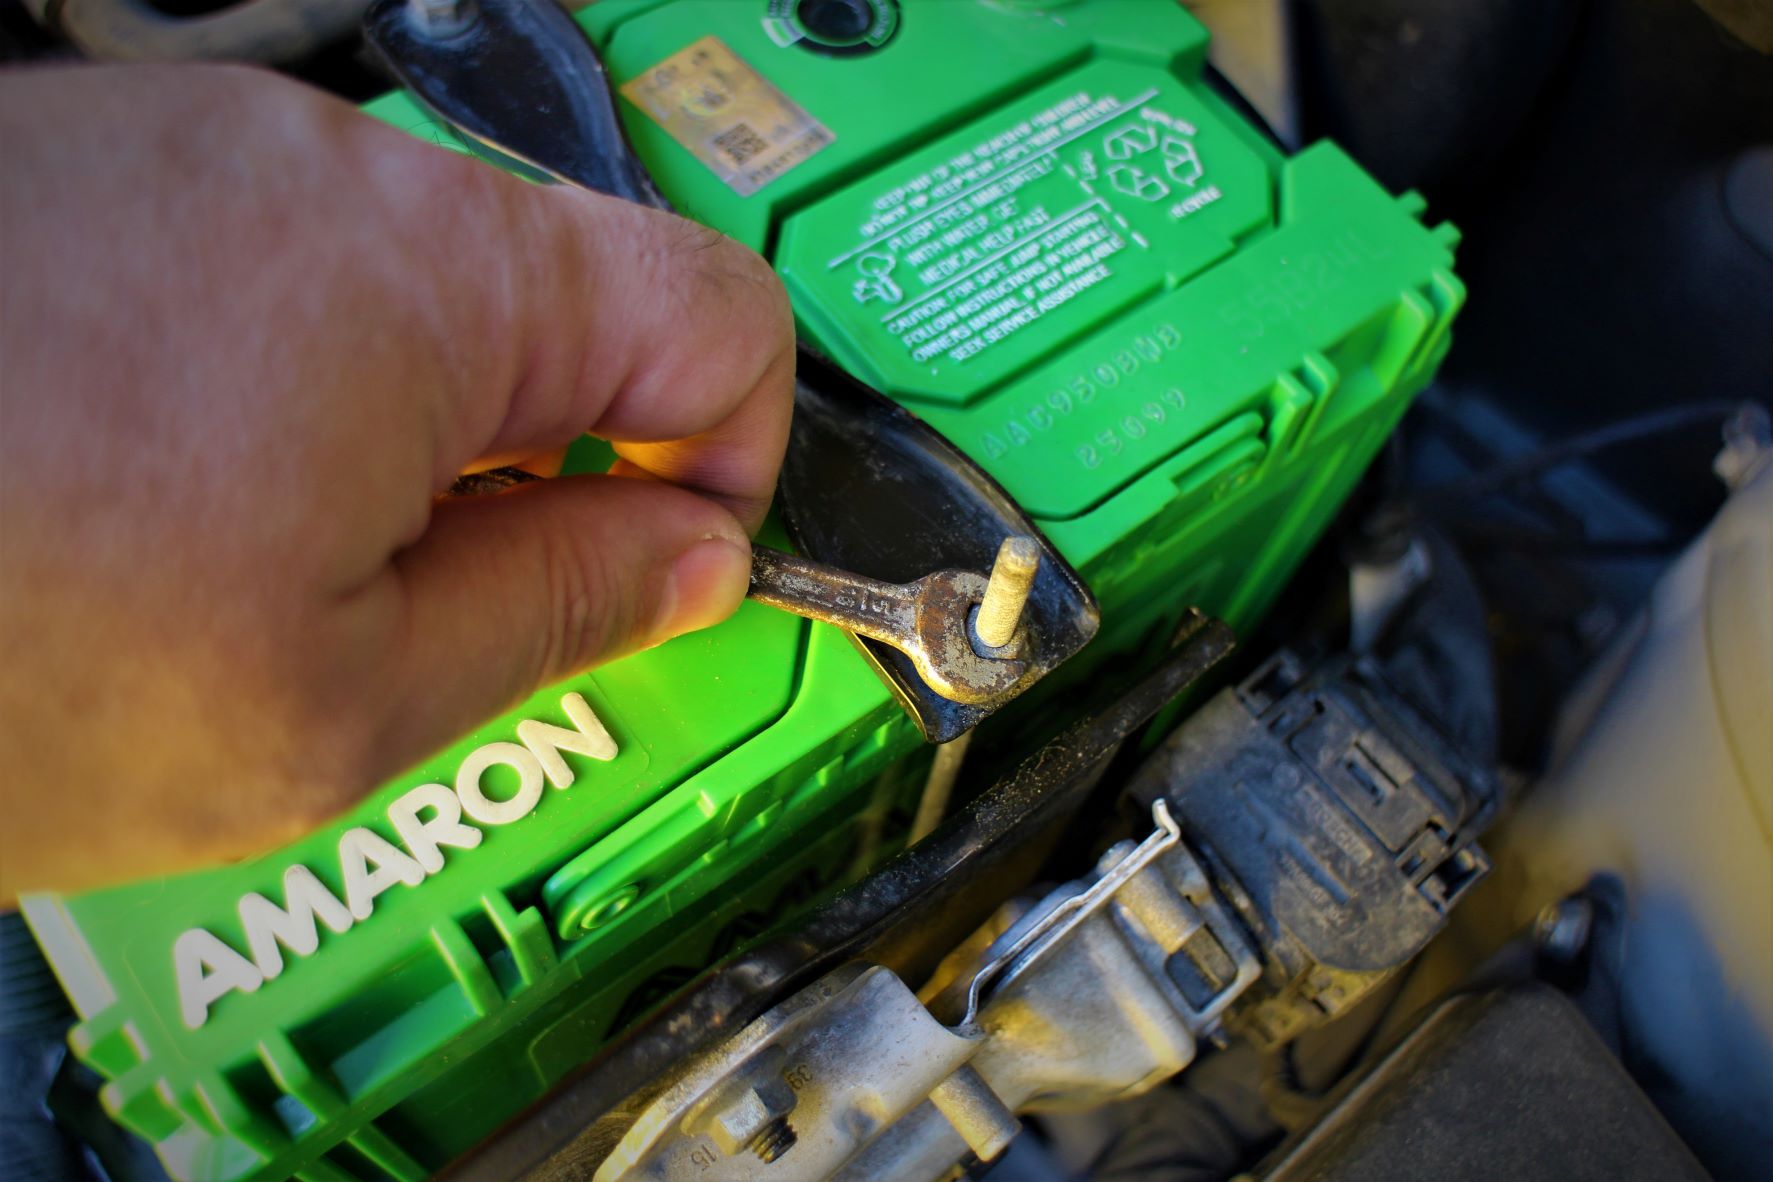
… and secured it with the battery bracket/holder after hooking the rods into the eyelets and tightening the small nuts.

We reattached the positive terminal clamp first and tightened its 10mm bolt with a small ratchet wrench…
… and did the same afterwards to the negative terminal clamp.

One thing we like about our new Amaron battery is its battery charge indicator. It will turn green when the battery is fully charge and red when the battery is discharged or weak. Ours is all green and ready to go.
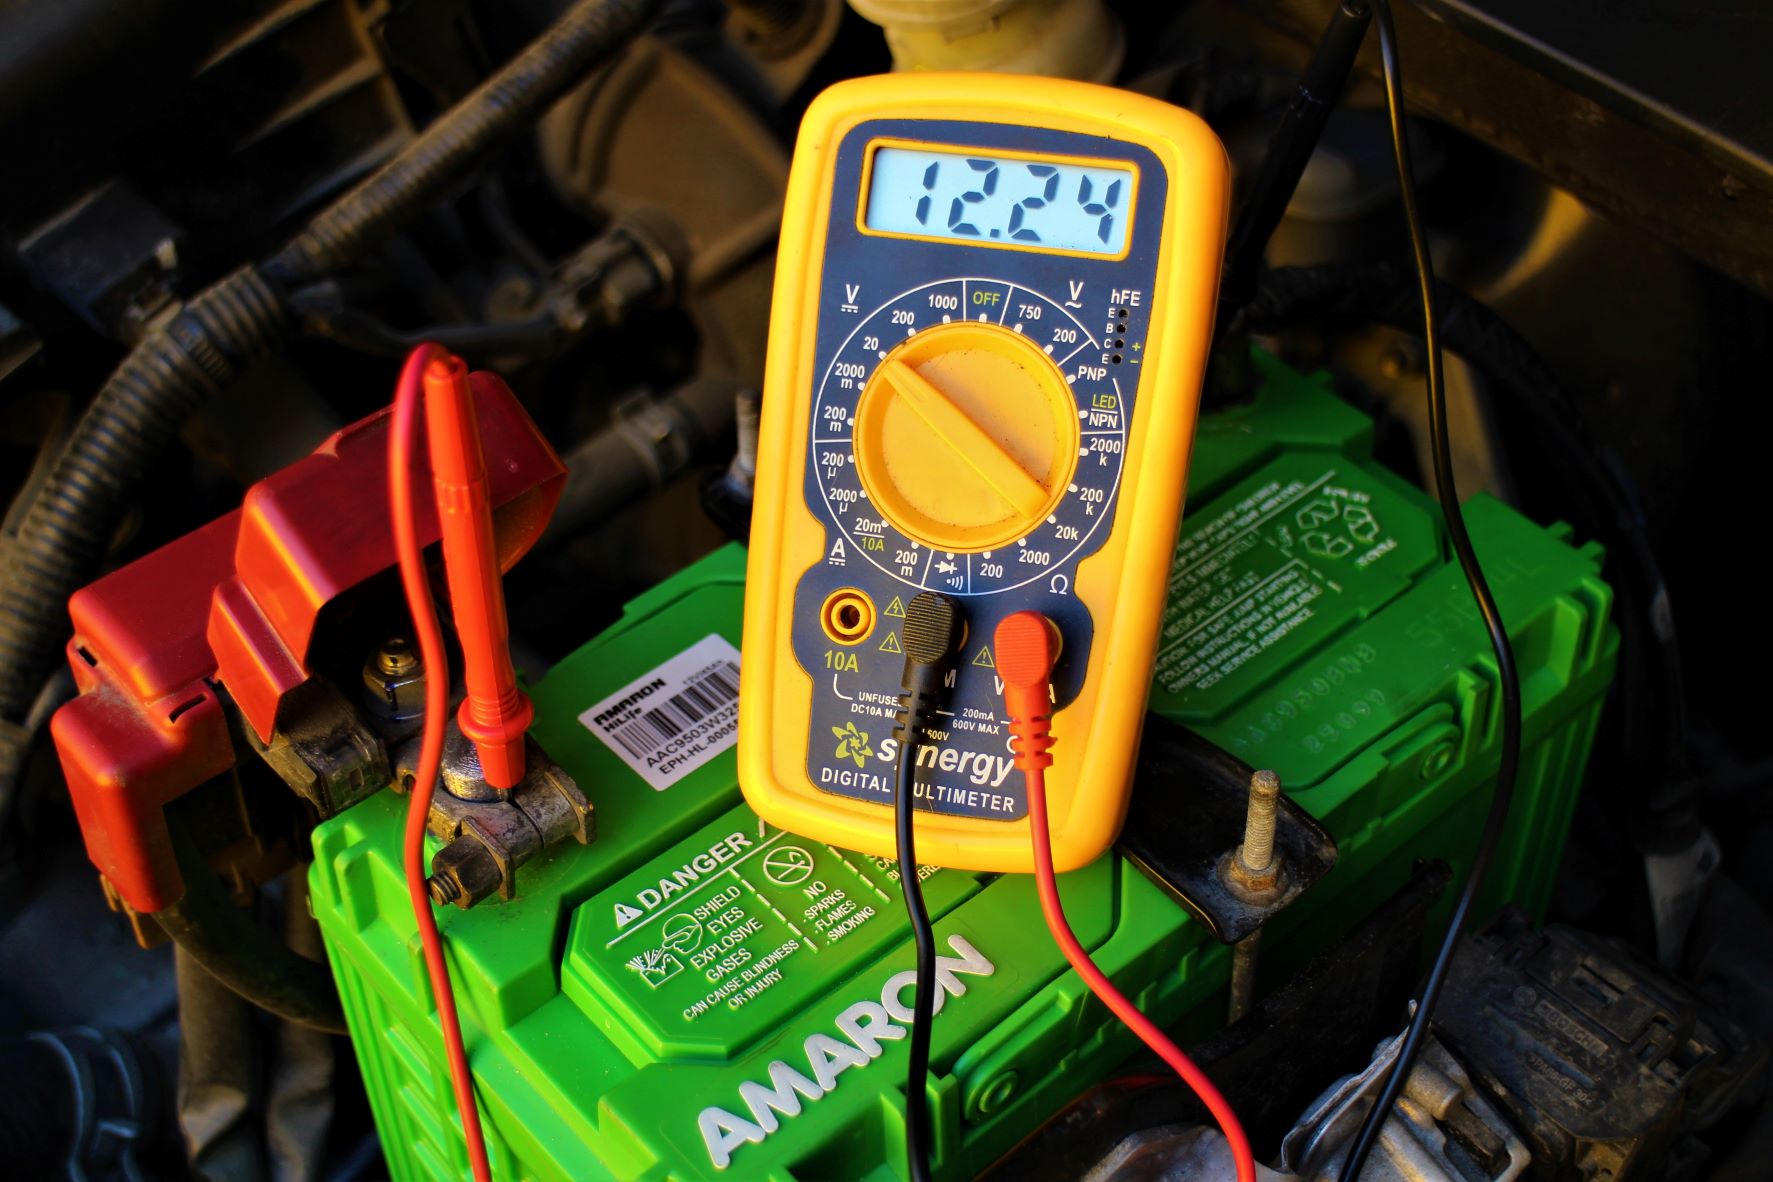
Because we are obsessive-compulsive (OC) tinkerers, we wanted to double check the green indicator so we hooked our newly-installed Amaron battery to a multi tester and the reading was 12.24 volts – which means that it’s charged and ready for use.
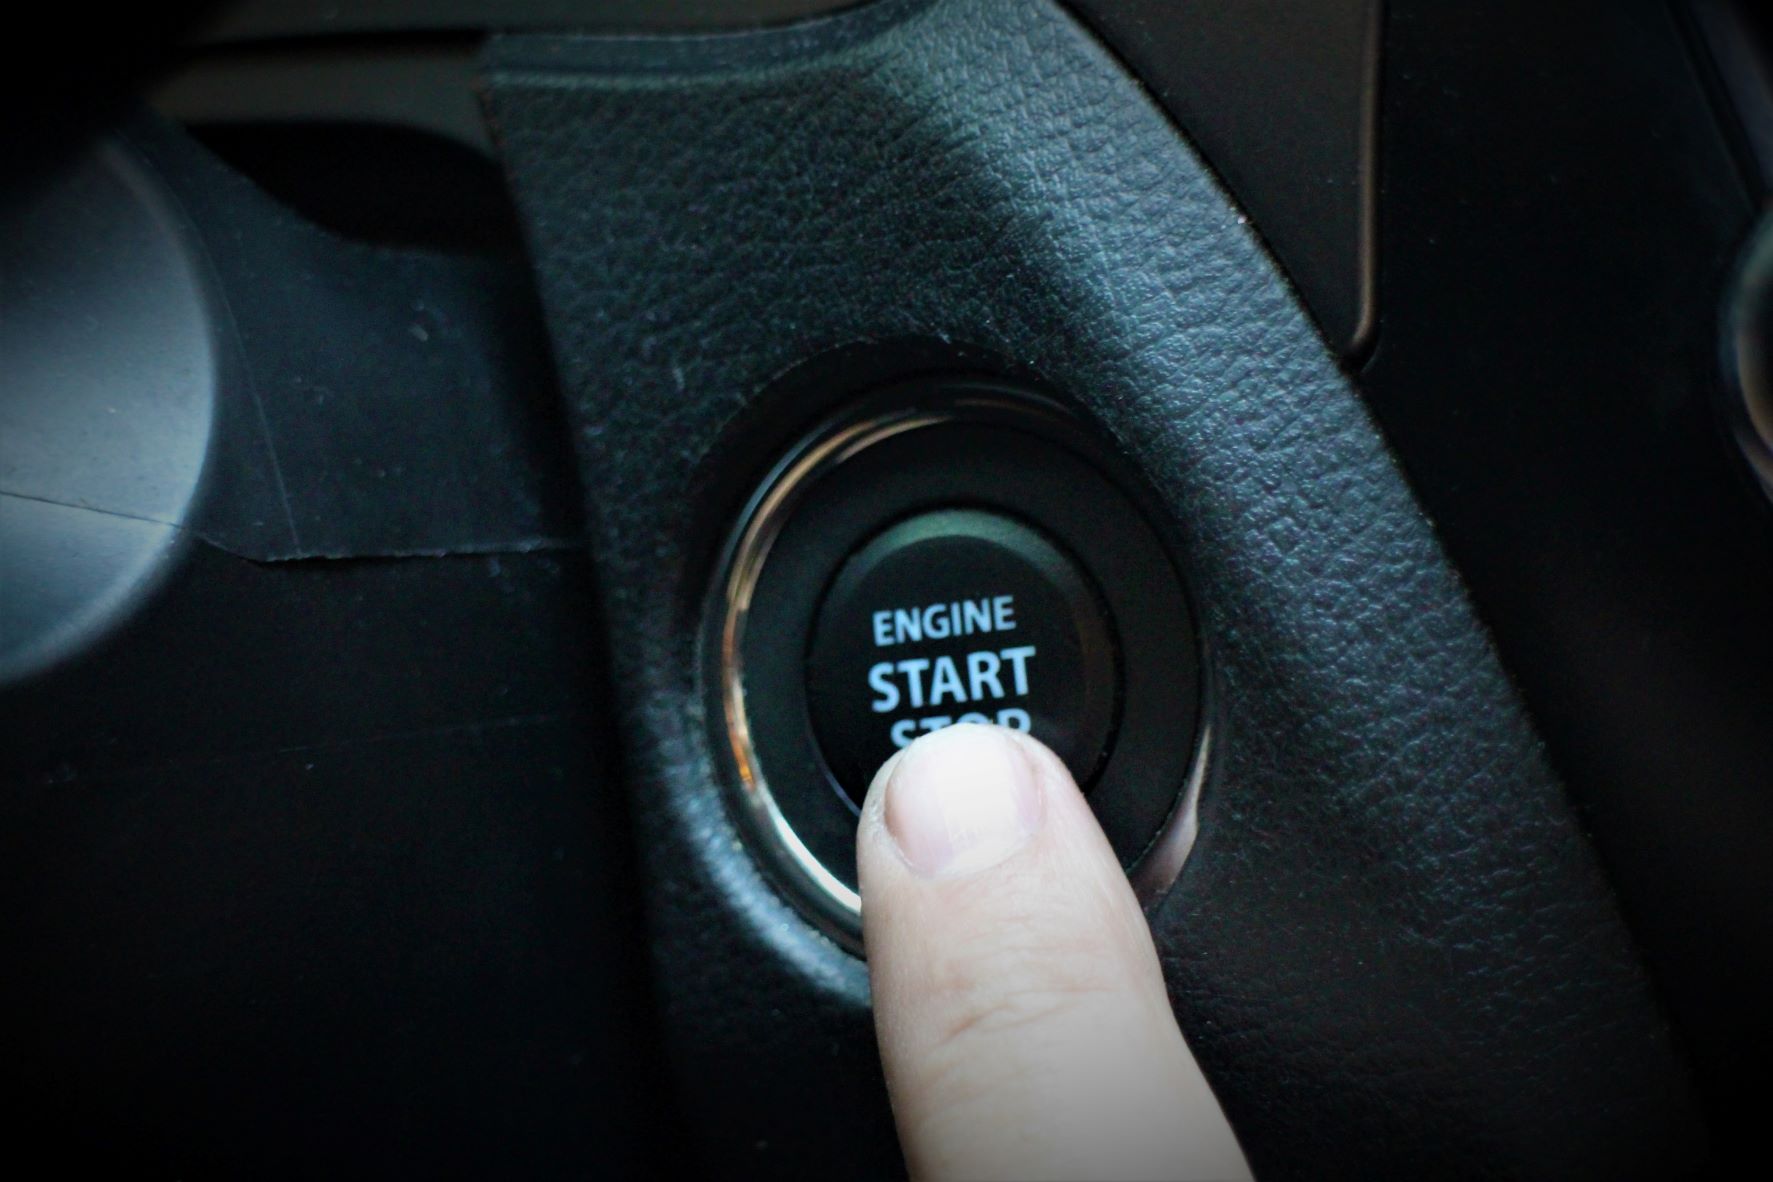
After we double-checked everything (and made sure that we did not leave any small tool or rag on or around the engine), we went into our Ciaz and pressed the Engine Start/Stop button. The engine started immediately – one click!

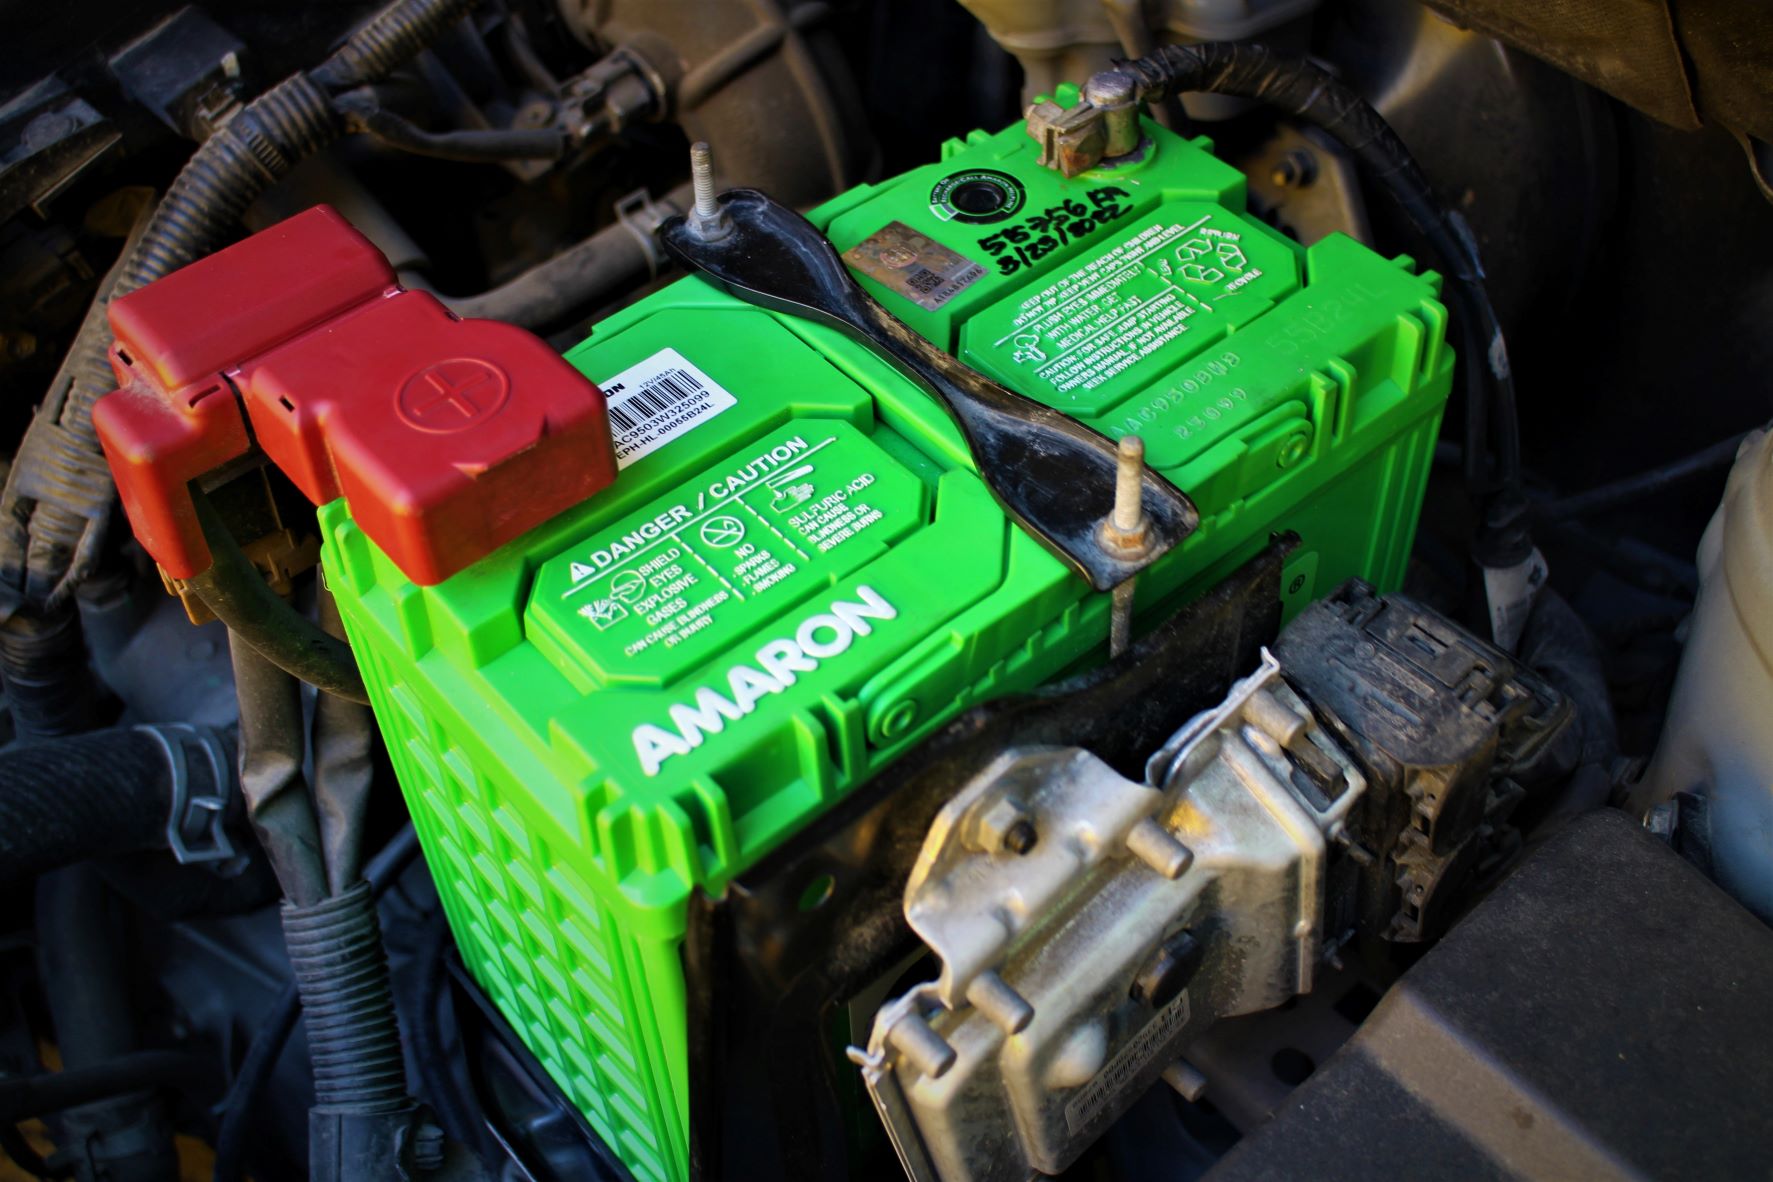
Using a Sharpie permanent marker, we scribbled the odometer reading or the mileage of our Ciaz (55,756 kilometers) and the date when we installed the new Amaron battery (March 23, 2022). We did this to remind ourselves of the battery’s age every time we open the hood of our brown Suzuki.
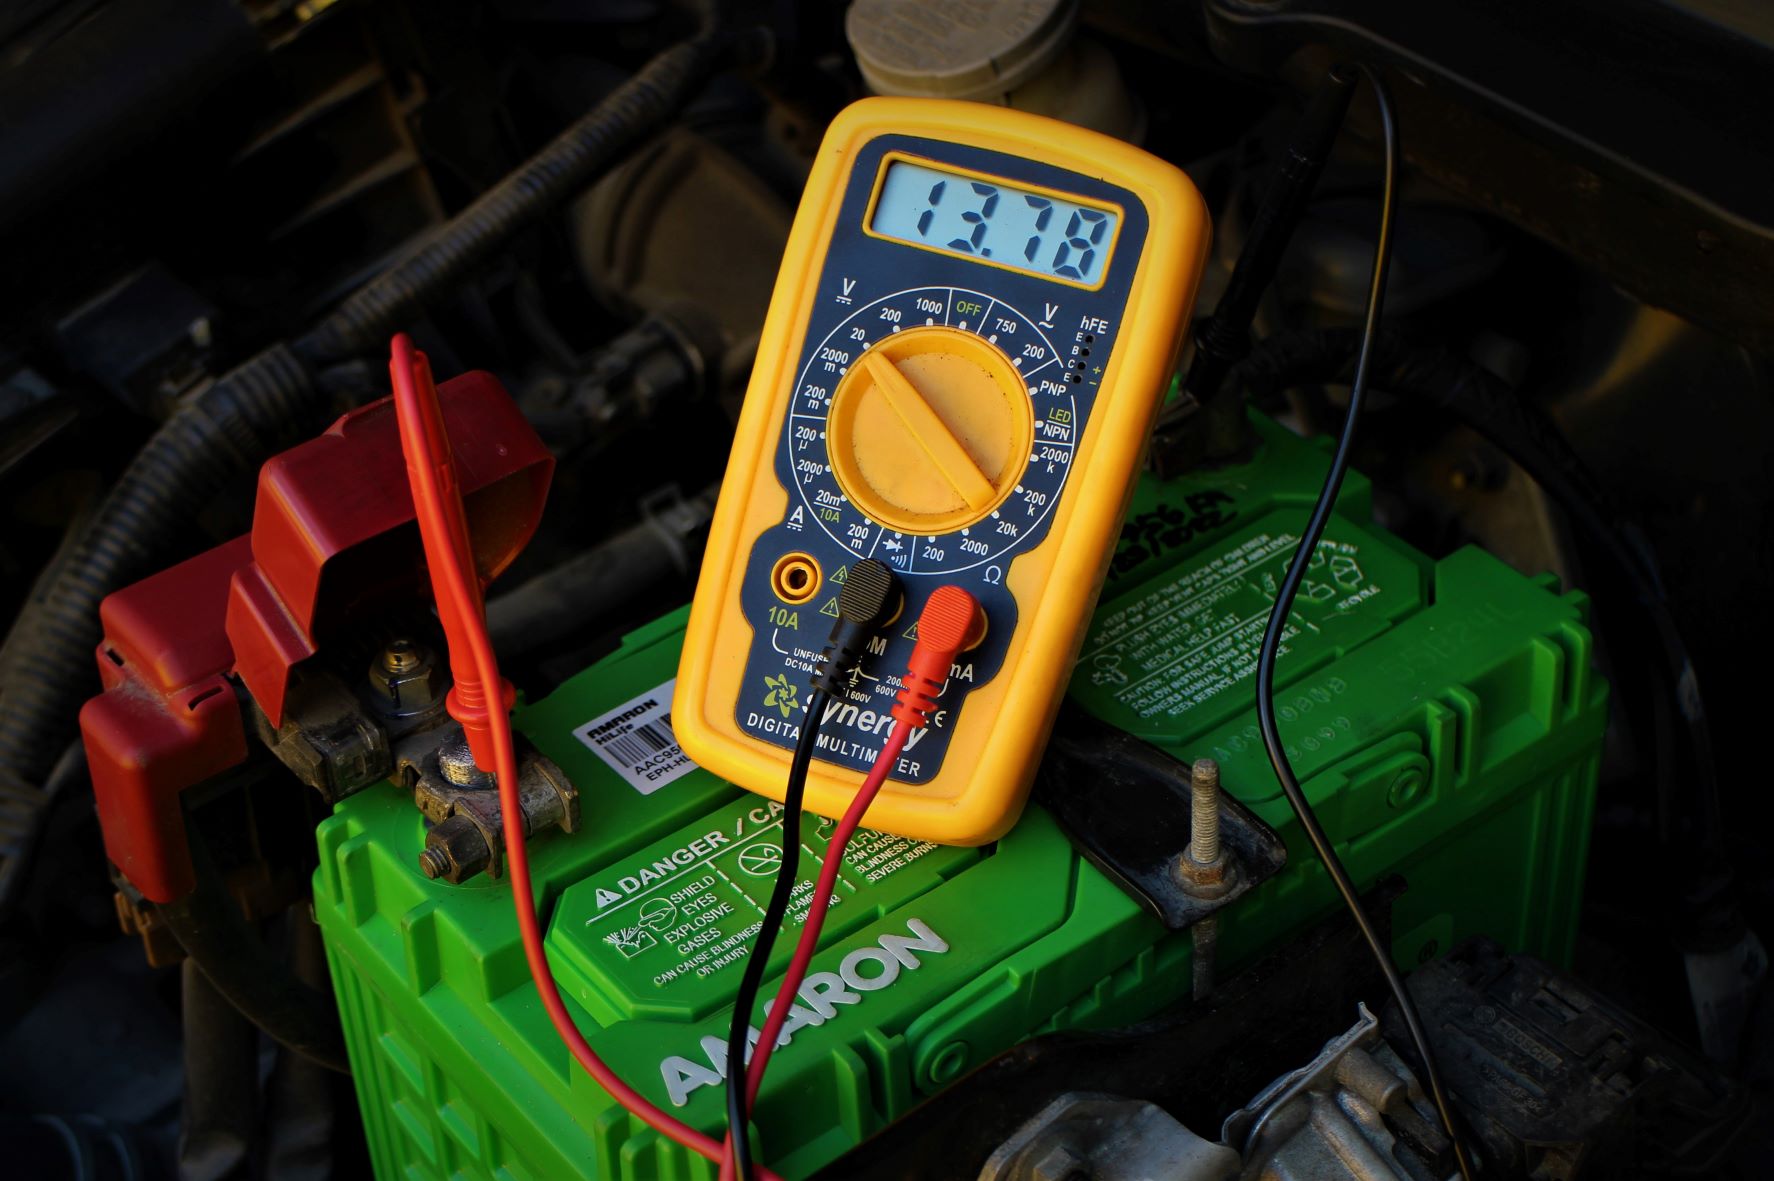
With the engine idling, the voltage is at around 13.8 volts which is the normal operating voltage of our Ciaz’s alternator. It also remained in or near that voltage when the air-conditioning was turned on and when all the lights, including the high beams, were switched on. This also means that our car’s charging system was working well. Anything below 12 volts would drain the battery instead of charge it.

After the engine ran for a few minutes, we turned it off and started the car again just to test the battery. Then, after we turned the engine off, we hooked the battery to our multi tester and found that the new Amaron battery got charged by our Ciaz, increasing the battery voltage from 12.24 to 12.74 V DC. This test indicates that our car’s charging system is very healthy, indeed.
We took a photo of our handiwork for posterity. It’s an easy 5- to 10-minute D.I.Y. repair work if you know how. But it’s more than just removing the old discharged battery and installing a new one. It also involves testing the vehicle’s charging system to make sure that your new battery remains fully charged to start your car anytime and everytime you need it to.