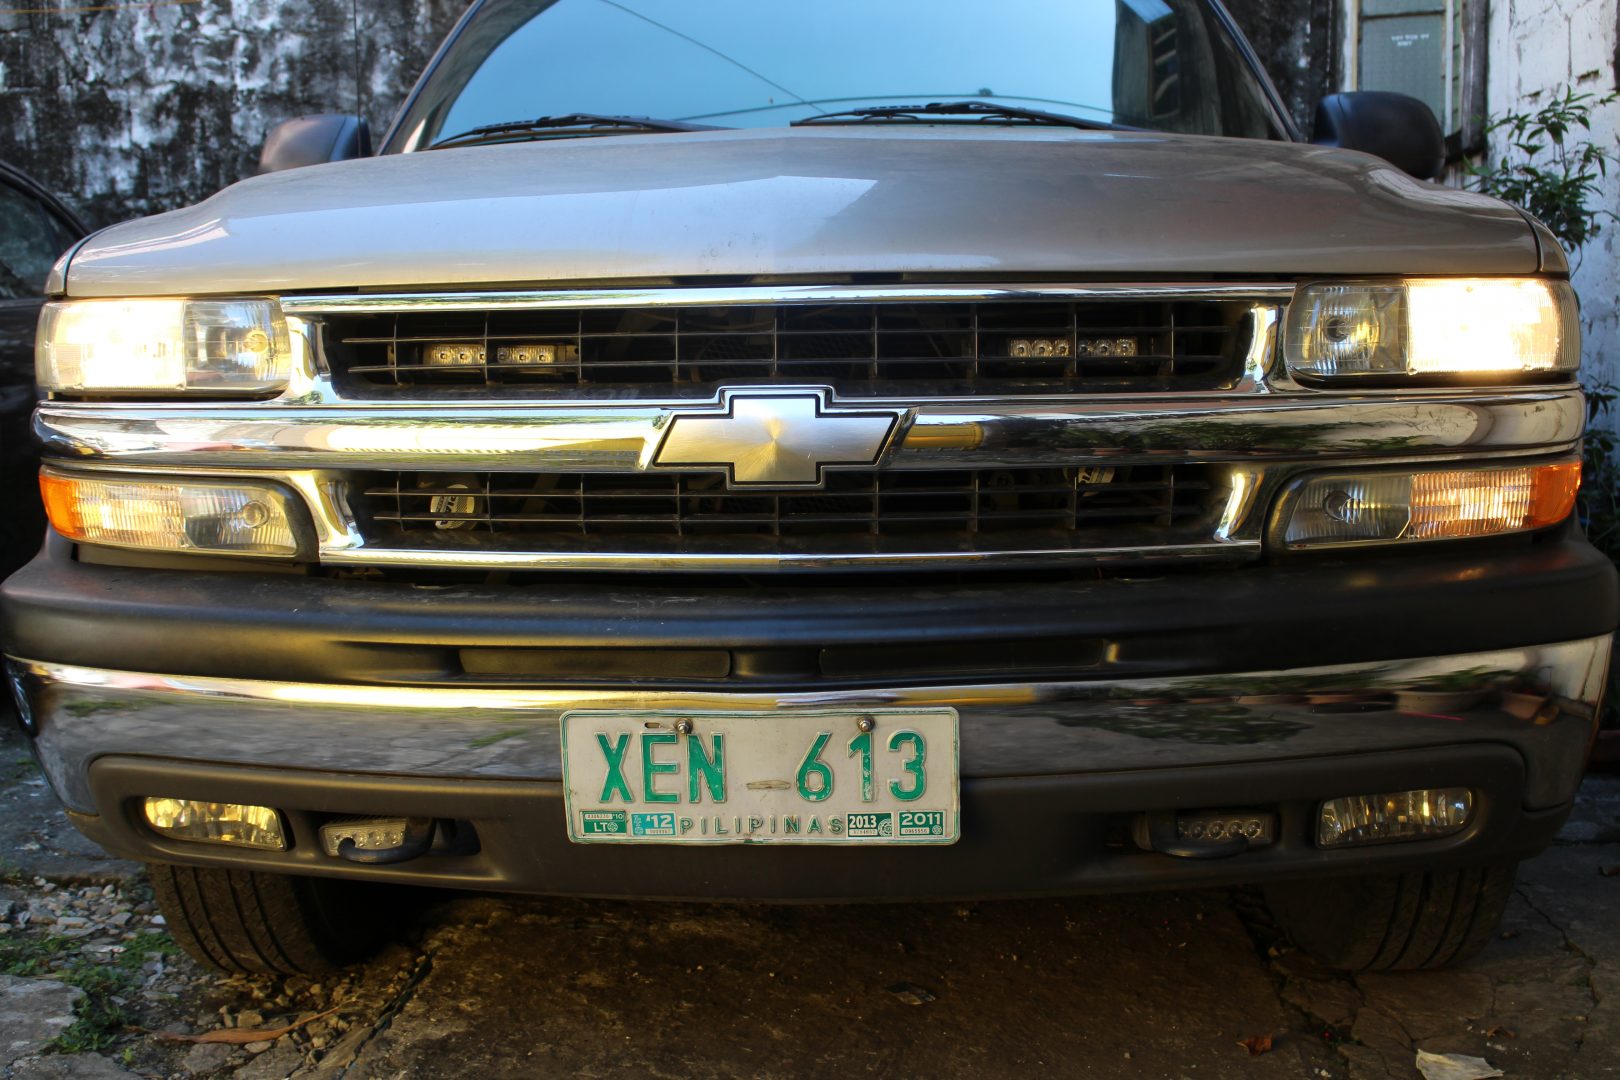
Our 2002 Chevrolet Tahoe LS sat almost undisturbed for a couple of months while we test drove and reviewed a string of brand new cars such as the Ford Ranger Raptor, GAC GA8, BAIC M50S and BJ20, Porsche Cayman and Macan Sport. We started our Tahoe once in a while to charge its new Hitachi car battery, which we installed just recently, and we drove it to a couple of family occasions in January.
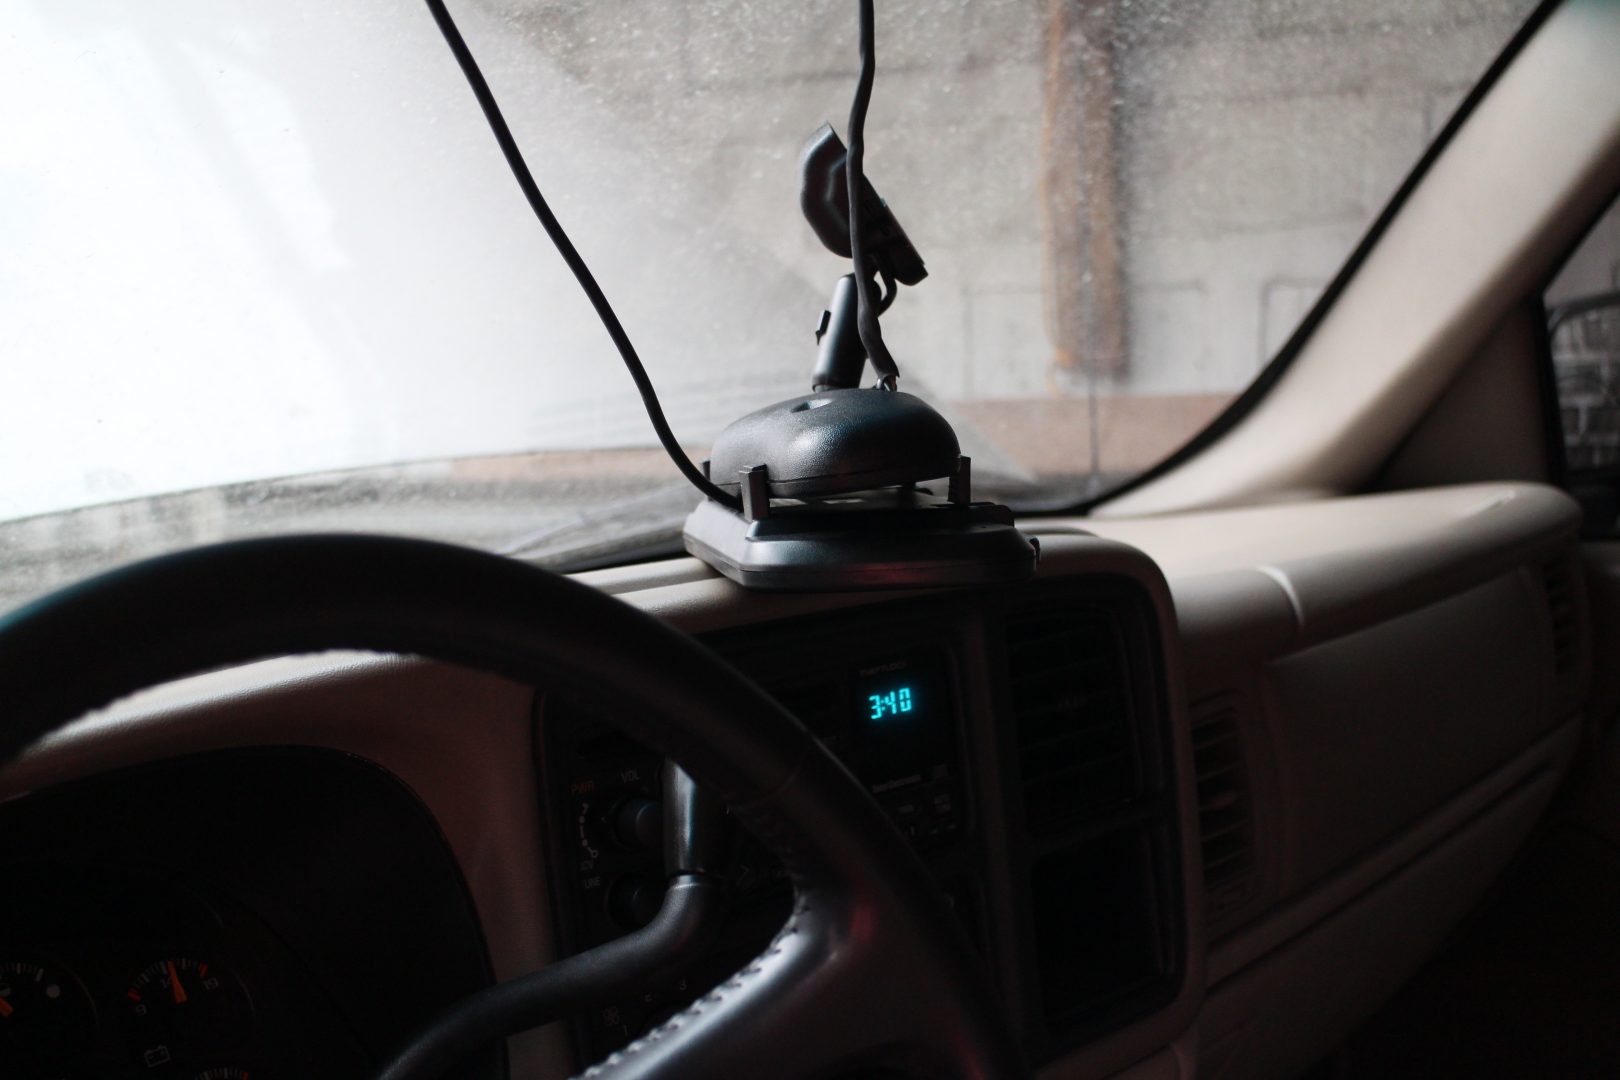
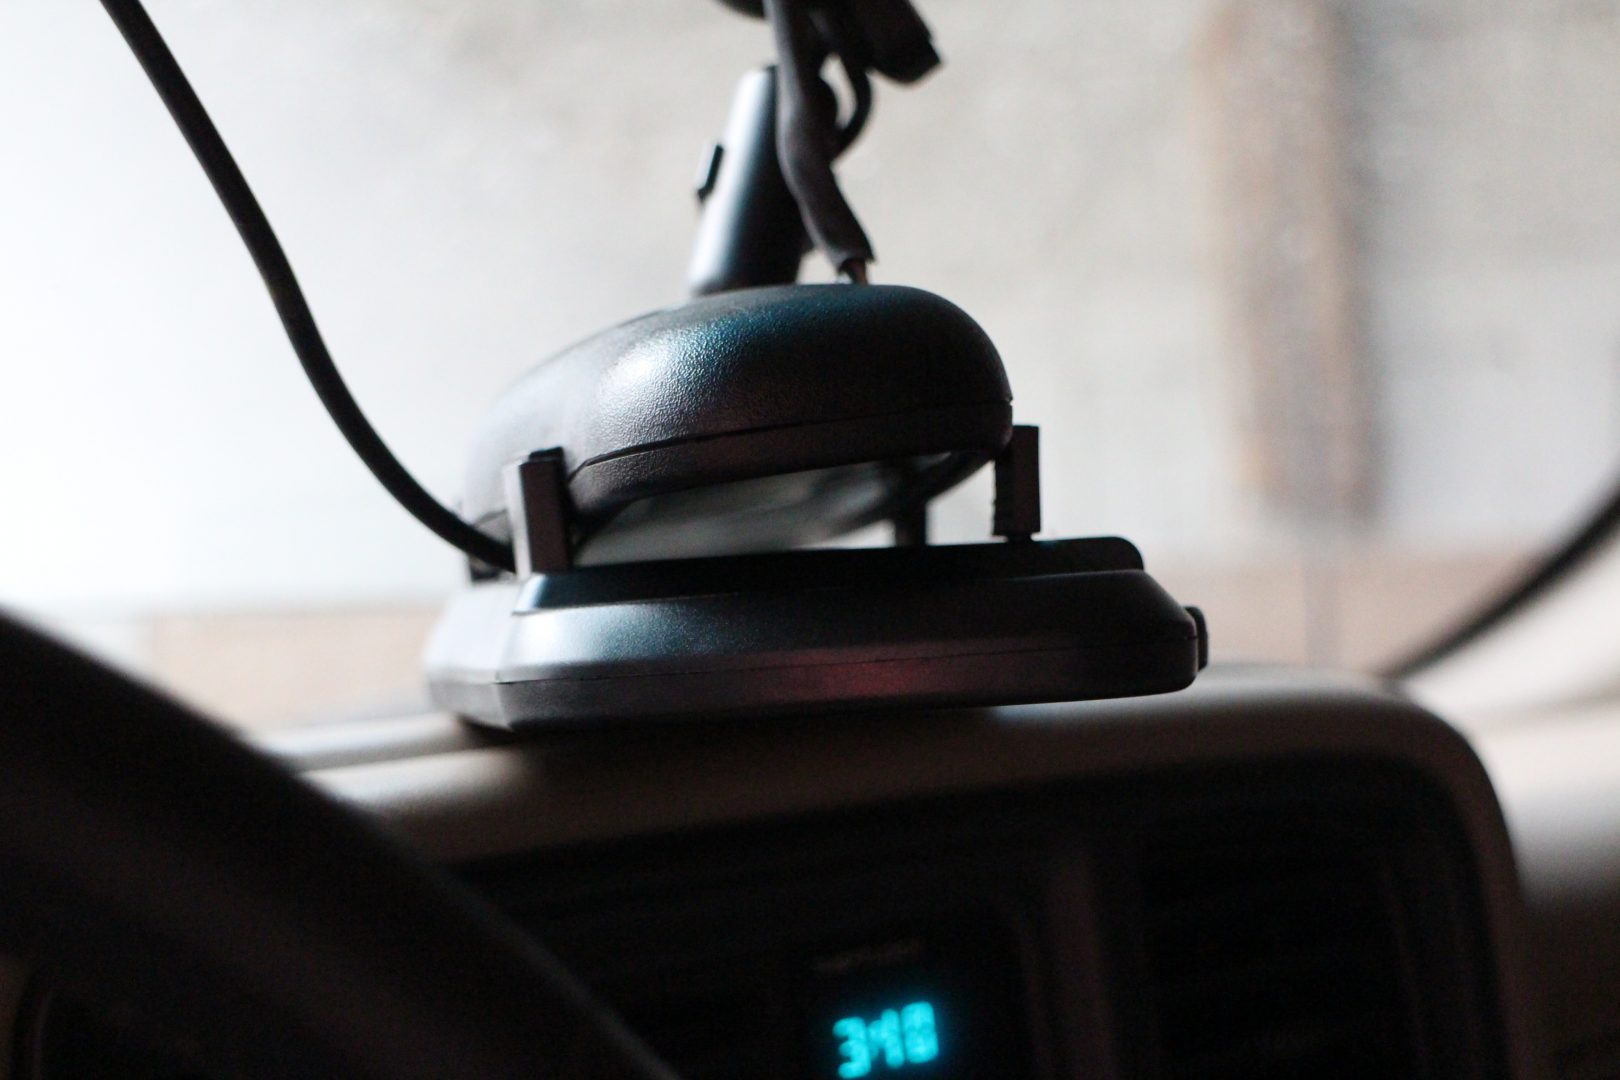
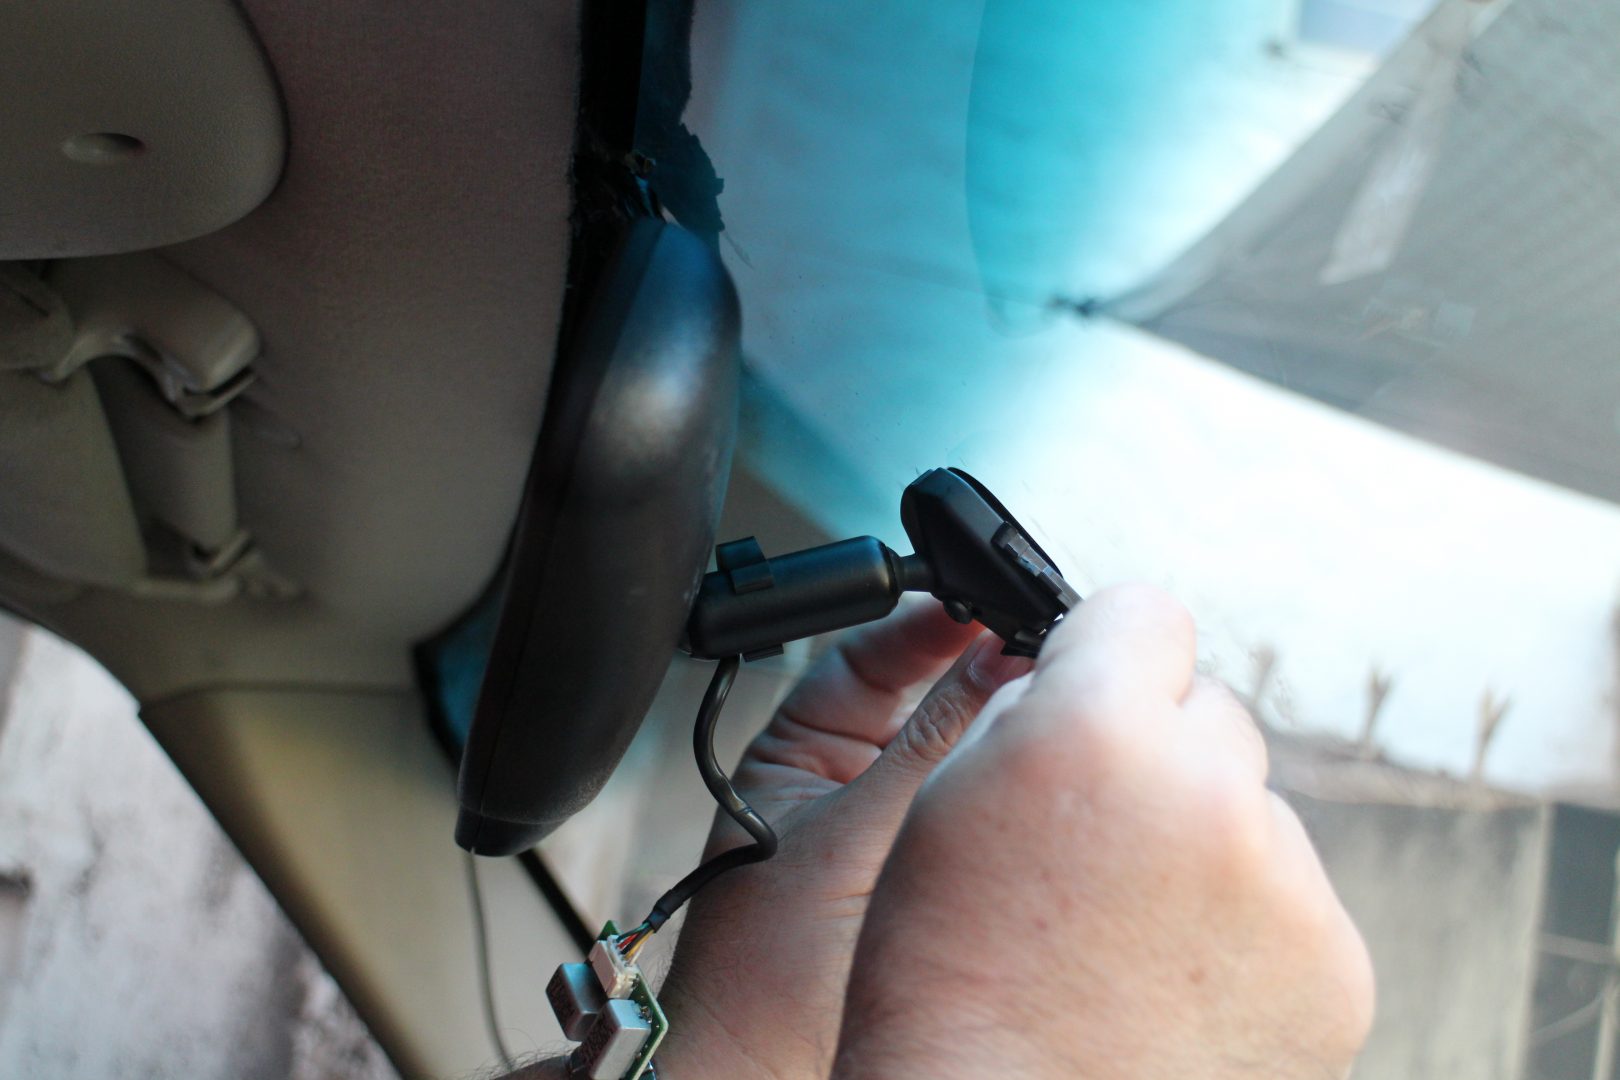
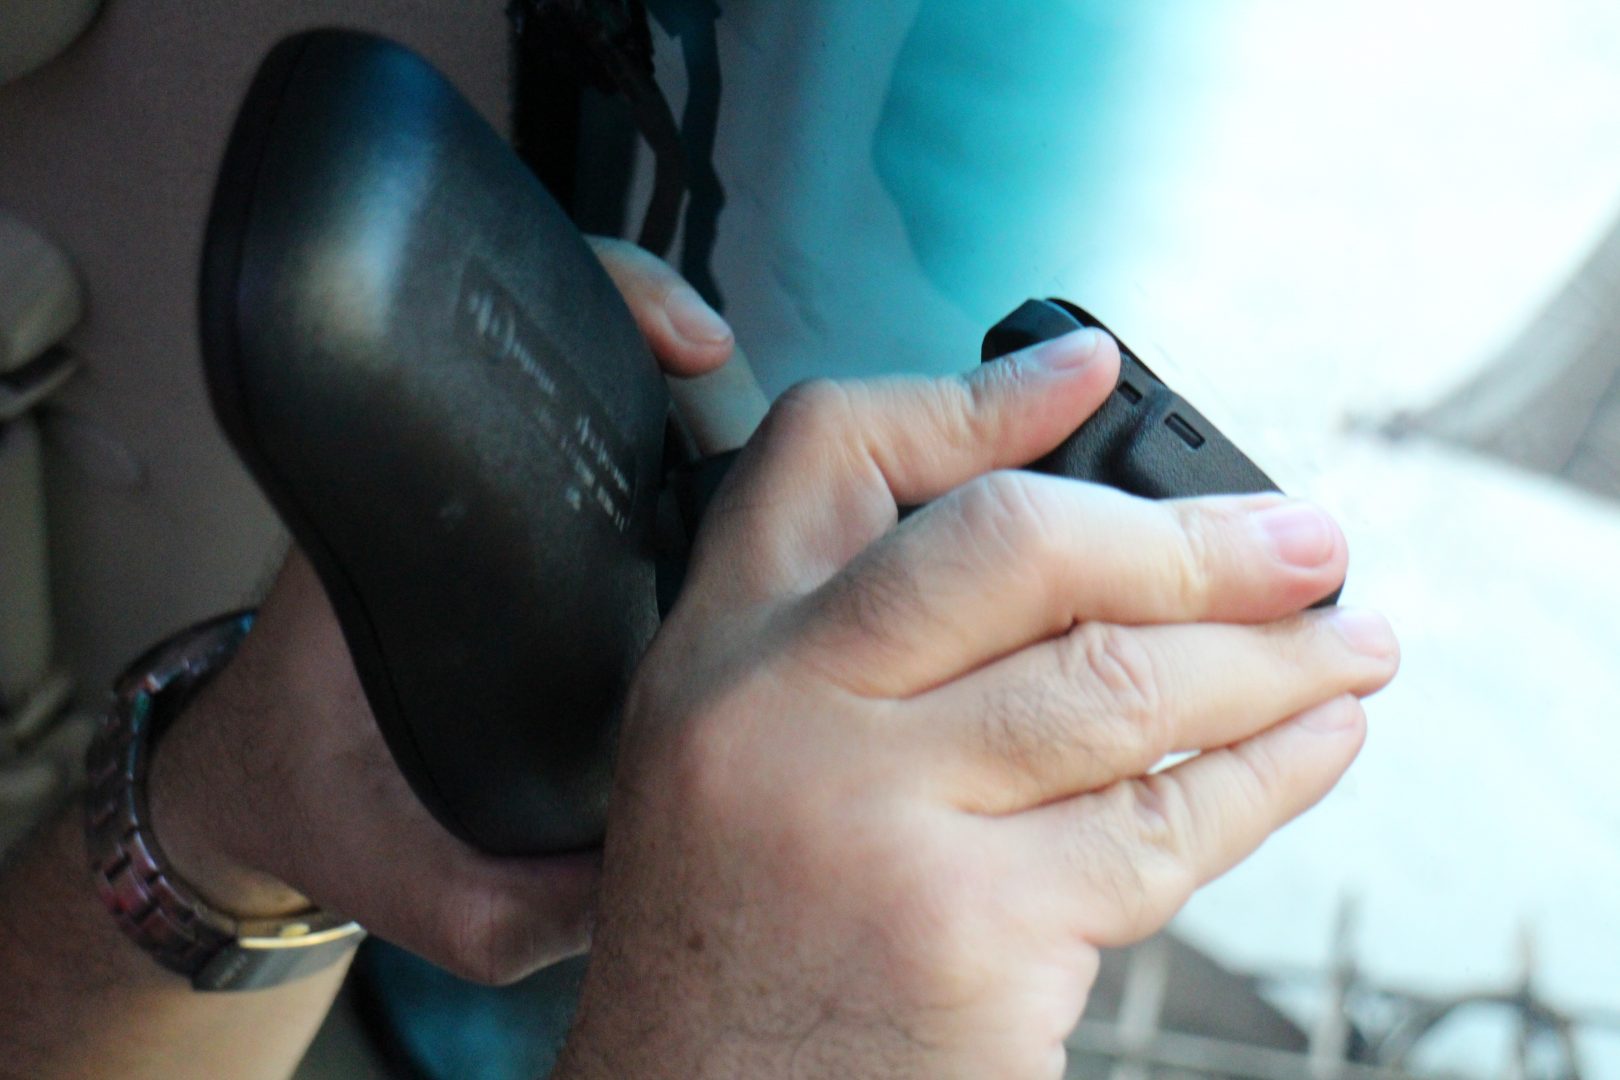
Then, on the afternoon of January 24th, we climbed into the Tahoe and were surprised to find that our rear camera monitor along with the rear view mirror to which it was clamped onto, was resting on top of the dashboard with all the attendant wiring still attached to the pair.
Apparently, the base of the rear view mirror, which was attached to the inside part of the windshield by an adhesive, came unglued. We guess the combined weight of the monitor and mirror assembly, plus the heat of the sun and the moisture of the cool January mornings finally undid the 17-year-old adhesive.
Quick Fix
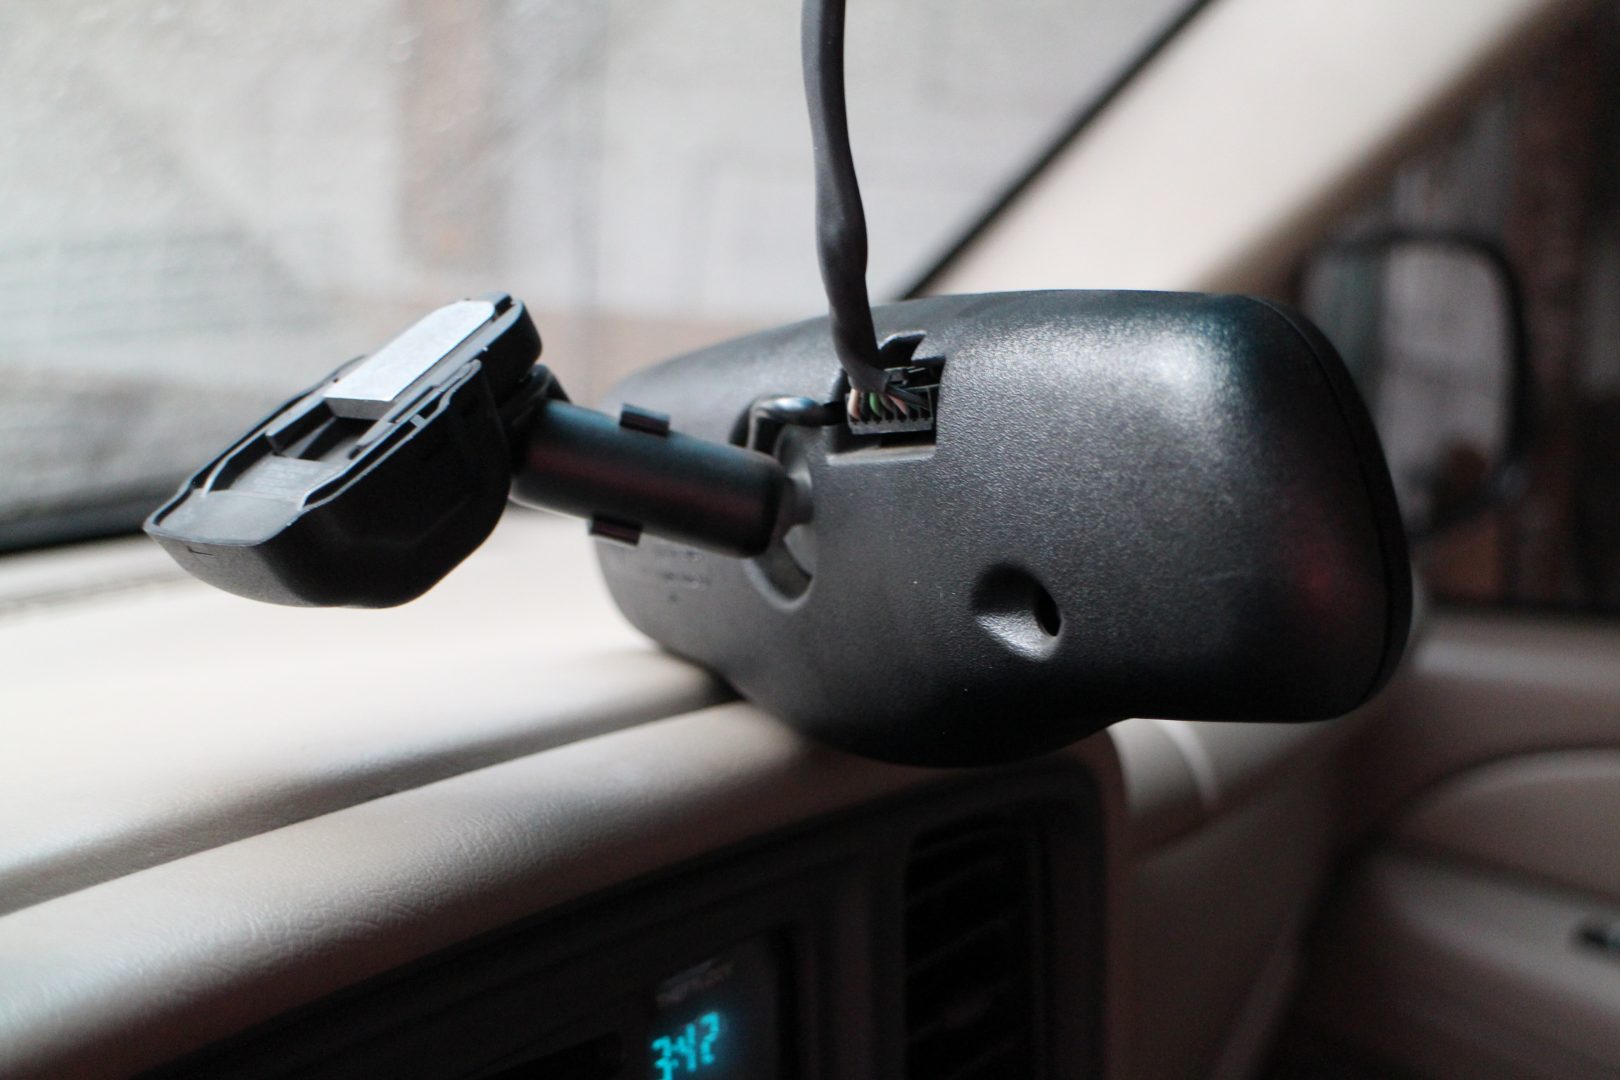
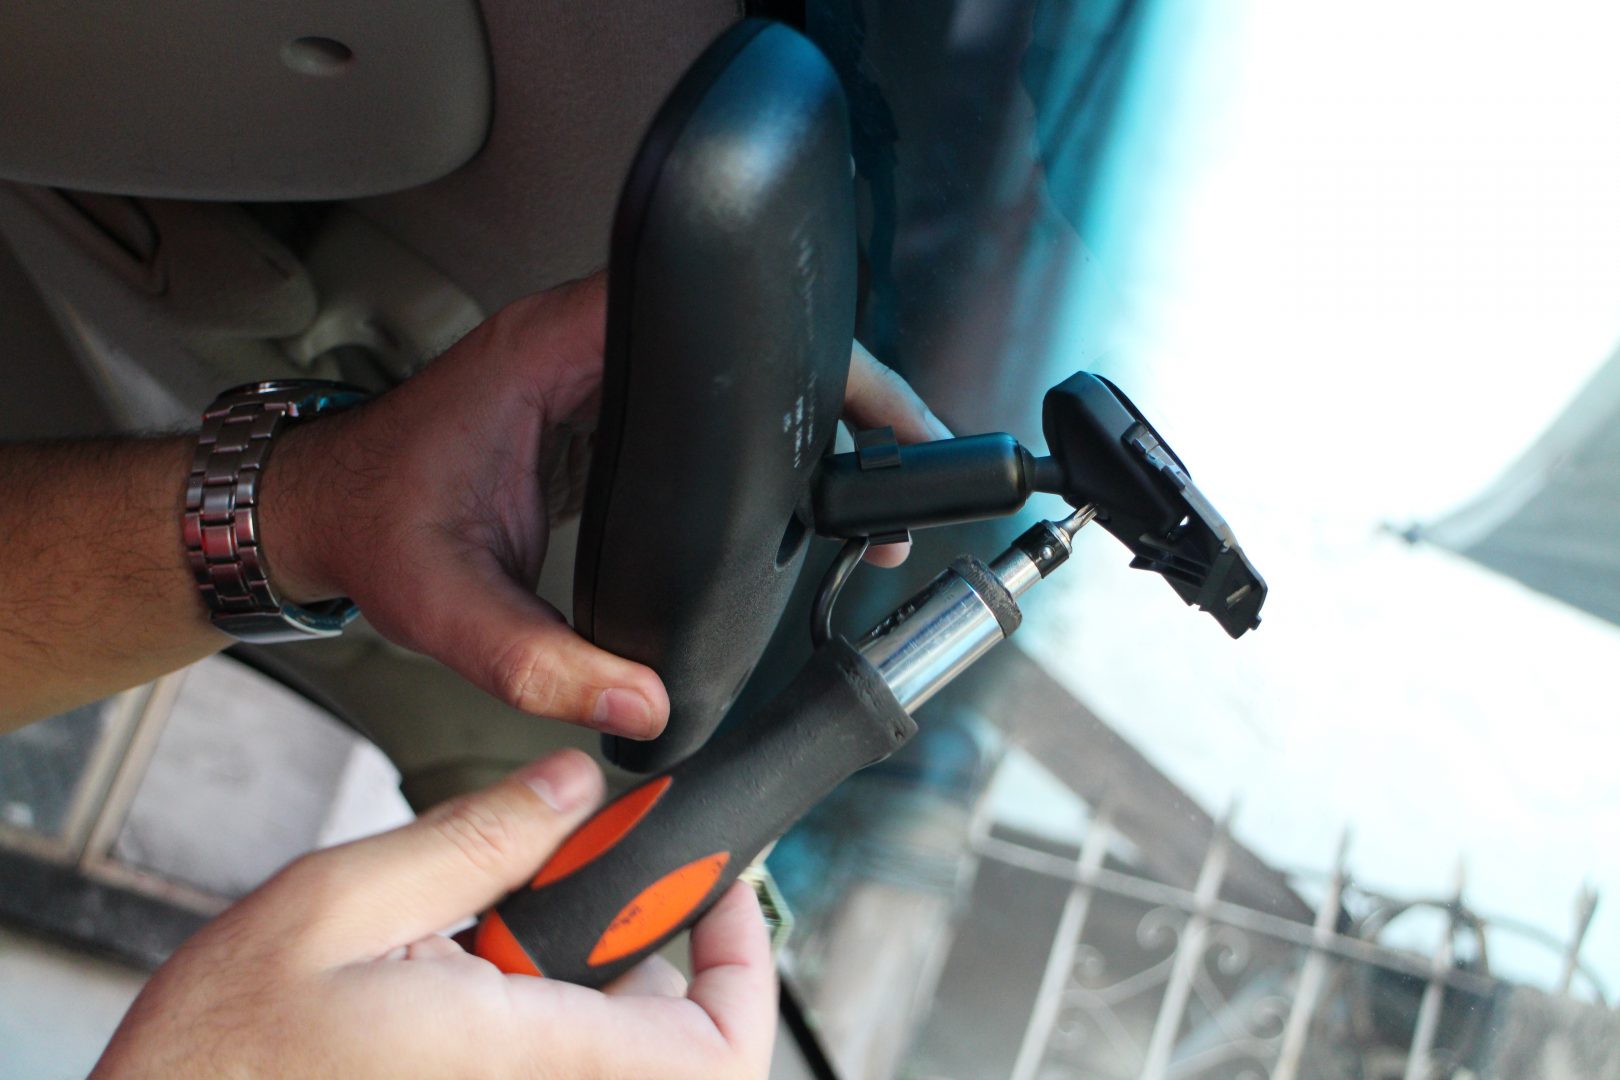
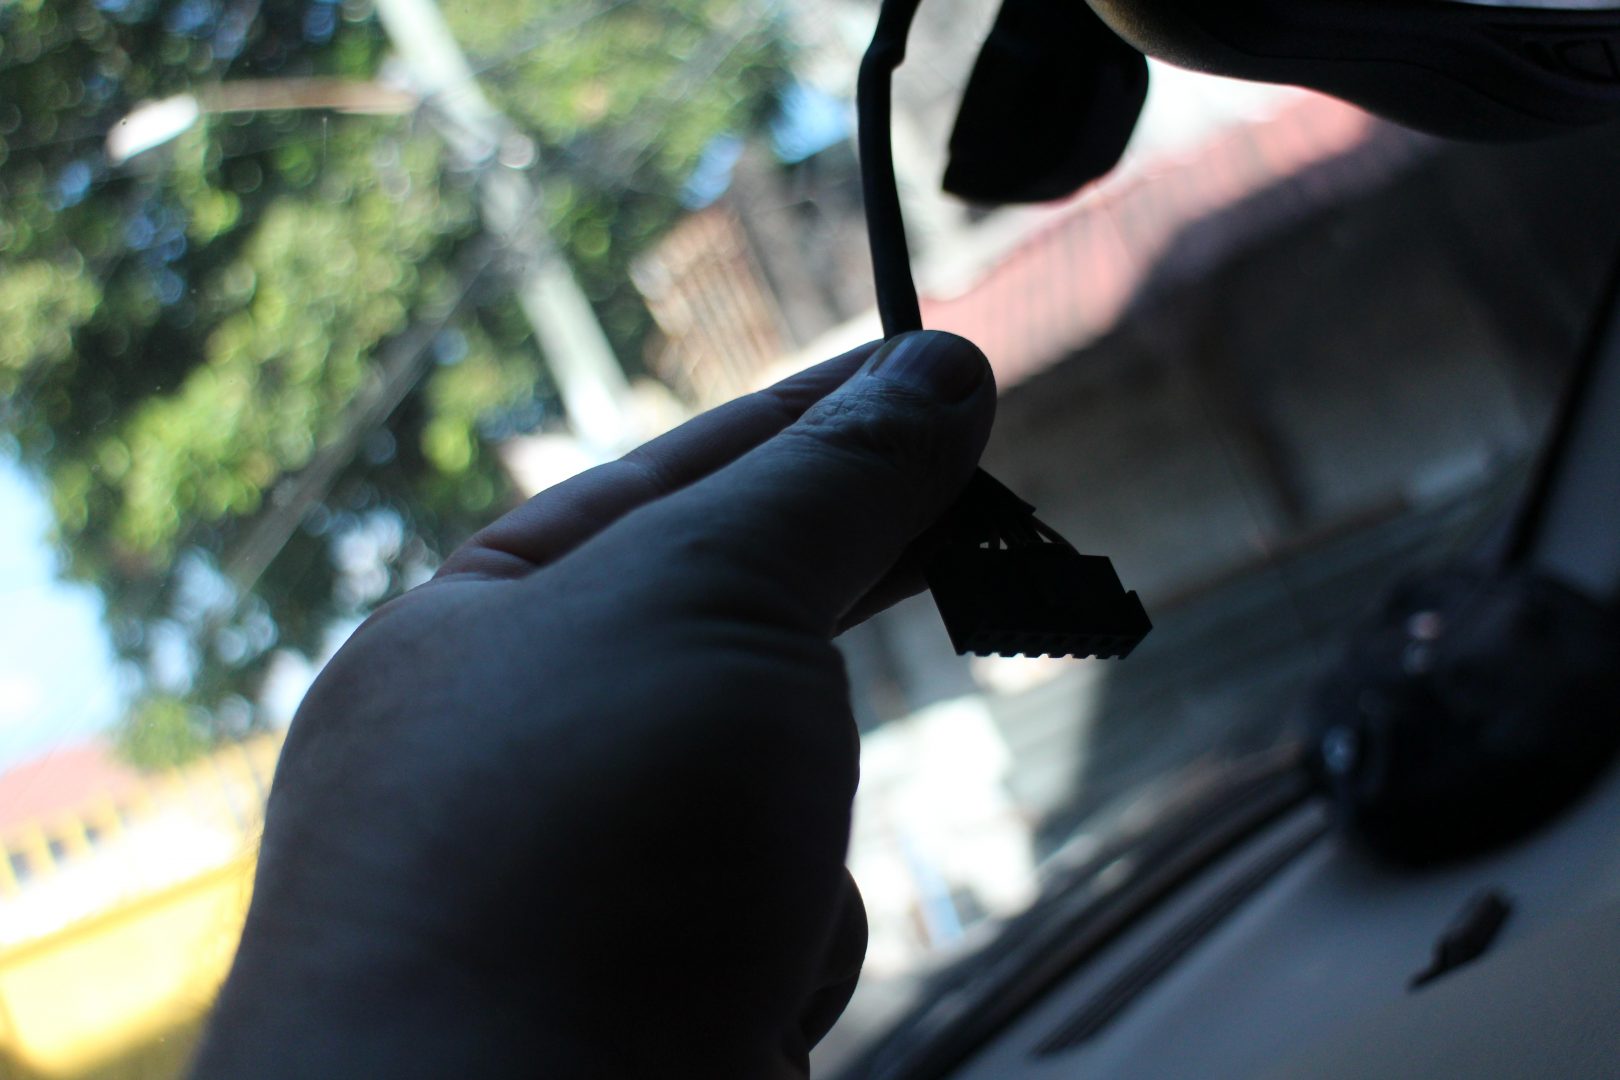
Thankfully, neither the monitor nor the mirror was damaged. We wasted no time in unhooking the rear view mirror from the attached wiring harness, removing the plastic cover to expose the star bolt that holds the mirror assembly to the metal base, and separating the metal base. After cleaning the flat side of the metal base and the part of the windshield that it will be bonded to, we attached it to a piece of 3M Super Strength Molding Tape, cut the excess tape, and reattached the metal base to the windshield. Then, we left it for a couple of days to ensure a strong bond.
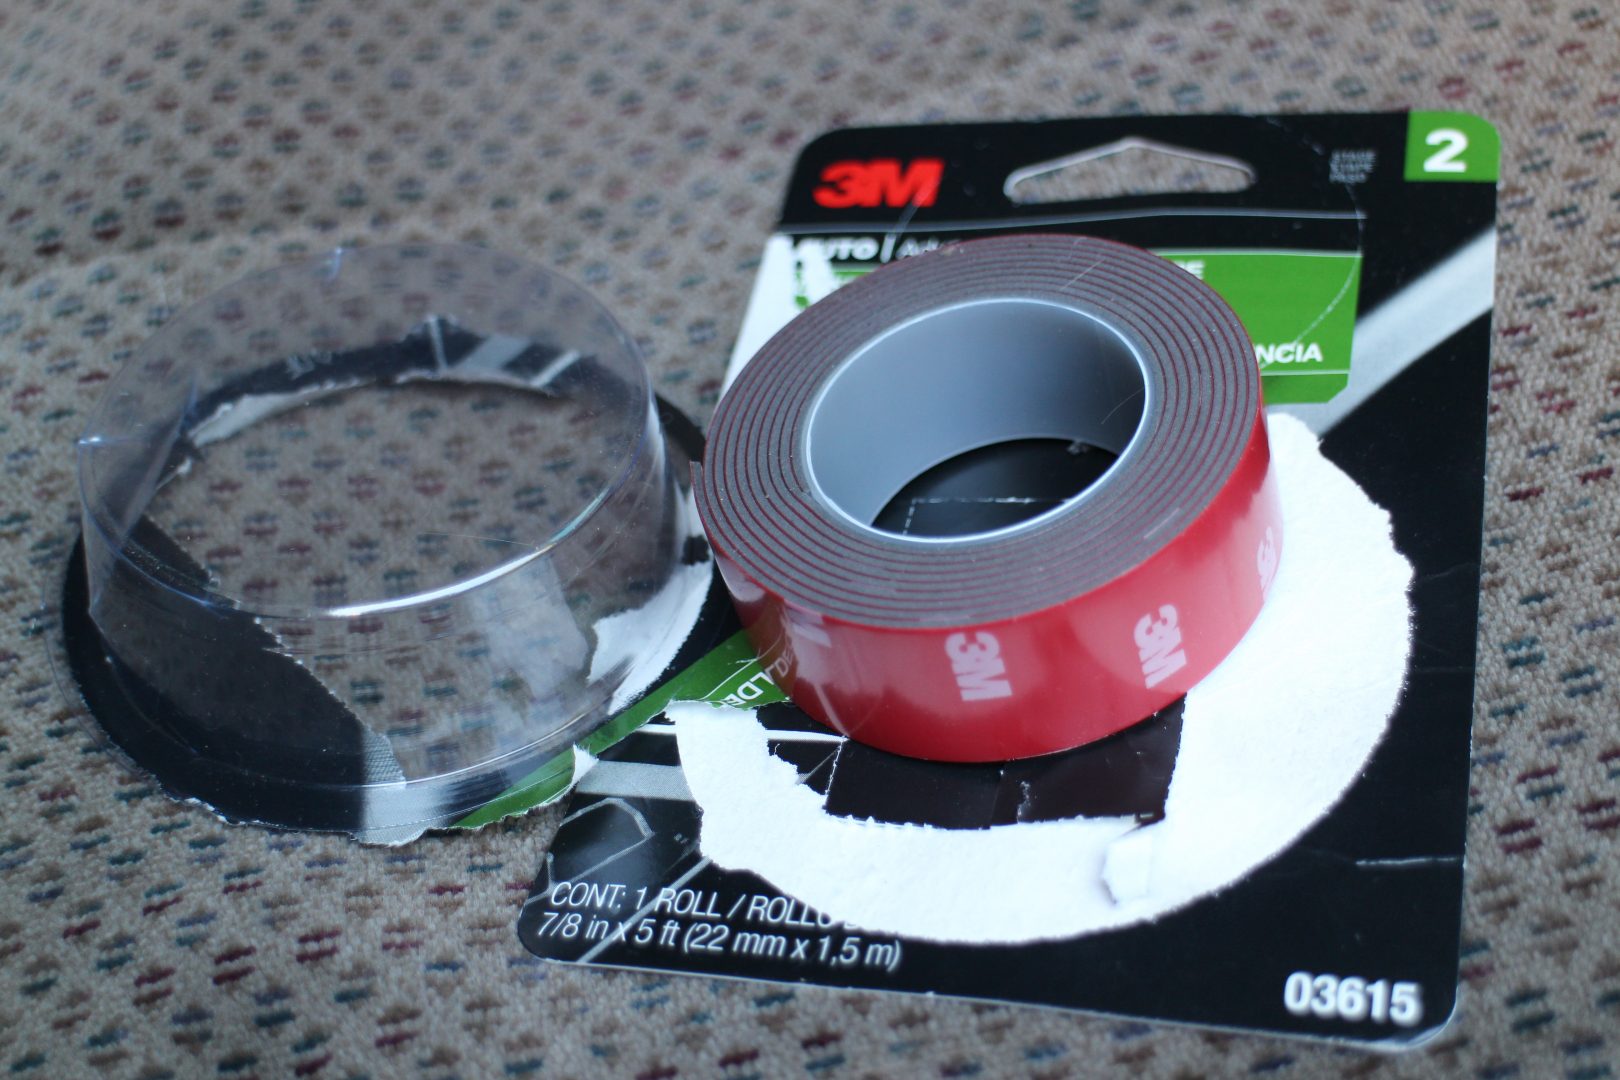
3M Super Strength Molding Tape
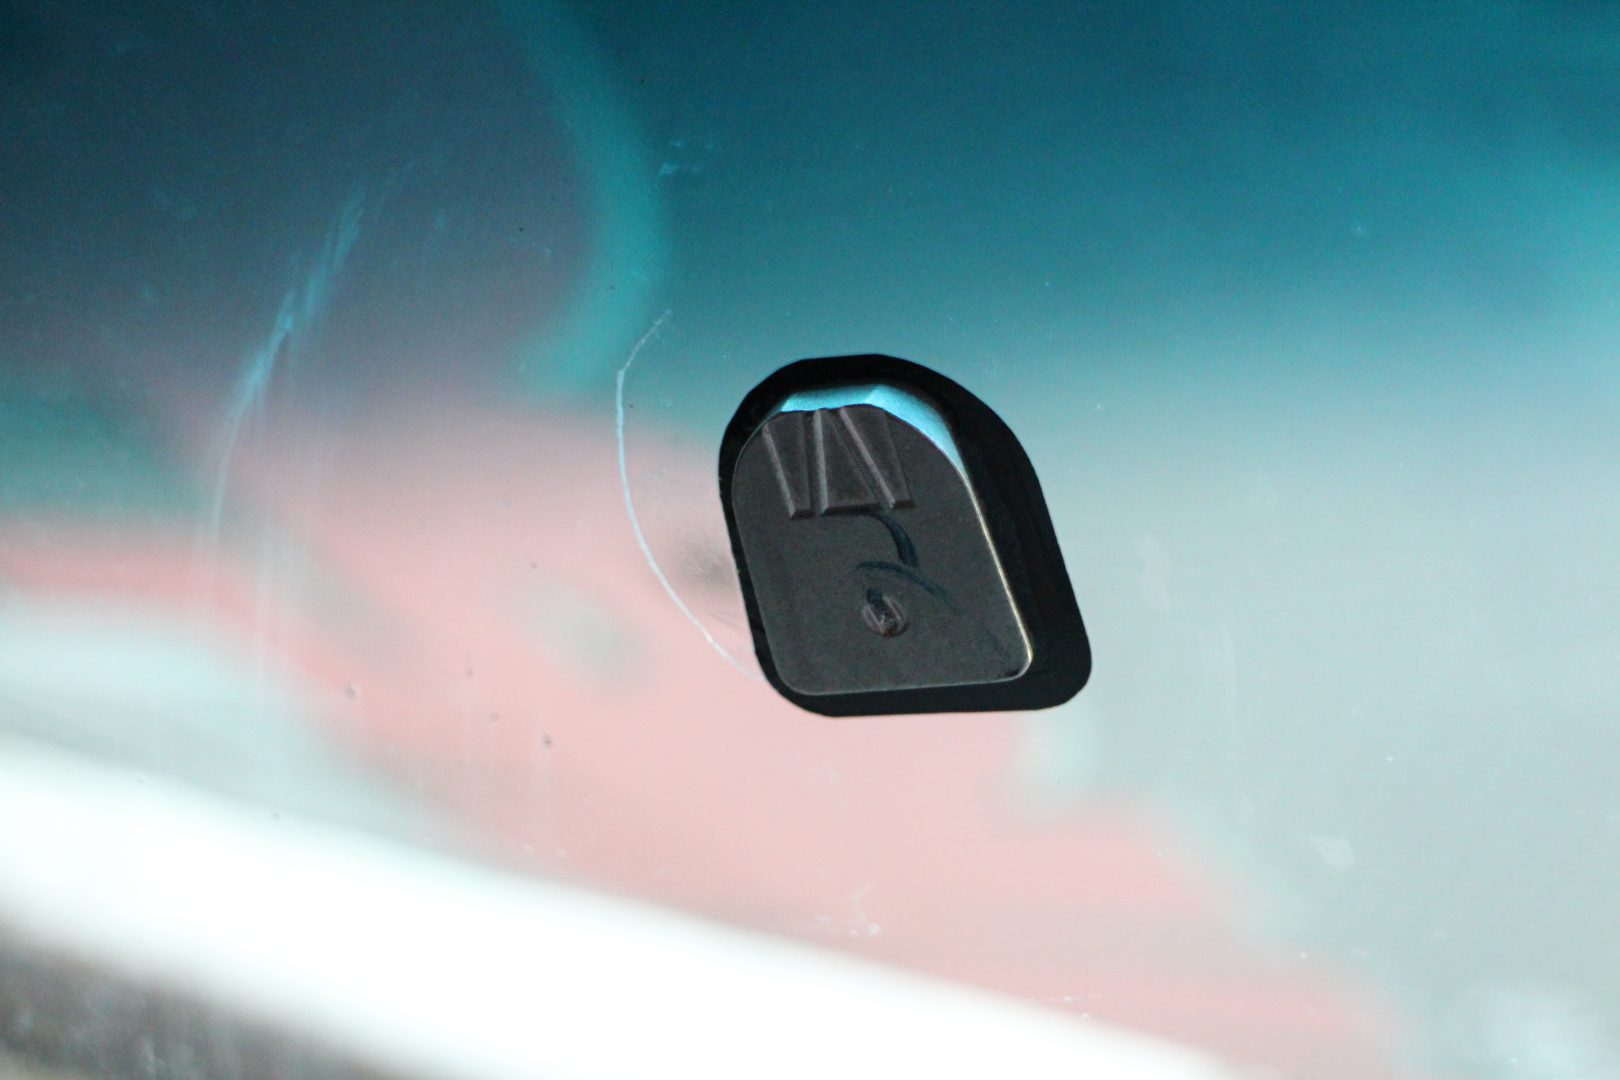
After a thorough cleaning, the metal base was re-bonded to the windshield glass.
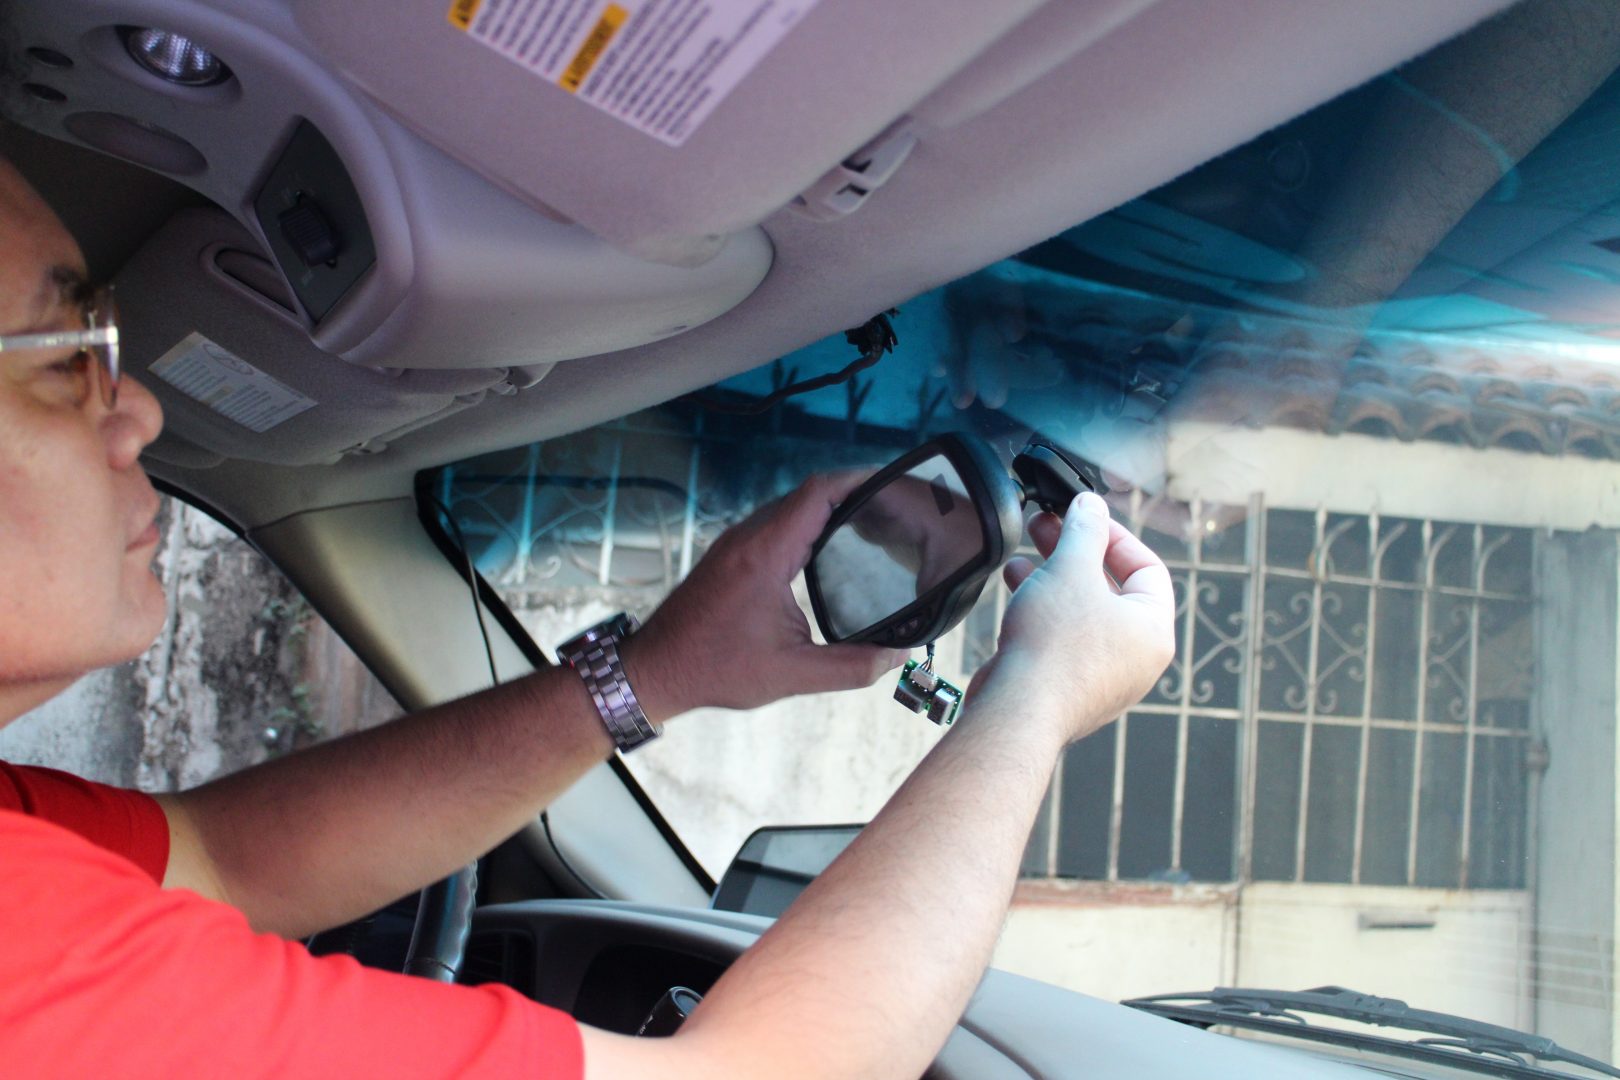
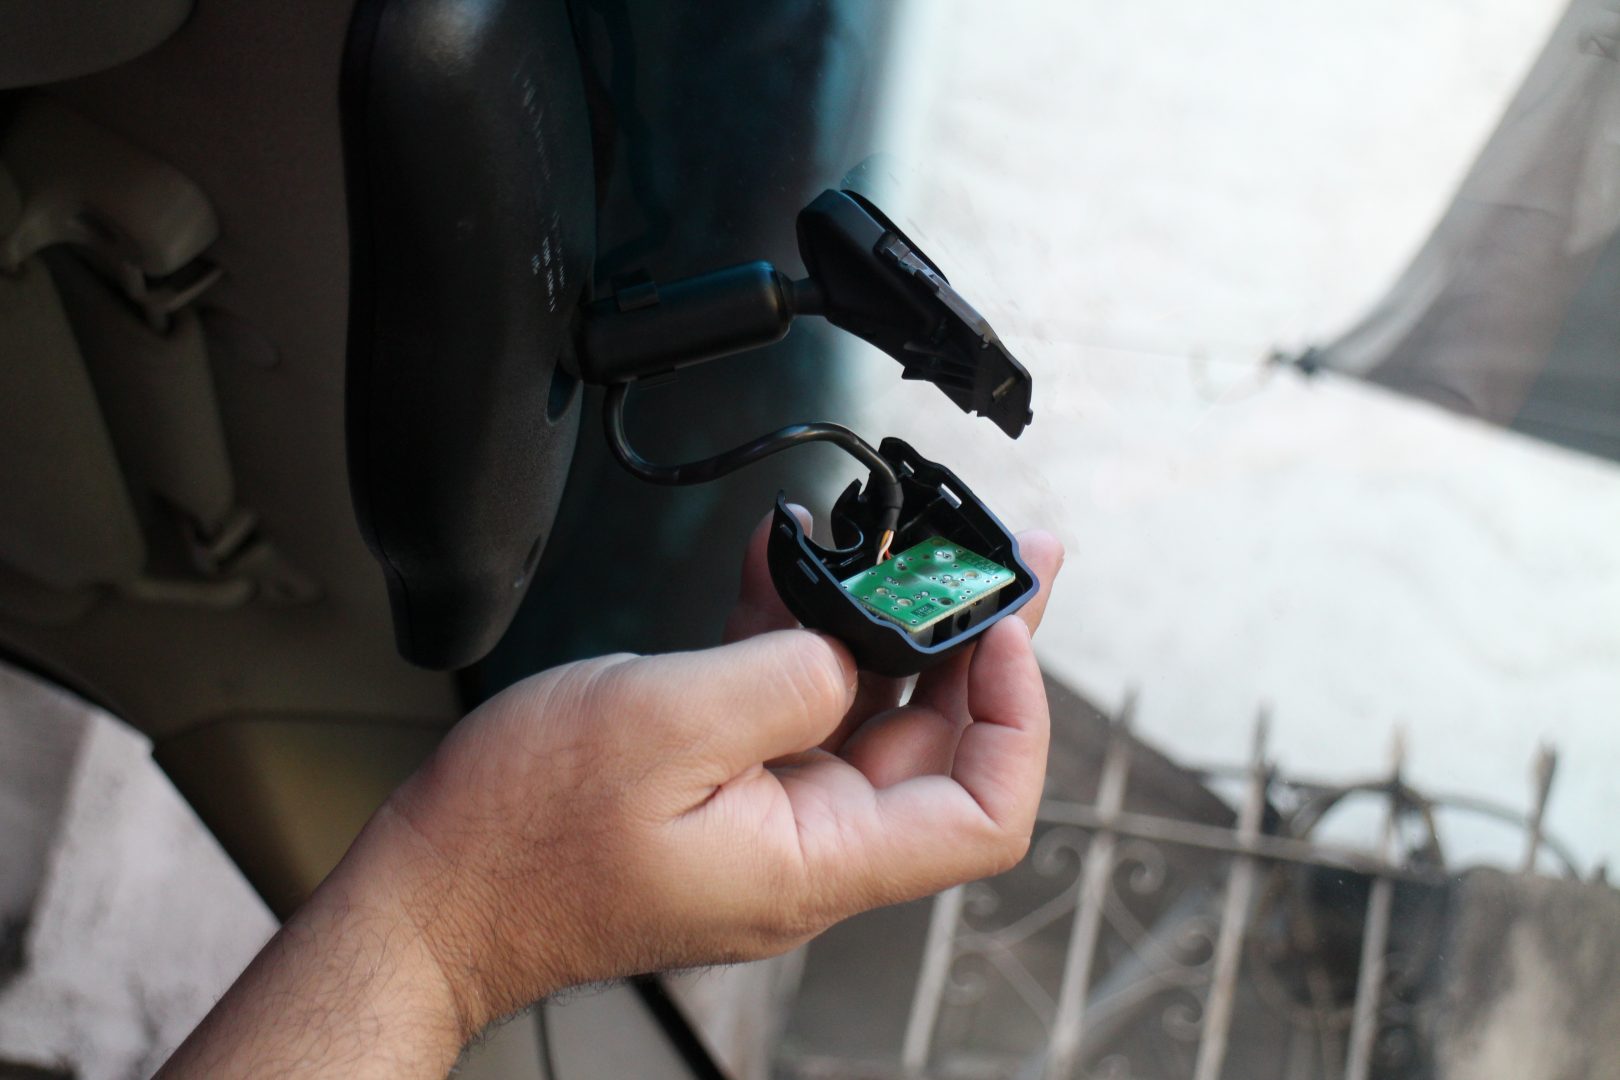
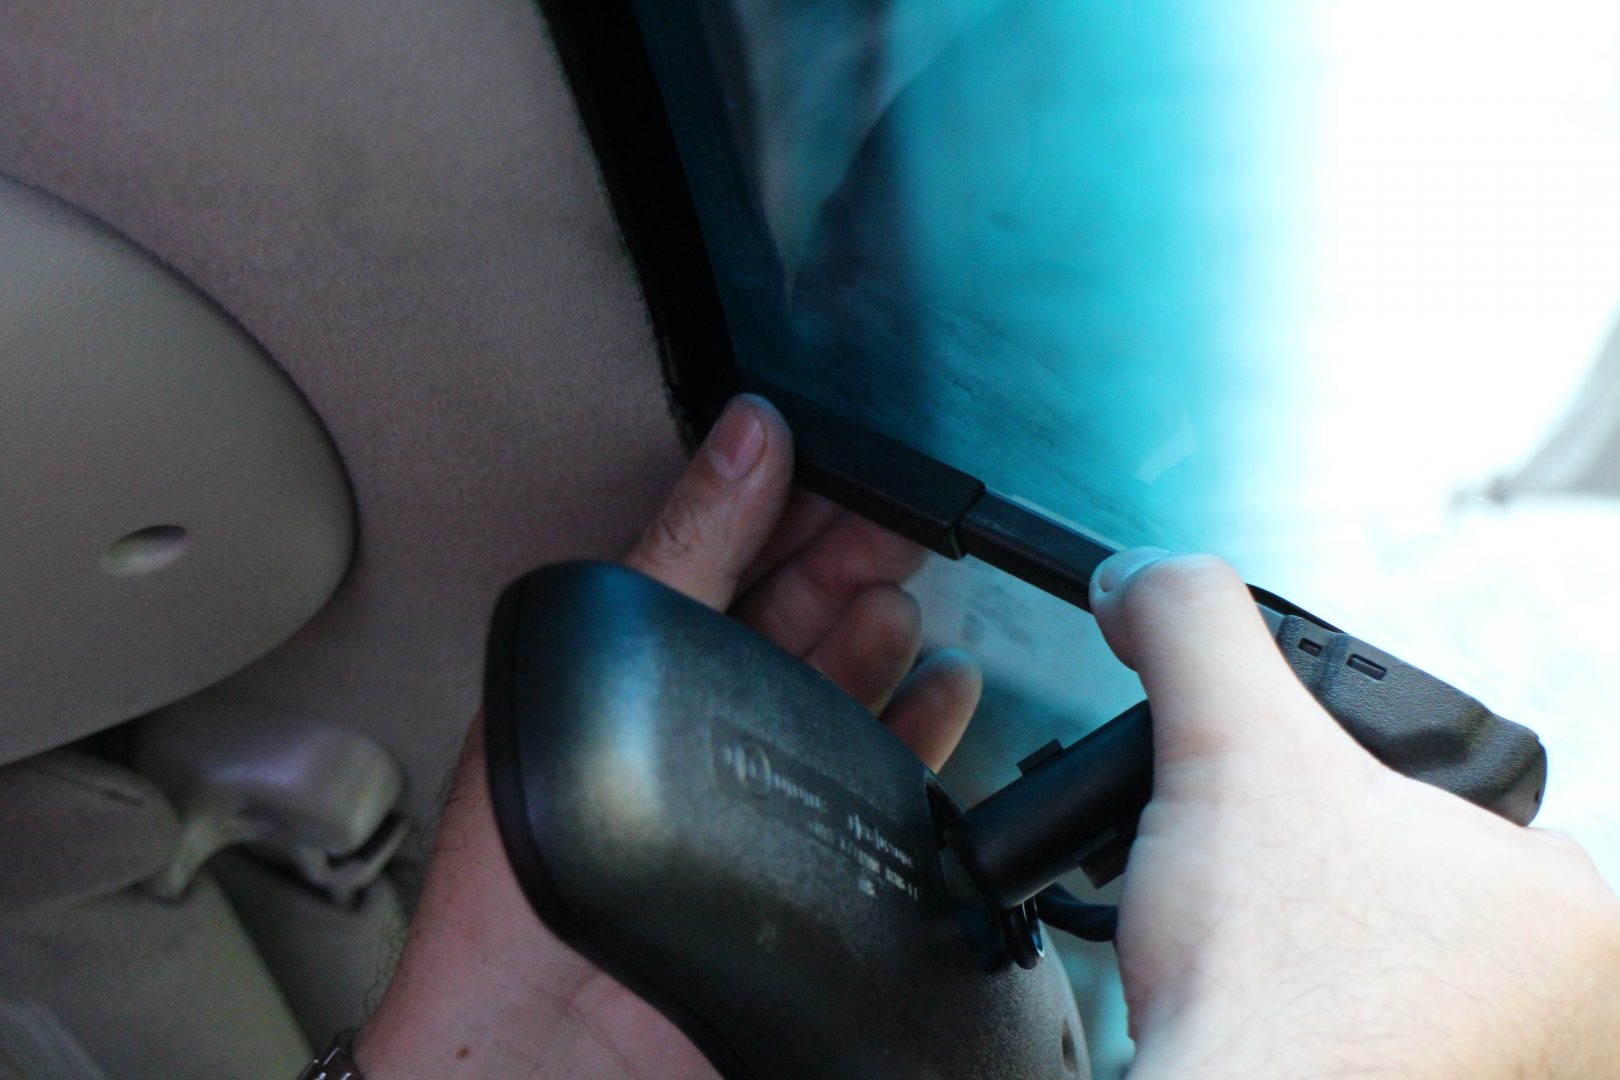
Once the metal base was firmly bonded to the windshield glass, we slid the base of the rear view mirror assembly, reinstalled the plastic clip assembly, and then tightened the star bolt. We carefully inserted the electronic component of the digital compass and ambient temperature sensors into the plastic cover, snapped it on, plugged the wiring harness back, and carefully adjusted the mirror to ensure that we can see the back window perfectly. We decided to temporarily leave the heavy monitor on the left side of the dash.
The base of the mirror assembly slides into the metal base easily…
… and stays there because of the mount design.
We reattached the plastic clip assembly to the base…
… before tightening the star bolt.
We inserted the electronics into the plastic cover…
… and carefully positioned the cover over the base…
… and pushed it in until it clicked to lock.
We plugged the wiring harness to the assembly…
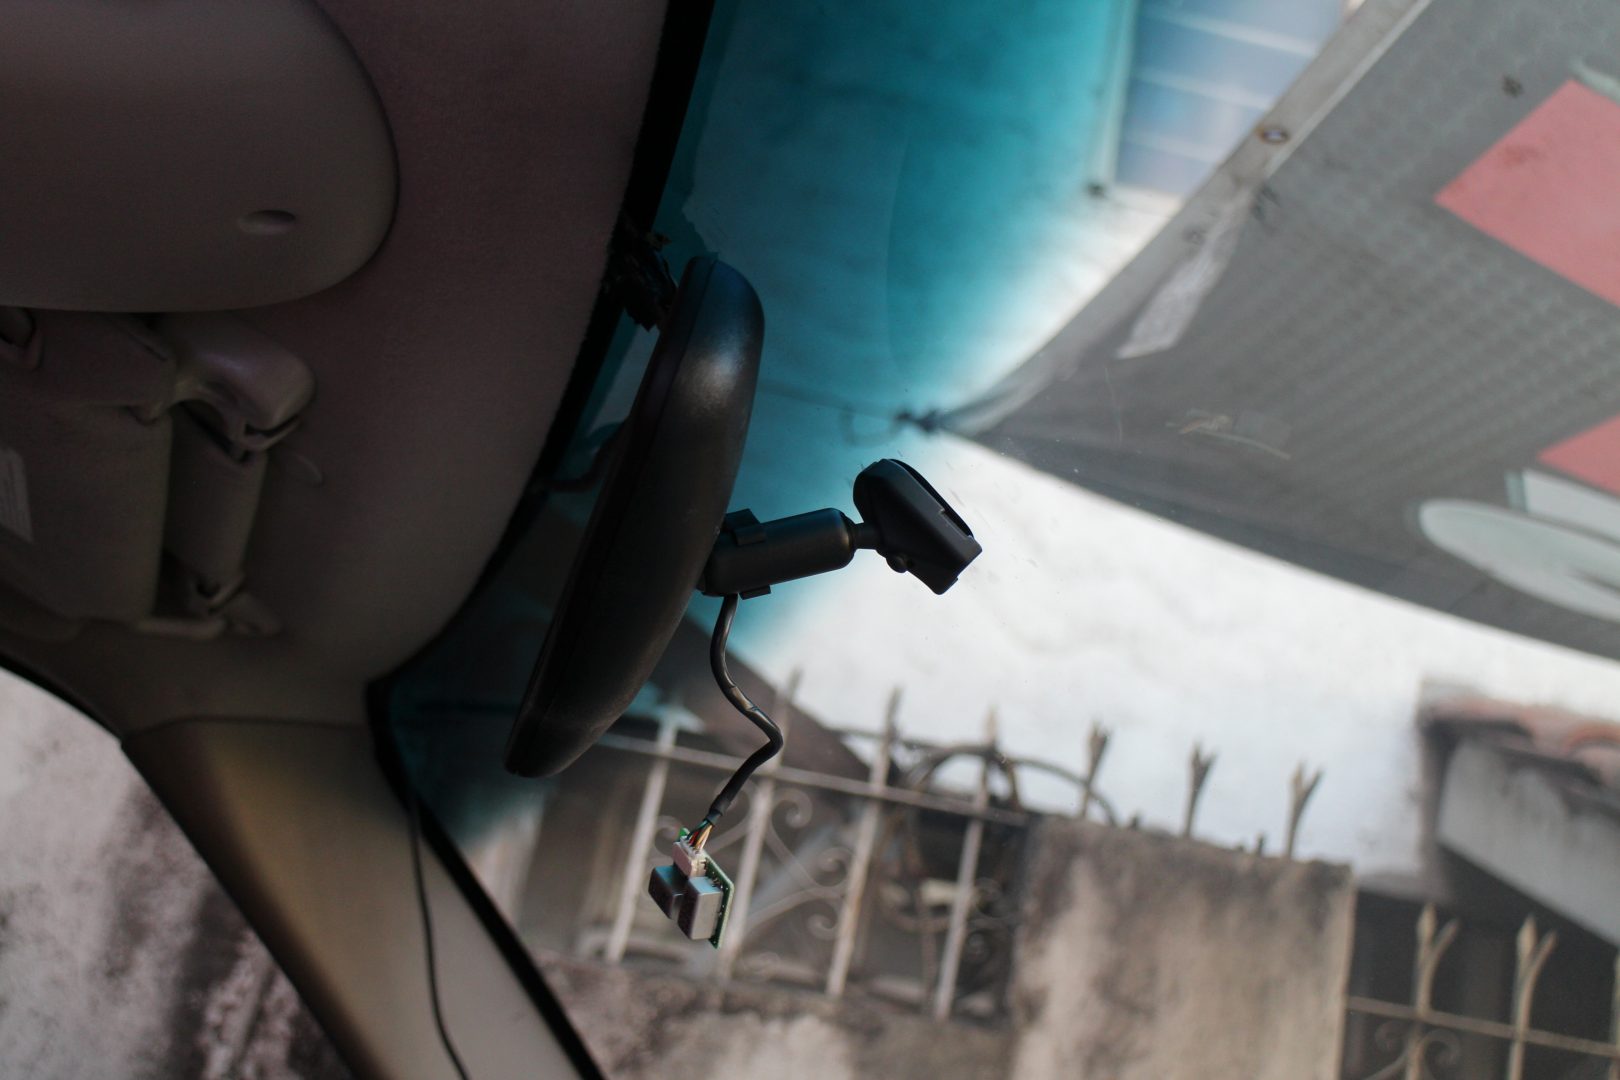
…clipped the wire to the stalk and reinstalled the telescopic plastic cover…
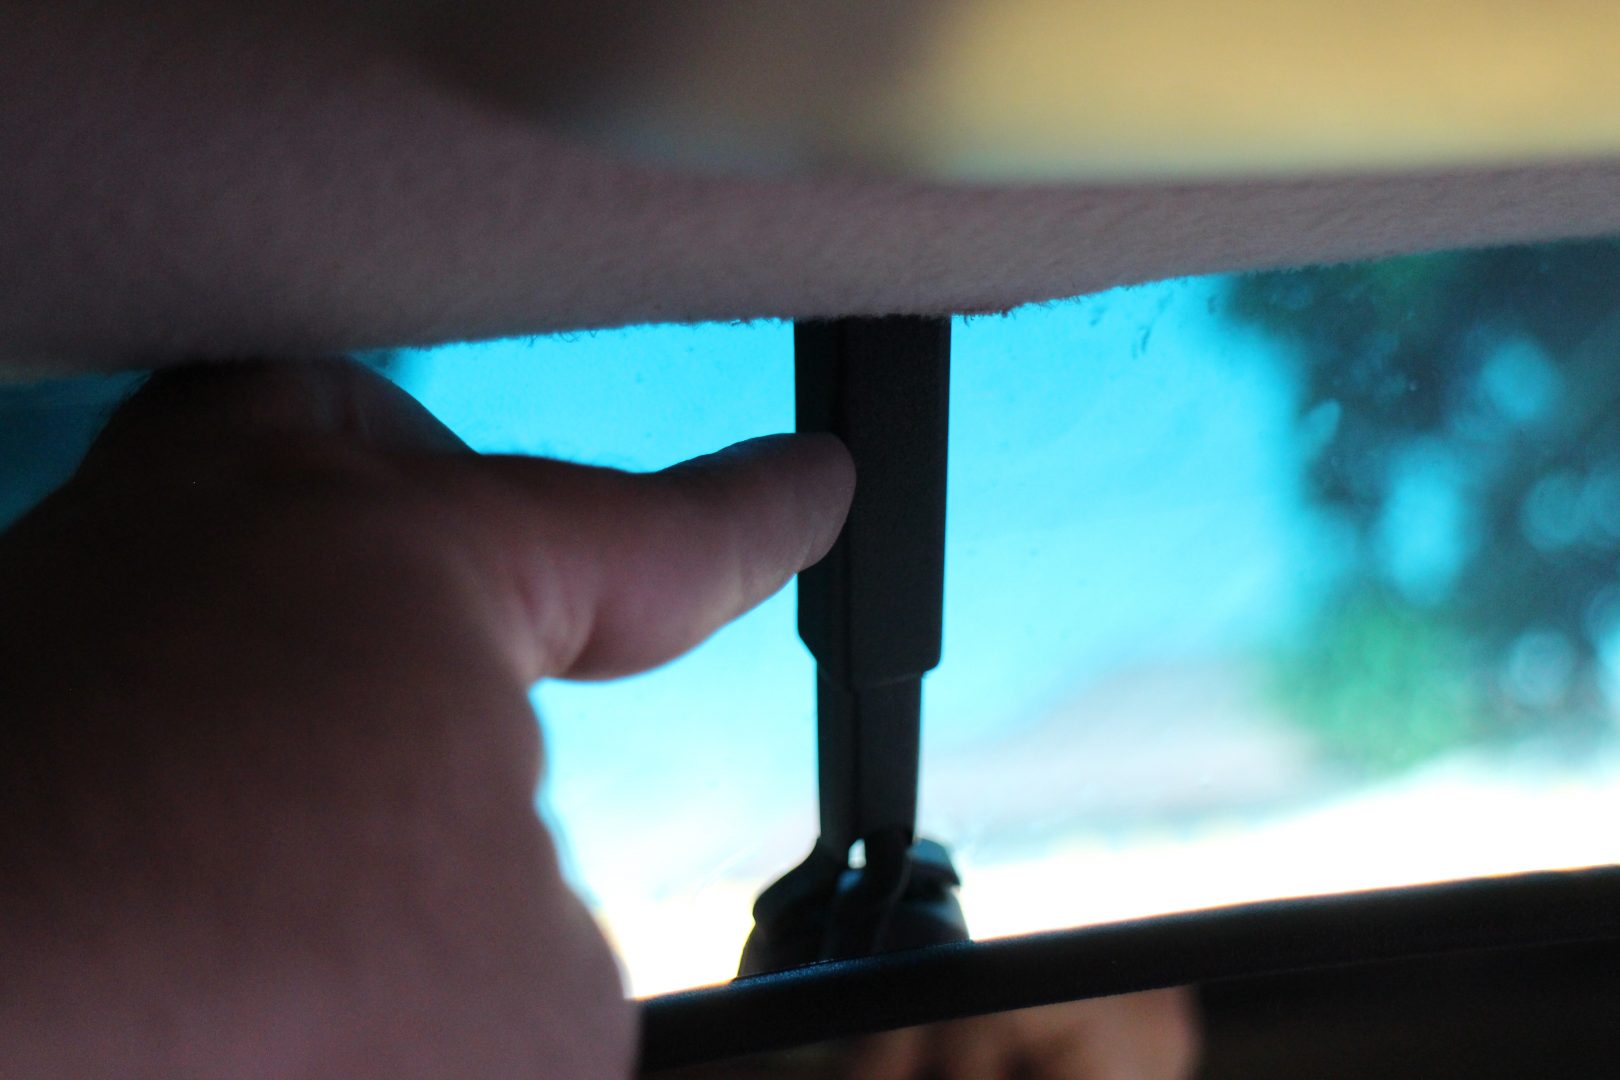
…to hide the wire that runs between the mirror and the ceiling.
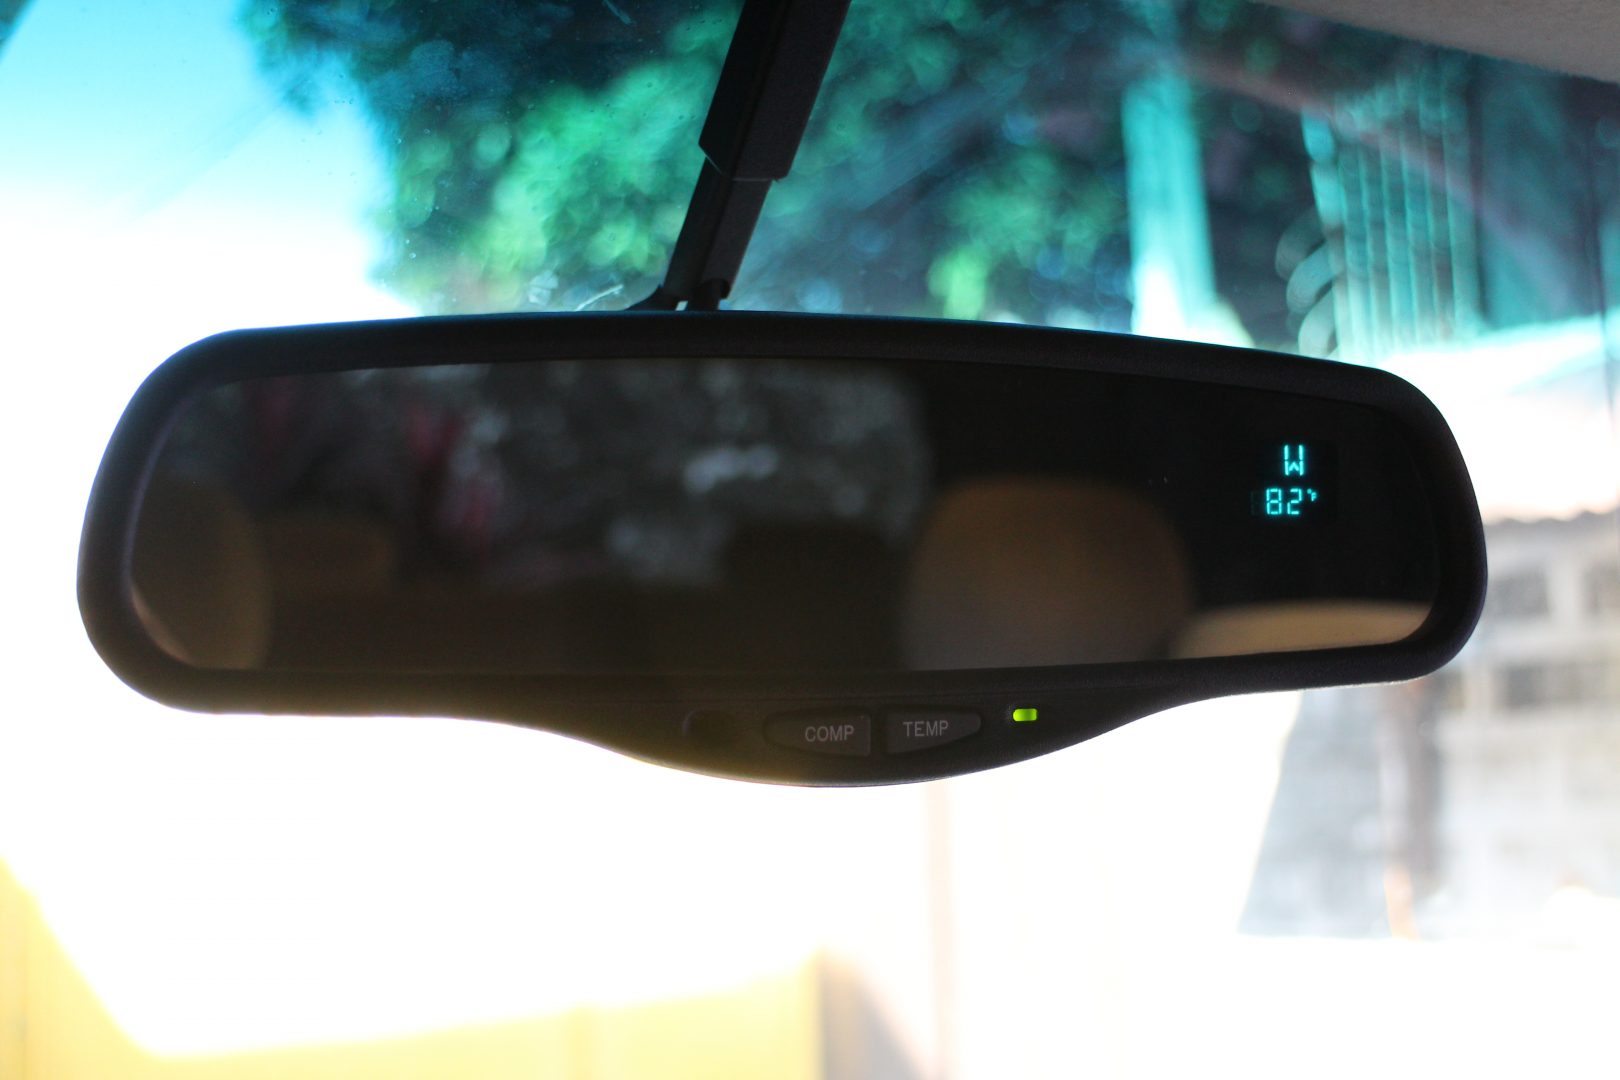
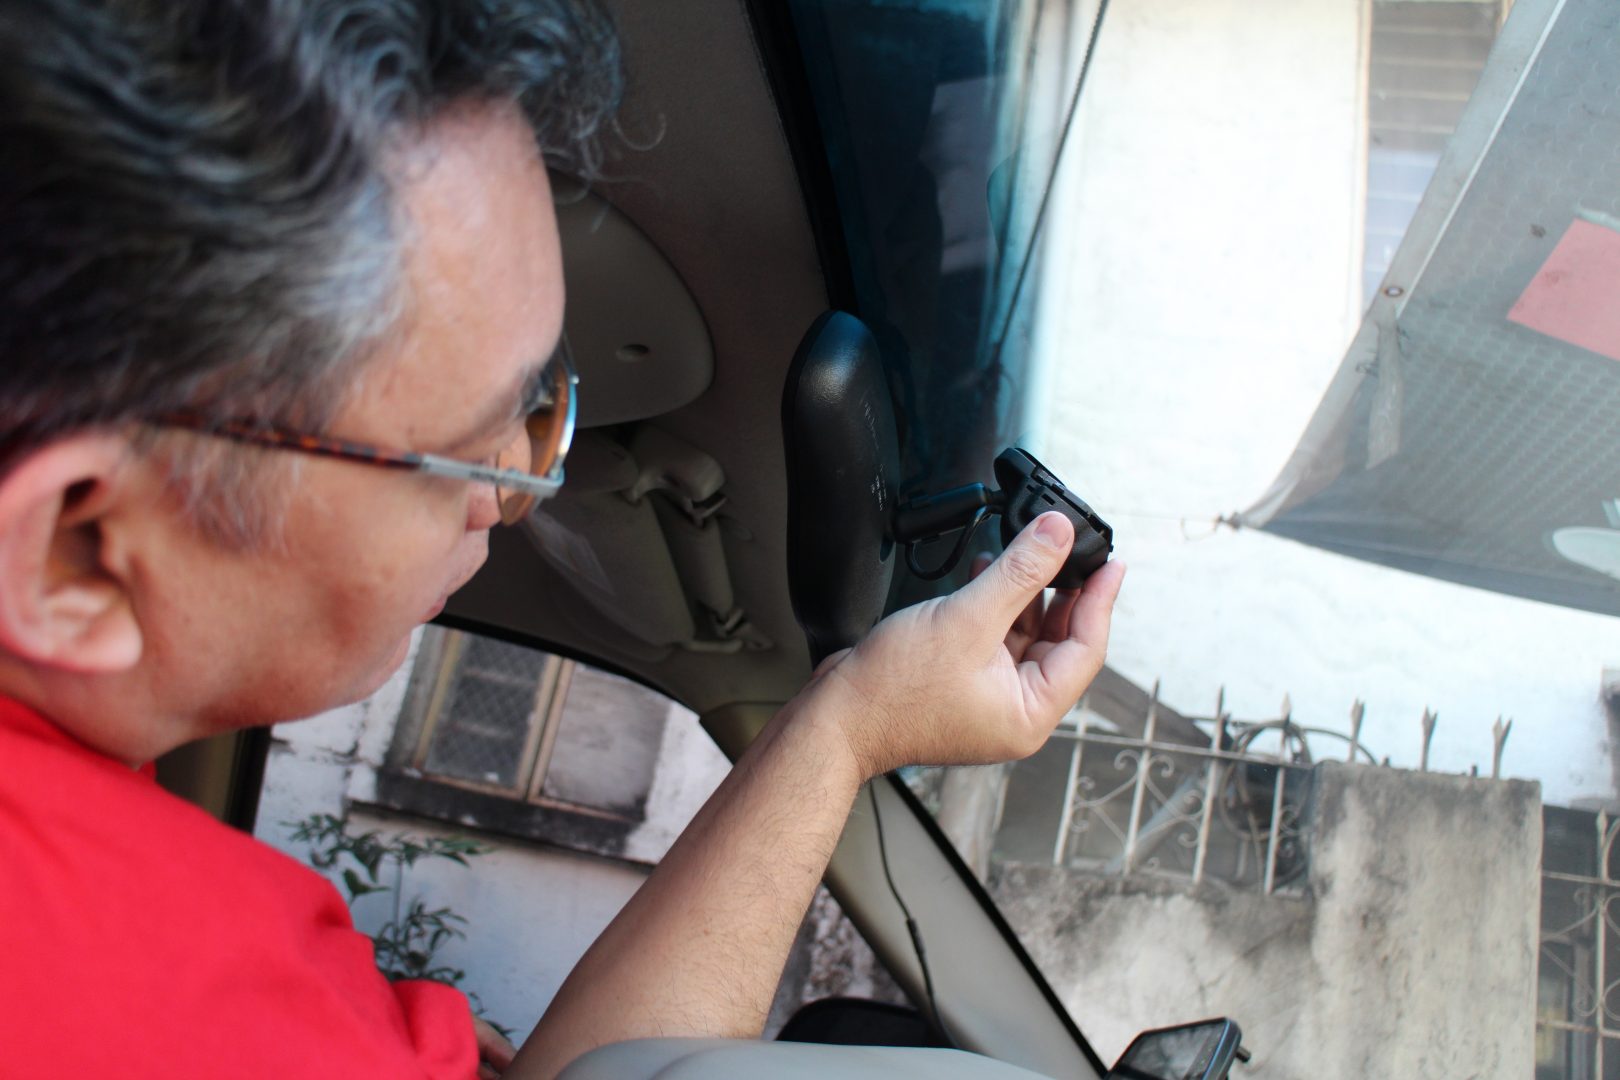
The digital thermometer and compass still works! Job done!
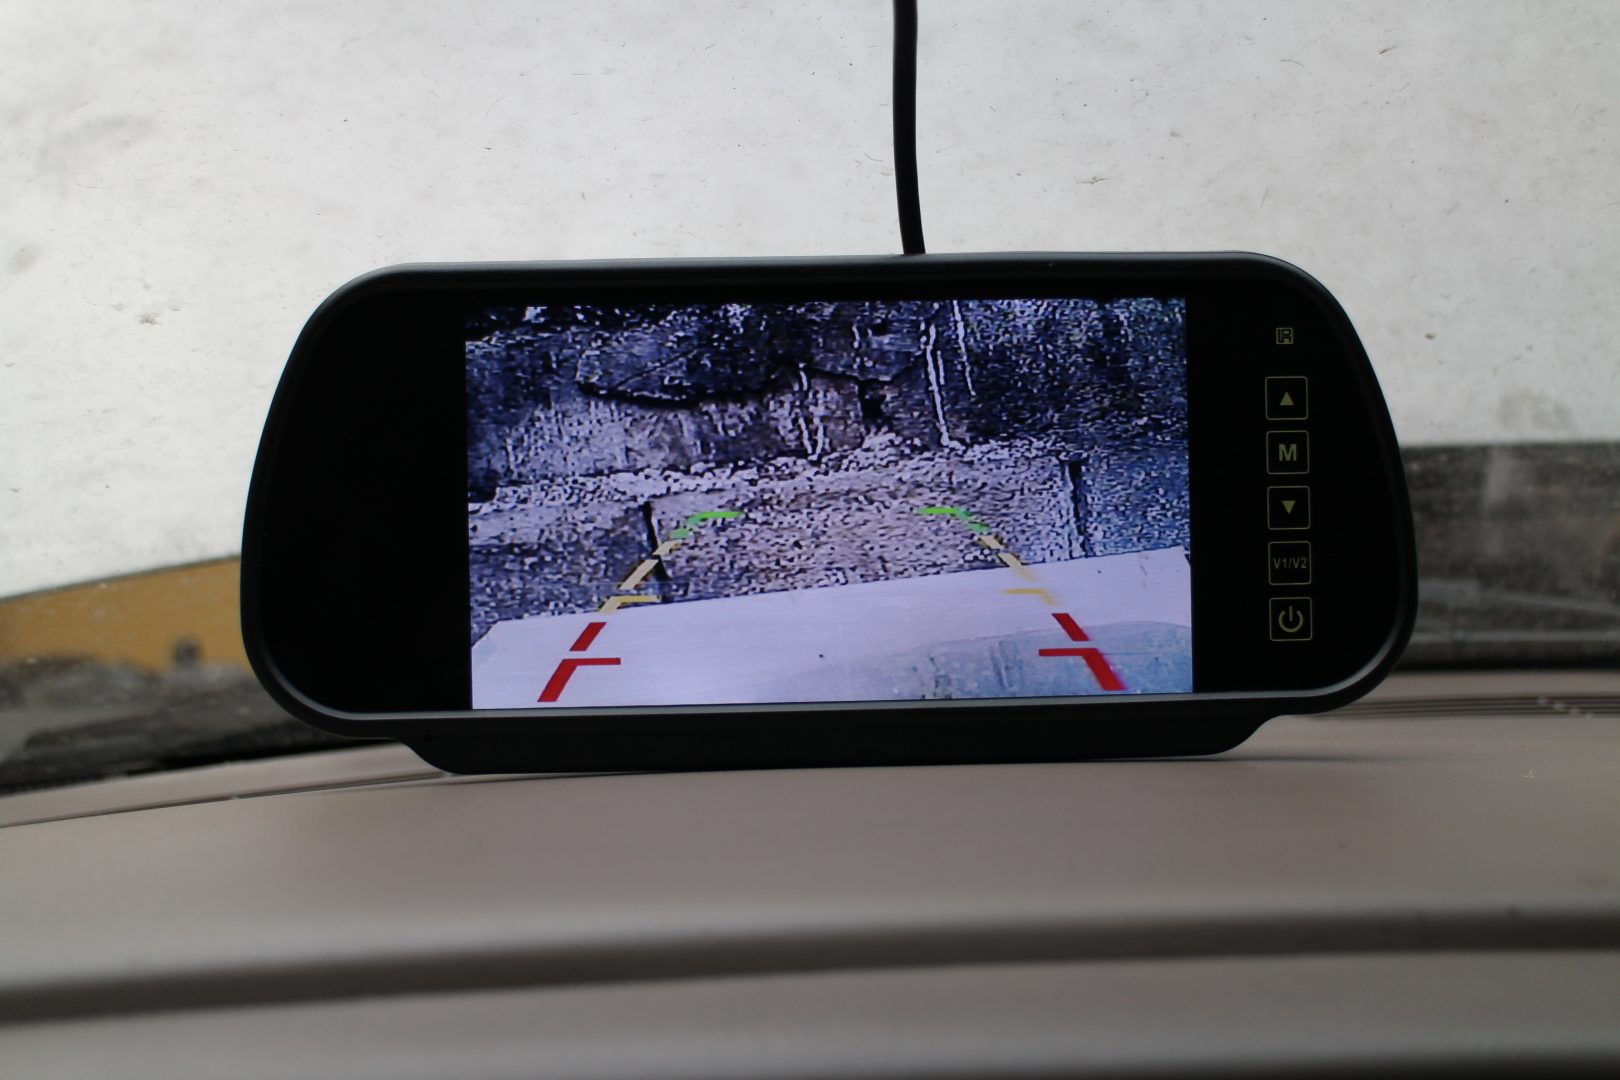
The rear camera monitor stayed on top of the dash temporarily.
Uh-Oh! We’re Not Yet Done…
When we started the Tahoe to warm it up after reattaching the rear view mirror assembly, we noticed that the Message Center on the instrument panel was flashing a red warning light that is shaped like a car battery. Normally, that light would go away a few seconds after starting our Tahoe, but this time it was flashing even after the engine has warmed up. A quick glance at the voltmeter showed that the electrical charging system isn’t producing the voltage that our Tahoe needs. When we rev the engine, the voltmeter goes up and the battery warning light goes off but the voltage goes down when the engine is idling. We can only surmise that the alternator needs to be serviced.
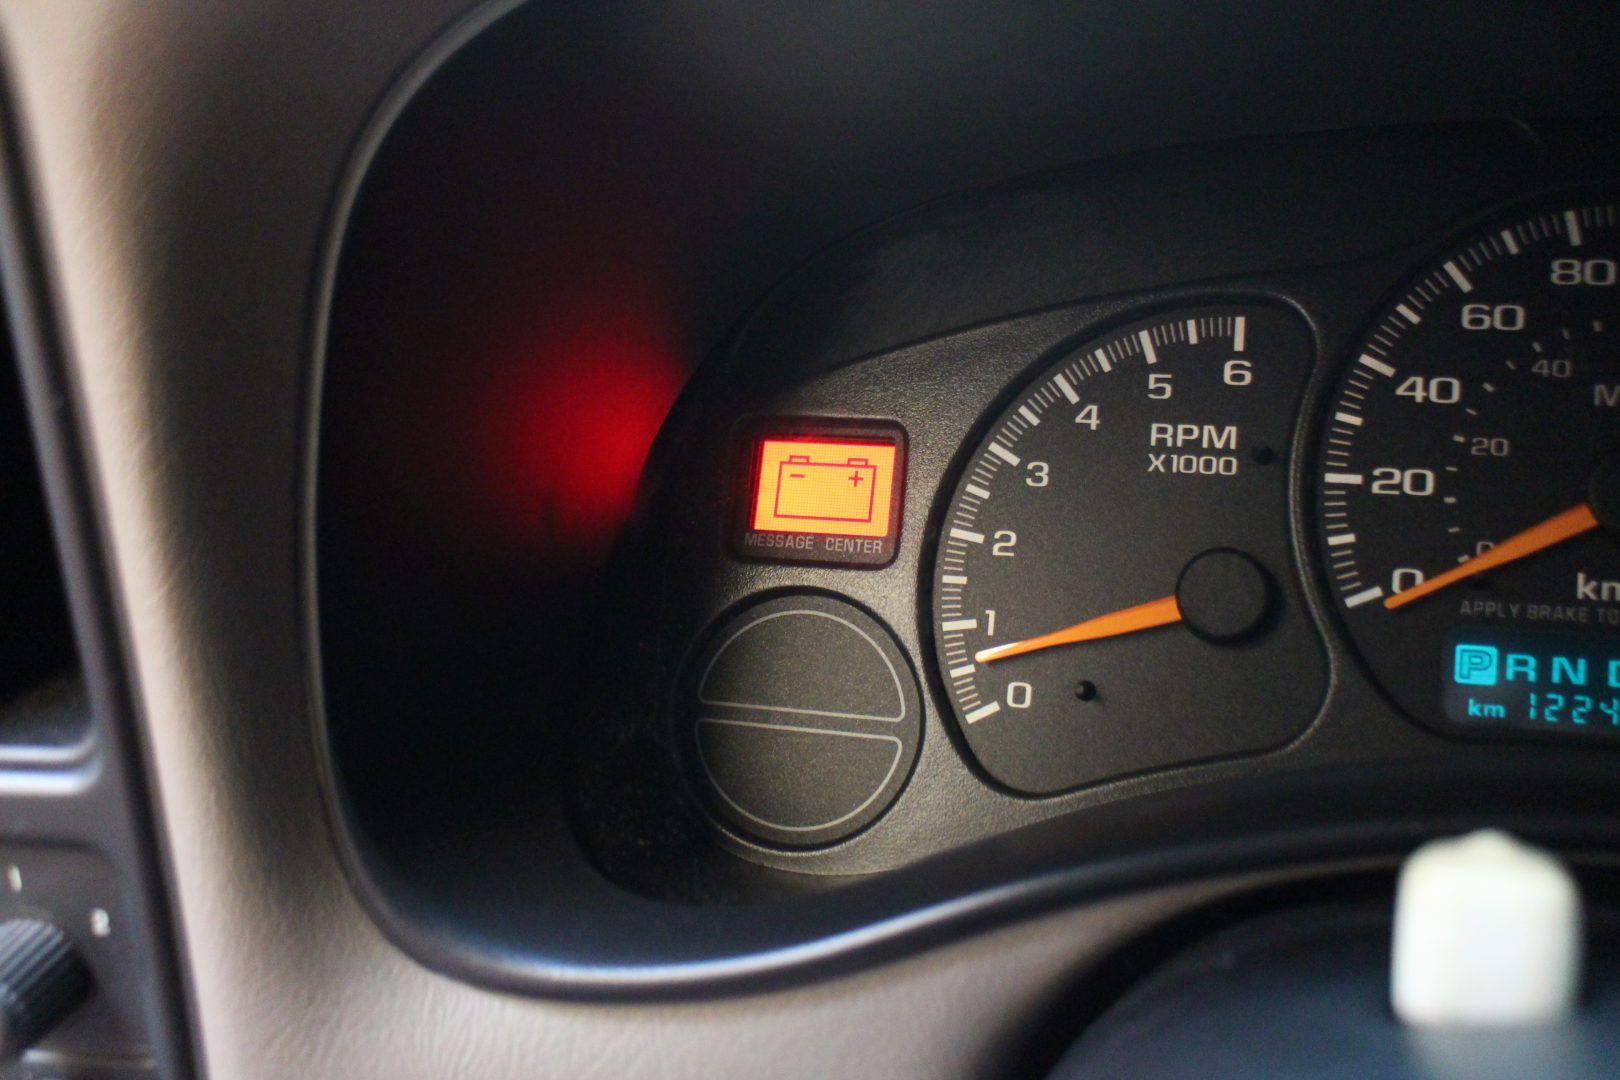
The Message Center is sending us a warning about the battery.
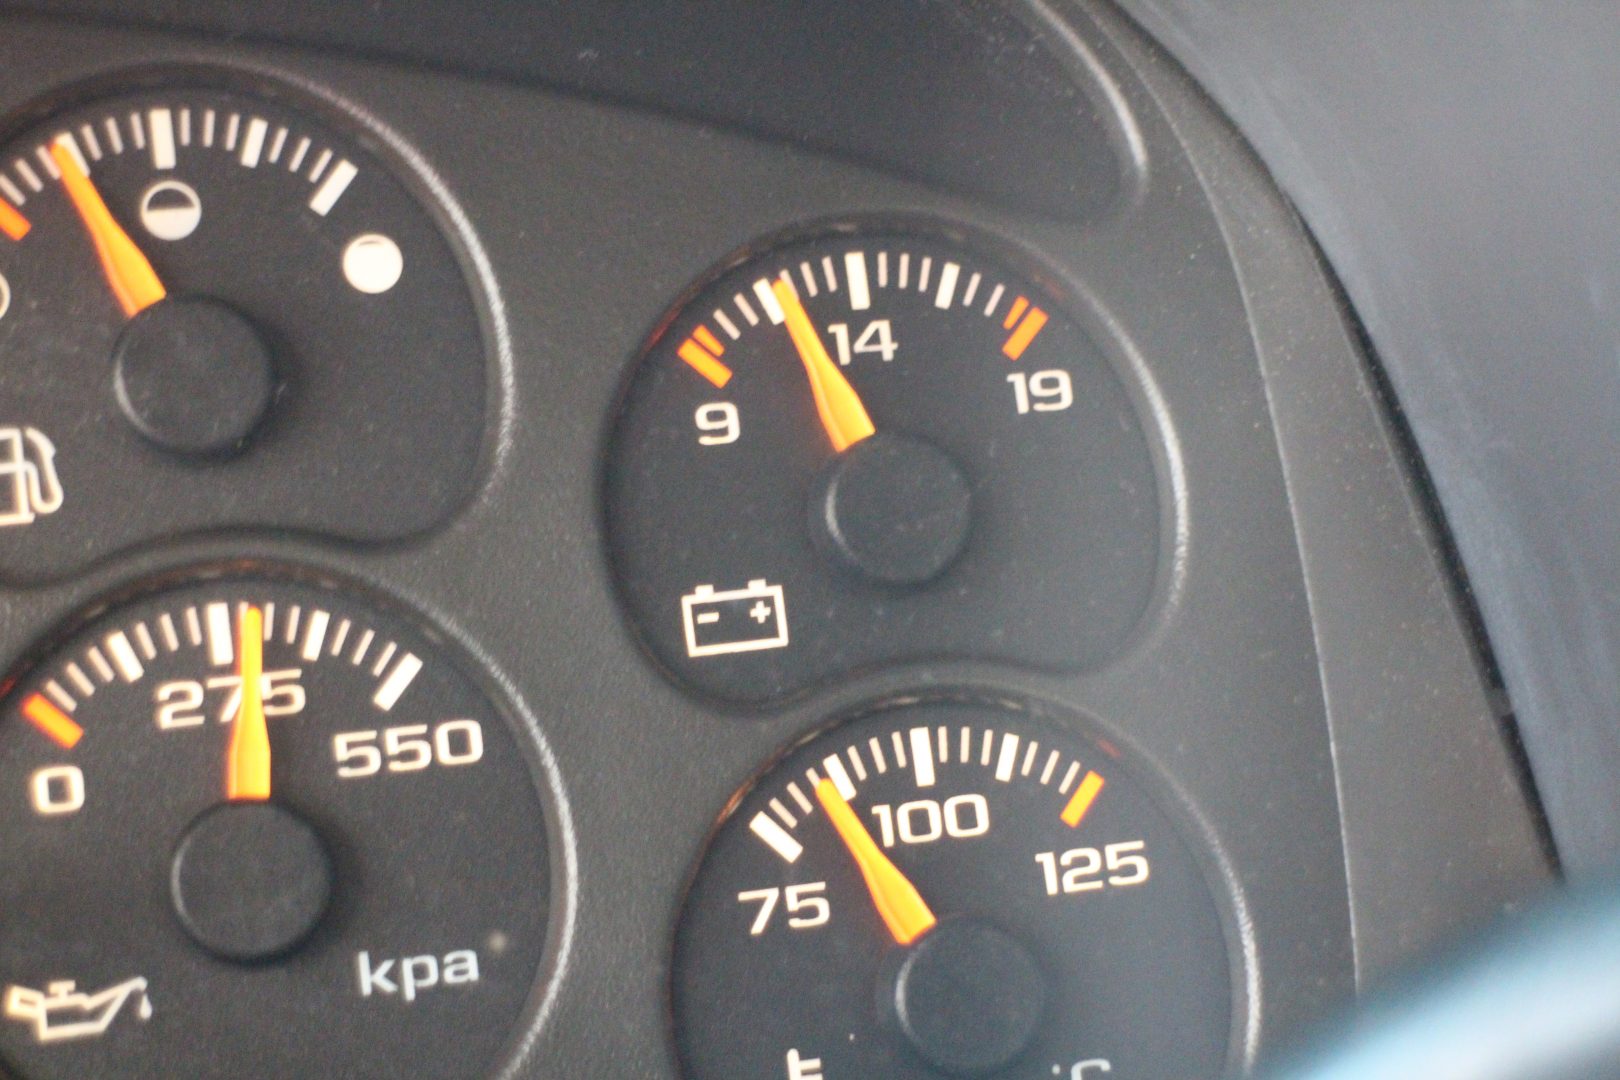
The voltmeter confirms the problem: there is not enough juice!
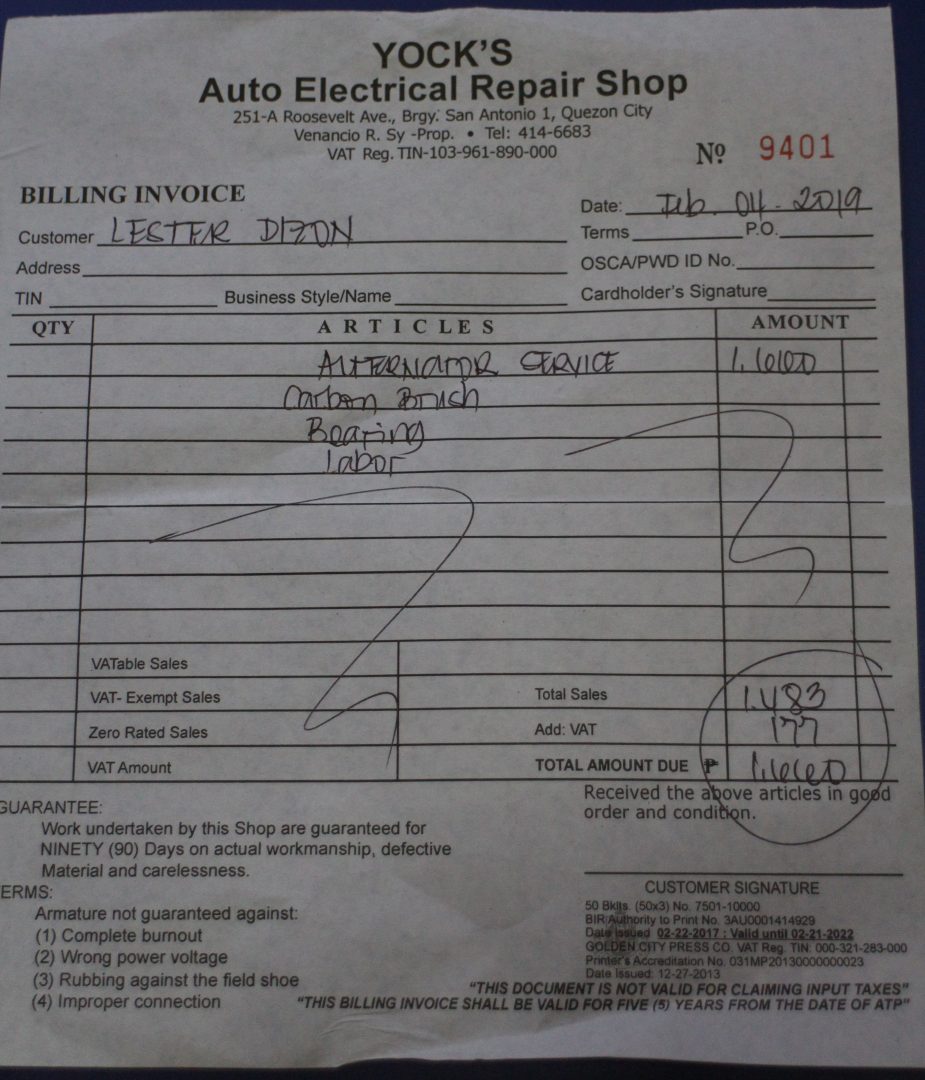
Repairs at Yock’s
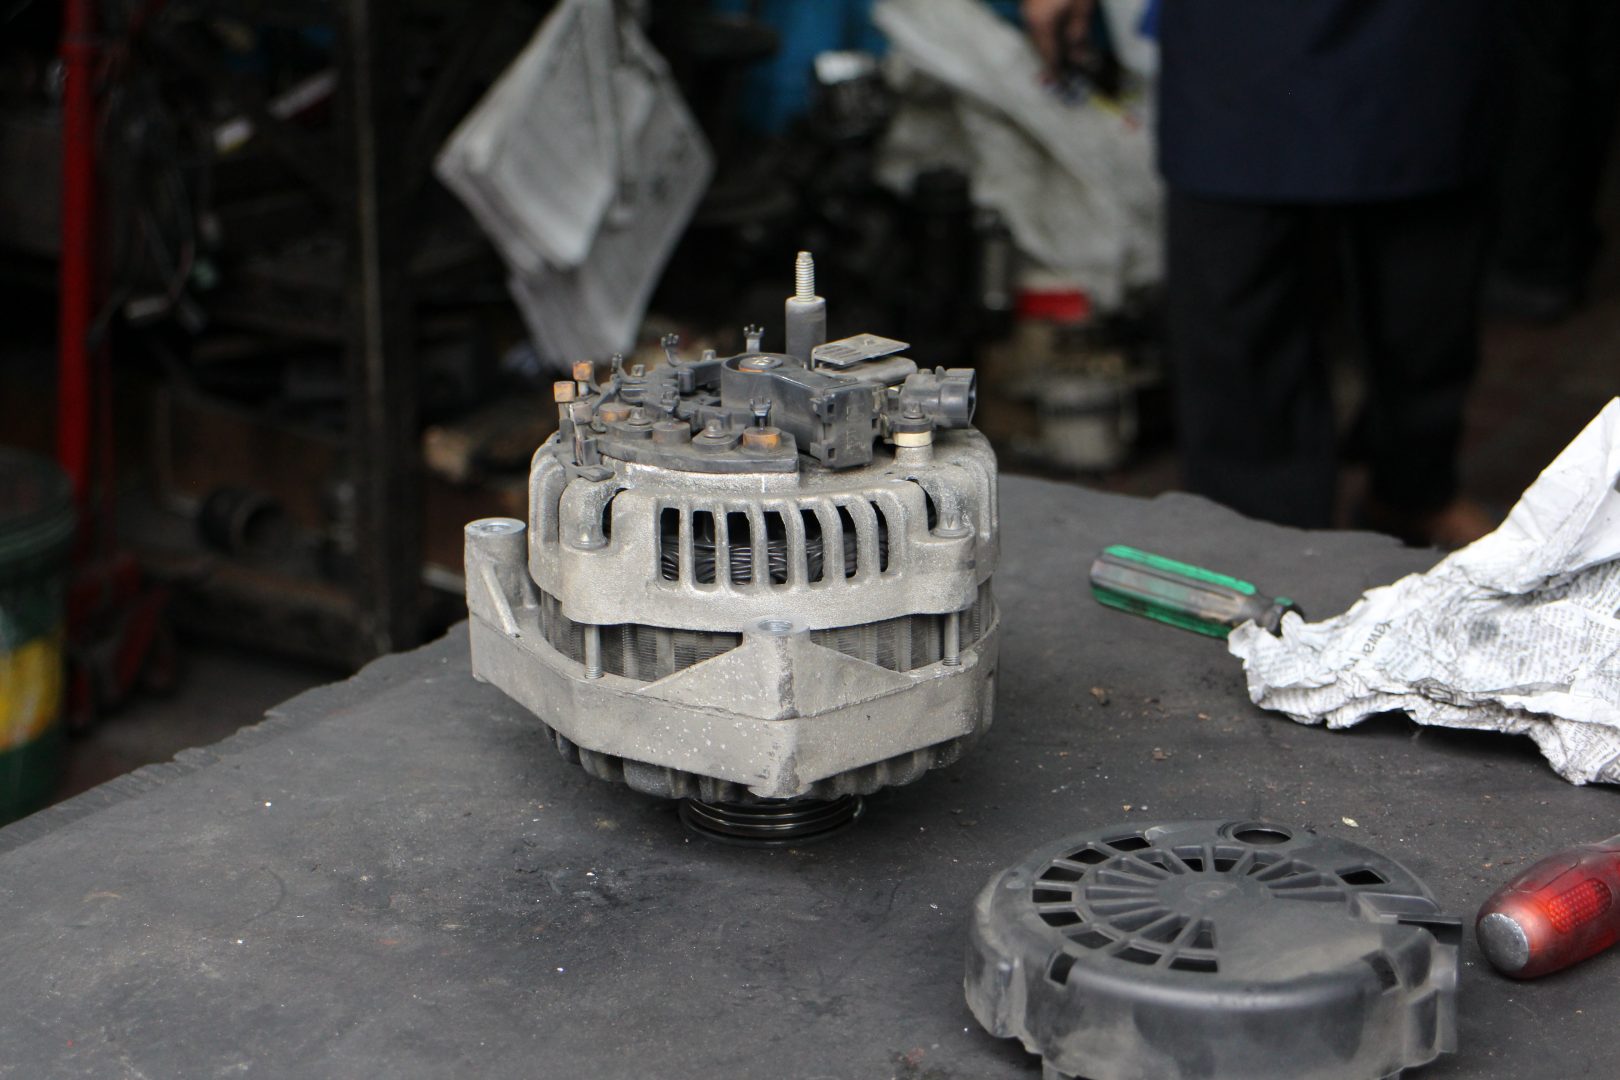
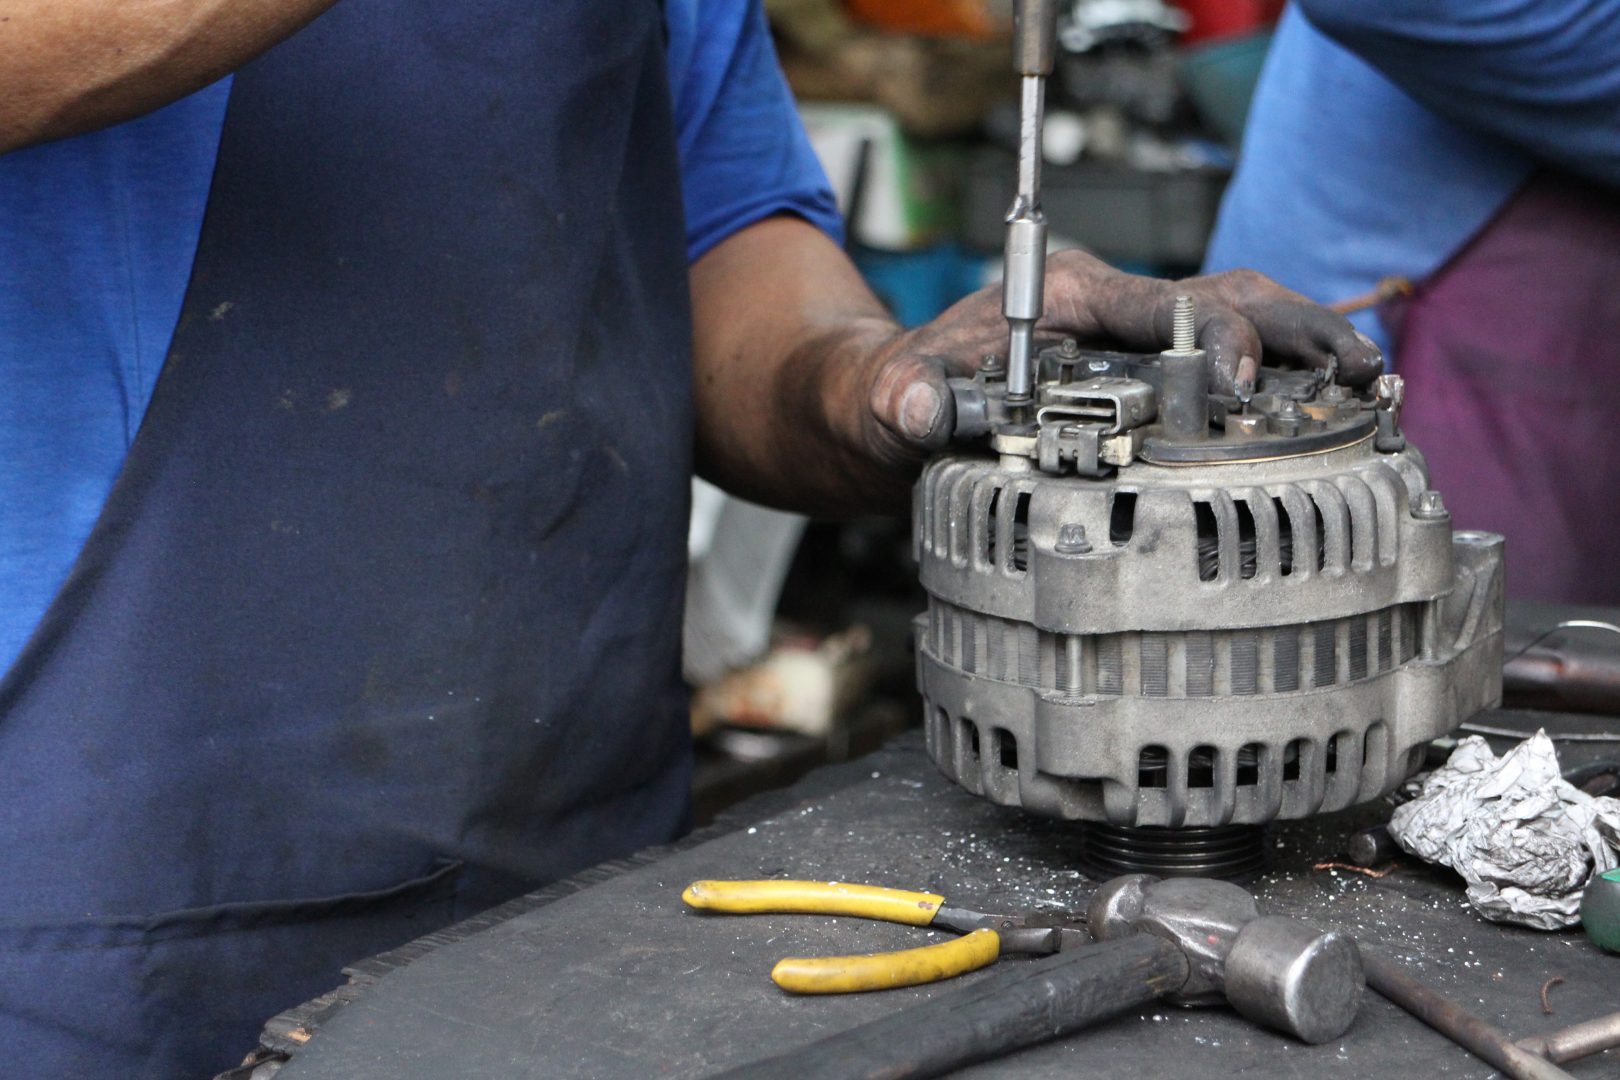
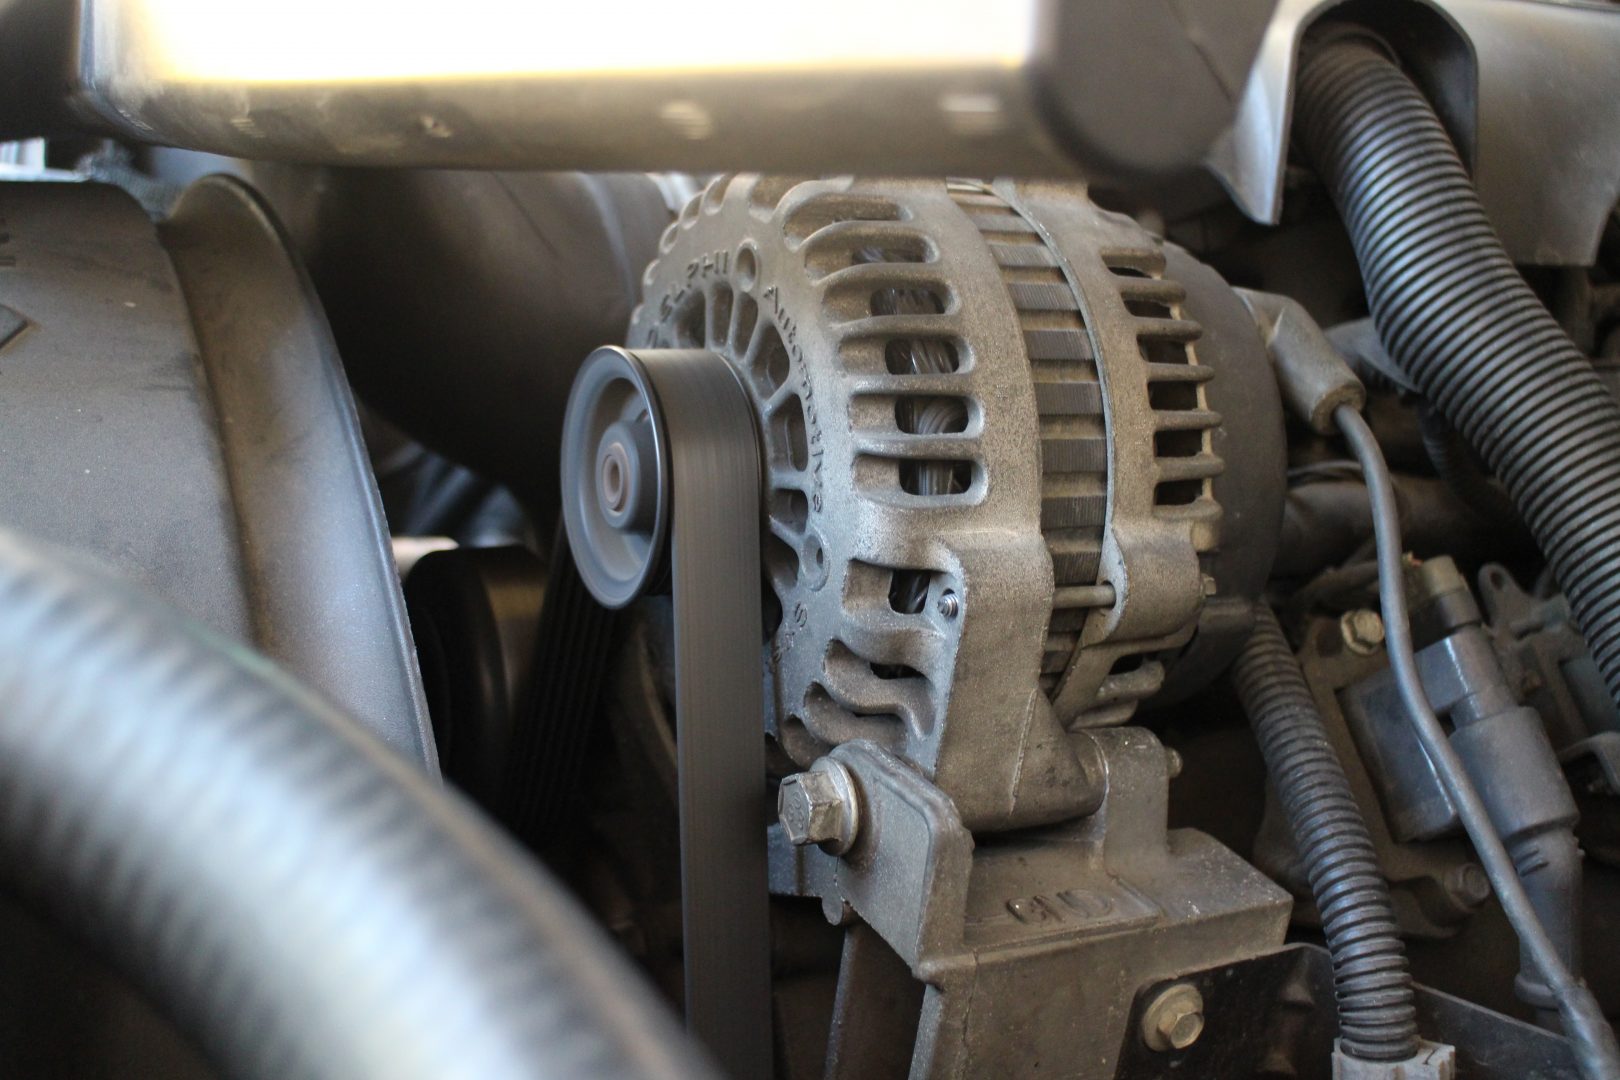
Contrary to what most people think, we’re not made of money – we’re really cheap. So, it took us a few days to gather funds to take our Chevy SUV to Yock’s Auto Electrical Repair Shop along Roosevelt Avenue in Quezon City. Once there, the Yock’s technicians immediately began removing front plastic duct of the air cleaner assembly to access the belt tensioner to remove the serpentine drive belt. Once the belt was loosened, they unbolted the alternator, removed it from its bracket, took it to their work bench, and disassembled it.
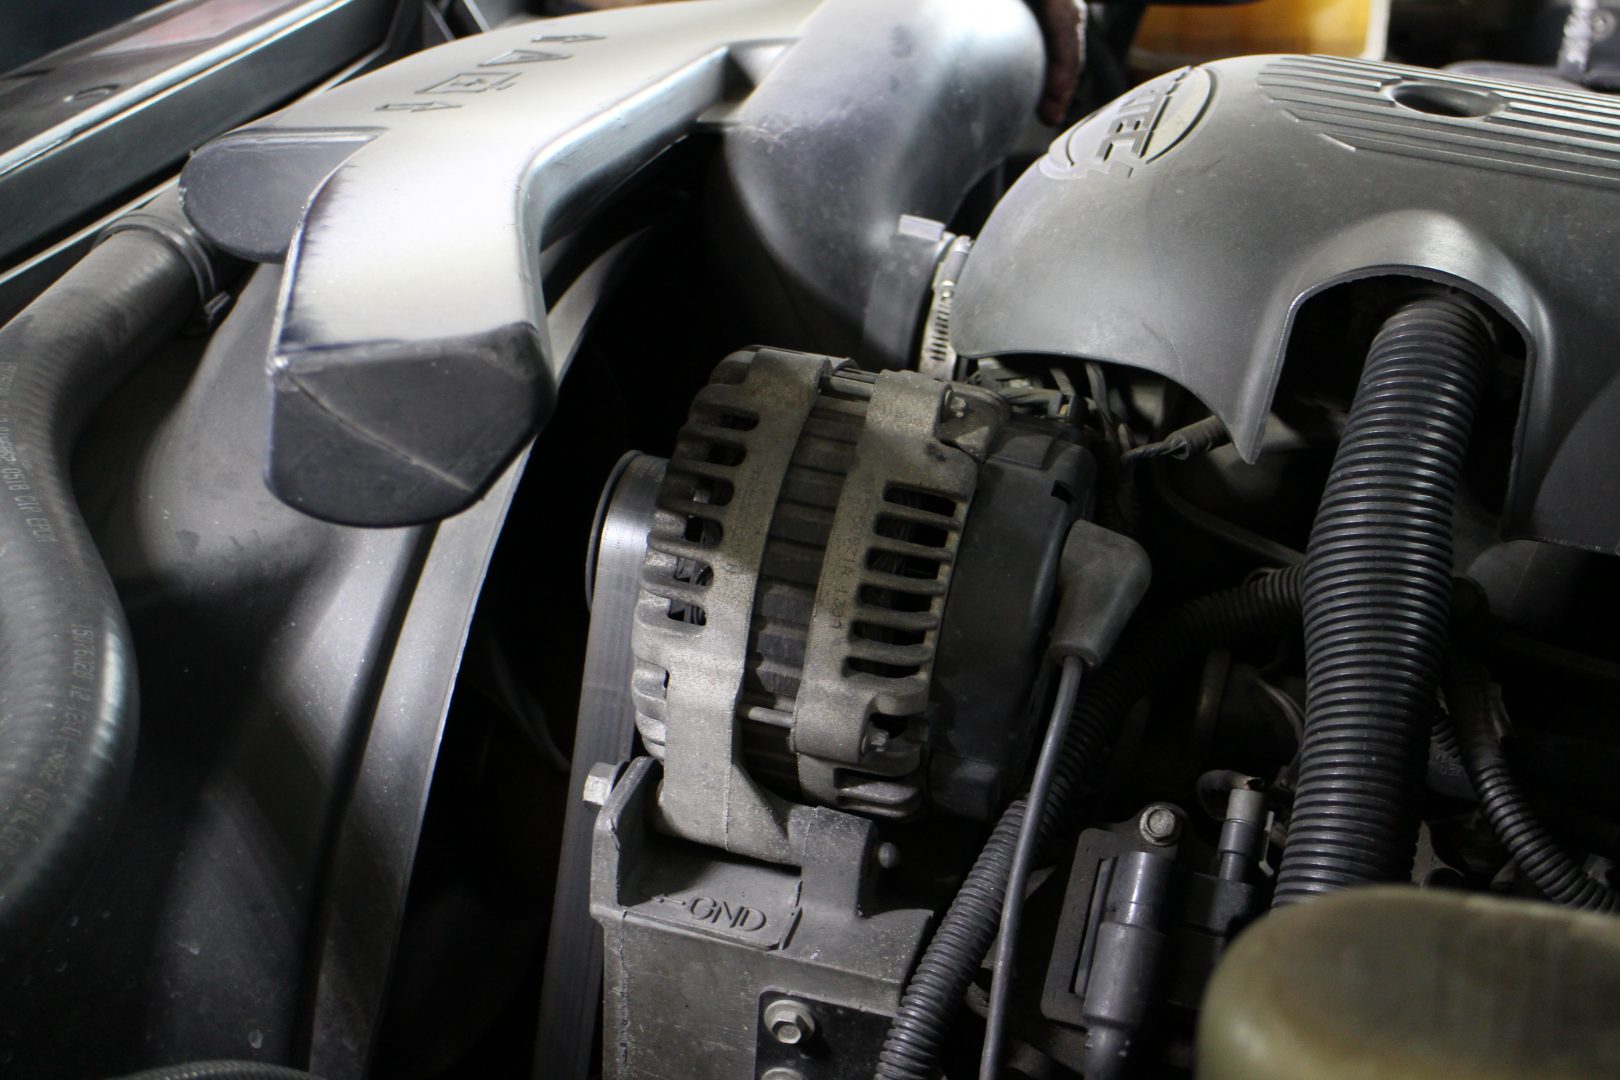
The alternator was easy to access but the air cleaner ducting covered the serpentine belt.
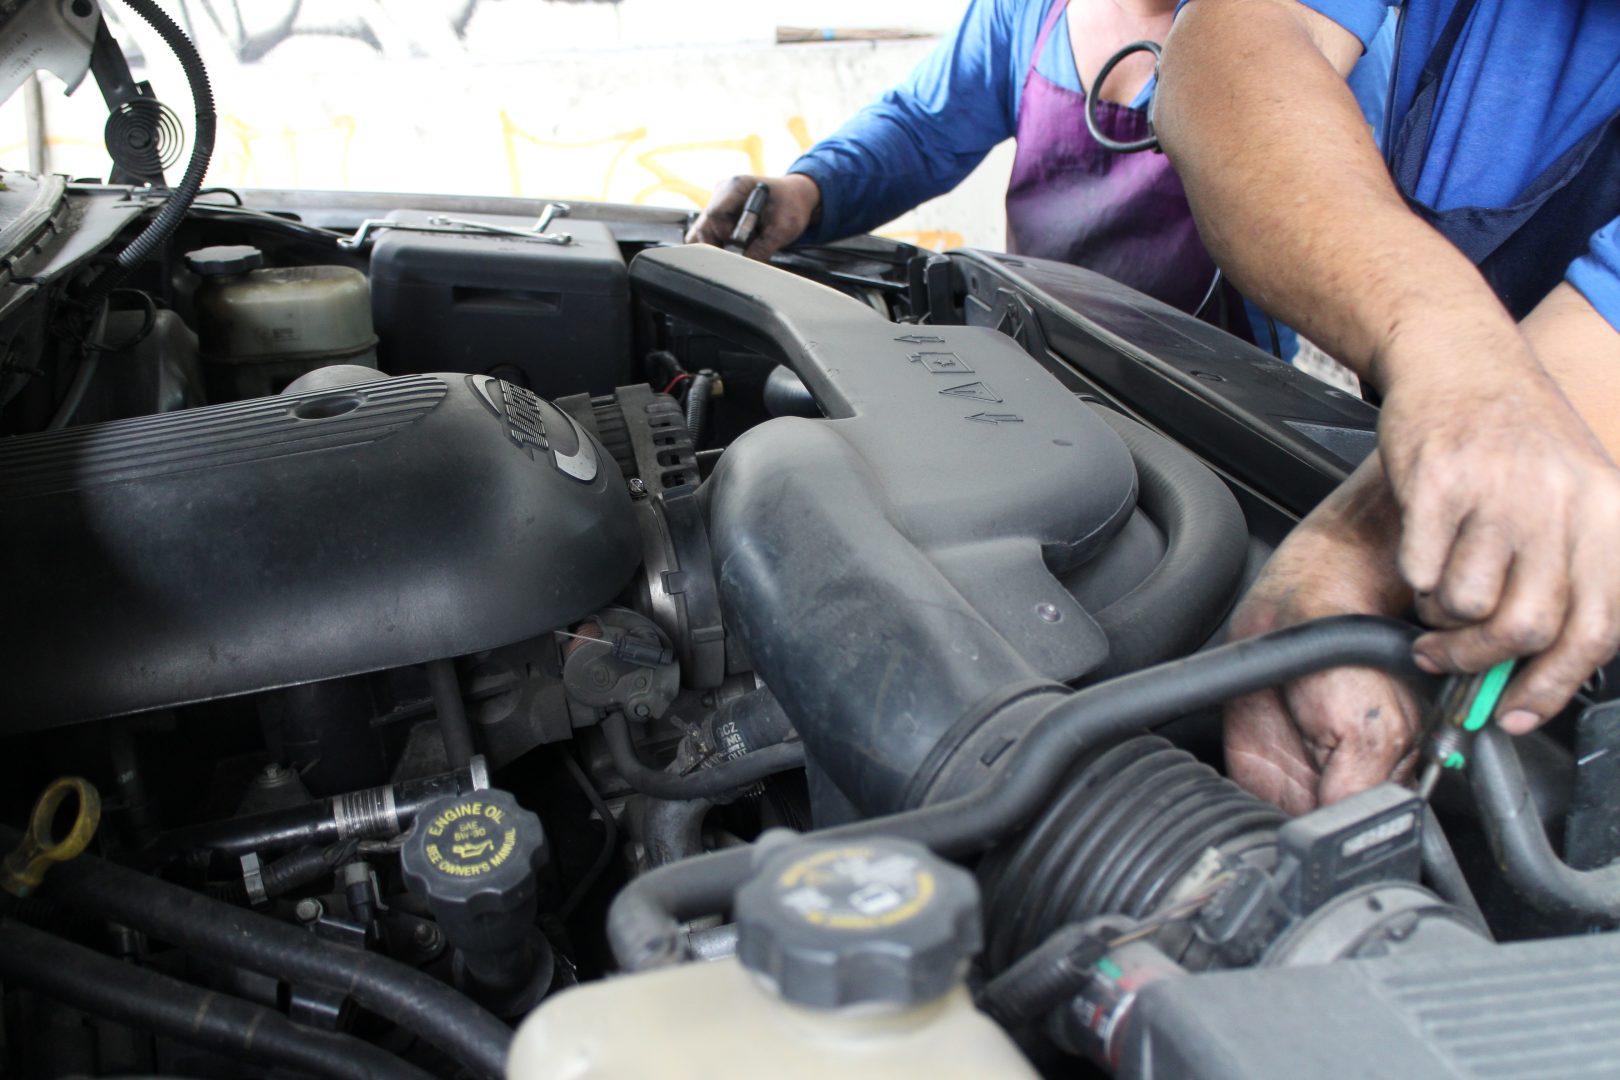
The technicians started loosening the brackets that hold the ducting.
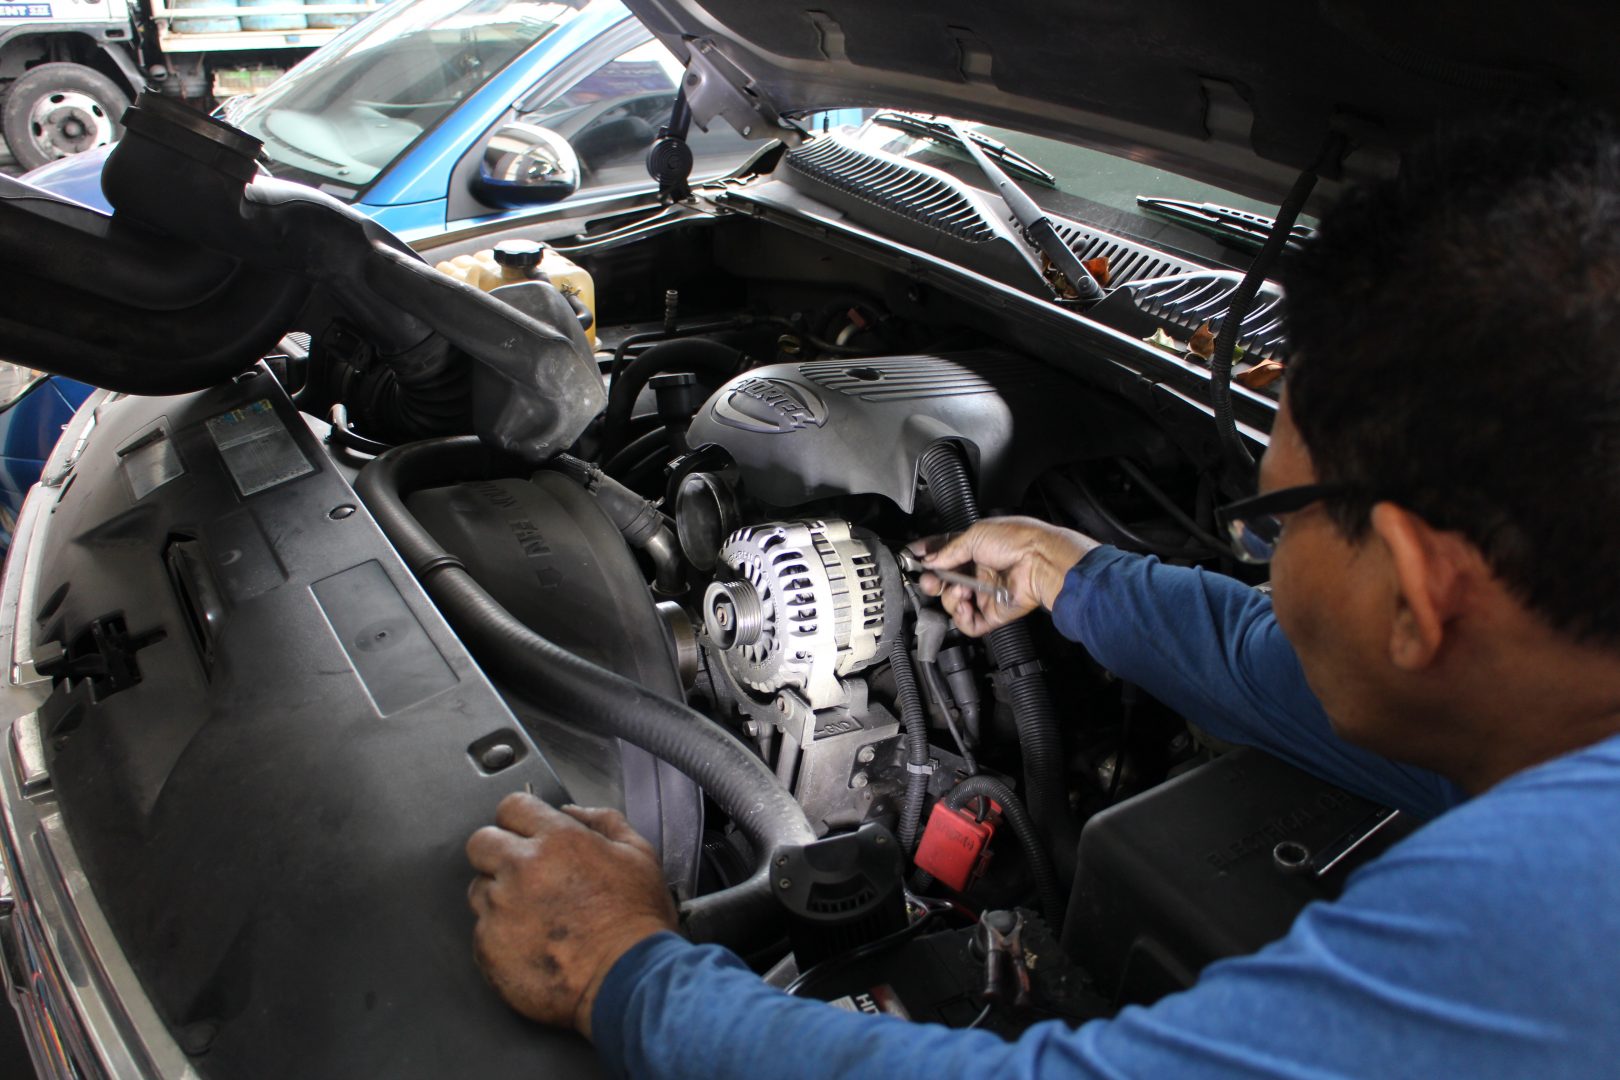
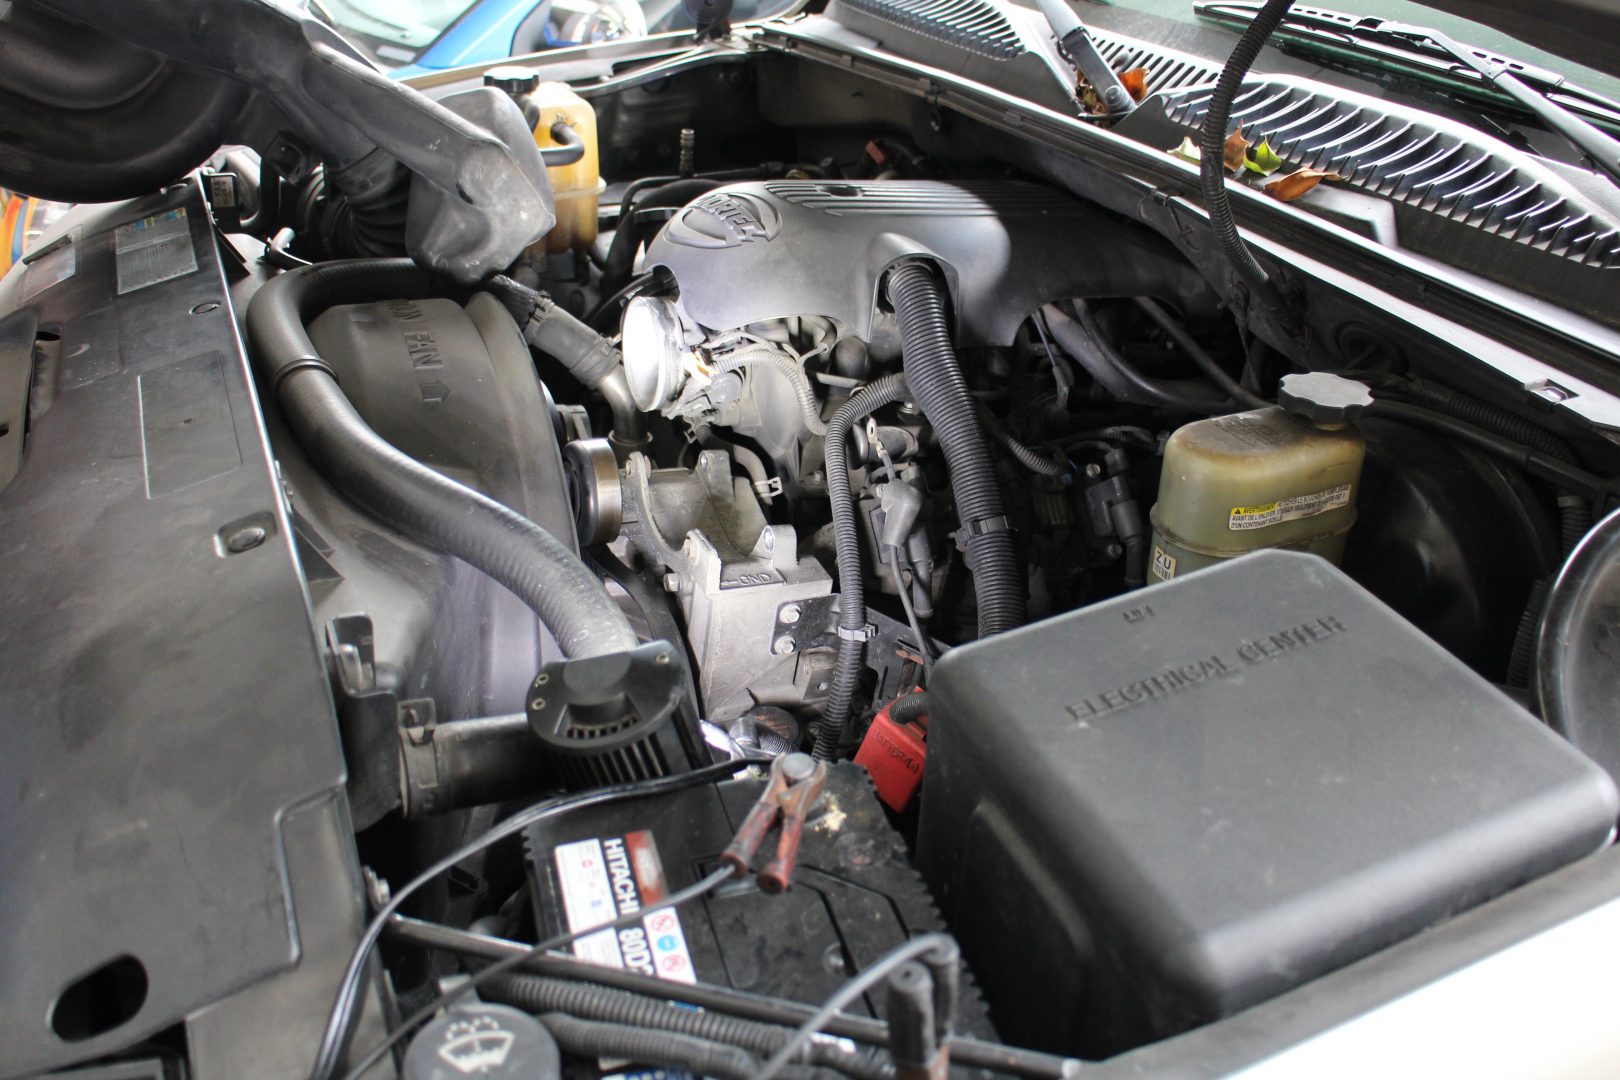
With the ducting out of the way, access to the serpentine belt and alternator was easy.
The alternator bracket looks lonely without the component it was supposed to hold.
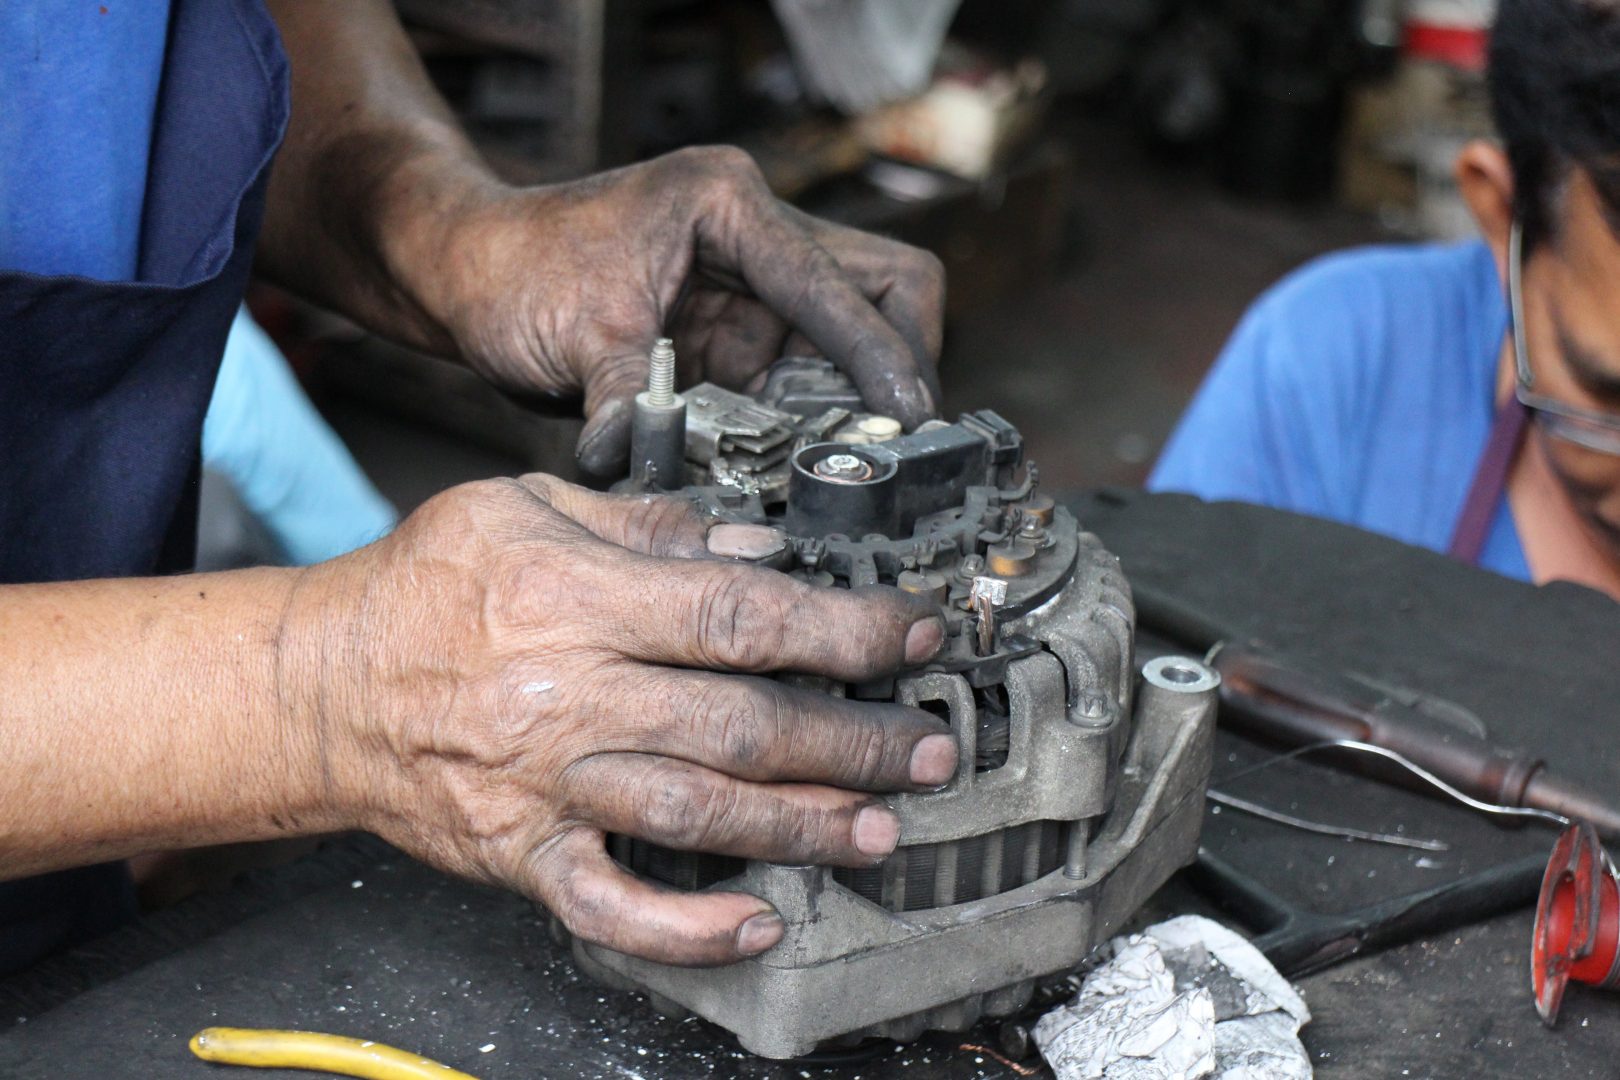
Once on the work bench, the technicians wasted no time removing the plastic cover…
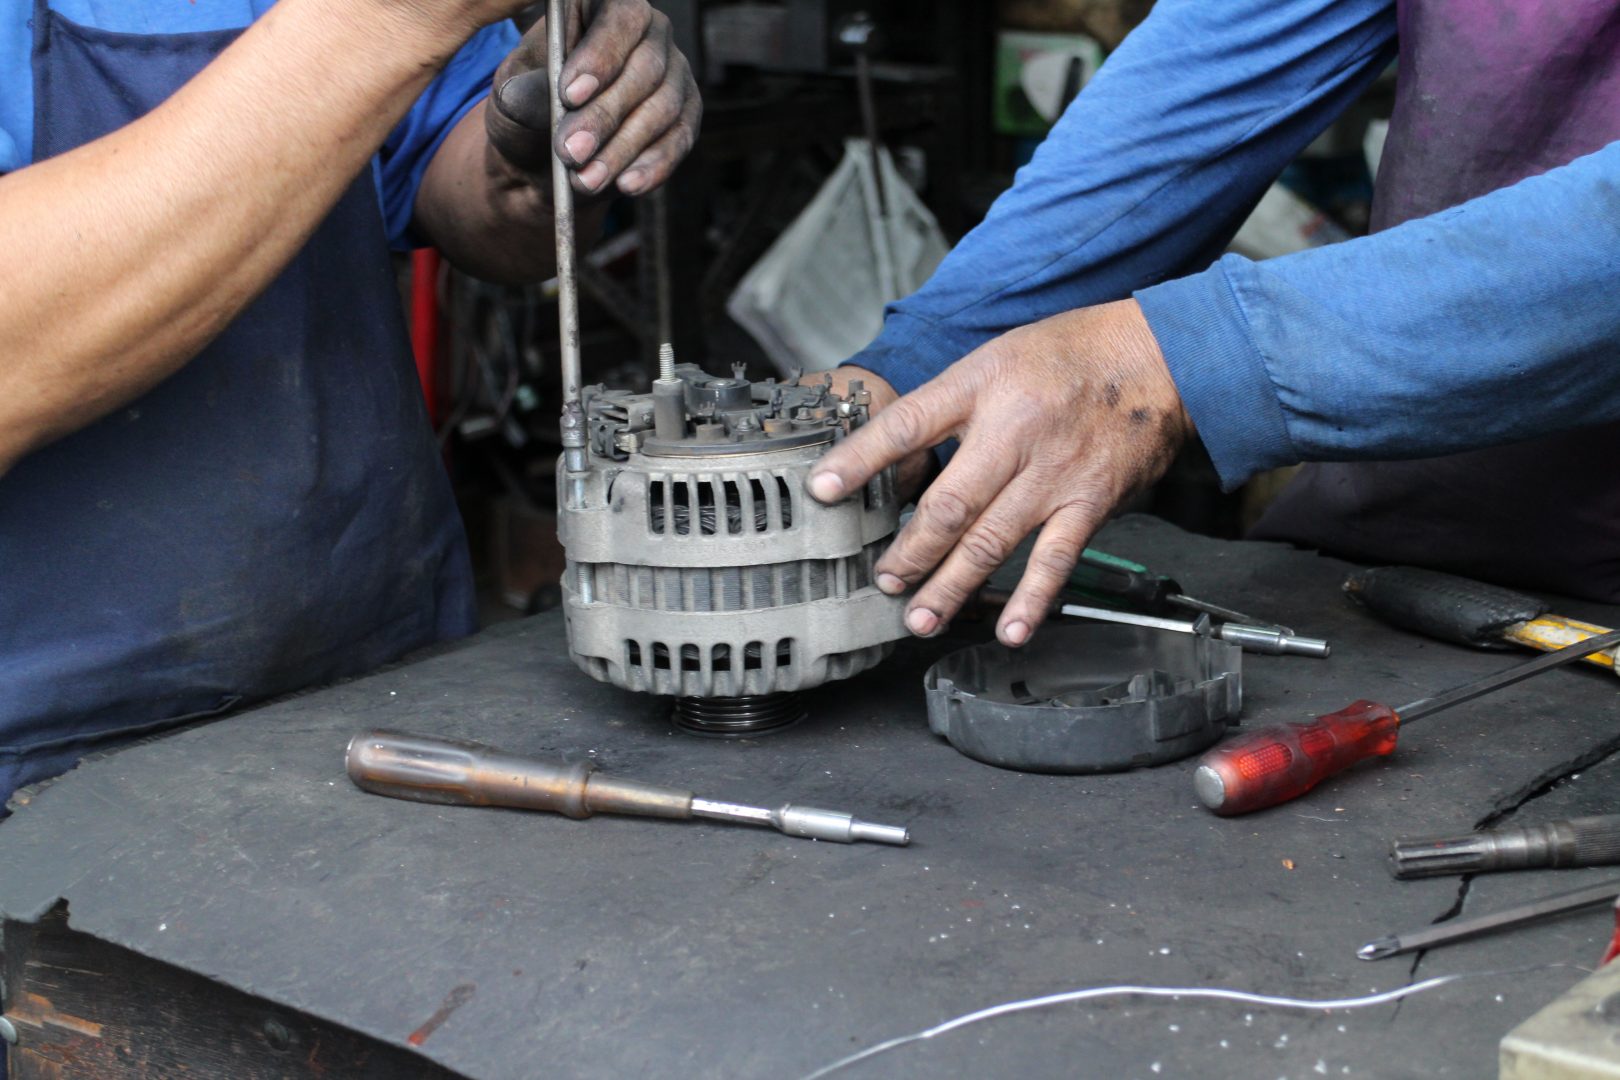
… loosening the bolts that hold the alternator assembly together…
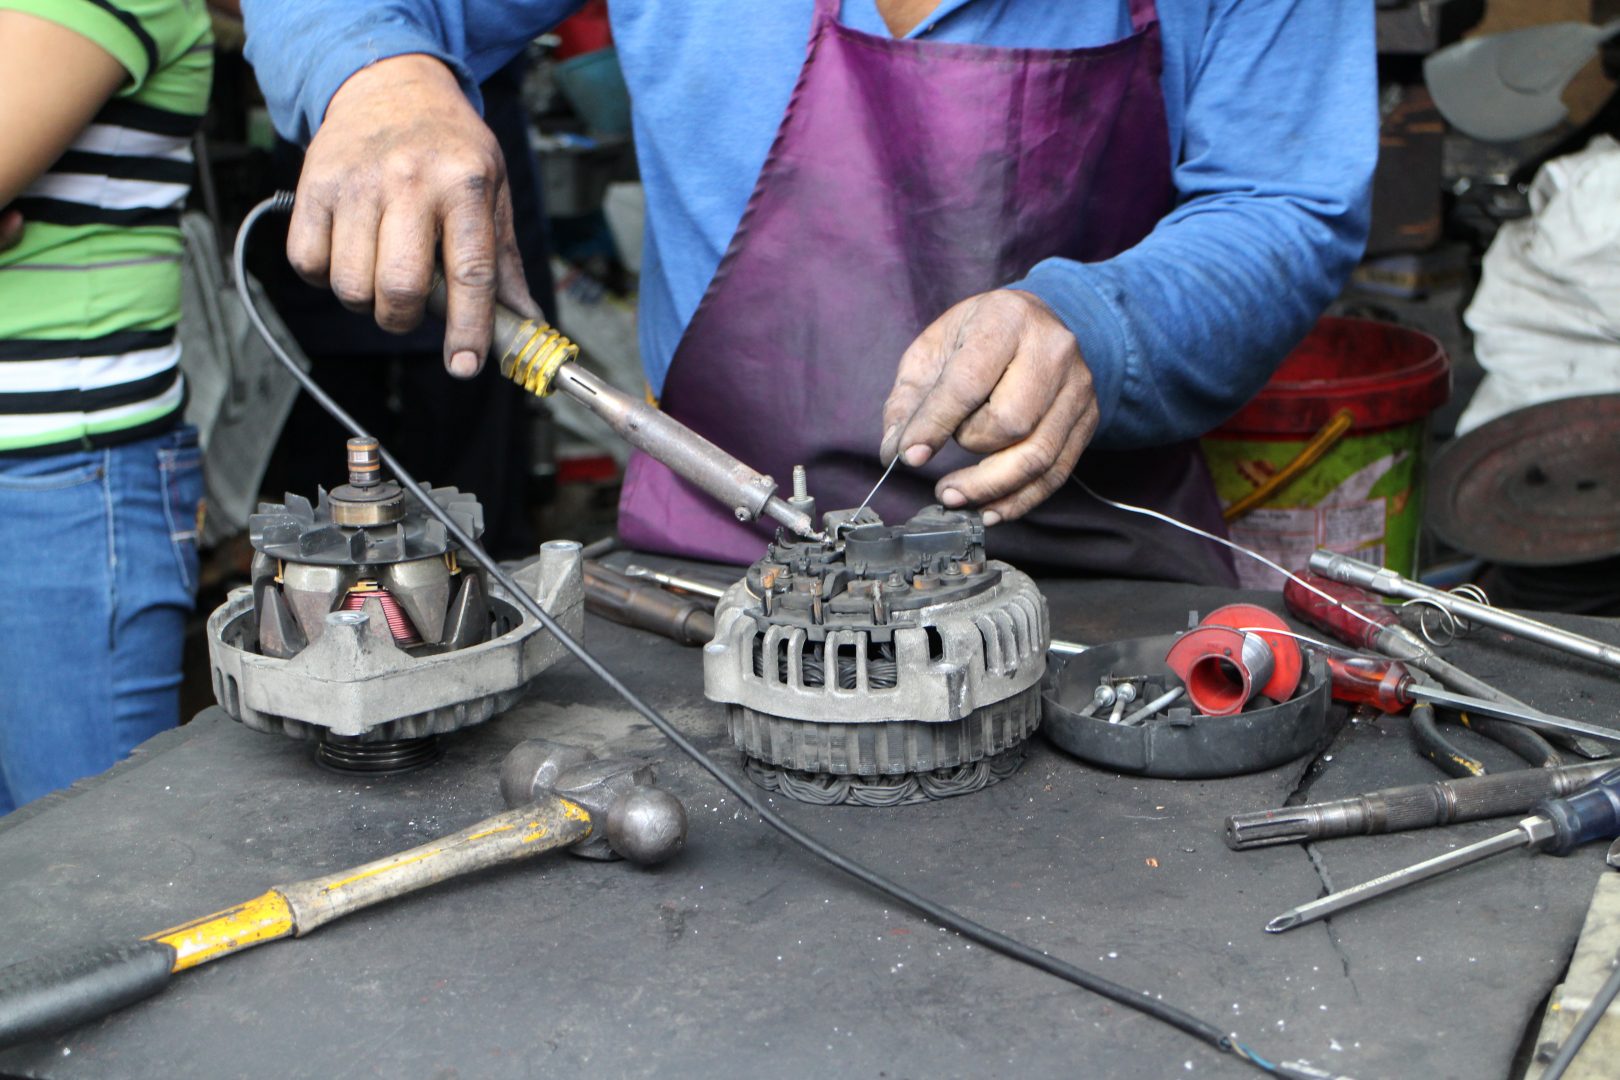
… heating the wires to free the terminal and attached components…
… and unsoldering the three leads connected to the stator.
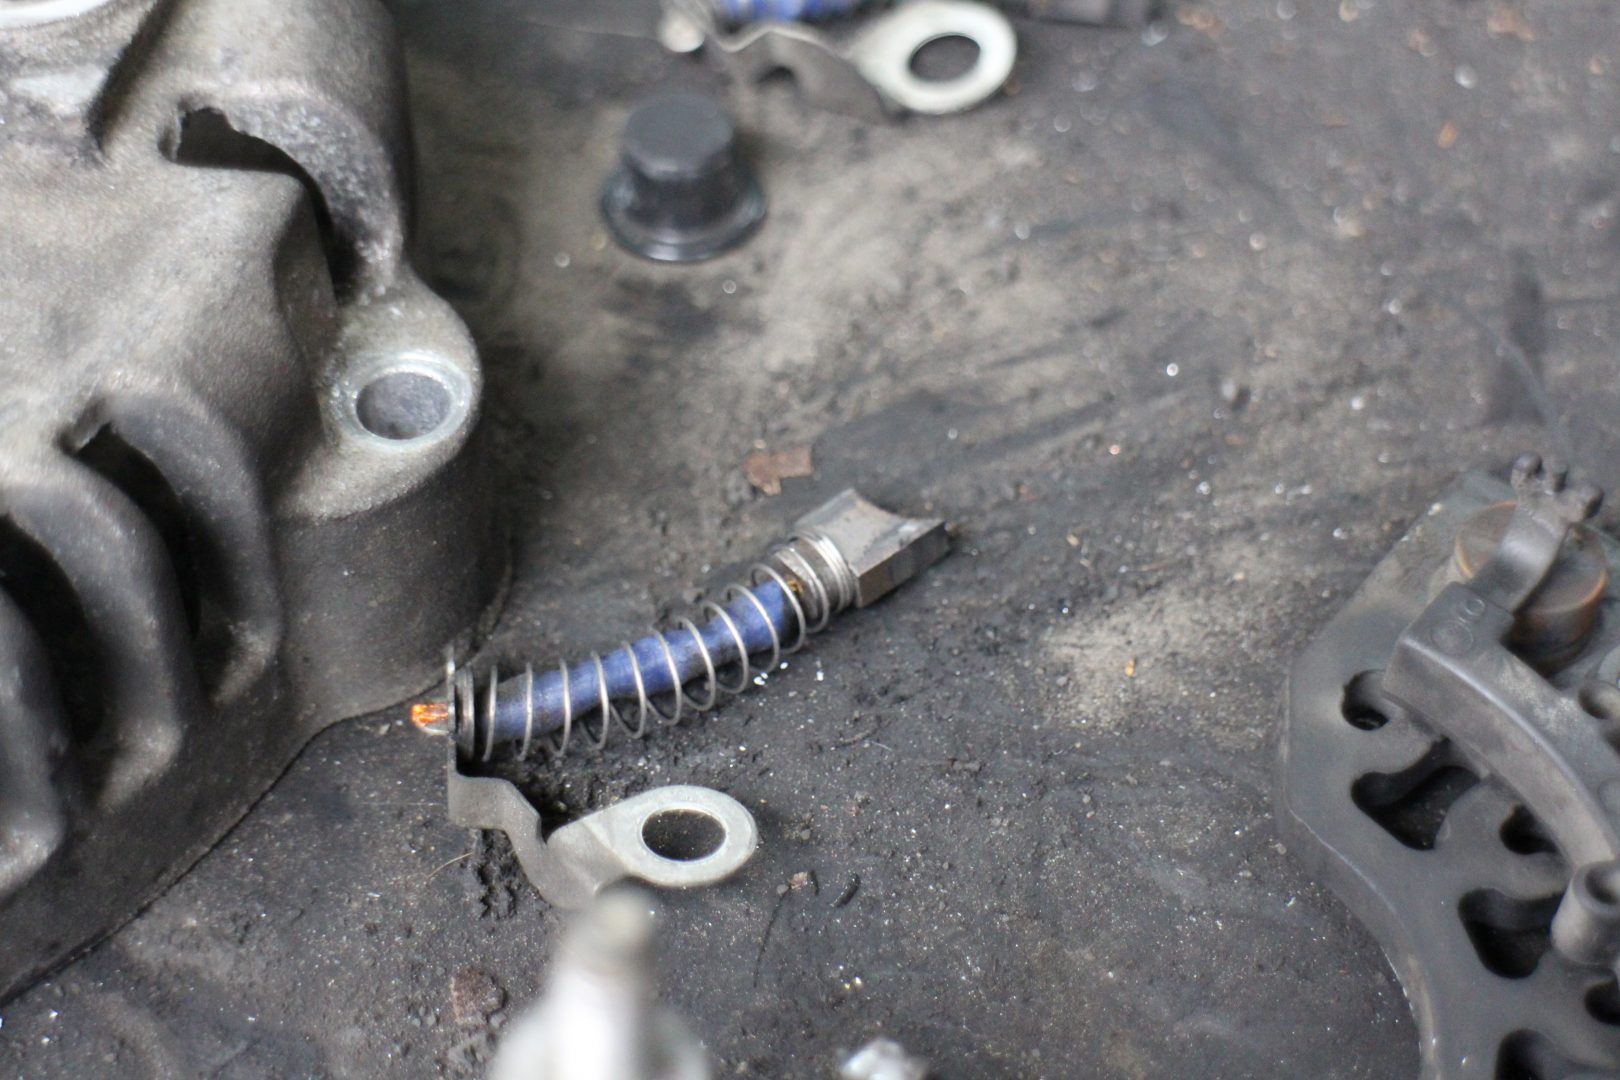
The root cause of the problem is a pair of worn out carbon brushes.
Alternator Reassembly
The Yock’s technicians determined that aside from the worn-out carbon brushes, the 17-year-old alternator of our 17-year-old American SUV also needed new bearings so the old ones were replaced as well. They used a puller to remove the old bearings from the rotor and then pressed the new ones in. They also checked the stator and the rectifier circuitry, cleaned all the connections, and when everything checked out, they started to reassemble the alternator.
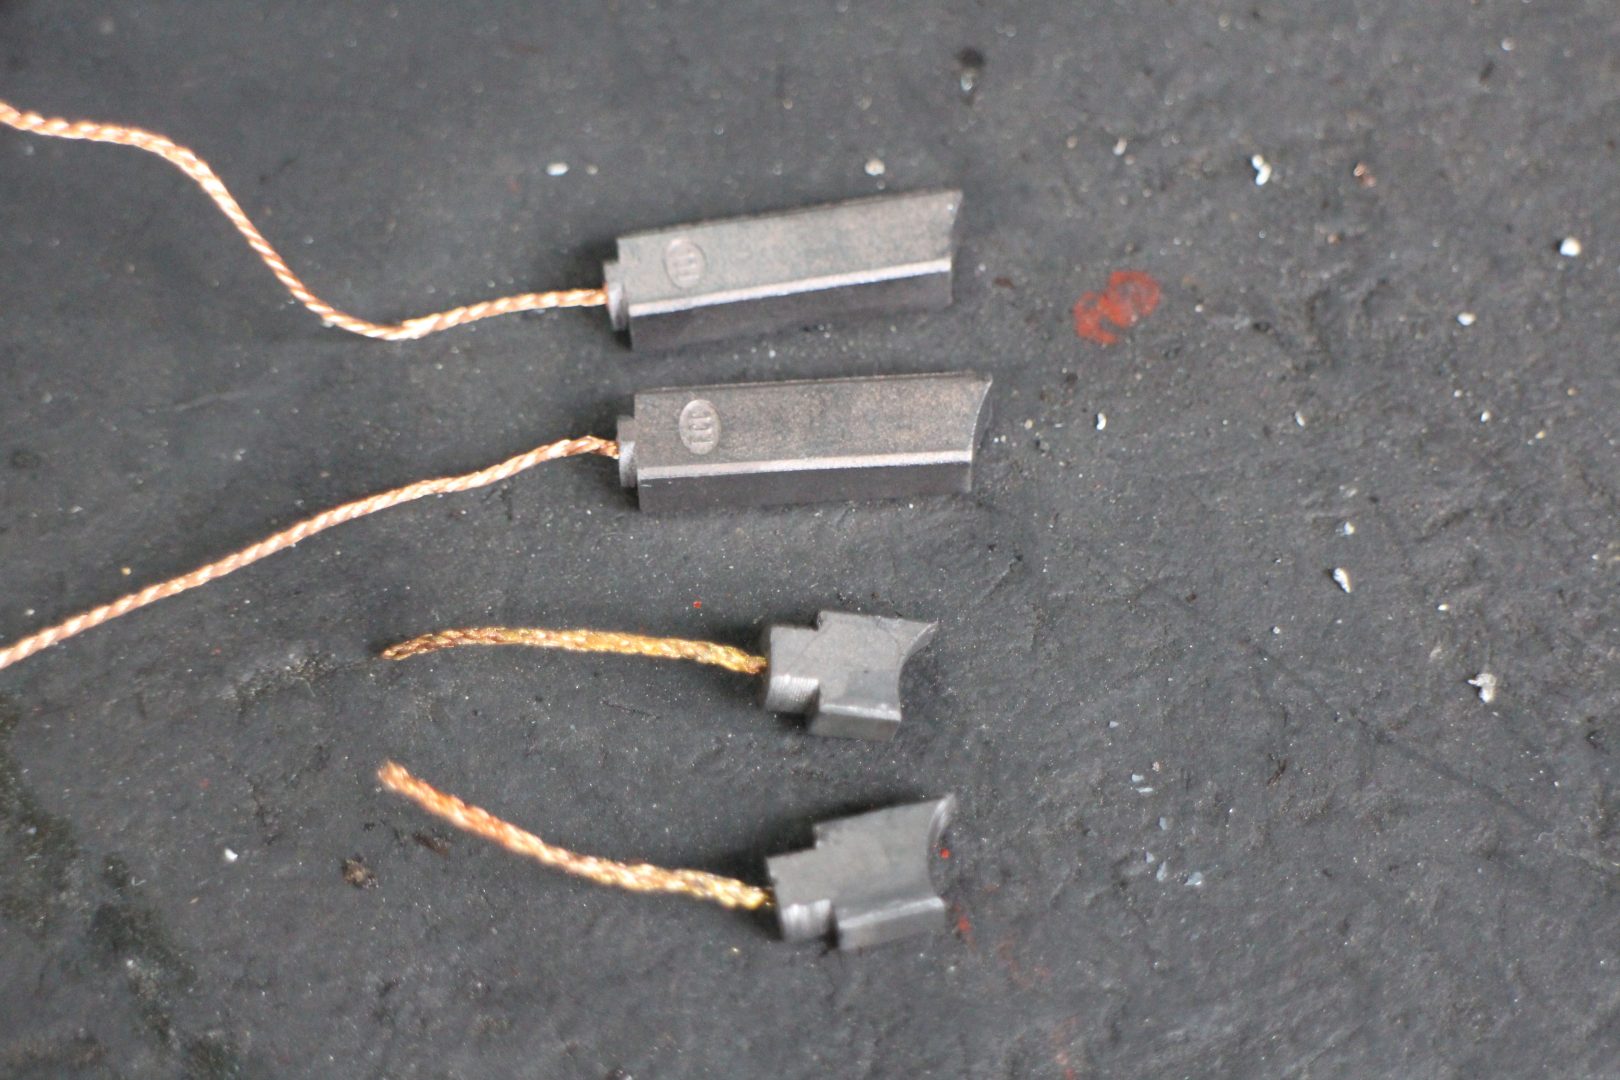
The new carbon brushes are way, way longer than the worn-out ones at the bottom.
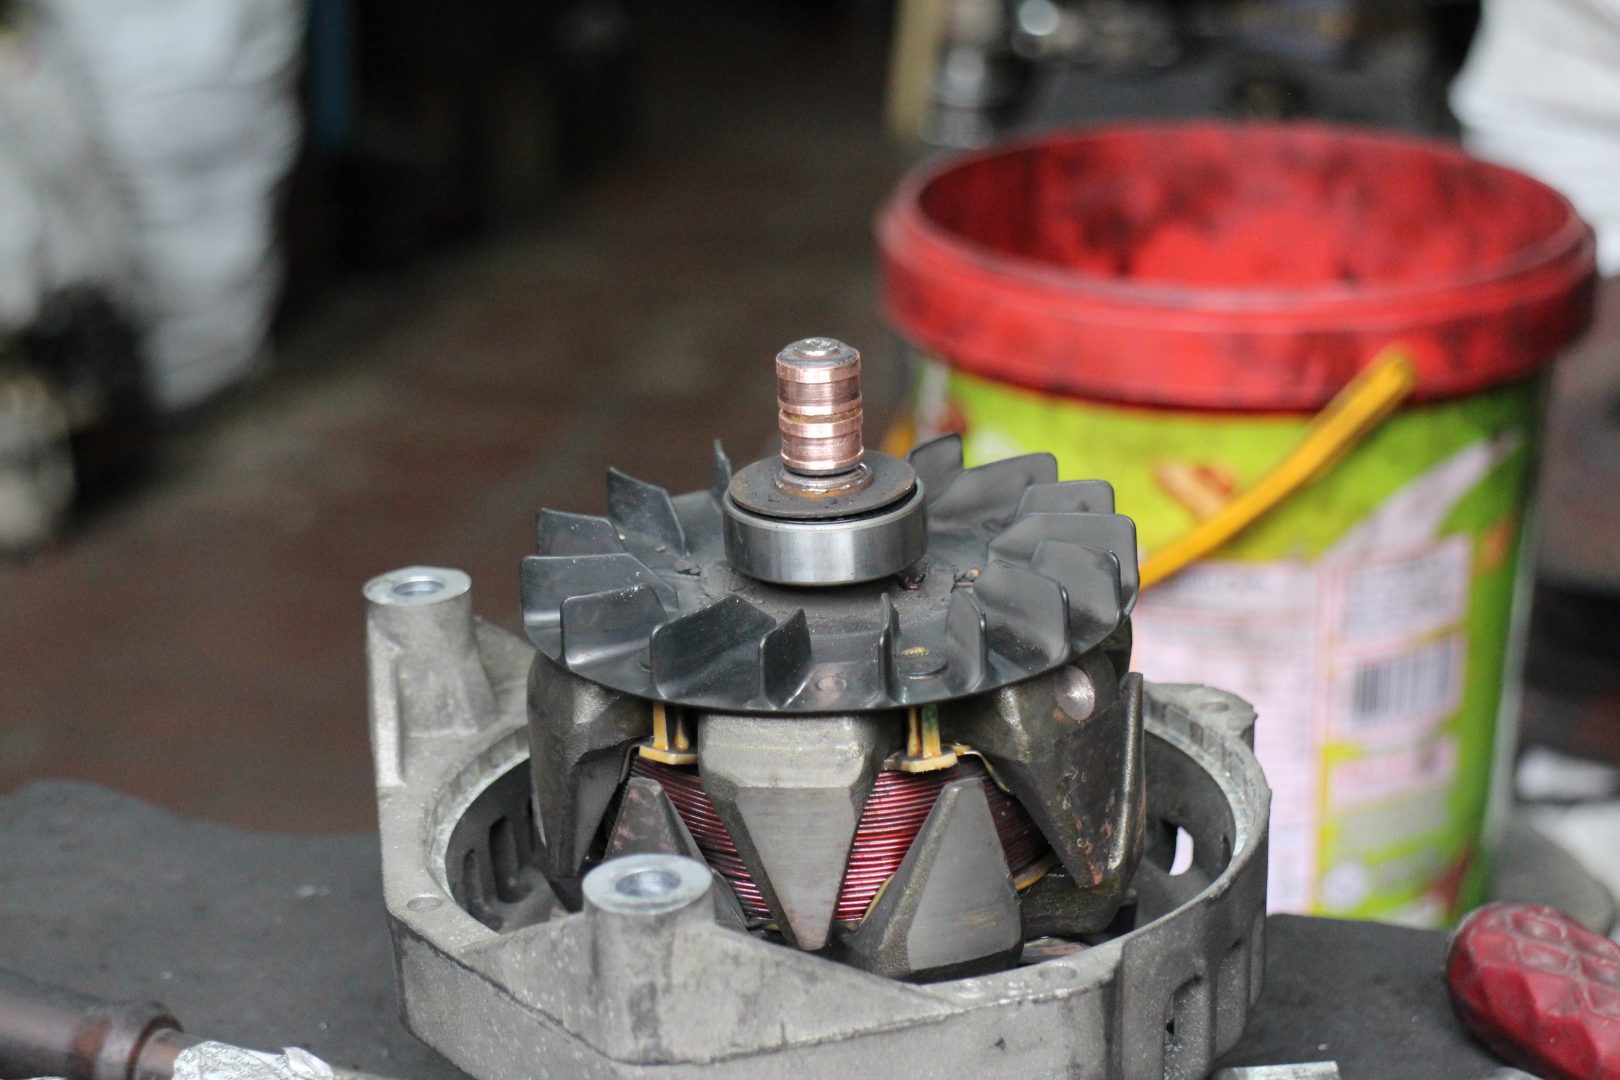
New bearings were installed on the rotor shaft.
The stator was inserted into the front housing before the rear housing was aligned and bolted into place.
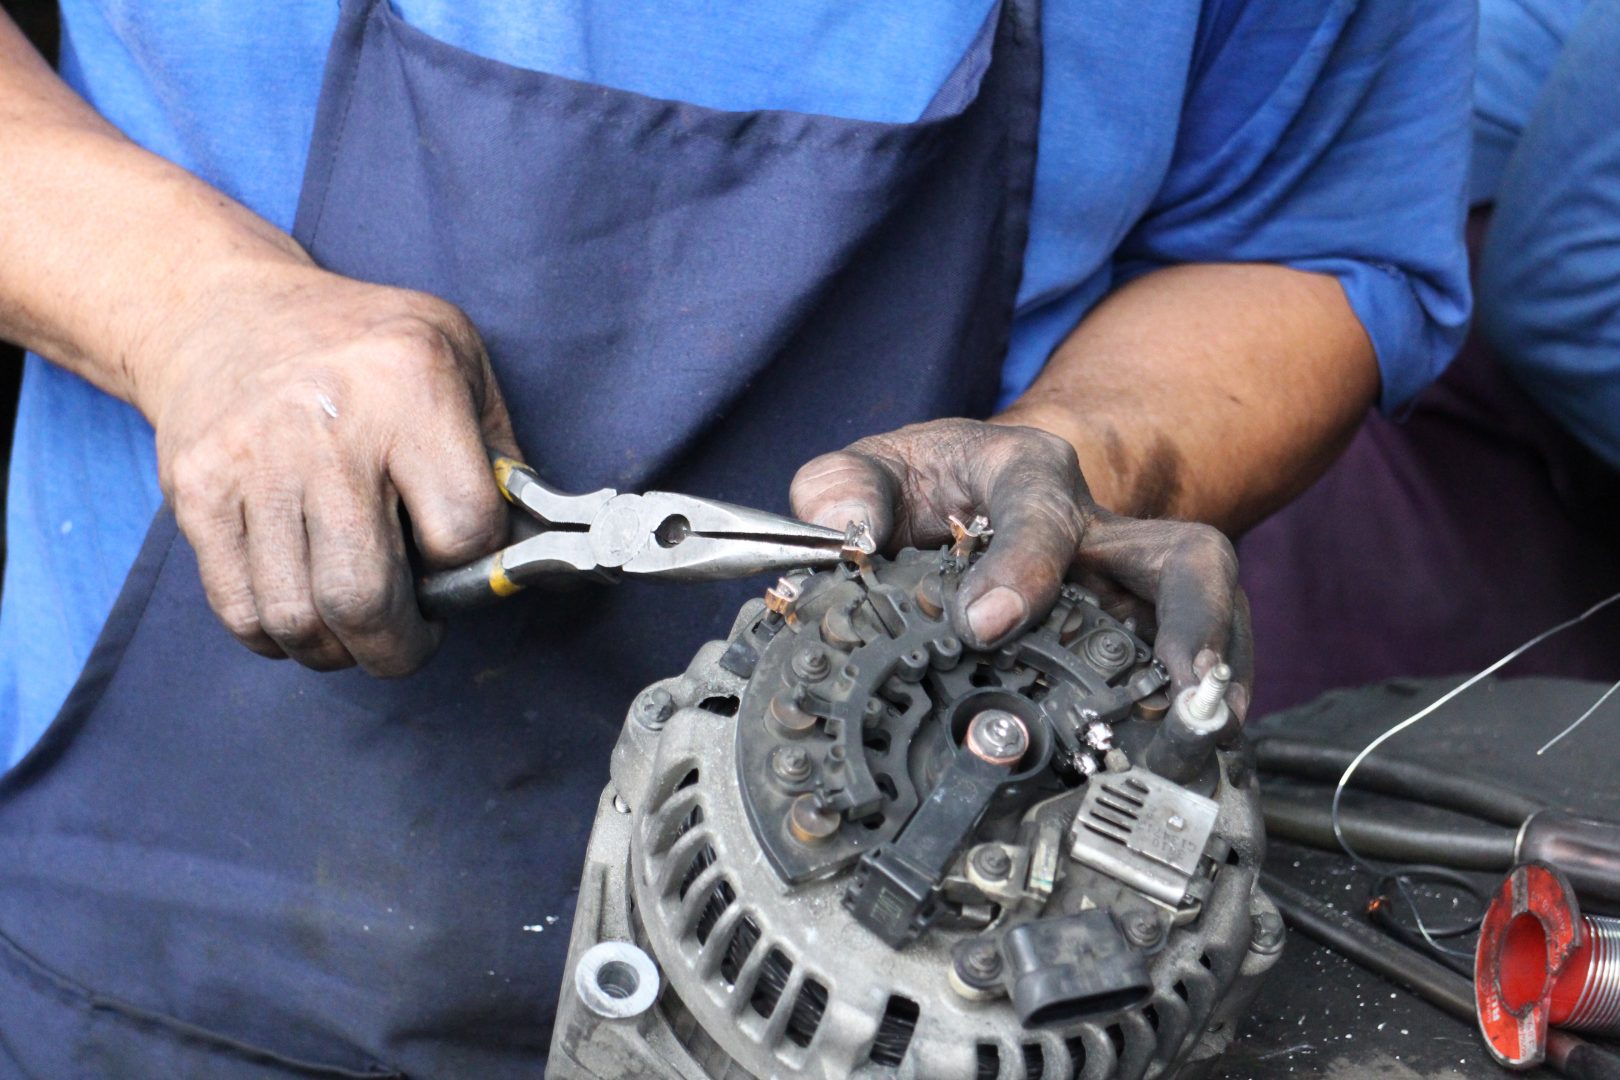
The carbon brush holder, rectifier, and regulator components were reinstalled …
… realigned and bolted on. Note the terminal for the wiring harness.
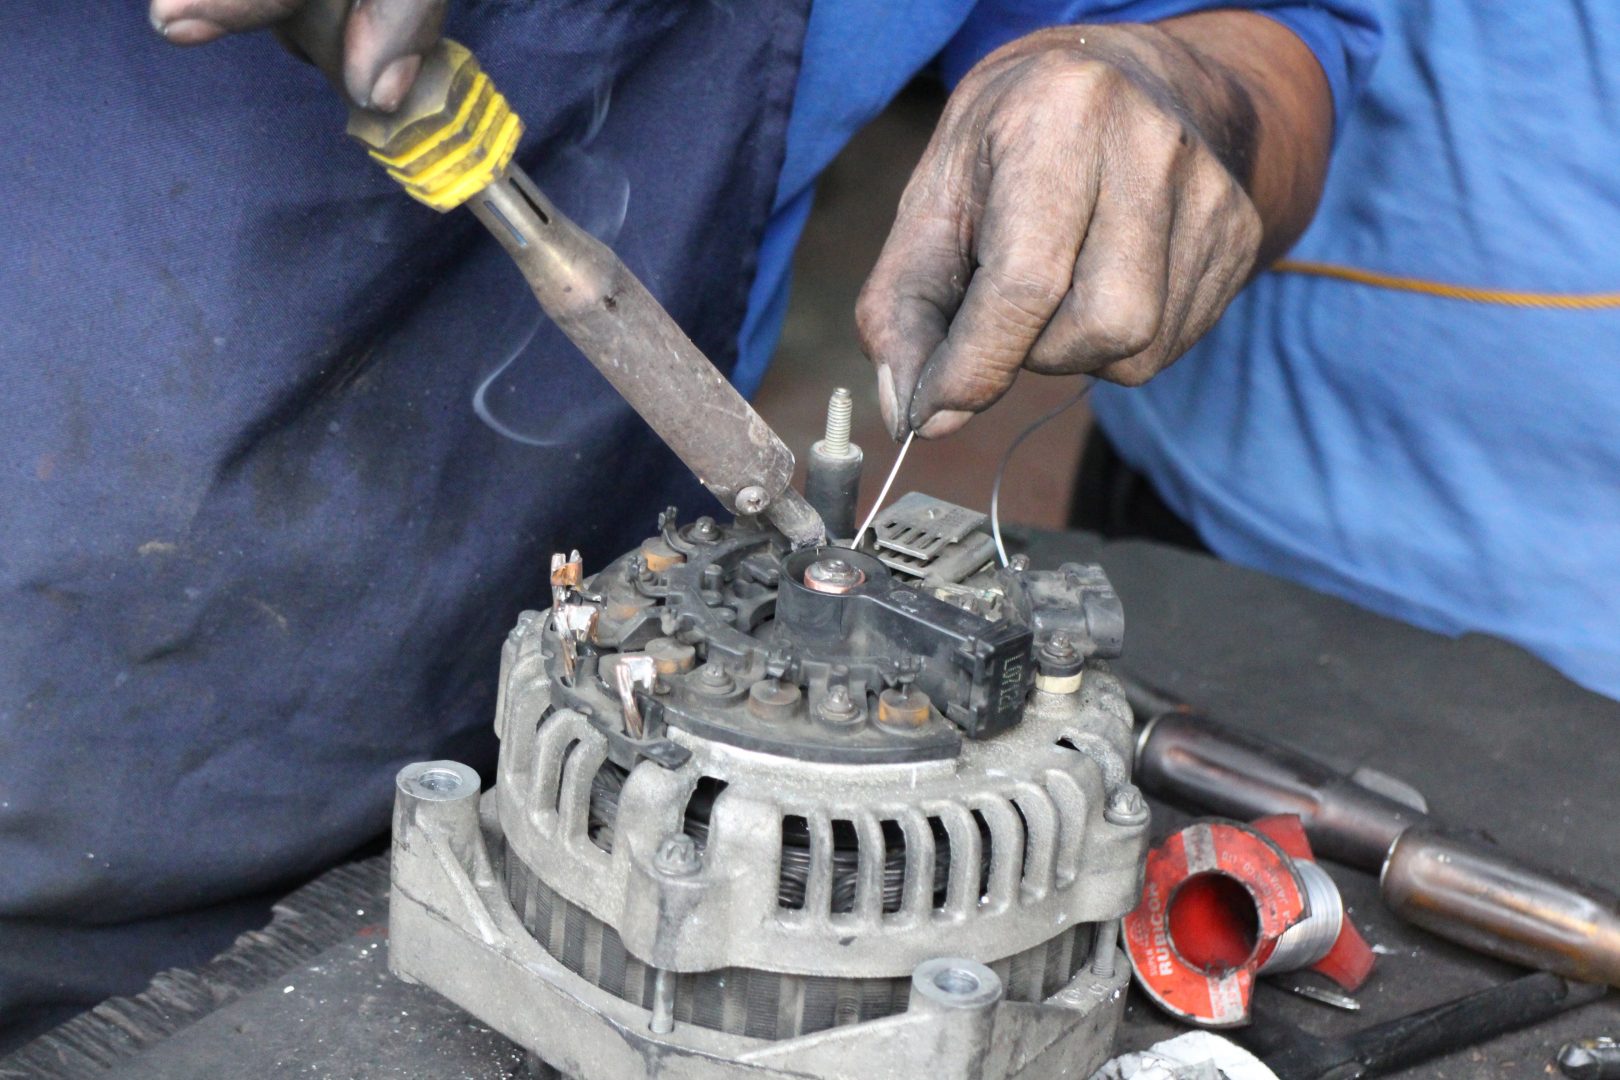
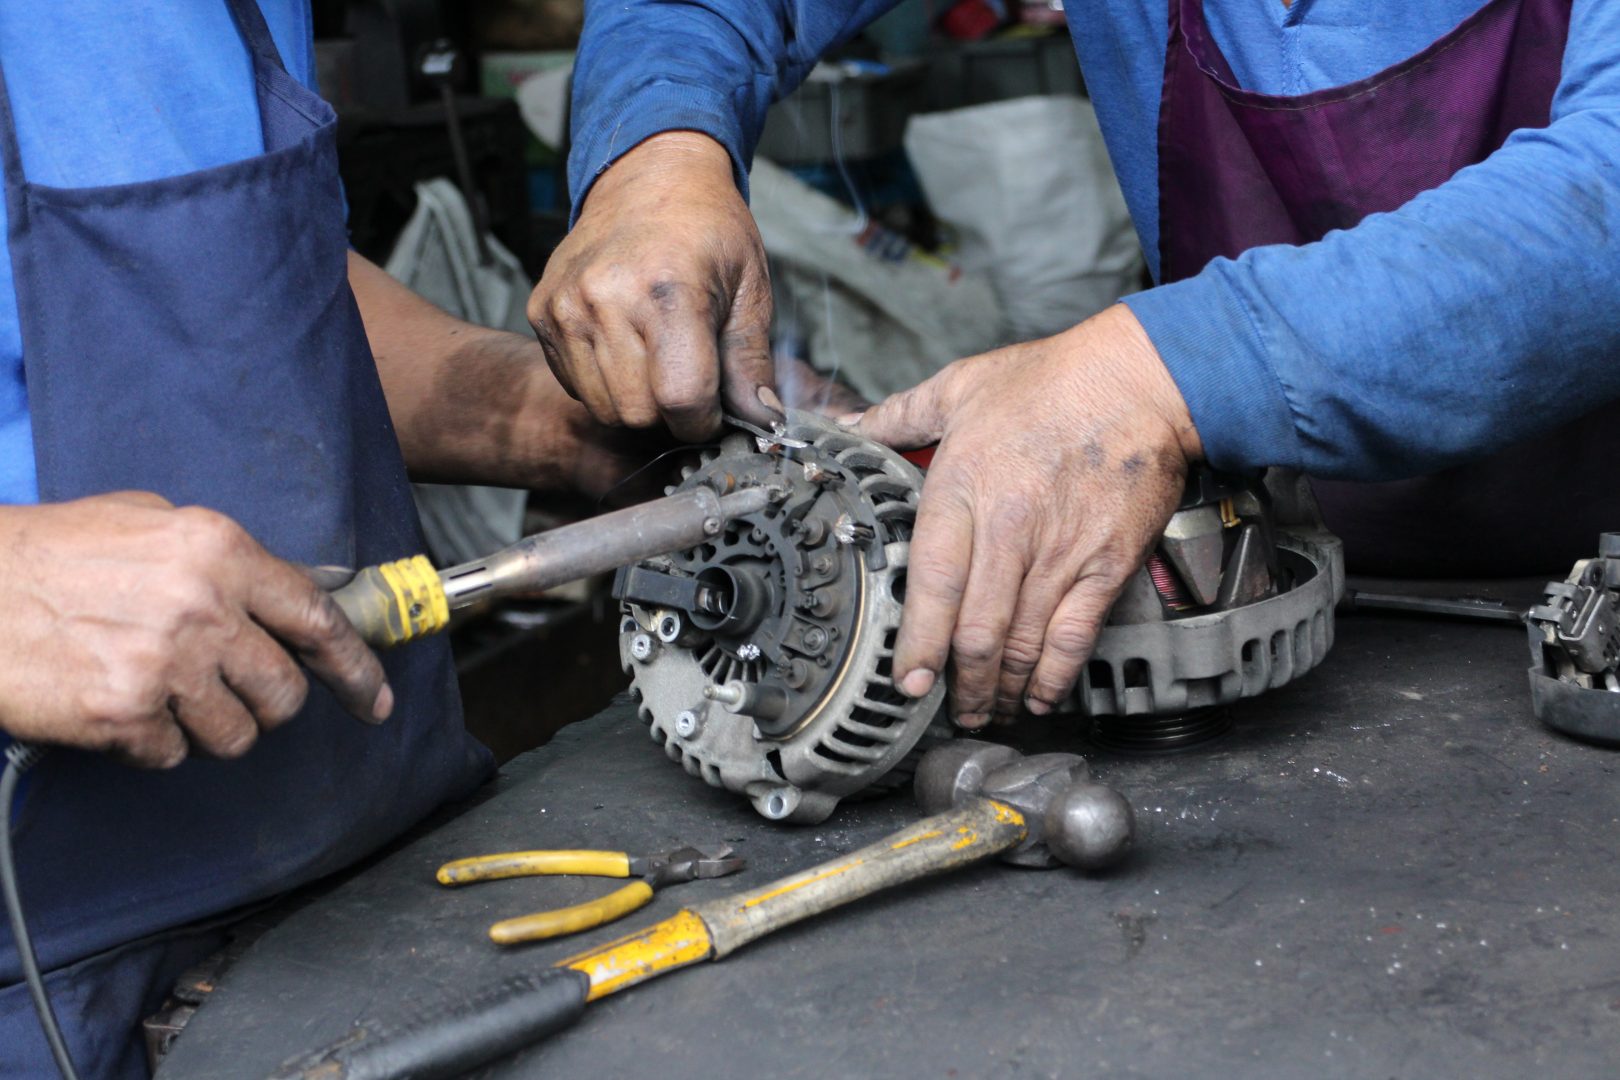
The connections for the terminal and rectifier were re-soldered…
…while the leads from the stator were crimped…
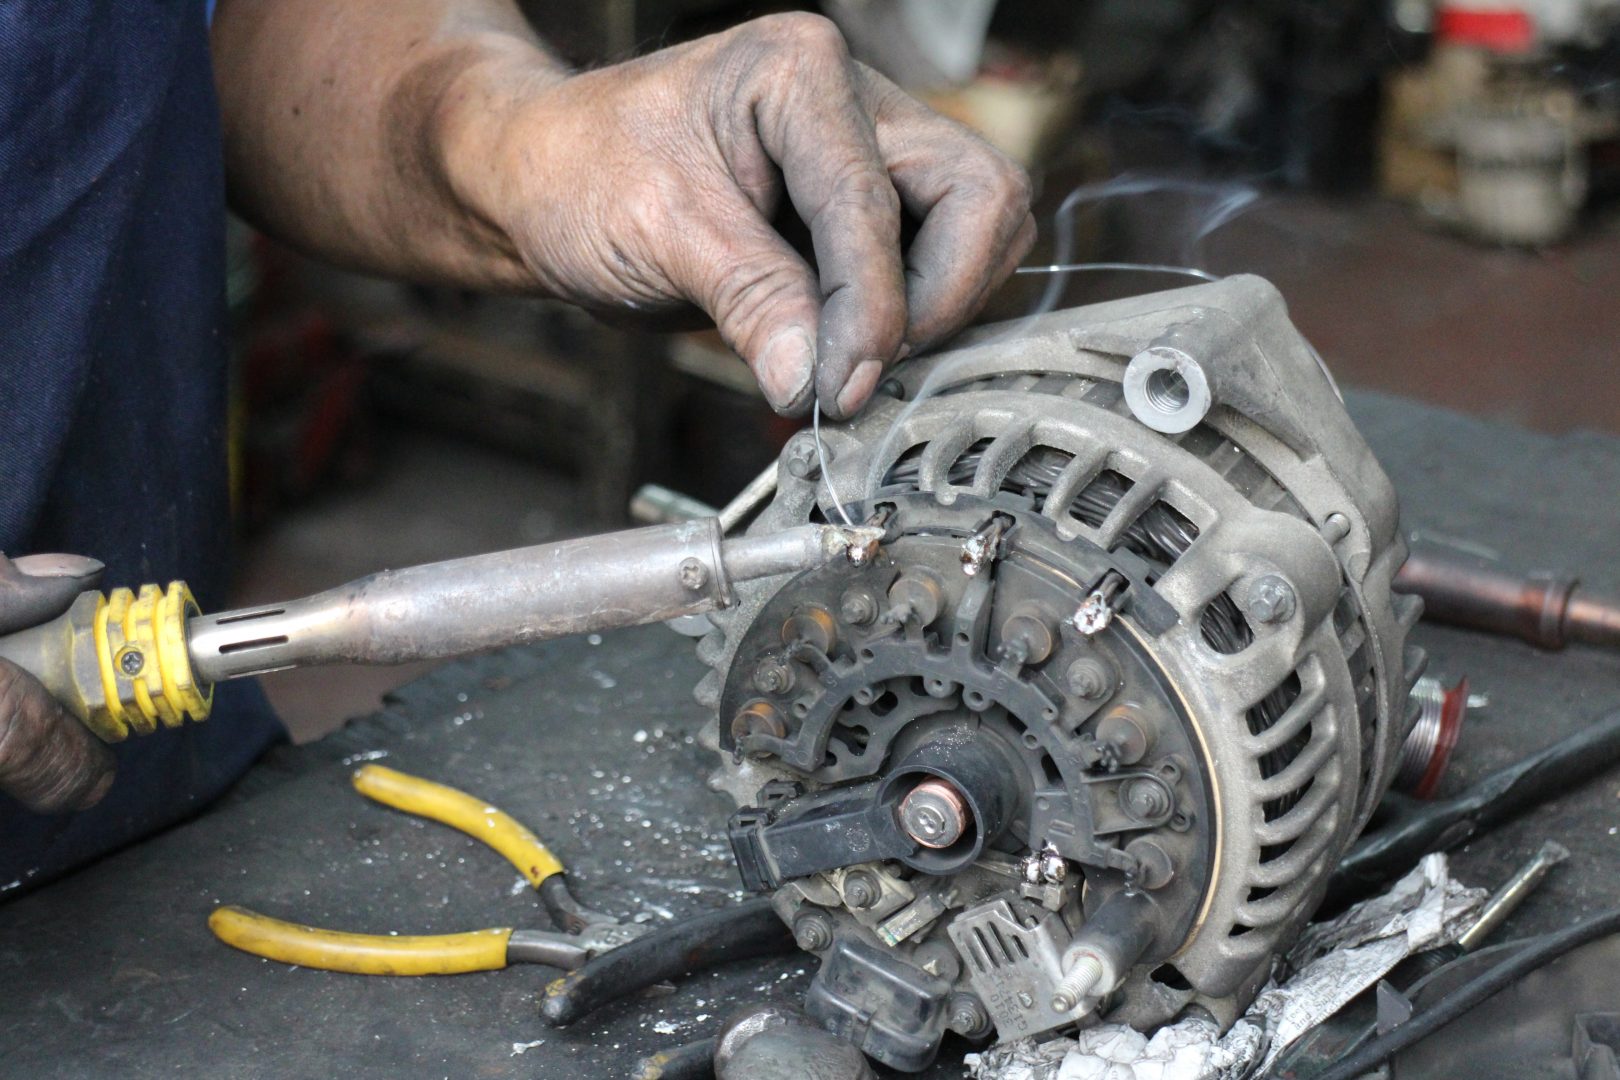
… and re-soldered, too. Smoke should appear only during soldering.
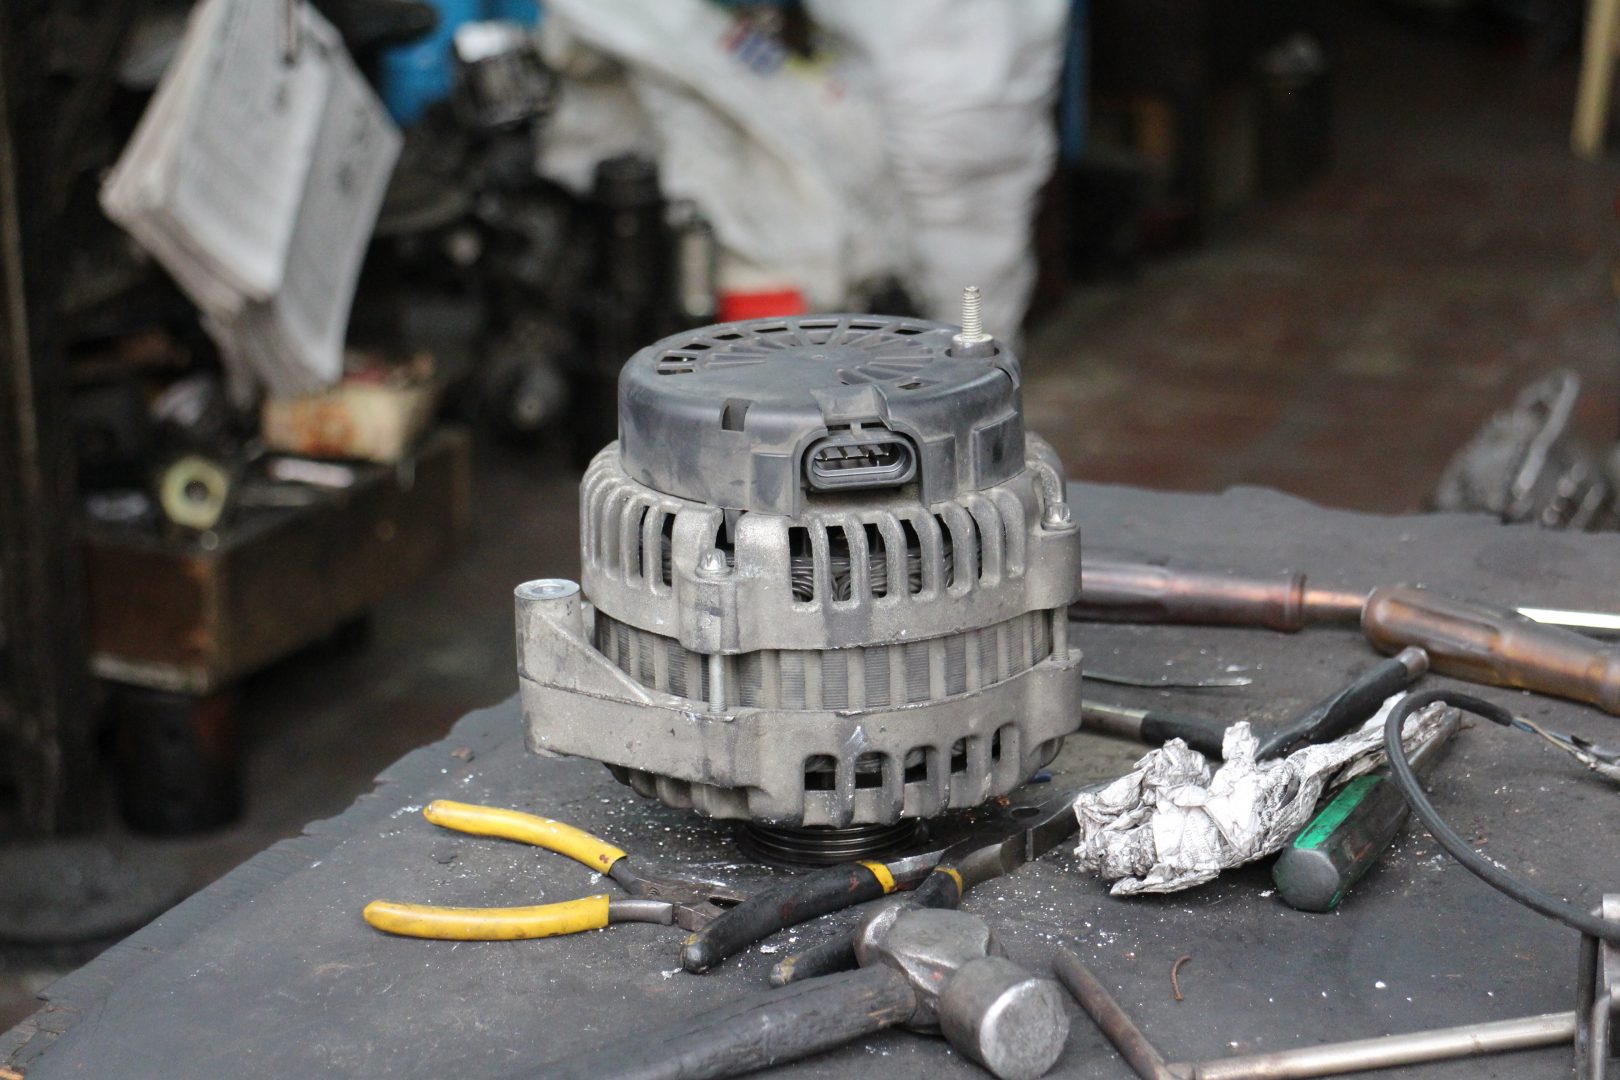
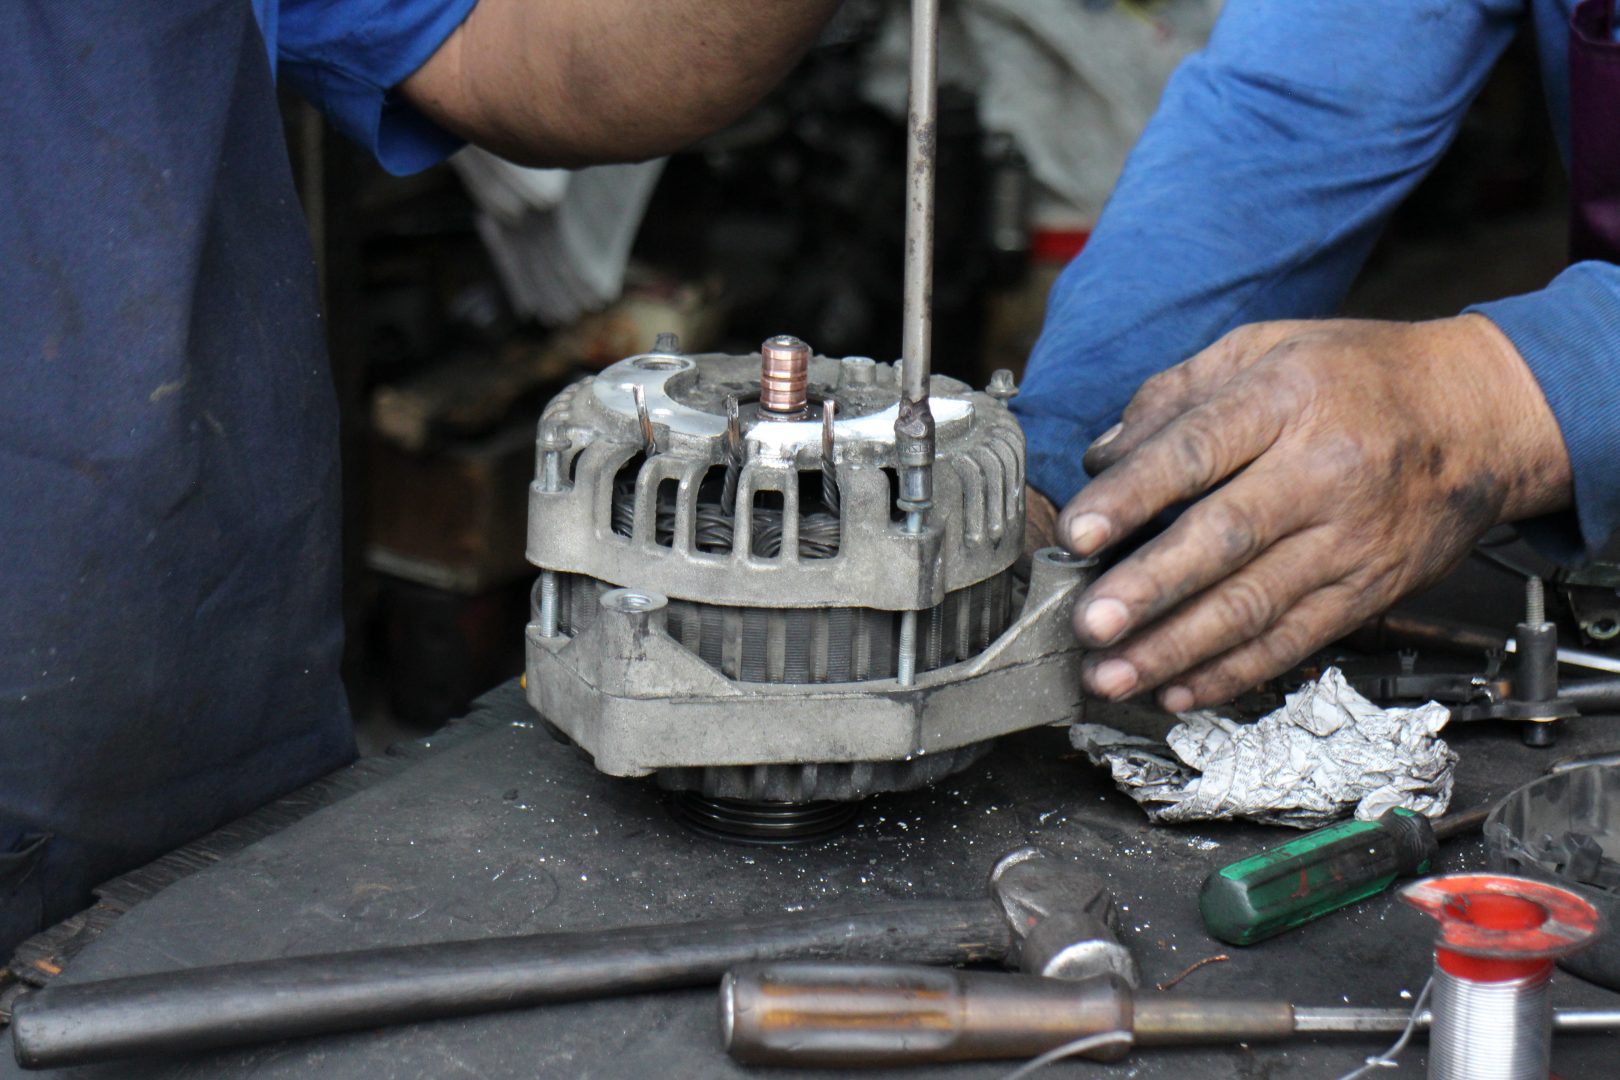
Once everything checked out well, the plastic back cover was snapped into place.
Re-installation and Results
After testing our newly refurbished alternator, the Yock’s technicians slid it back into its bracket, tightened the bolts that hold it into place, reattached the serpentine belt, reinstalled the air cleaner ducting, and then called it a day, or, to be more accurate – an hour, because it only took them just one hour to fix the alternator. Now, that’s what I call service!

The refurbished alternator was slid into its bracket…
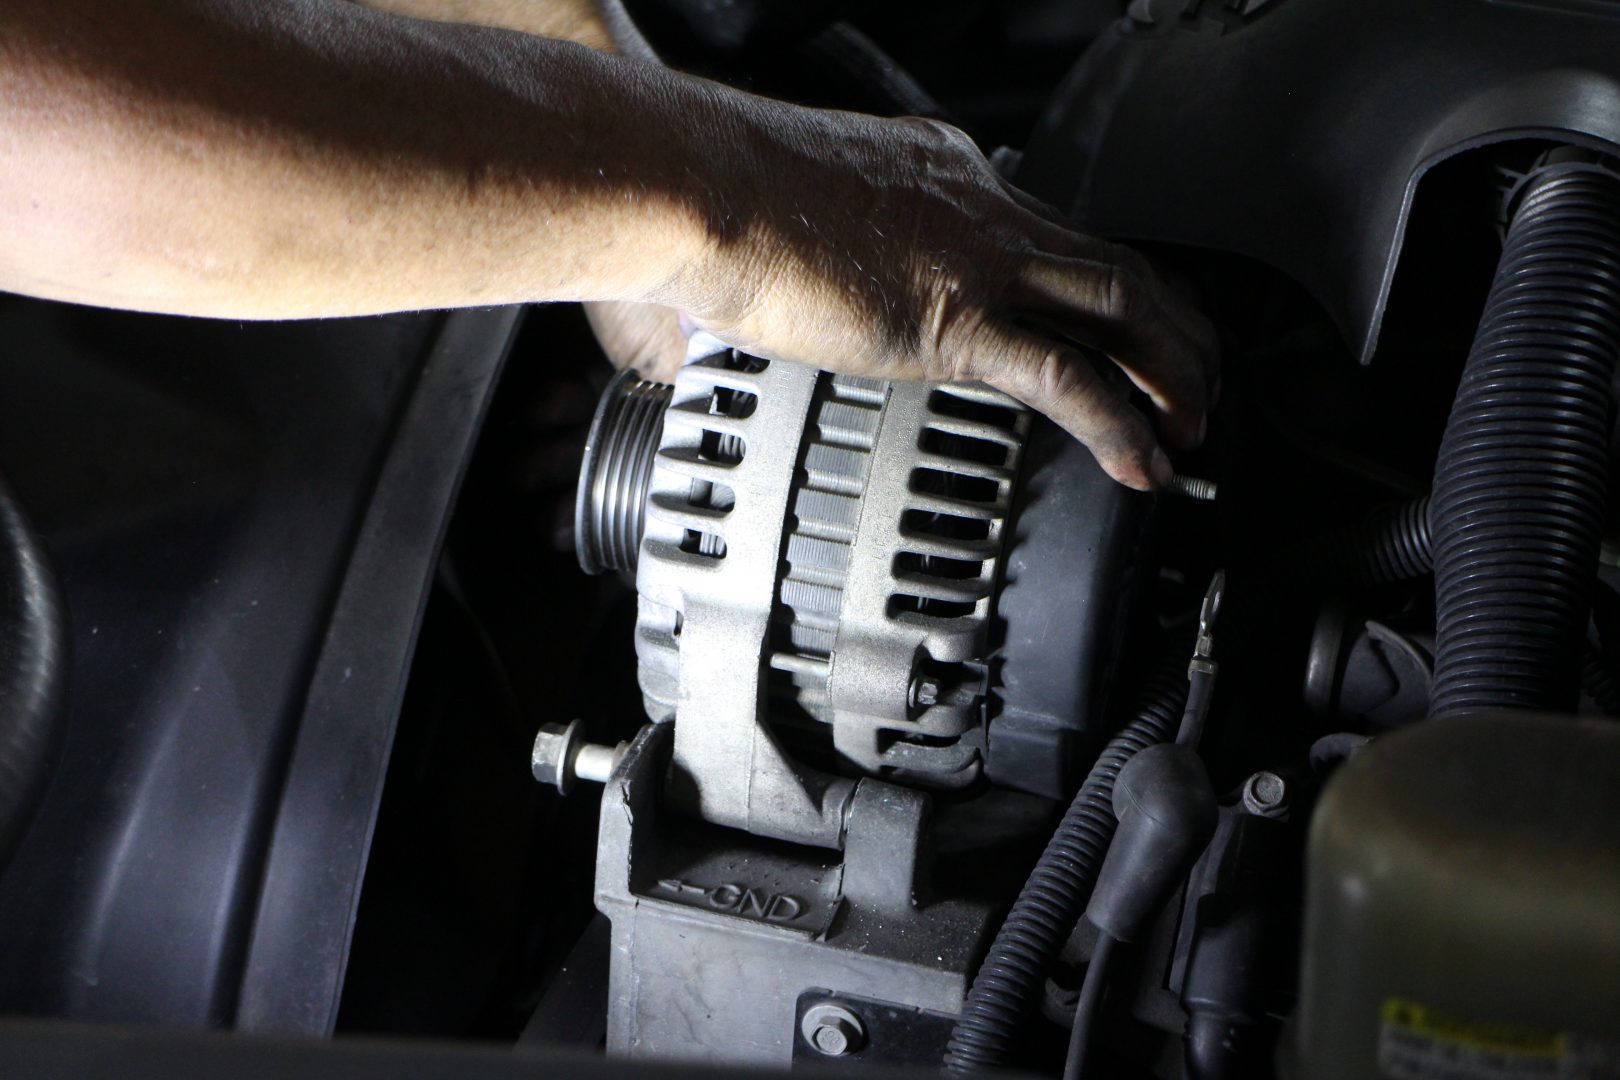
… the bolts were inserted into the holes and tightened.
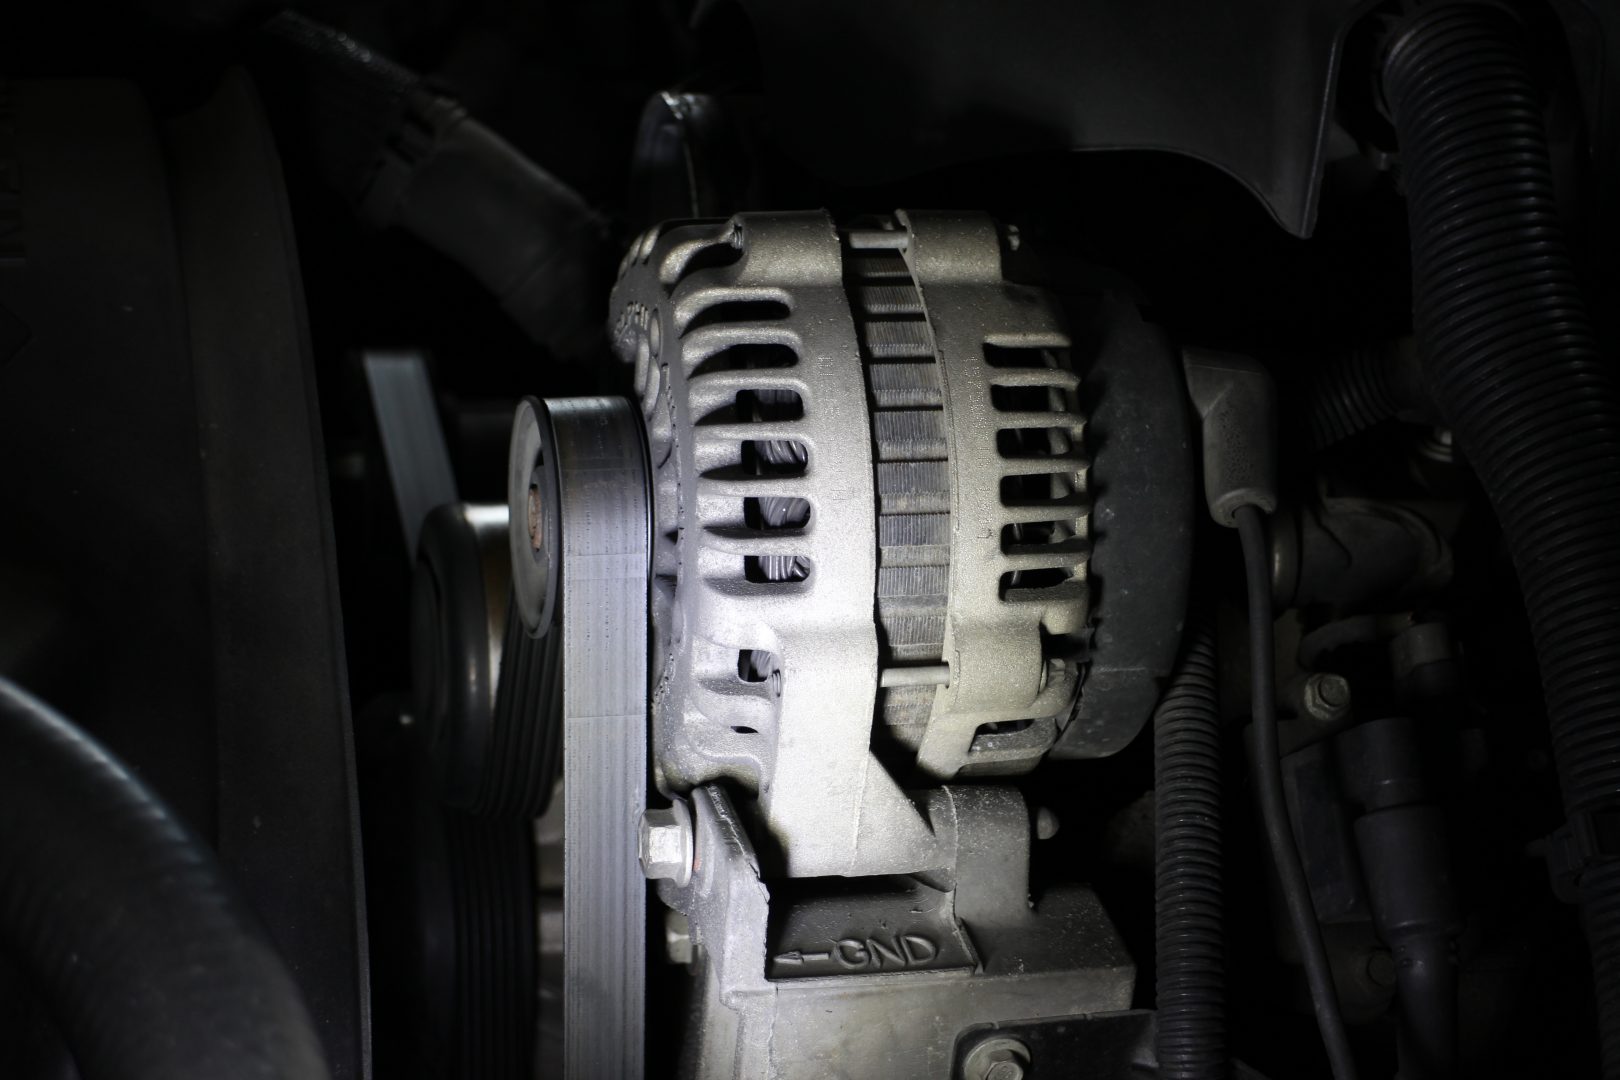
The serpentine belt was reinstalled…
… and the engine was started to test the alternator charging.
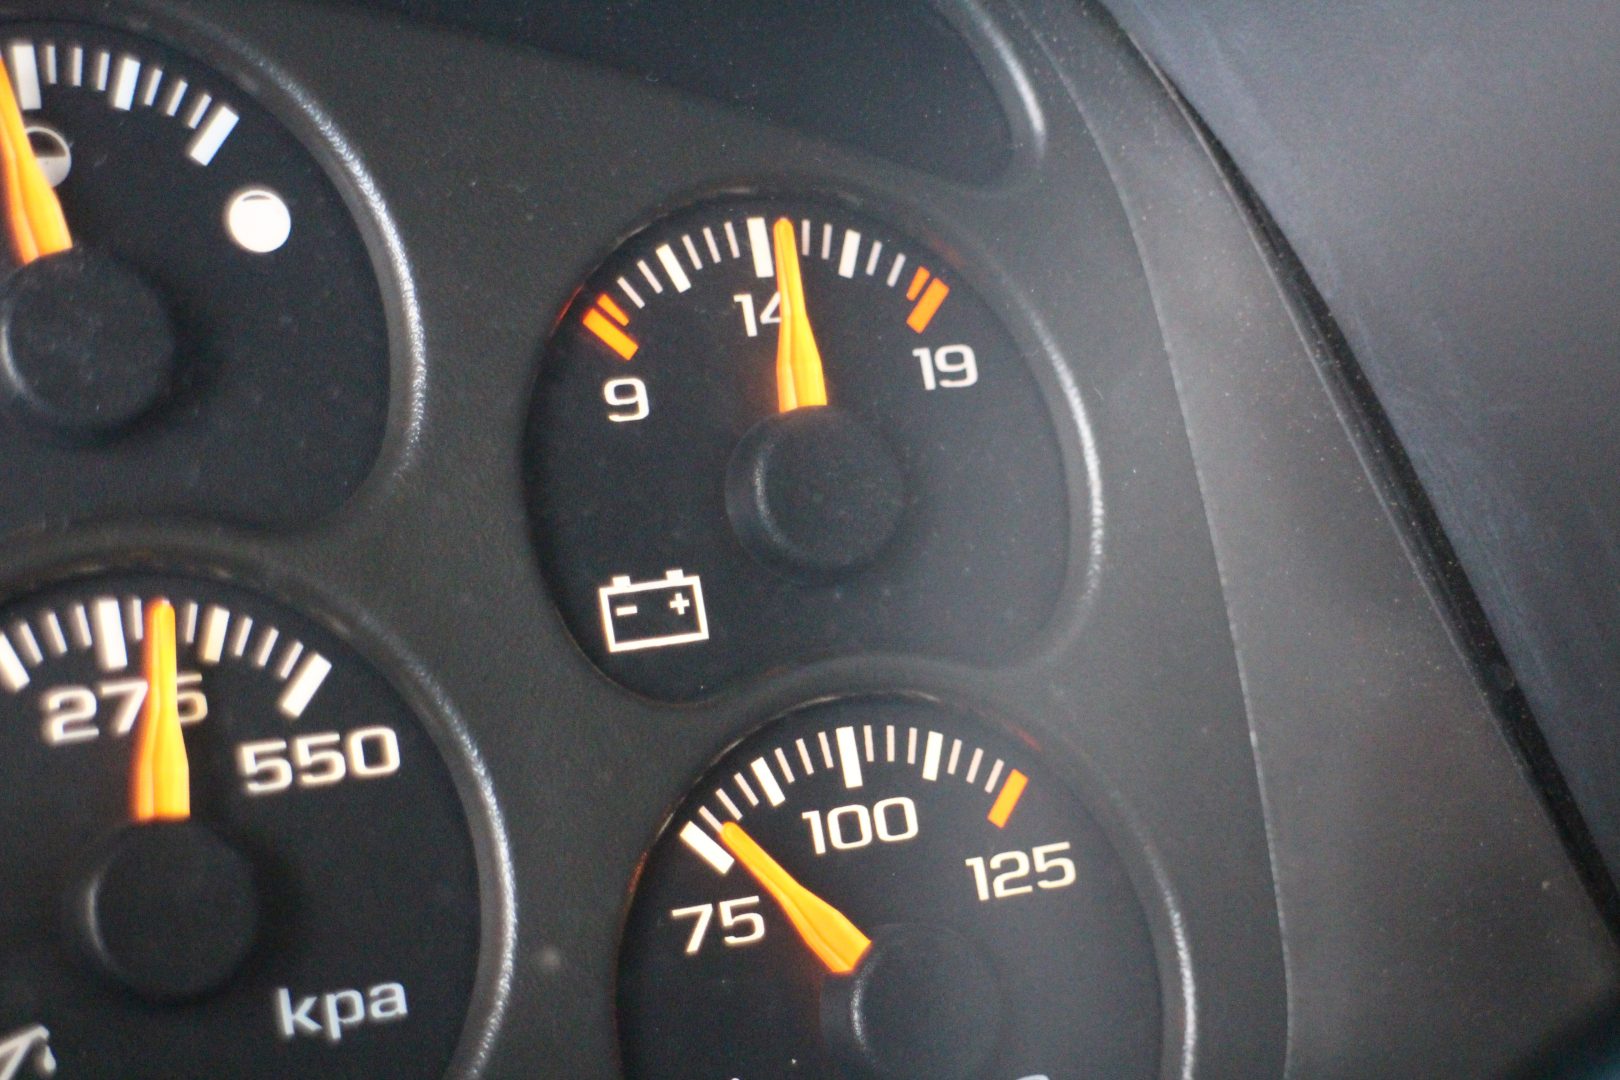
The voltmeter shows a healthy 13.7 volts which is what our Tahoe needs.
Our Chevy Tahoe’s glowing strong again…
… after relieving our wallet of some hard-earned cash!
Alternating Epilogue
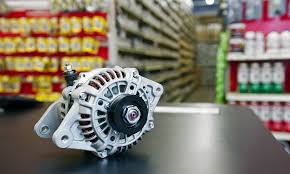
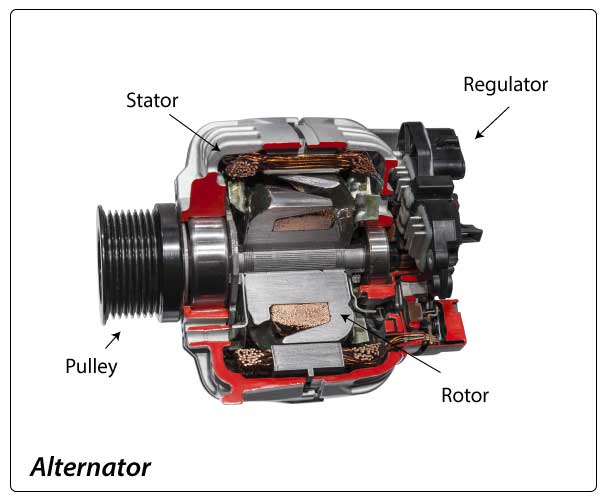
For those who wonder what an alternator is for, it is basically an electric generator that converts alternating current (AC) that is commonly found in households, into 12 volts of direct current (DC) that most cars commonly use. The alternator replaces the electricity that is drained from the car battery during starting and under heavy electrical load. If the alternator is malfunctioning, the vehicle gets most of its electricity from the battery, and when all the power is drained, the battery won’t be able to supply the current needed to run the engine. The vehicle stalls and cannot be started again unless the battery is recharged or a new one is installed. That’s why an alternator is an important component of any vehicle.
For expediency of service and to lower labor costs, most dealer service workshops replace the entire alternator assembly but the price is prohibitively high, starting at P25,000 for a brand new alternator . If you have the time but not the cash, then having your old alternator refurbished by an expert is the best, and cheapest, way to go. After all, when things break down, we need to have them fixed.