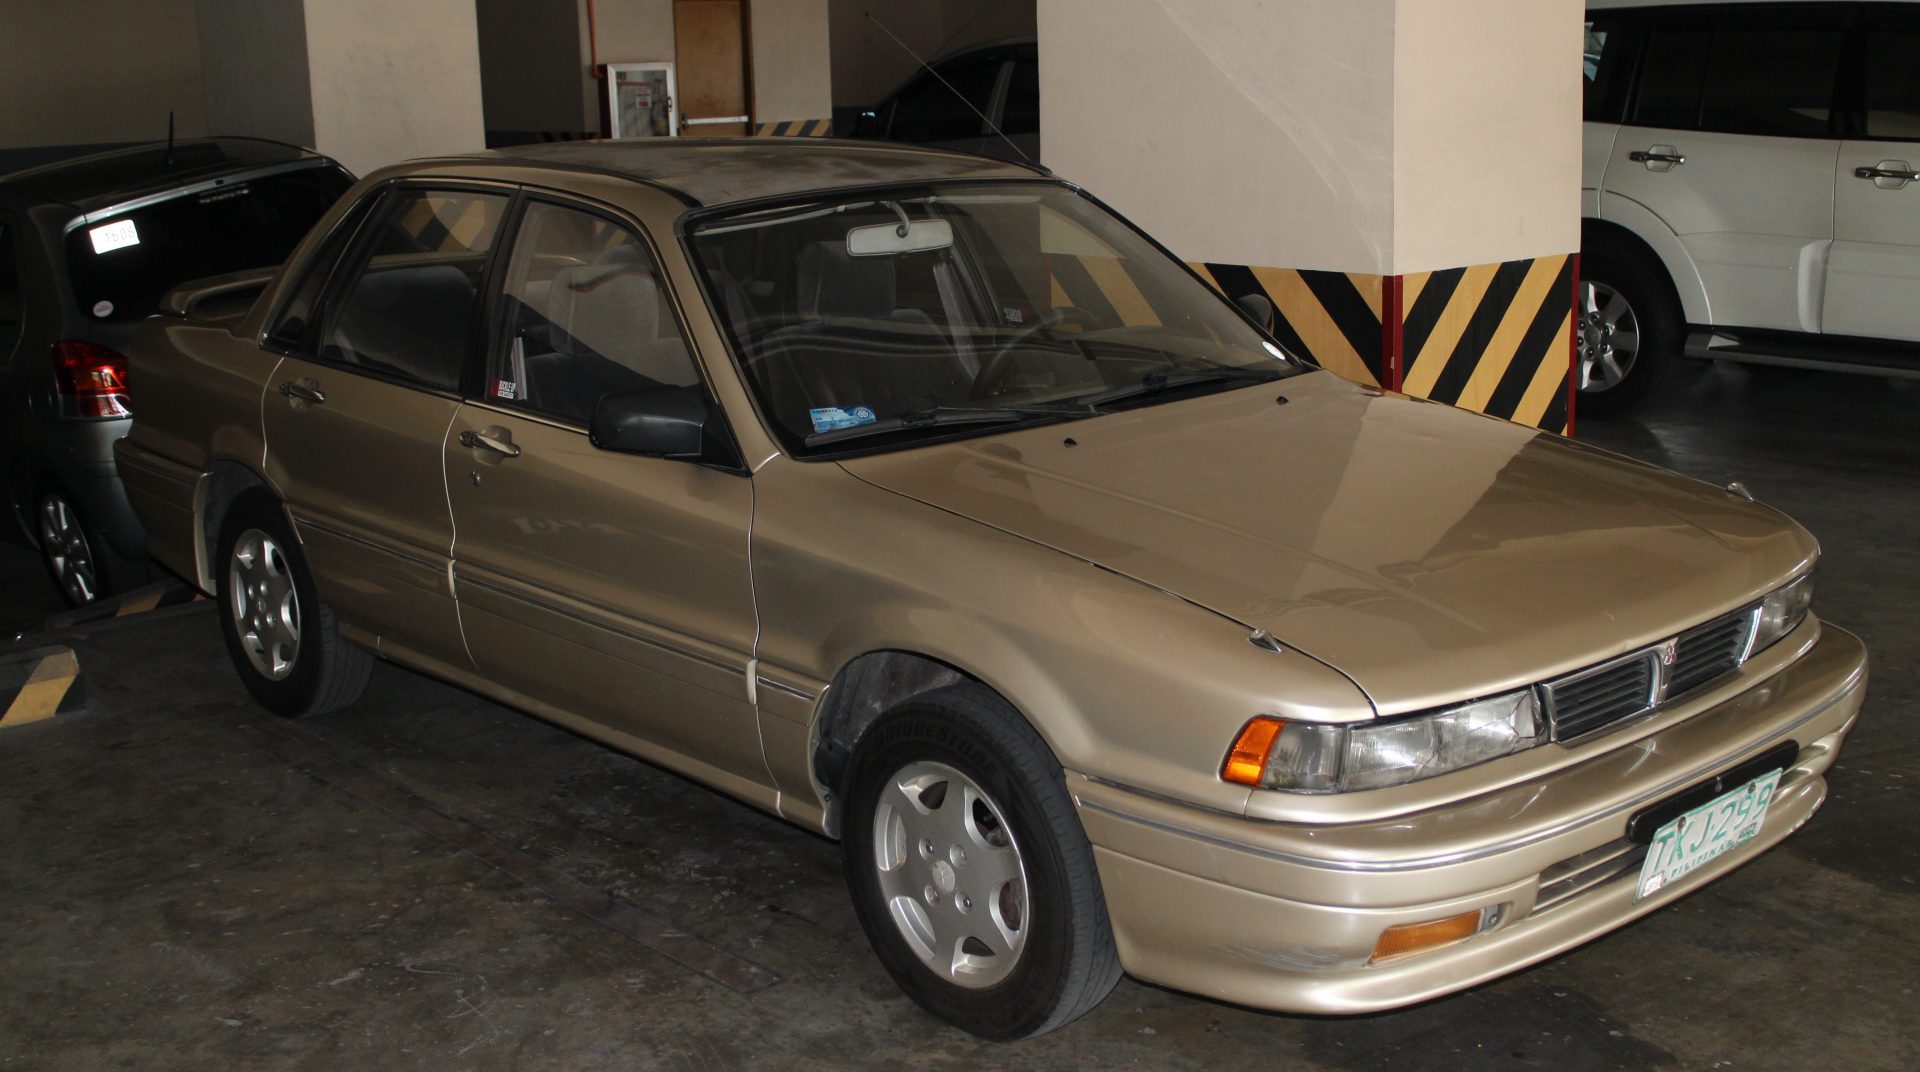
 In April 2016, we accepted a used 1992 Mitsubishi Galant Super Saloon MPI from one of our media colleagues as a direct trade for one of our 250cc motorcycles. We didn’t have any intention of getting another Project Car since we were busy working on three other projects – our 1971 Chevrolet Camaro RS, our 1977 Mitsubishi Celeste 1600 ST, and our 1986 Mercedes-Benz 500 SE. We have to admit, though, our 179,257-kilometer Spring Beige Galant got our creative juices going.
 Because it was already ours, we thought of turning it into an Galant VR-4 rally car replica, the all-wheel-drive (AWD) rally-ready precursor to the Lancer Evolution series. We had this wild idea of turning it into a pseudo rally car and promotional vehicle, with our company logos and those of our sponsors and advertisers emblazoned on the sides, hood and trunk.
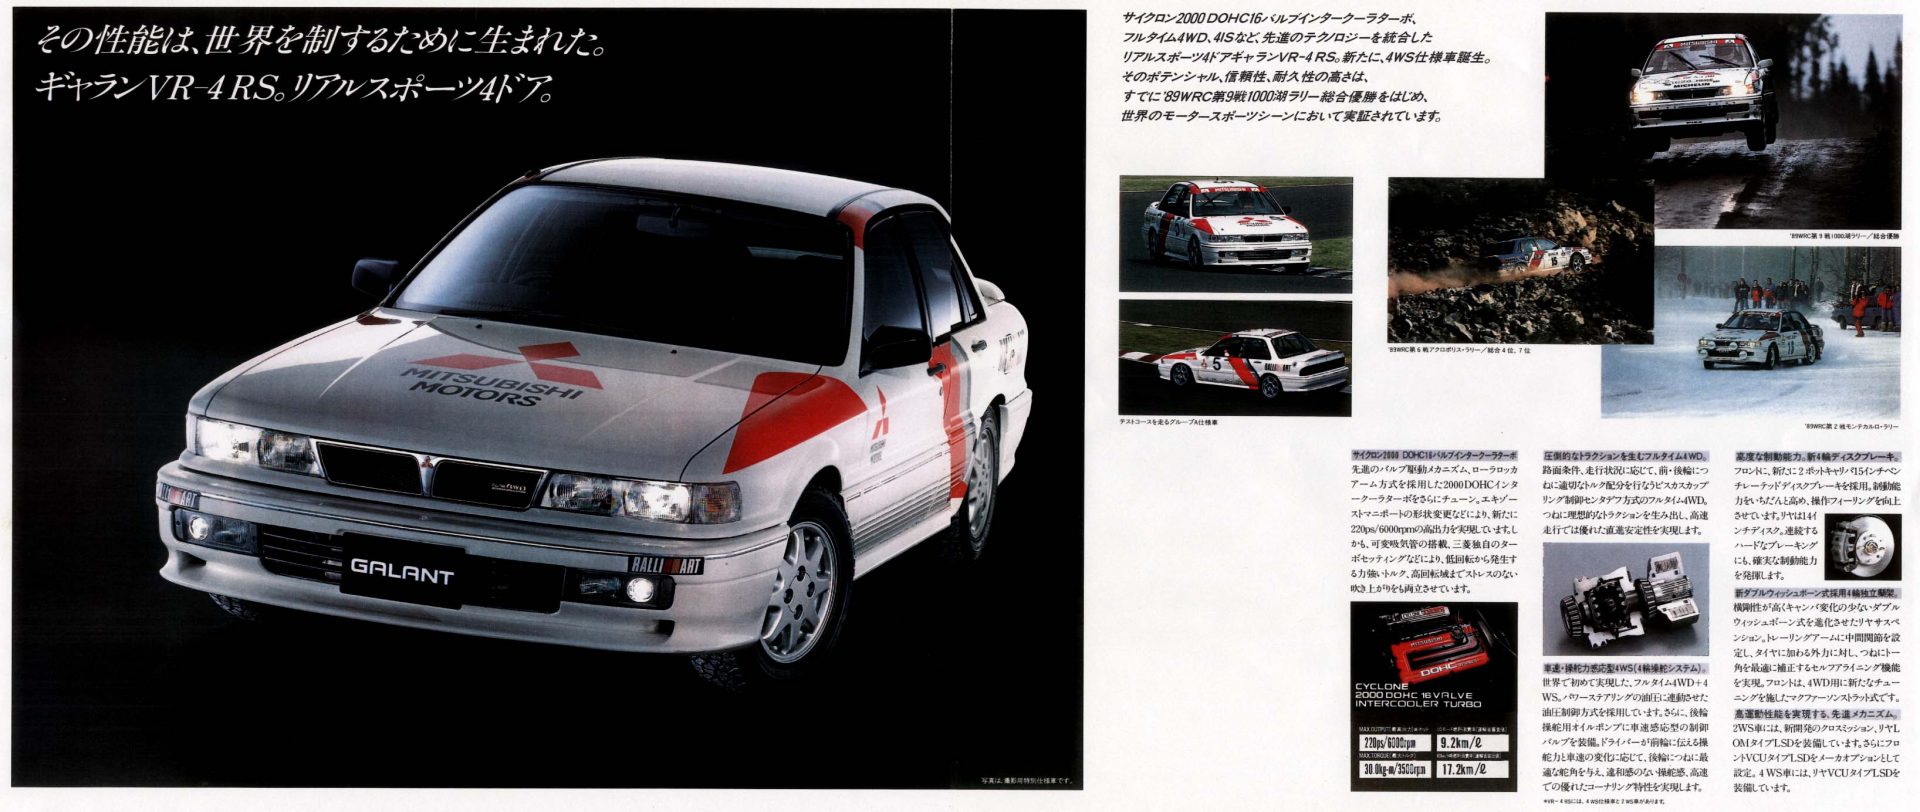
From MPI to GTI
We began making plans to replace our Galant’s 2.0-liter SOHC 8-valve 4-cylinder multi-point fuel injected engine with a turbocharger- and intercooler-equipped 2.0-liter DOHC 16-valve 4G63T engine, acquire and install an AWD system. If we’re really lucky, we might find and install a four-wheel-steering (4WS) system, too.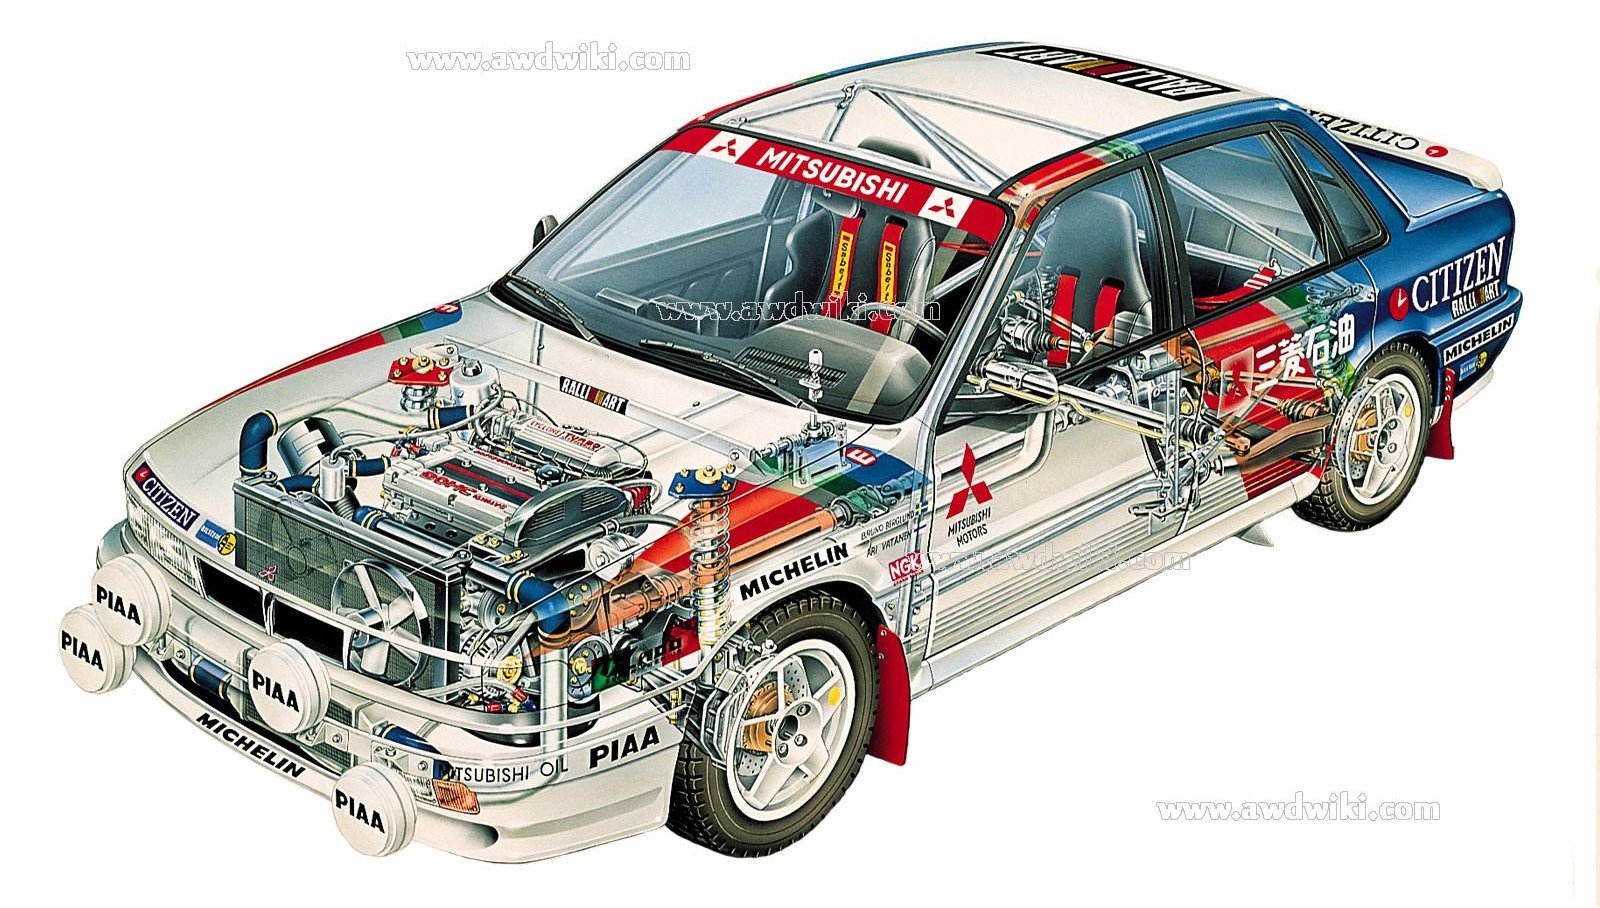 We also planned to convert our MPI cosmetically by buying all the necessary parts like body claddings, front bumper with driving lights, rear bumpers, rear back glass with single-arm wiper, 15-inch Asahi wheels, and the like. We joined Galant enthusiasts’ forums like 6G Elite PH and inquired about the parts we needed for our project. Instead, we were advised that it would be far easier to buy a Galant GTI and add the VR-4 mechanical parts, than to modify an MPI. We started looking around for a nice GTI in earnest.
Two-Owner Original
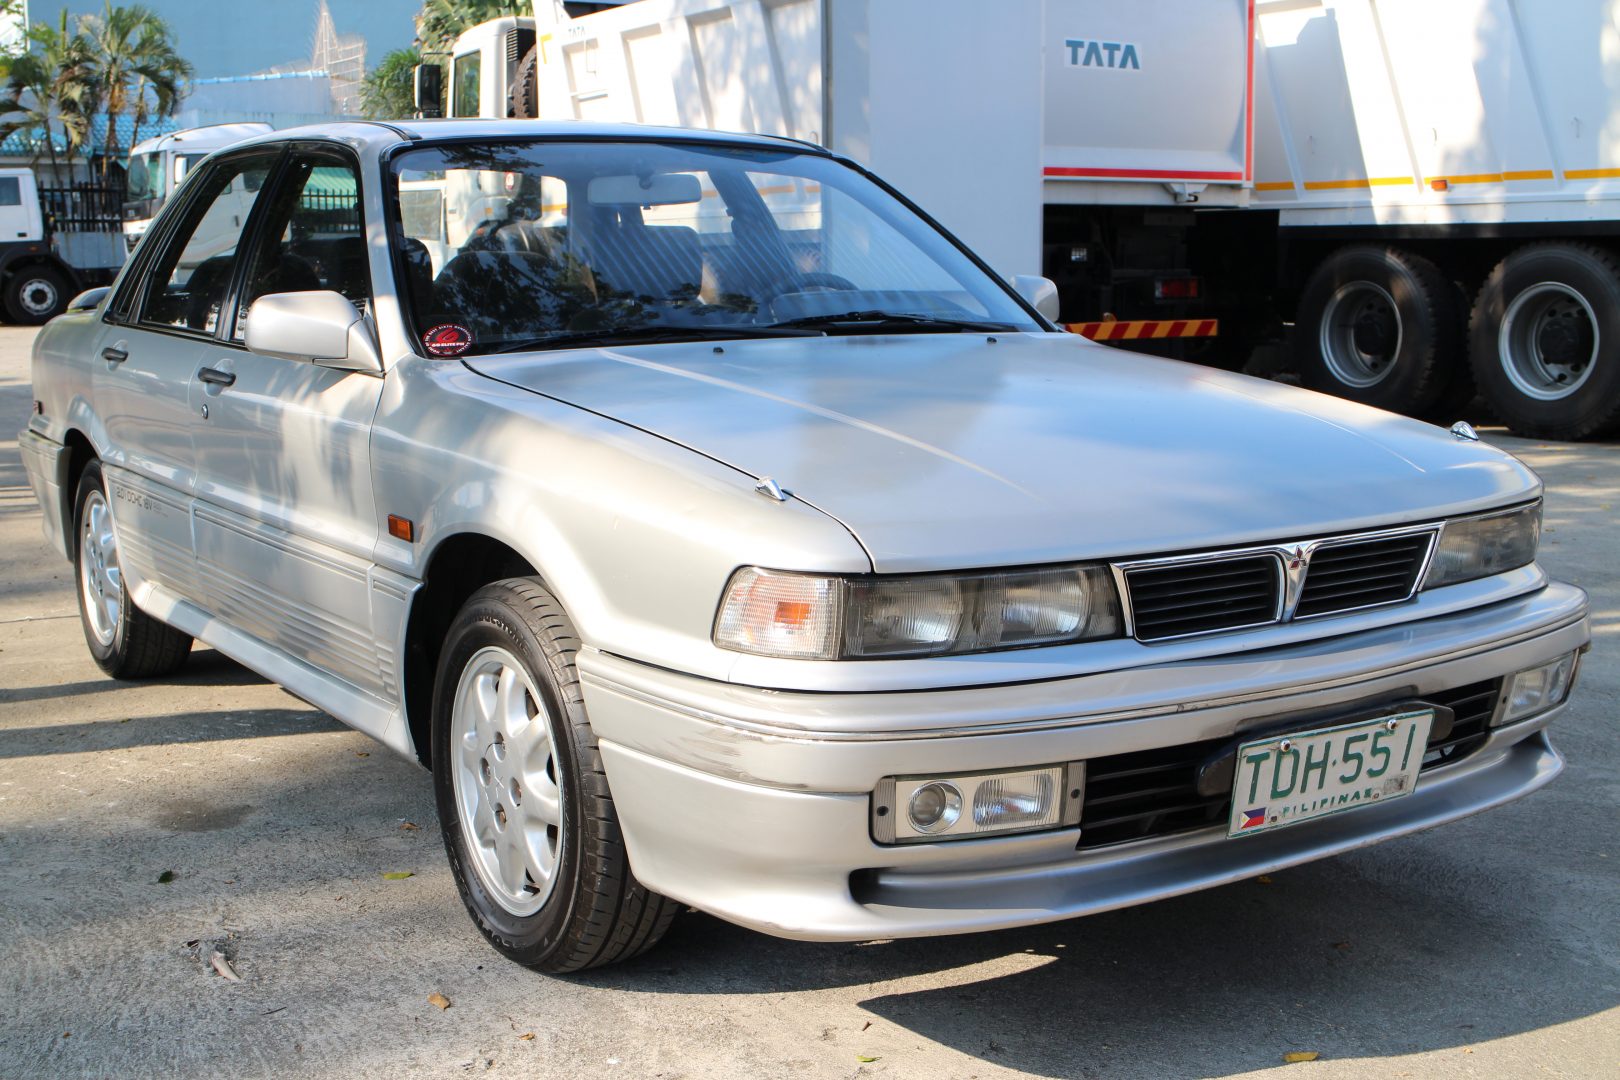
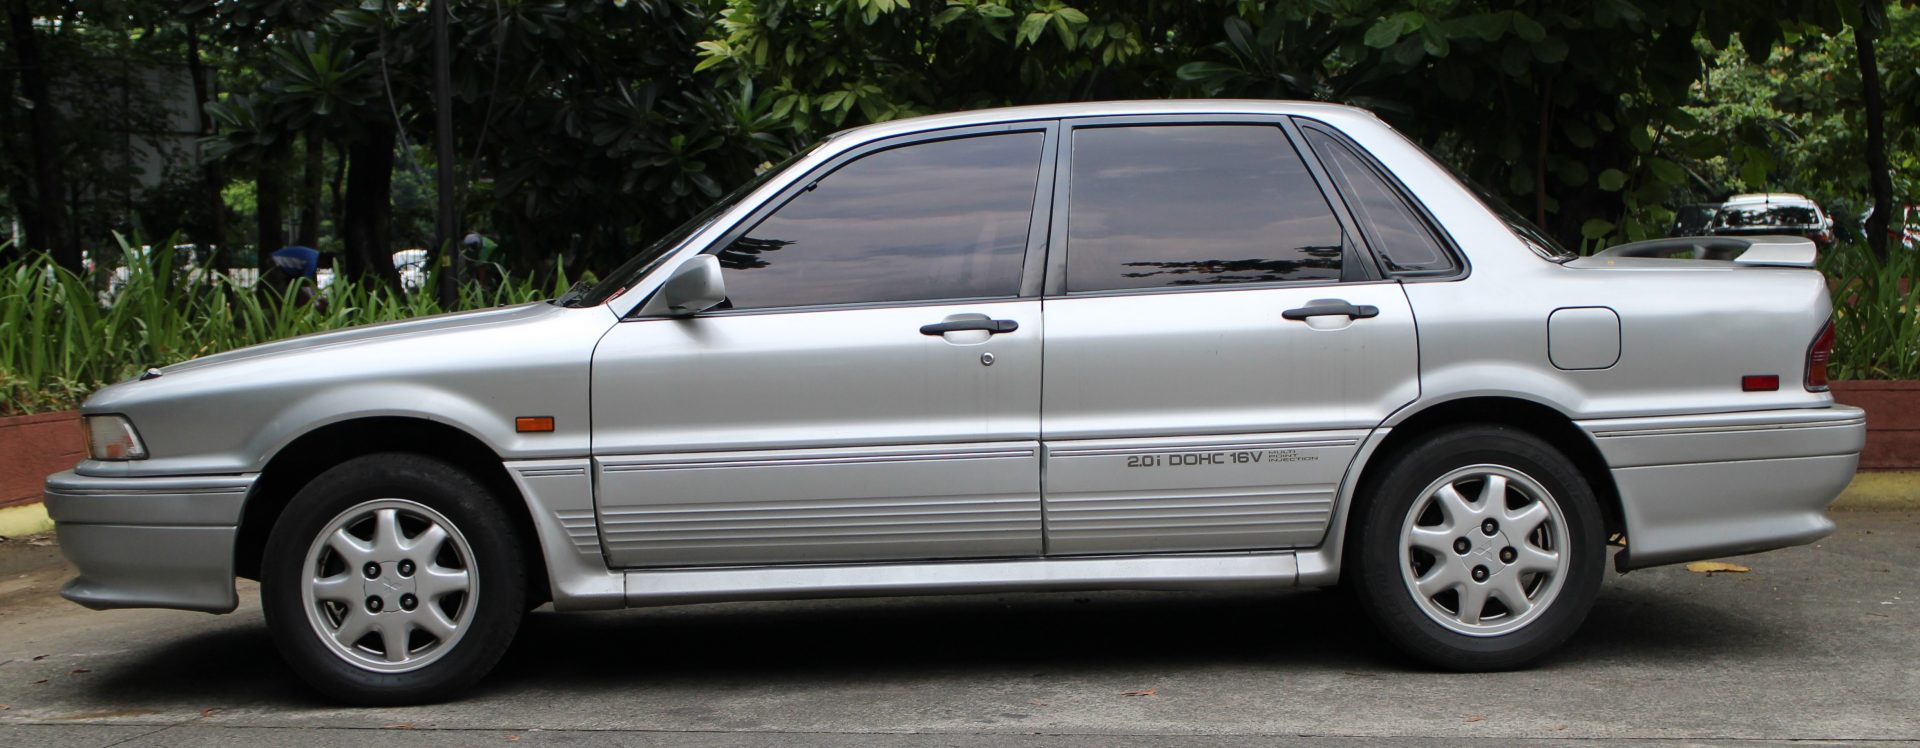
In June 2016, we stumbled upon a 1991 Mitsubishi Galant GTI on OLX Cars during one of our online searches. We drove to Paranaque and spoke with the seller, Dindo Gutierrez, who got it from his brother, who was the first owner. While it was mostly complete, straight and unmolested, the GTI came with a few issues. There were some small chips, dings and nicks around the body; the roof had a couple of unusual dents; the front bumper needed to be straightened; the left driving/fog light was broken; and the Sunbeam Silver Iridium paint needed a major respray.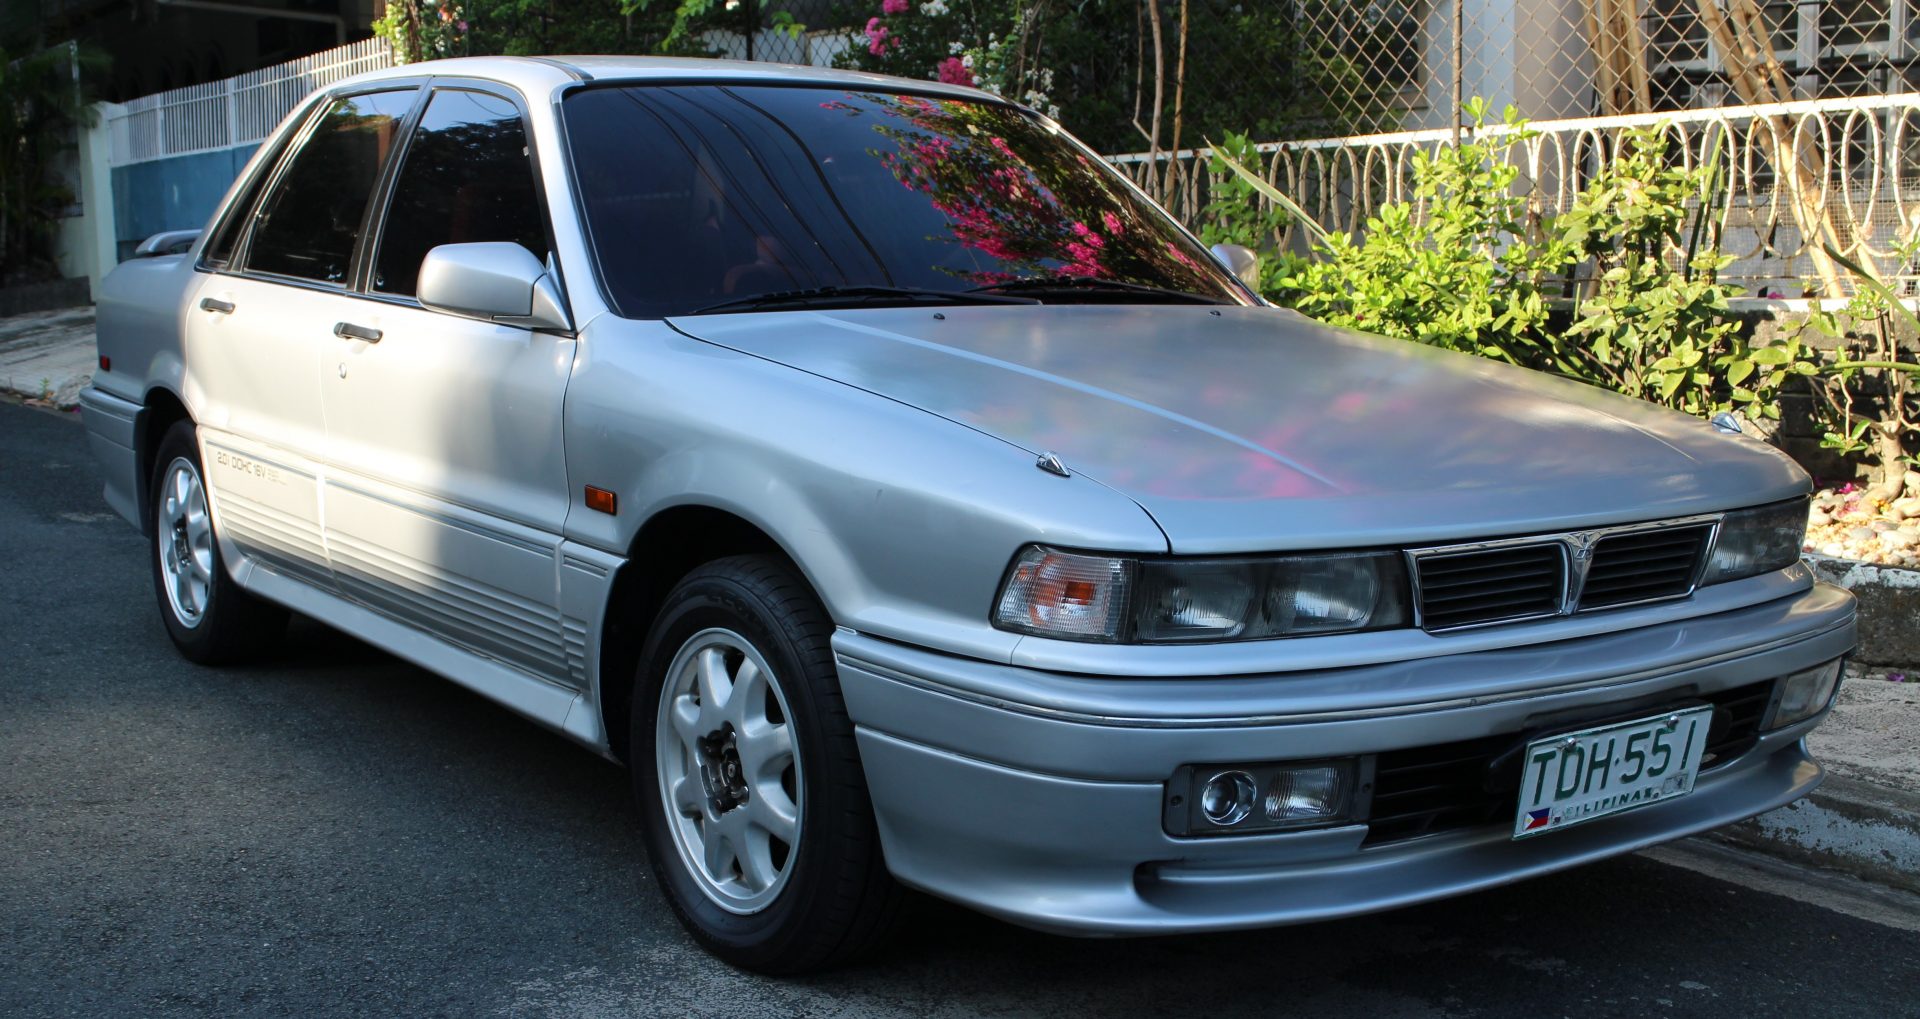 Inside, the interior was original and clean but the foam and grip of the steering wheel has cracked and deteriorated; the volume knob of the original Kenwood stereo was broken and was just glued on; and the cassette player does not work. The 4G63 engine emits a little white smoke and the tires were of different brands. We thought that these were easy fixes, so we got the GTI and said adios to our MPI.
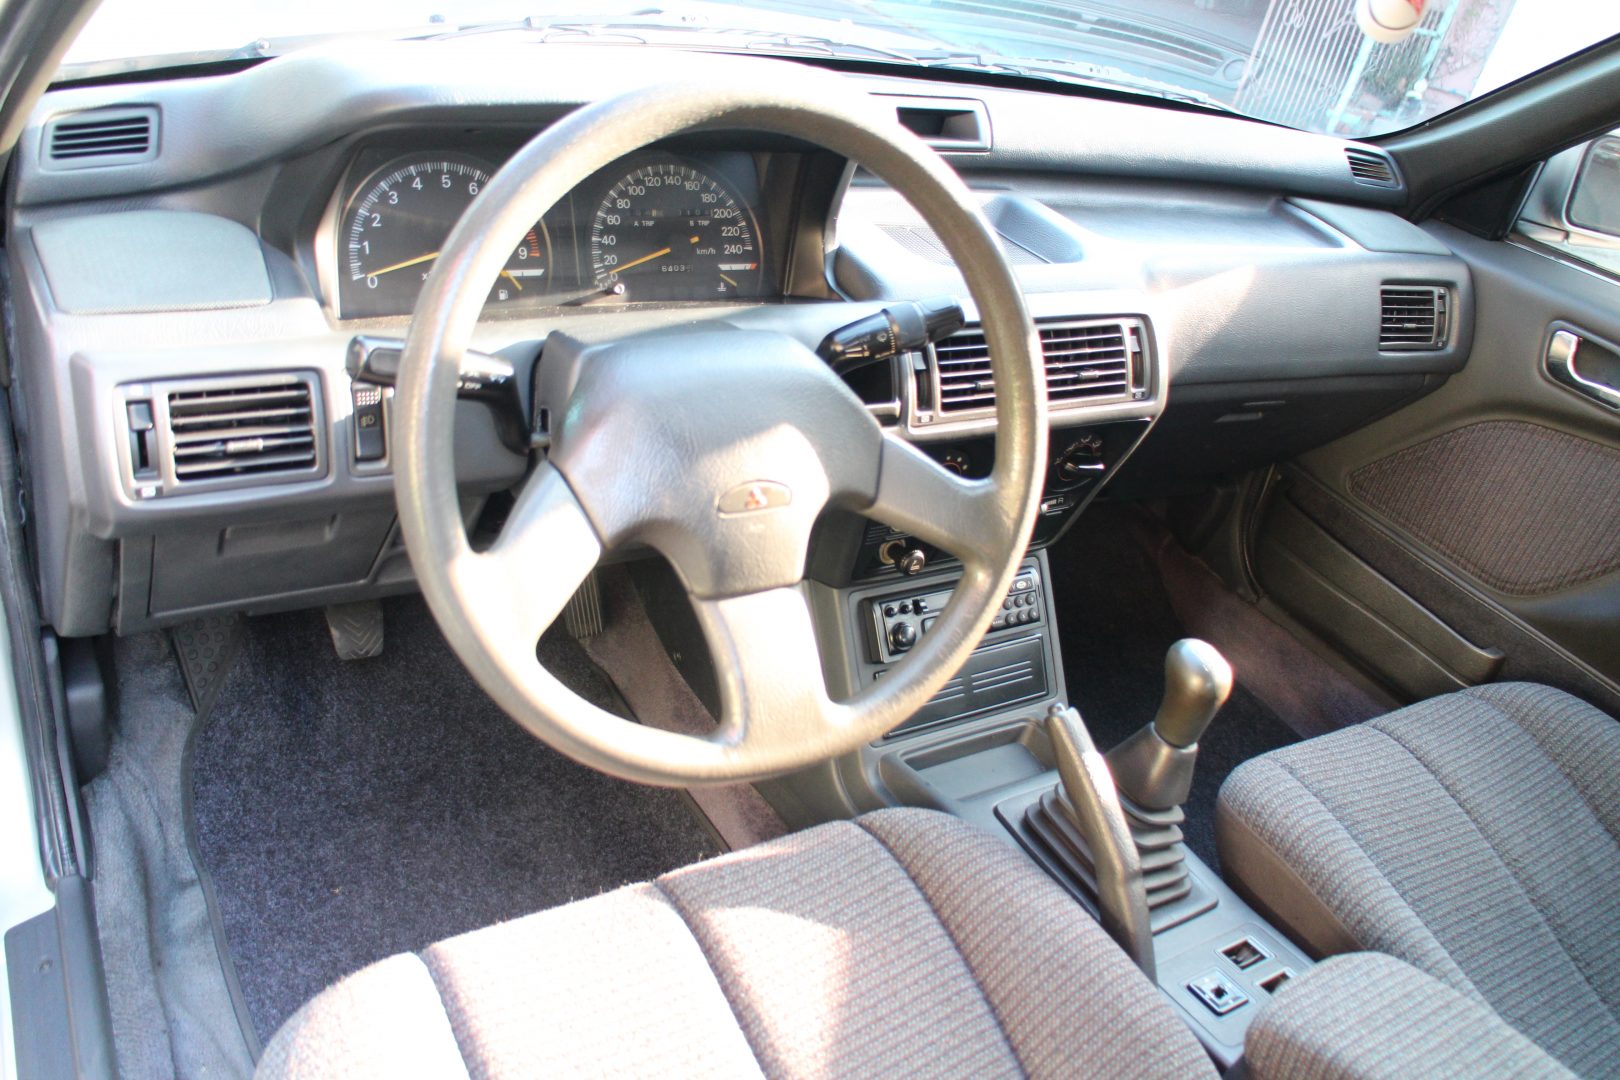
The interior was relatively original and intact.
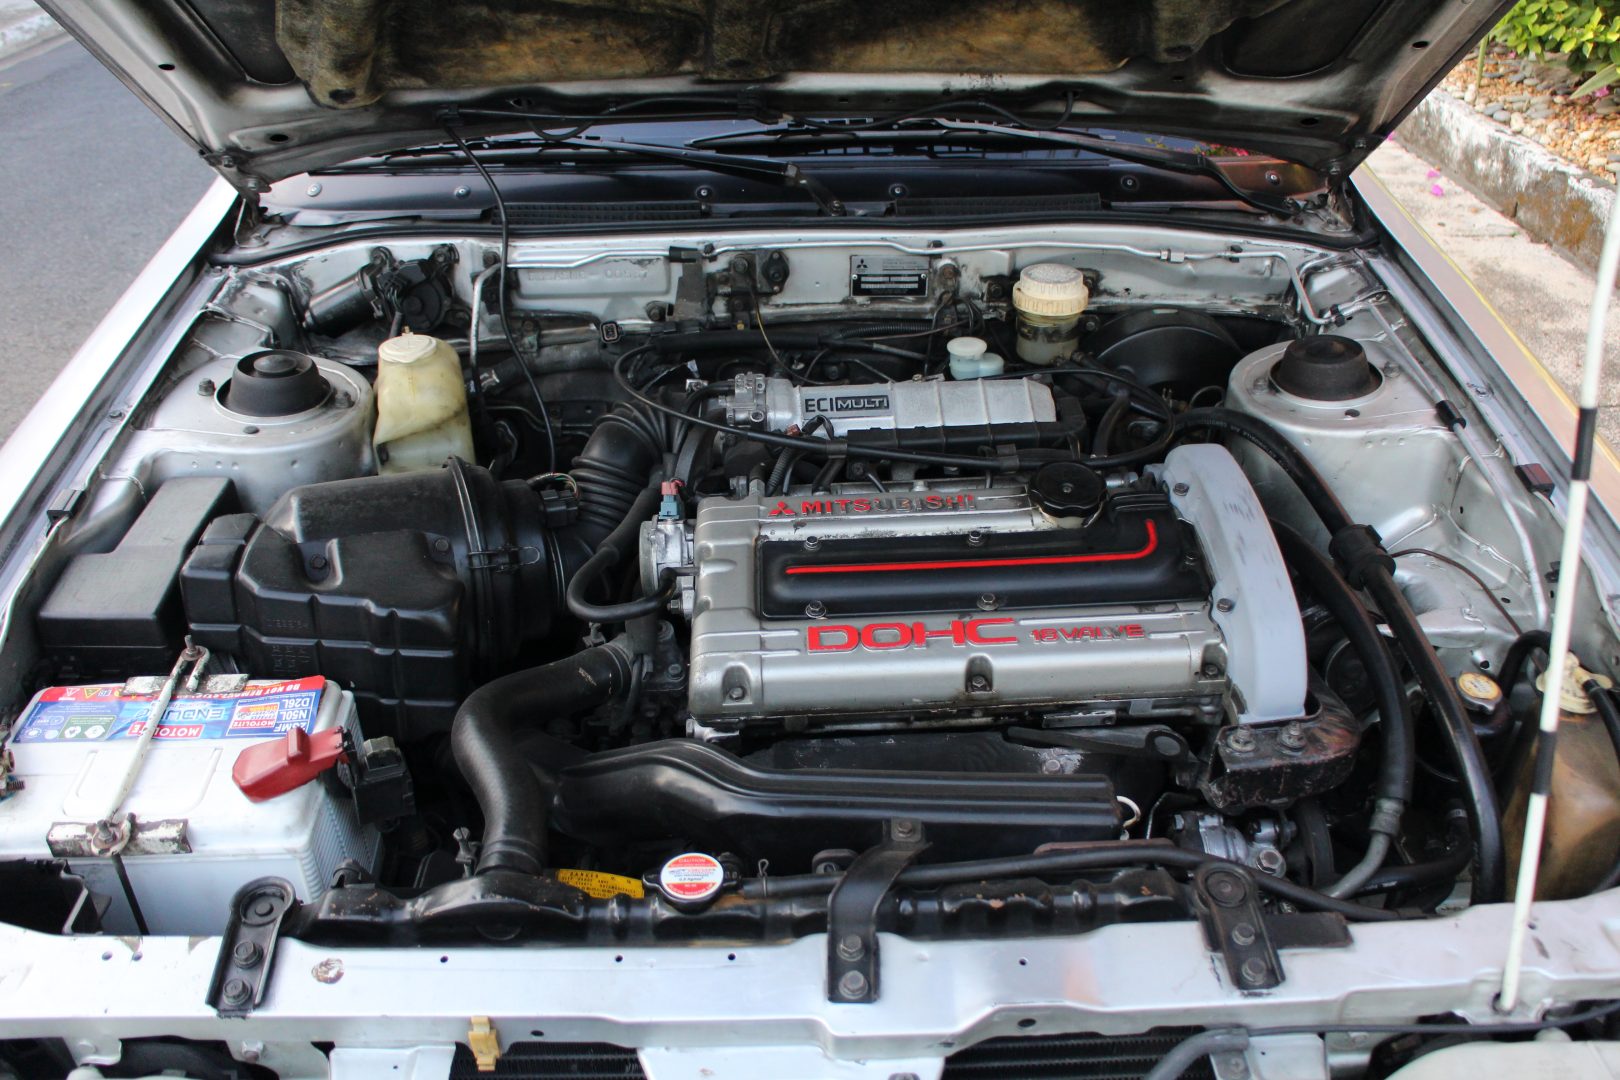
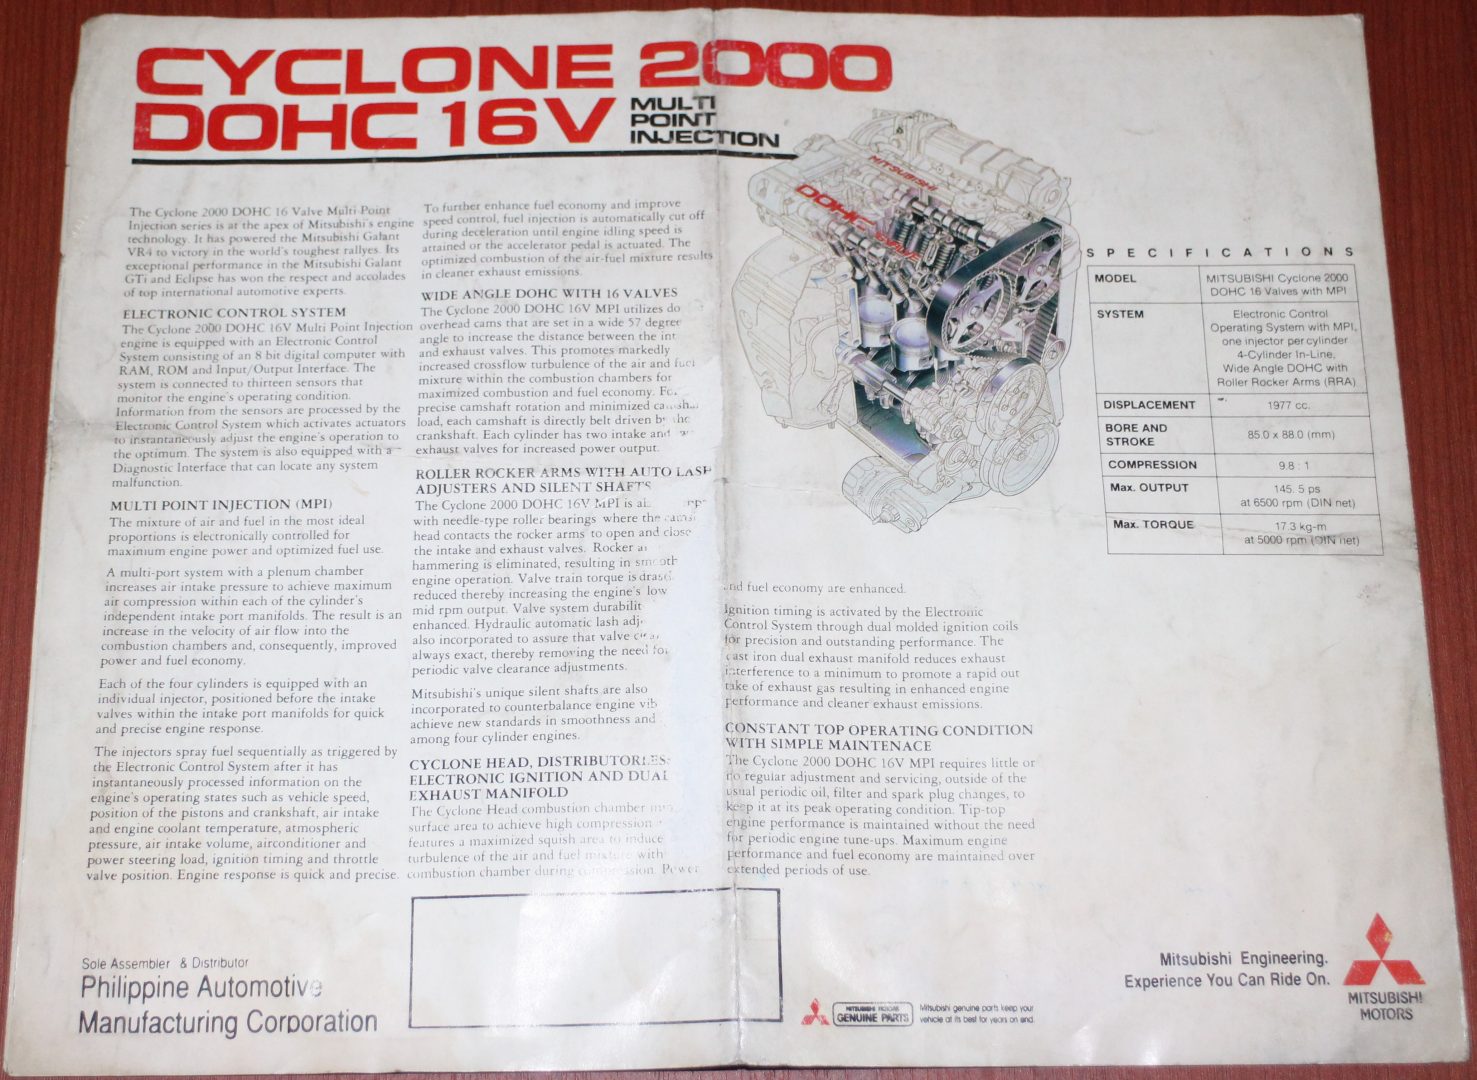
Original DOHC 16-valve 4G63 4-cylinder Cyclone engine
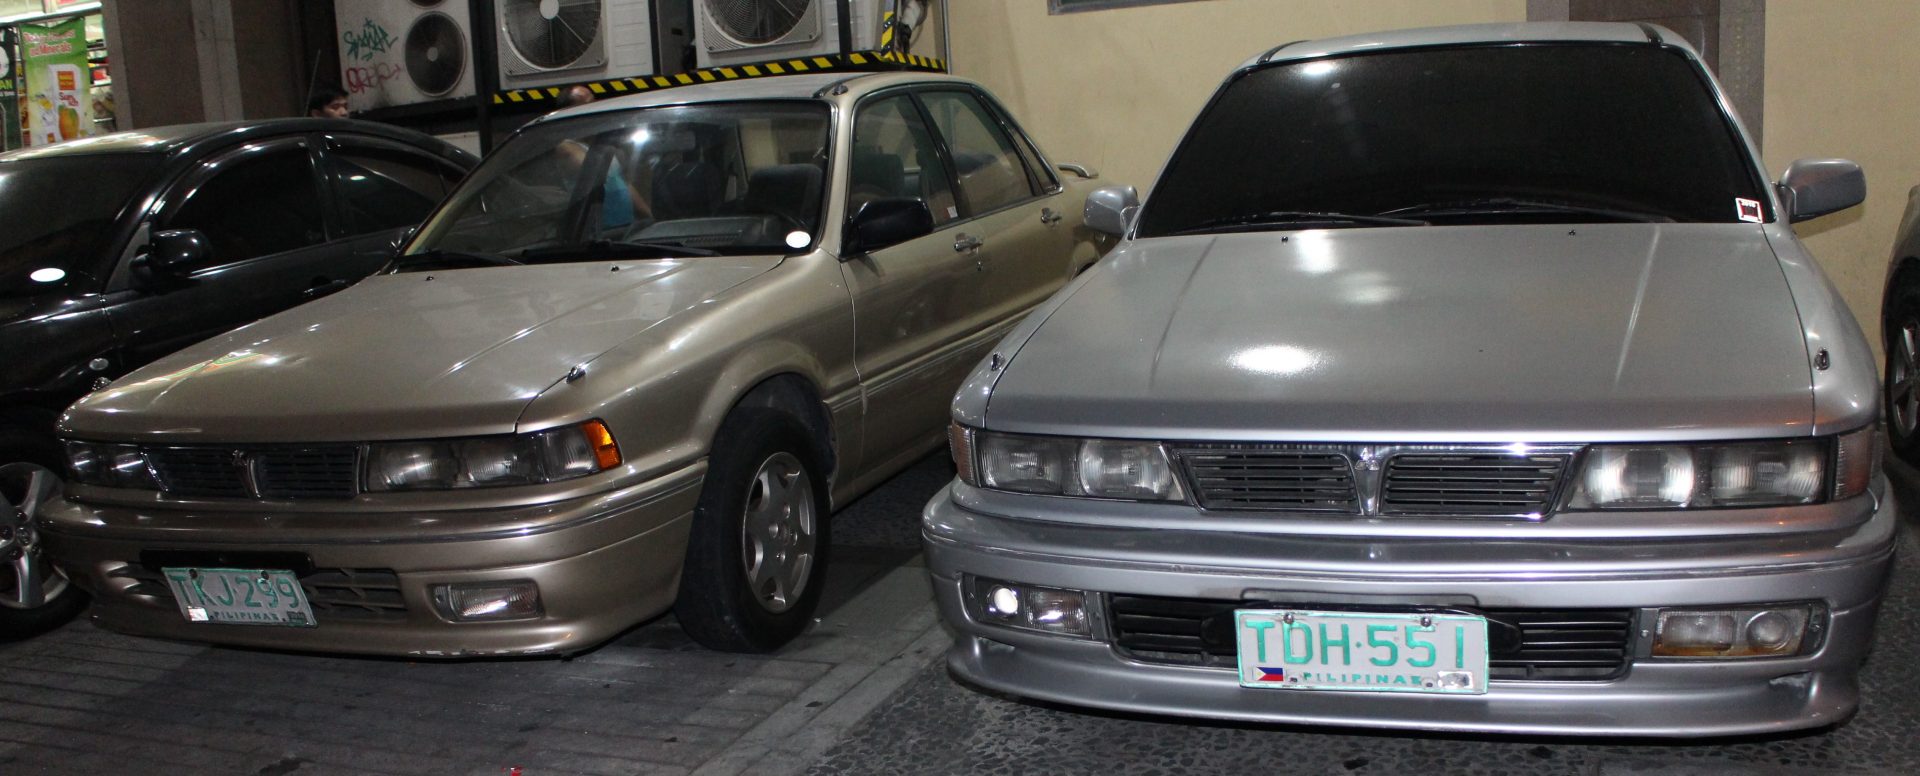
Goodbye, MPI! Hello, GTI!
Easy Fixes
Since our newly-acquired project car starts and runs quite well, we decided to do a rolling restoration and start with some minor cosmetic repairs. We bought a set of original Asahi center caps from E39A (VR-4) enthusiast Brian dela Cruz, and replaced the missing caps of all four wheels. Then, we removed the fog lights and sent them to 6G Elite PH GTI guru Jonas Silvestre Constantino for restoration.
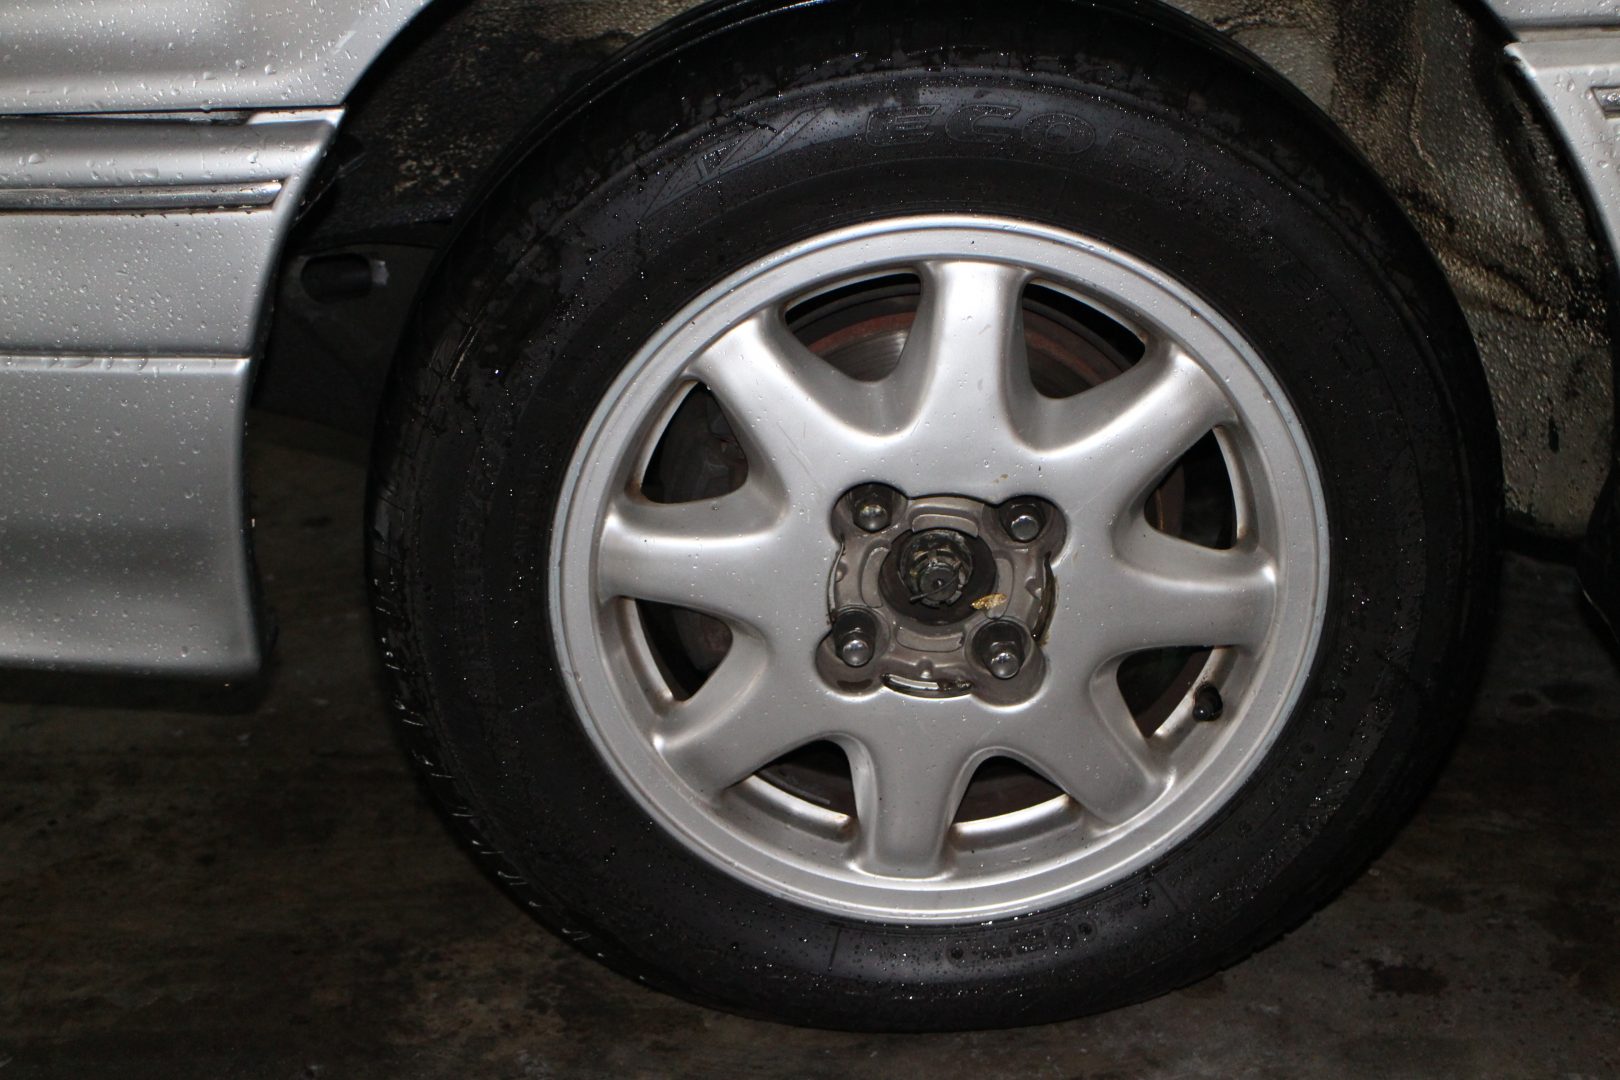
The center caps were missing on all wheels.
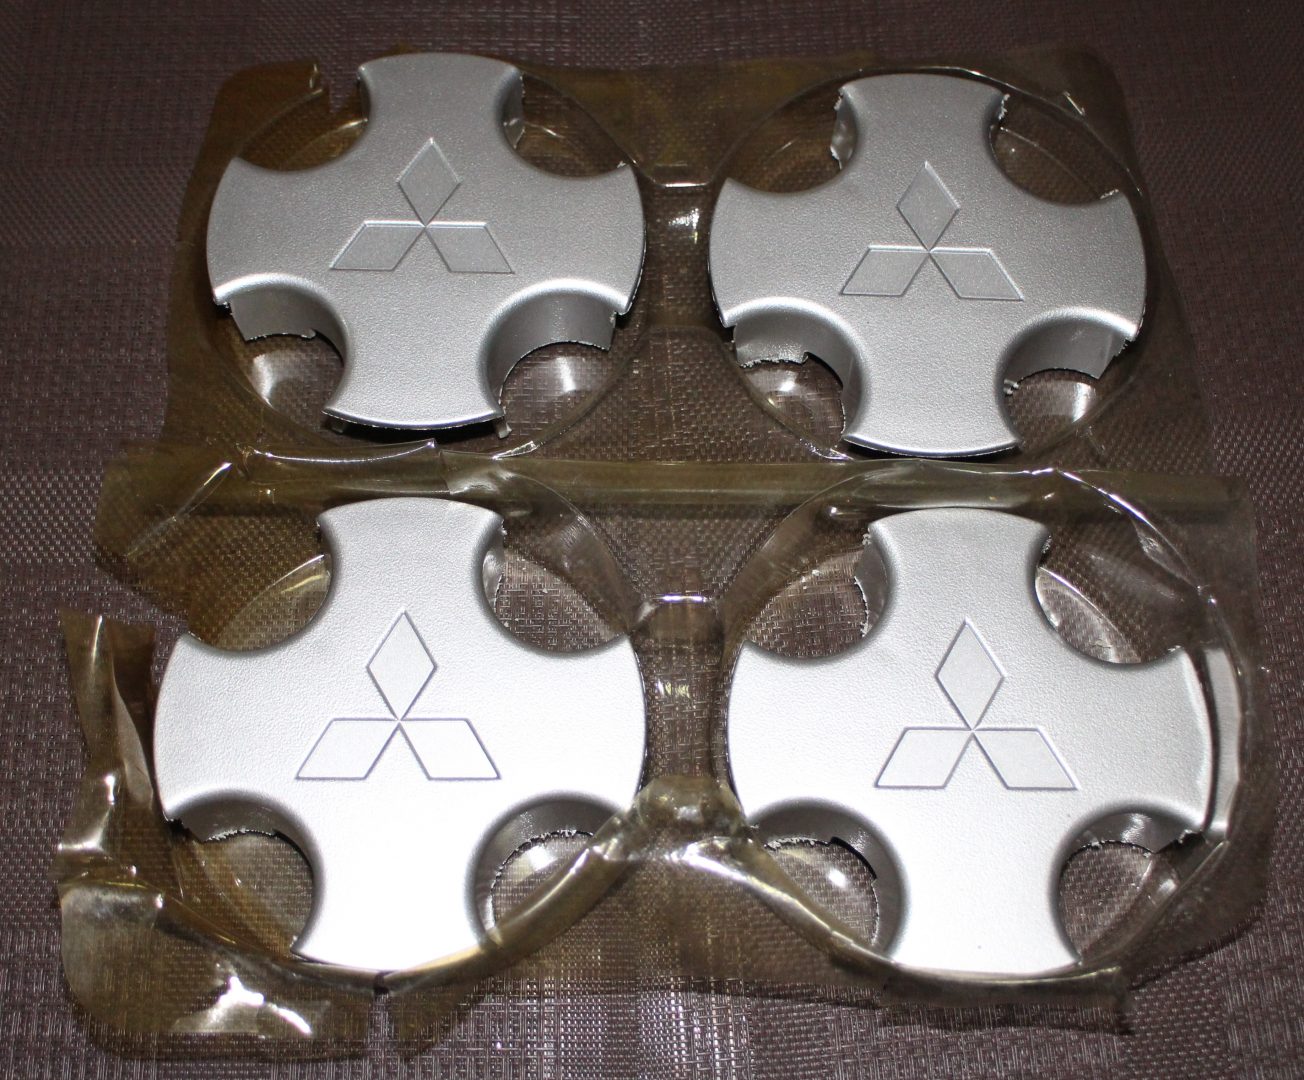
Original Asahi center caps
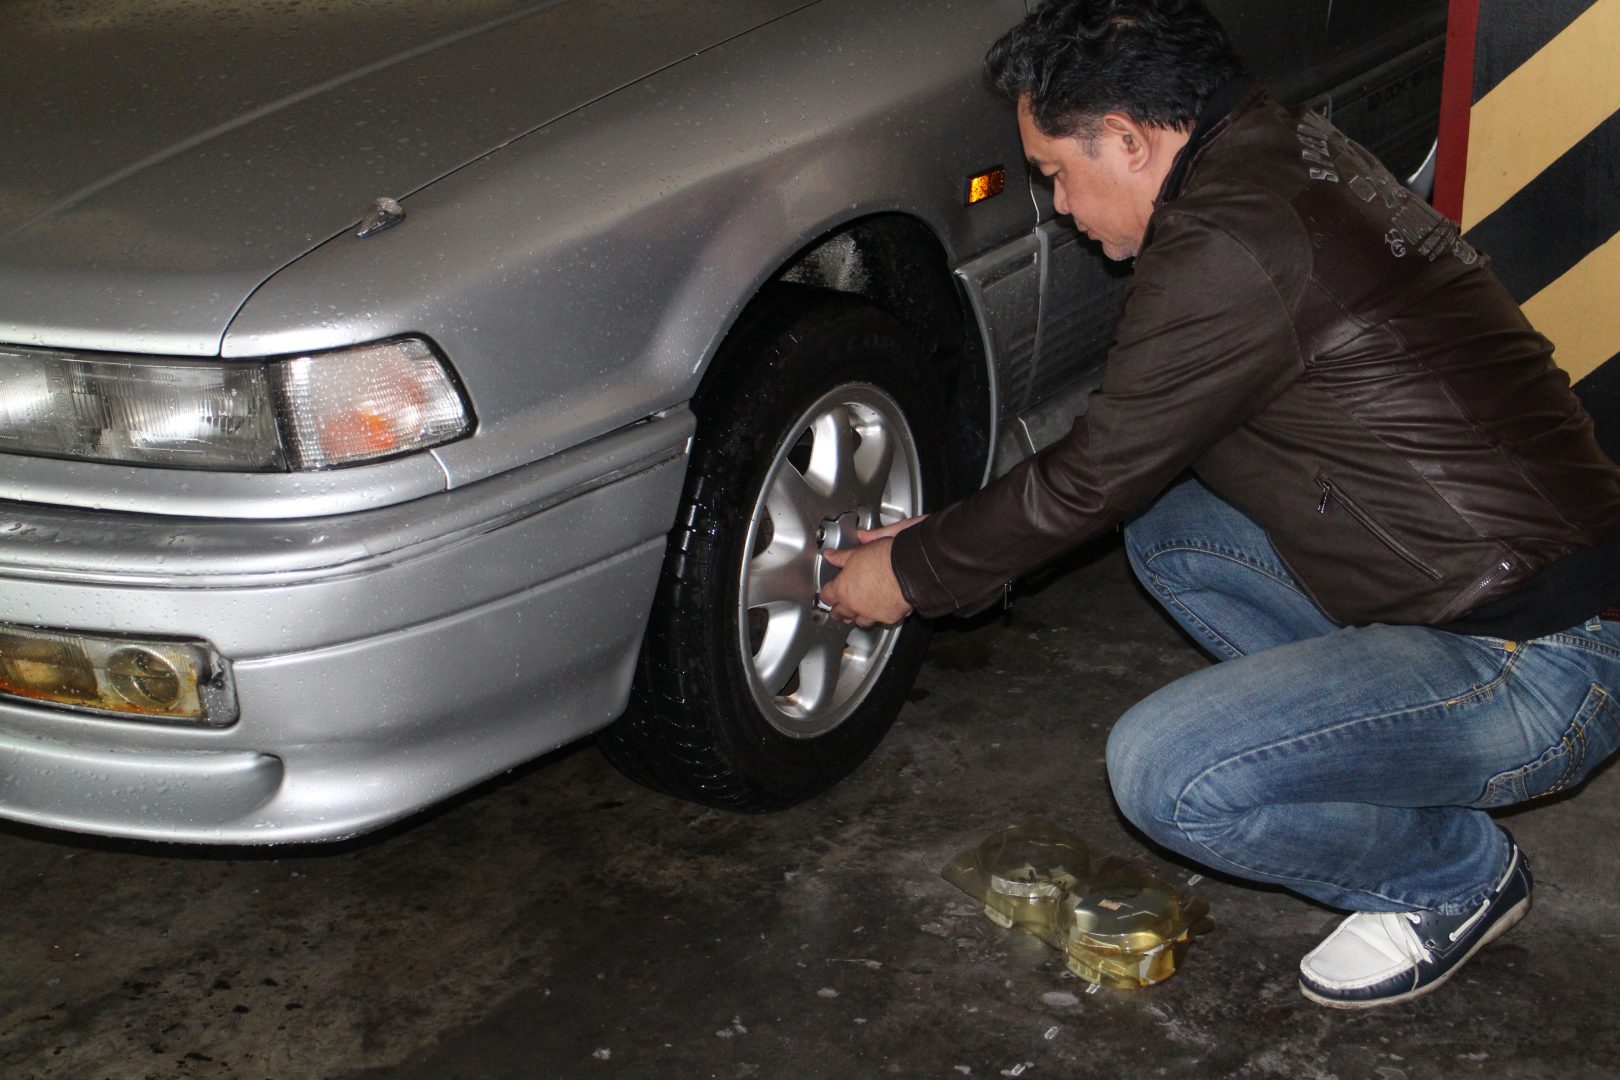
Just a light tap is needed…
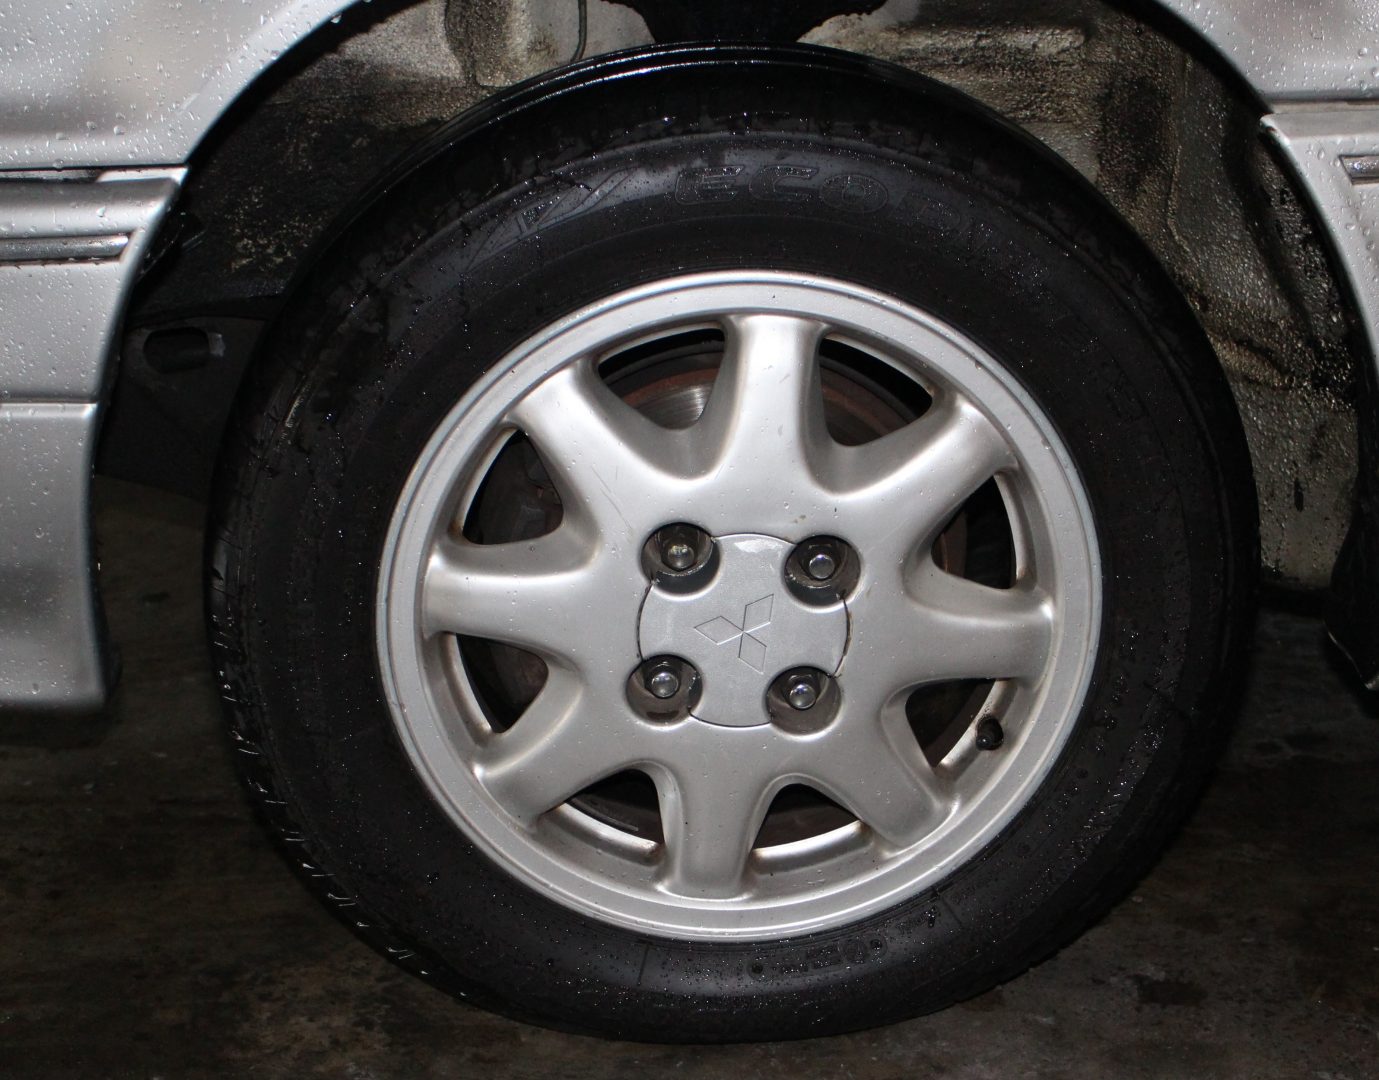
… to install the center cap…
… and our GTI looks better already!
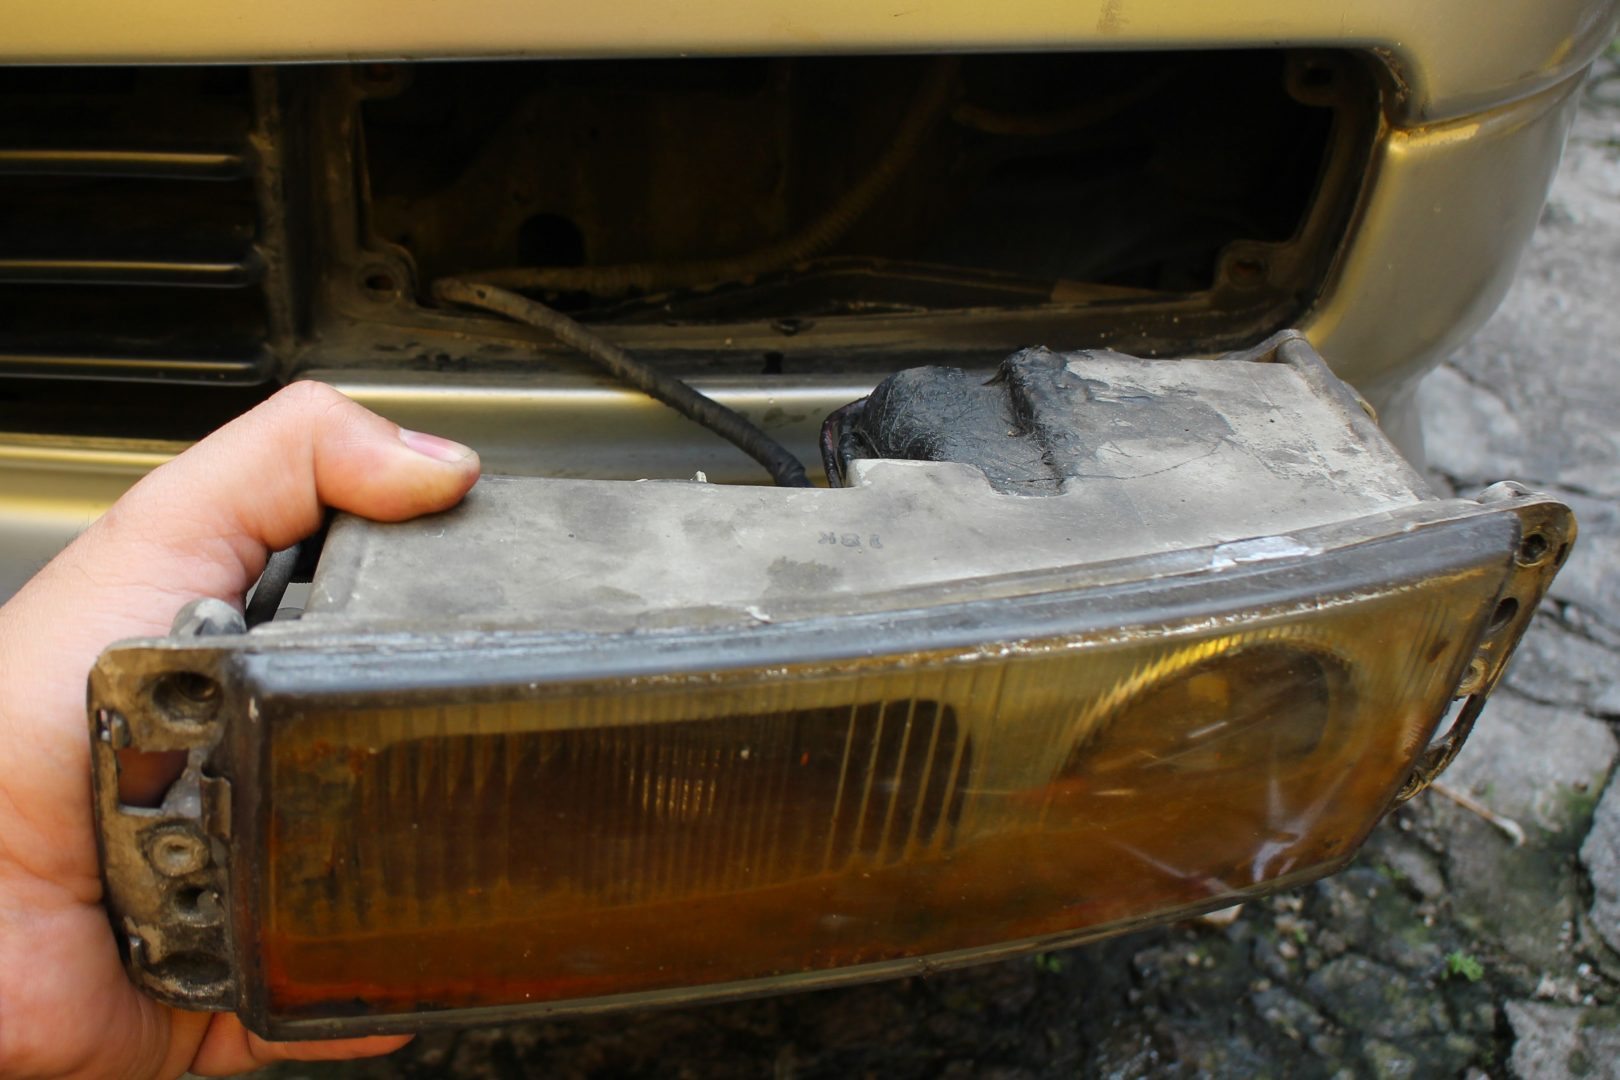
Rusty left front fog light assembly
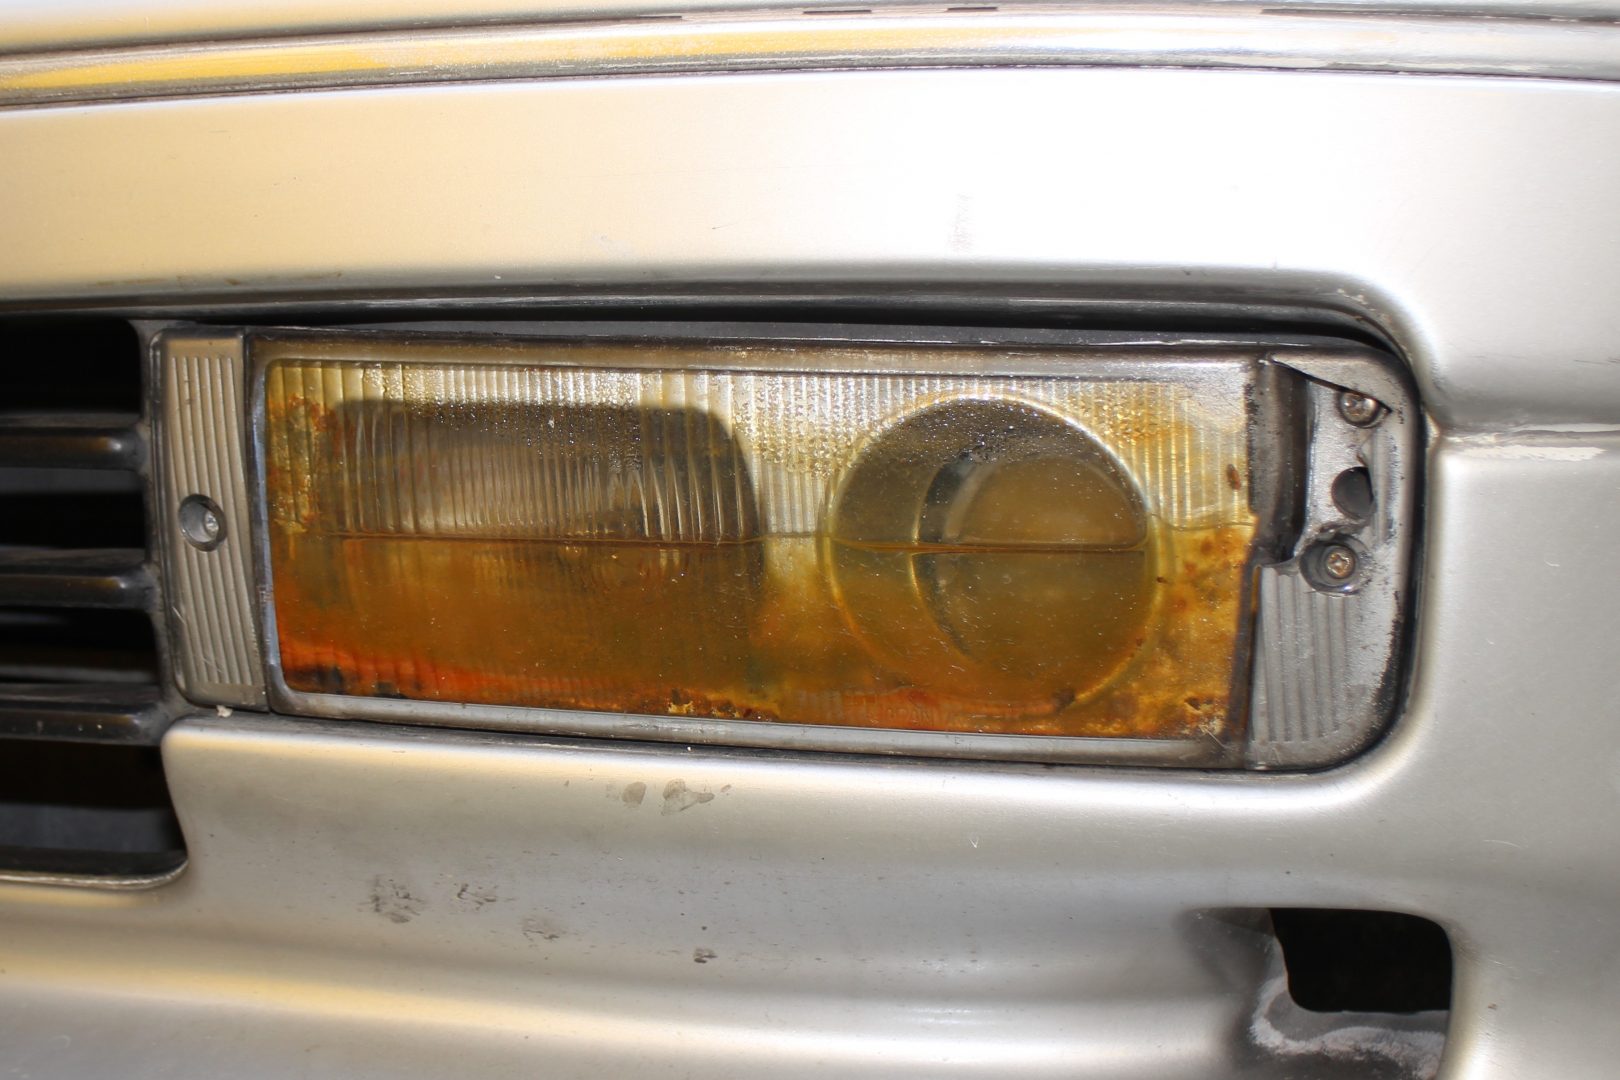
Broken outer end tab cover
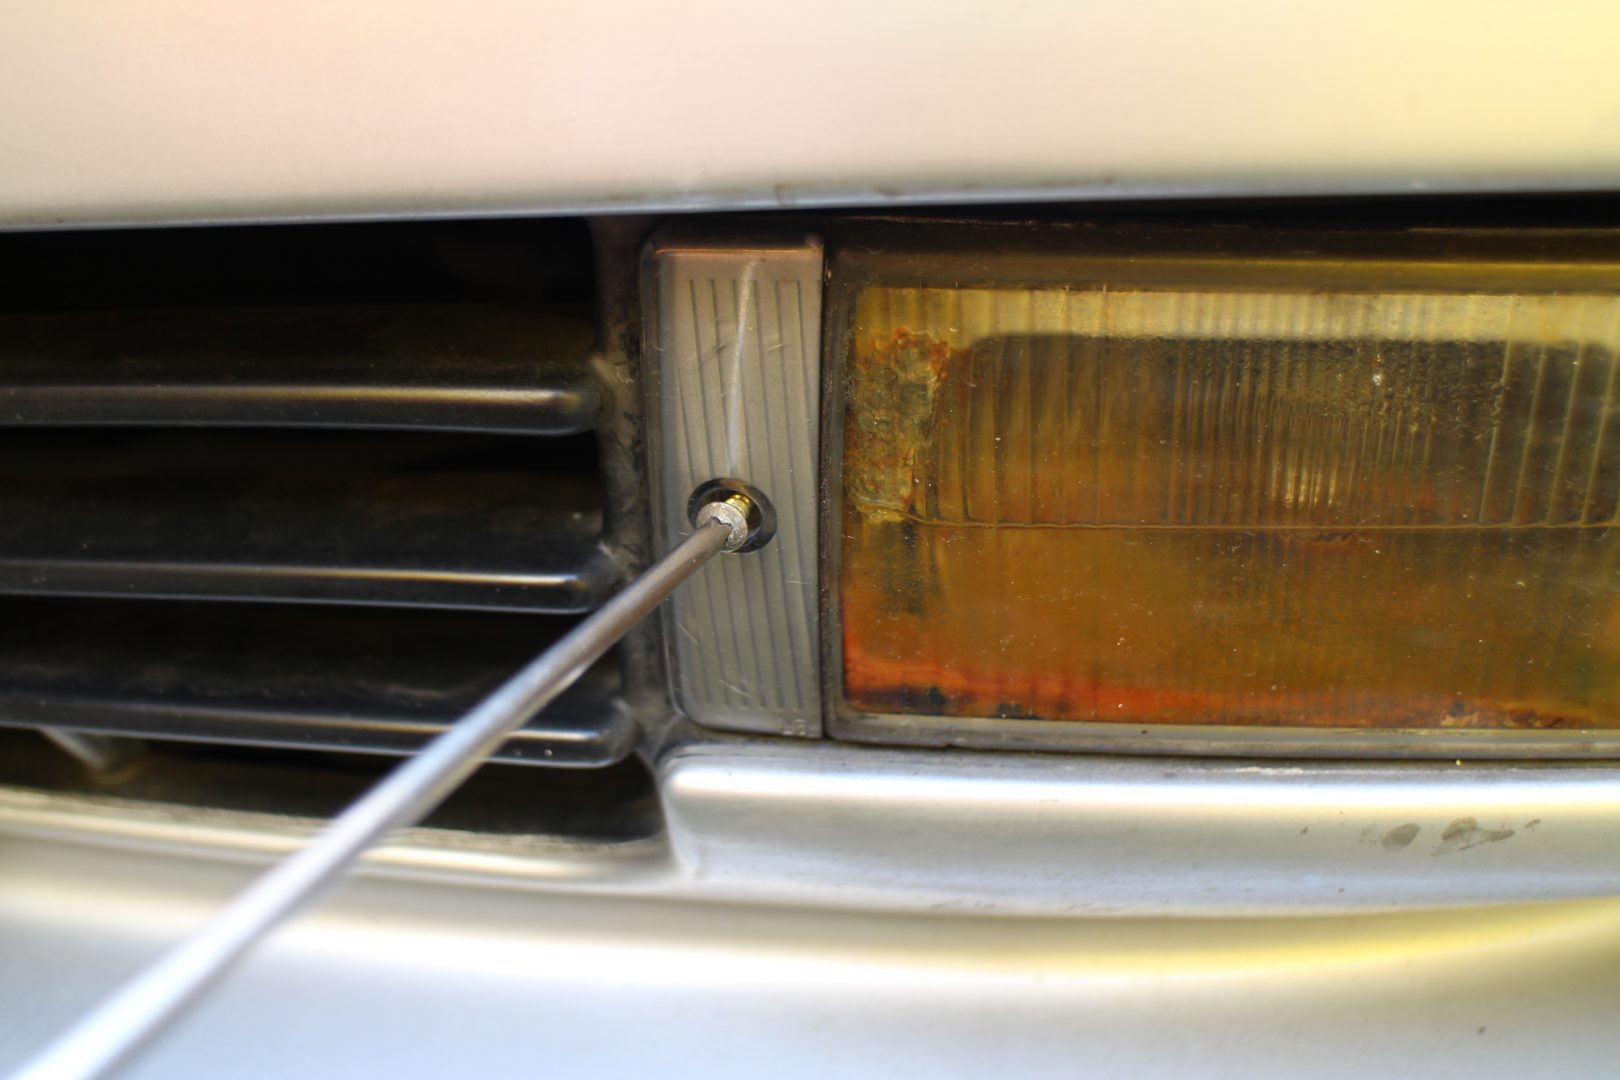
Unscrew the left and right end tab covers to get to the retaining screws.
Unscrew the left and right end tab covers to get to the retaining screws.
Not-So-Easy Fixes
In September 2016, the front hub bearings needed replacement so we took our GTI to Wheeler’s Suspension Haus along Nicanor Roxas Street near Banawe, Quezon City. It took the Wheeler’s mechanics just a little over an hour to finish the repairs.

Mechanics removed the hub assembly from the front suspension.

With the hub out, the drive shaft and suspension were checked.
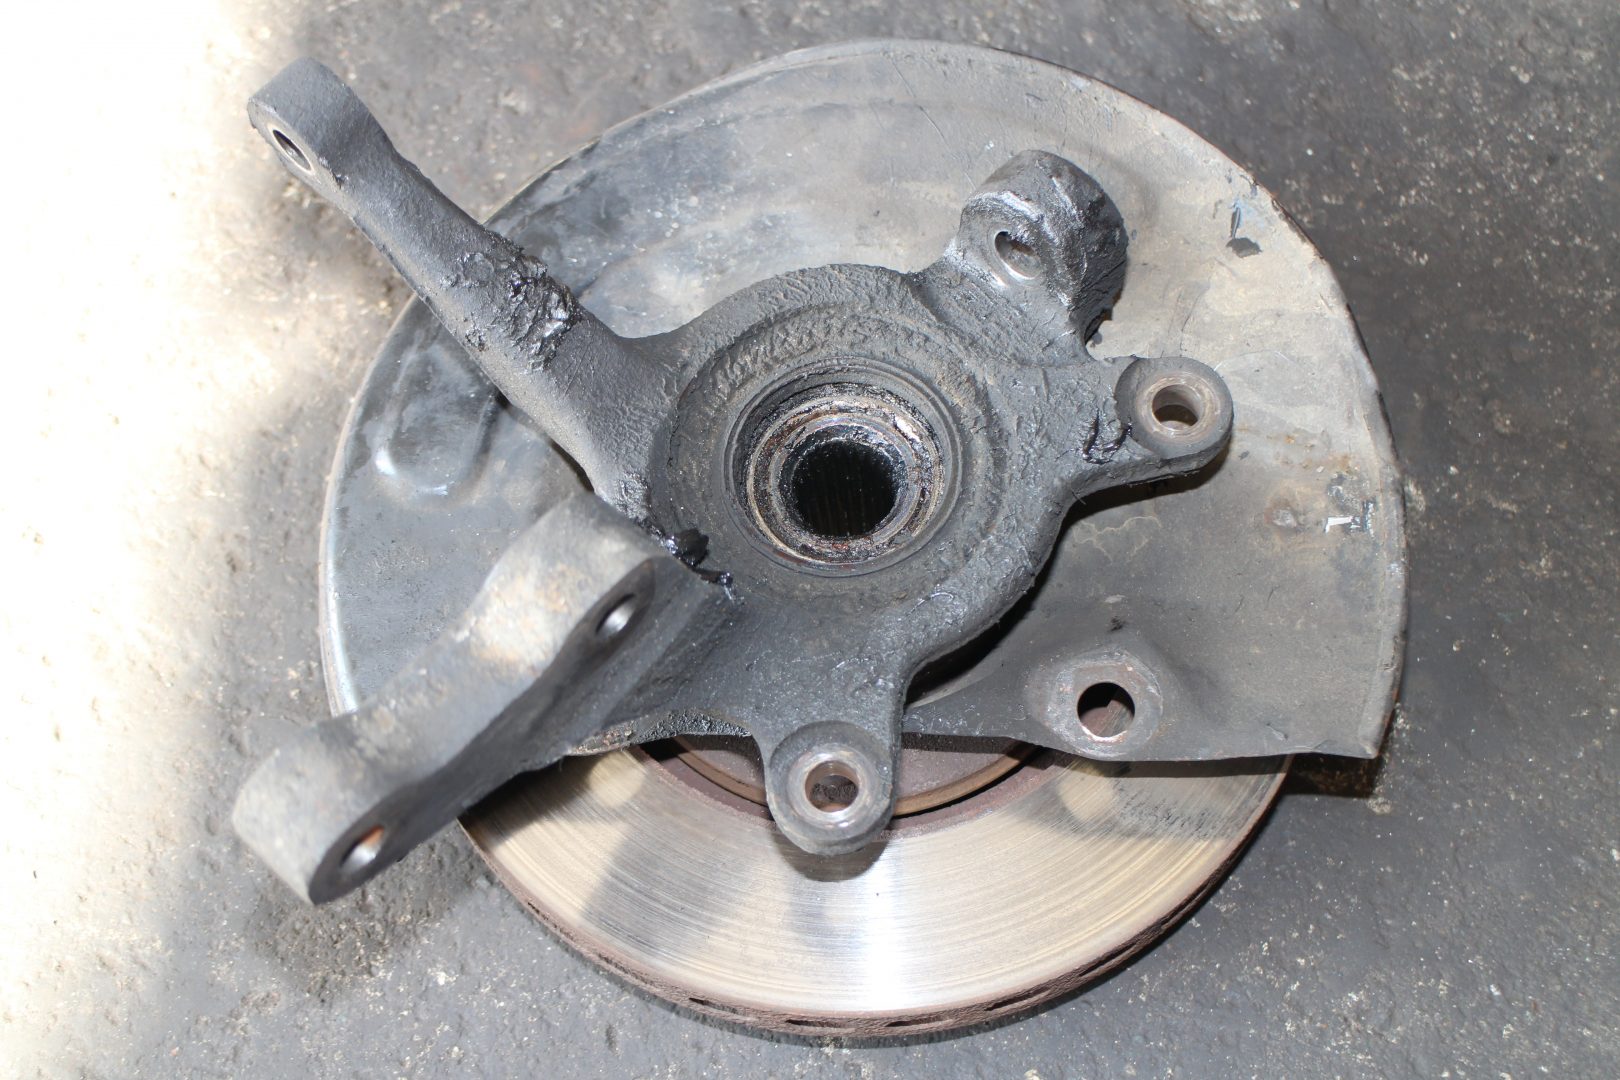
The front wheel hub assembly
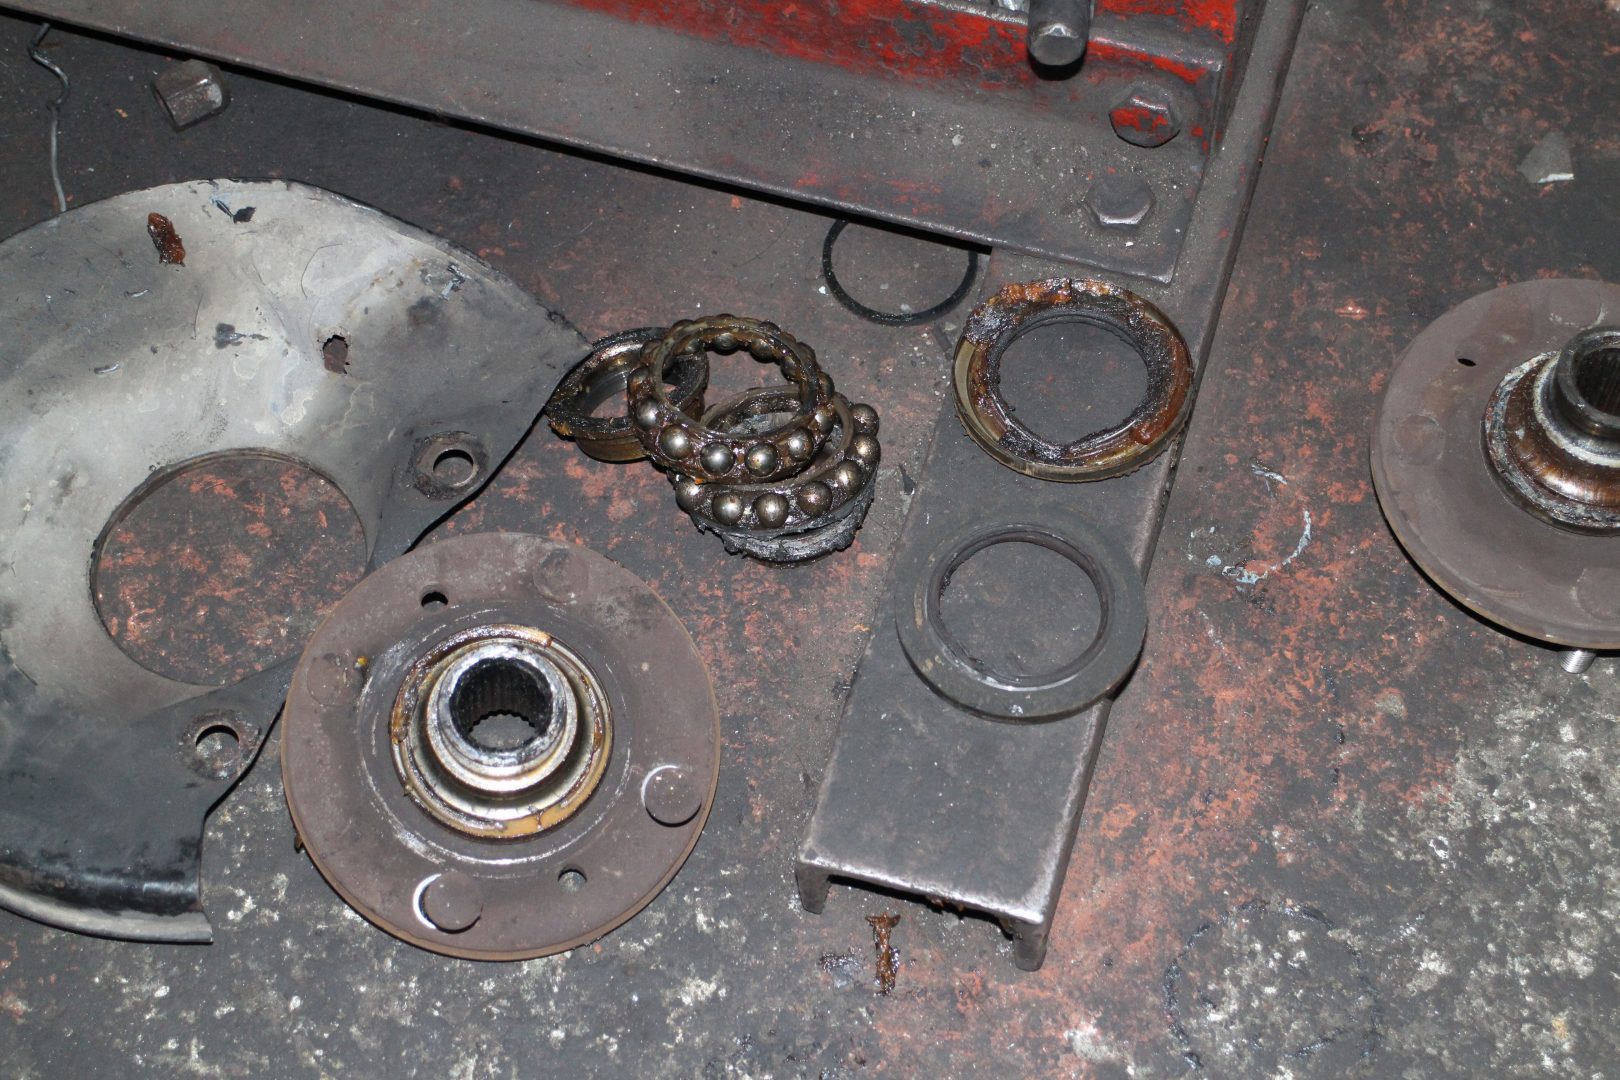
Old, worn-out bearings
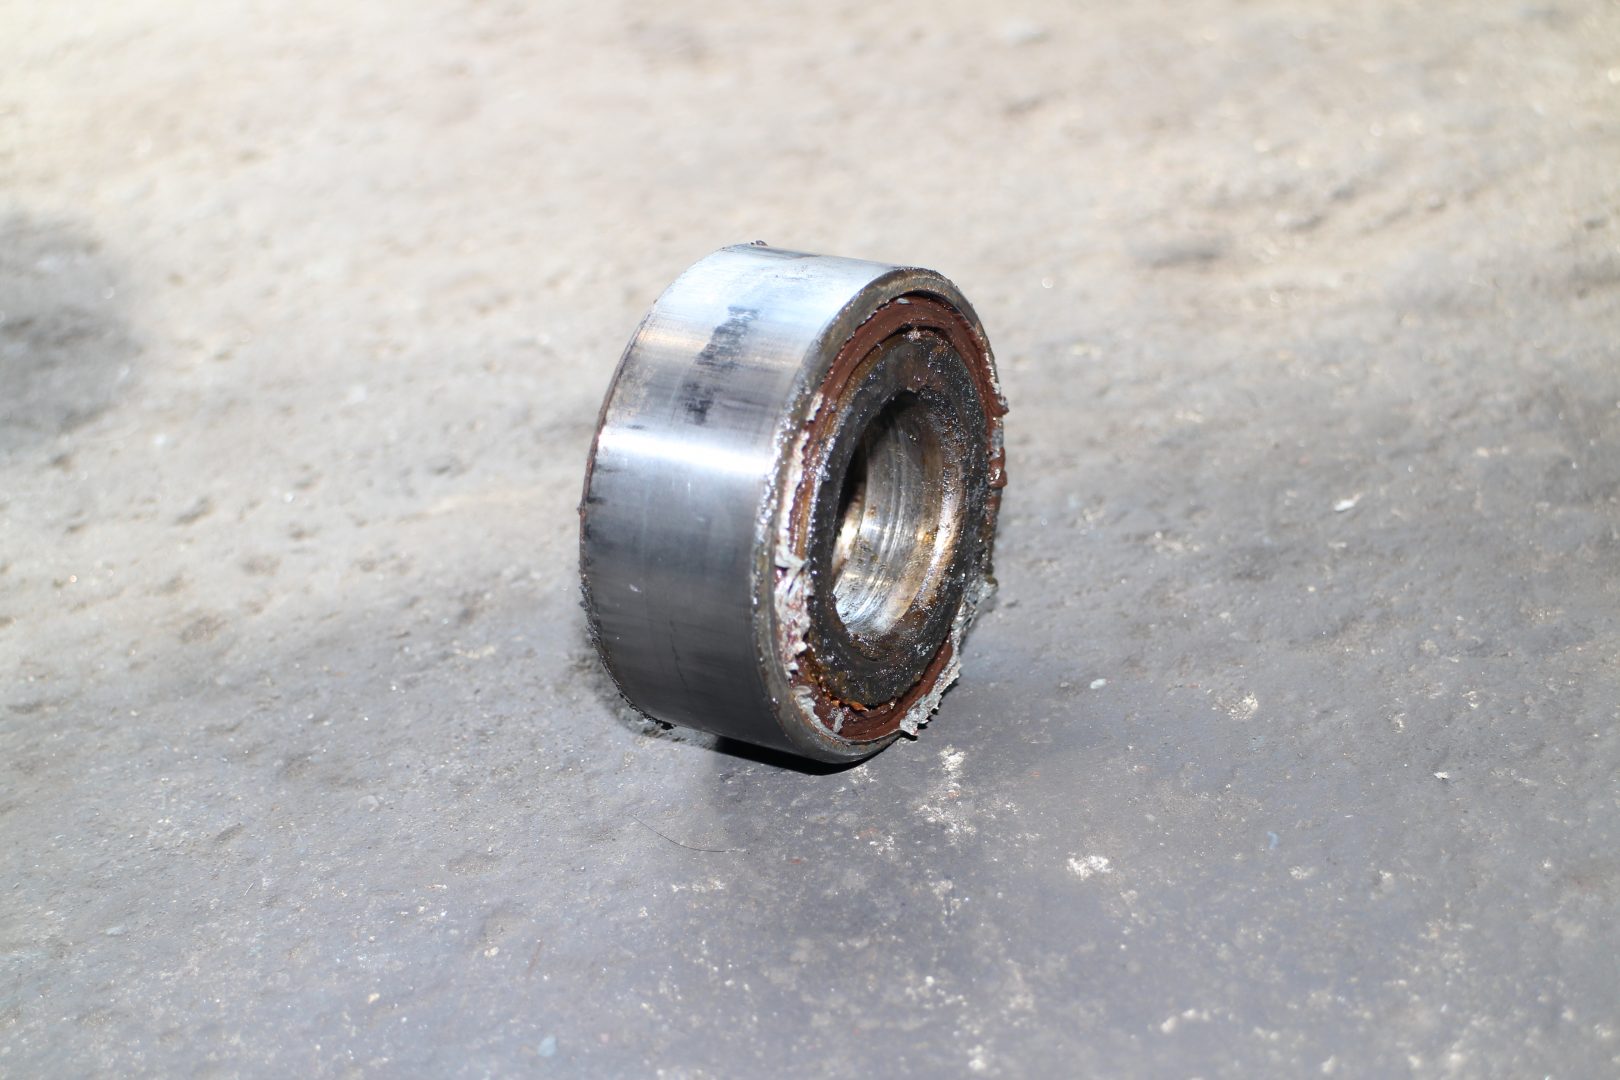
Old front bearing needed replacing, too.
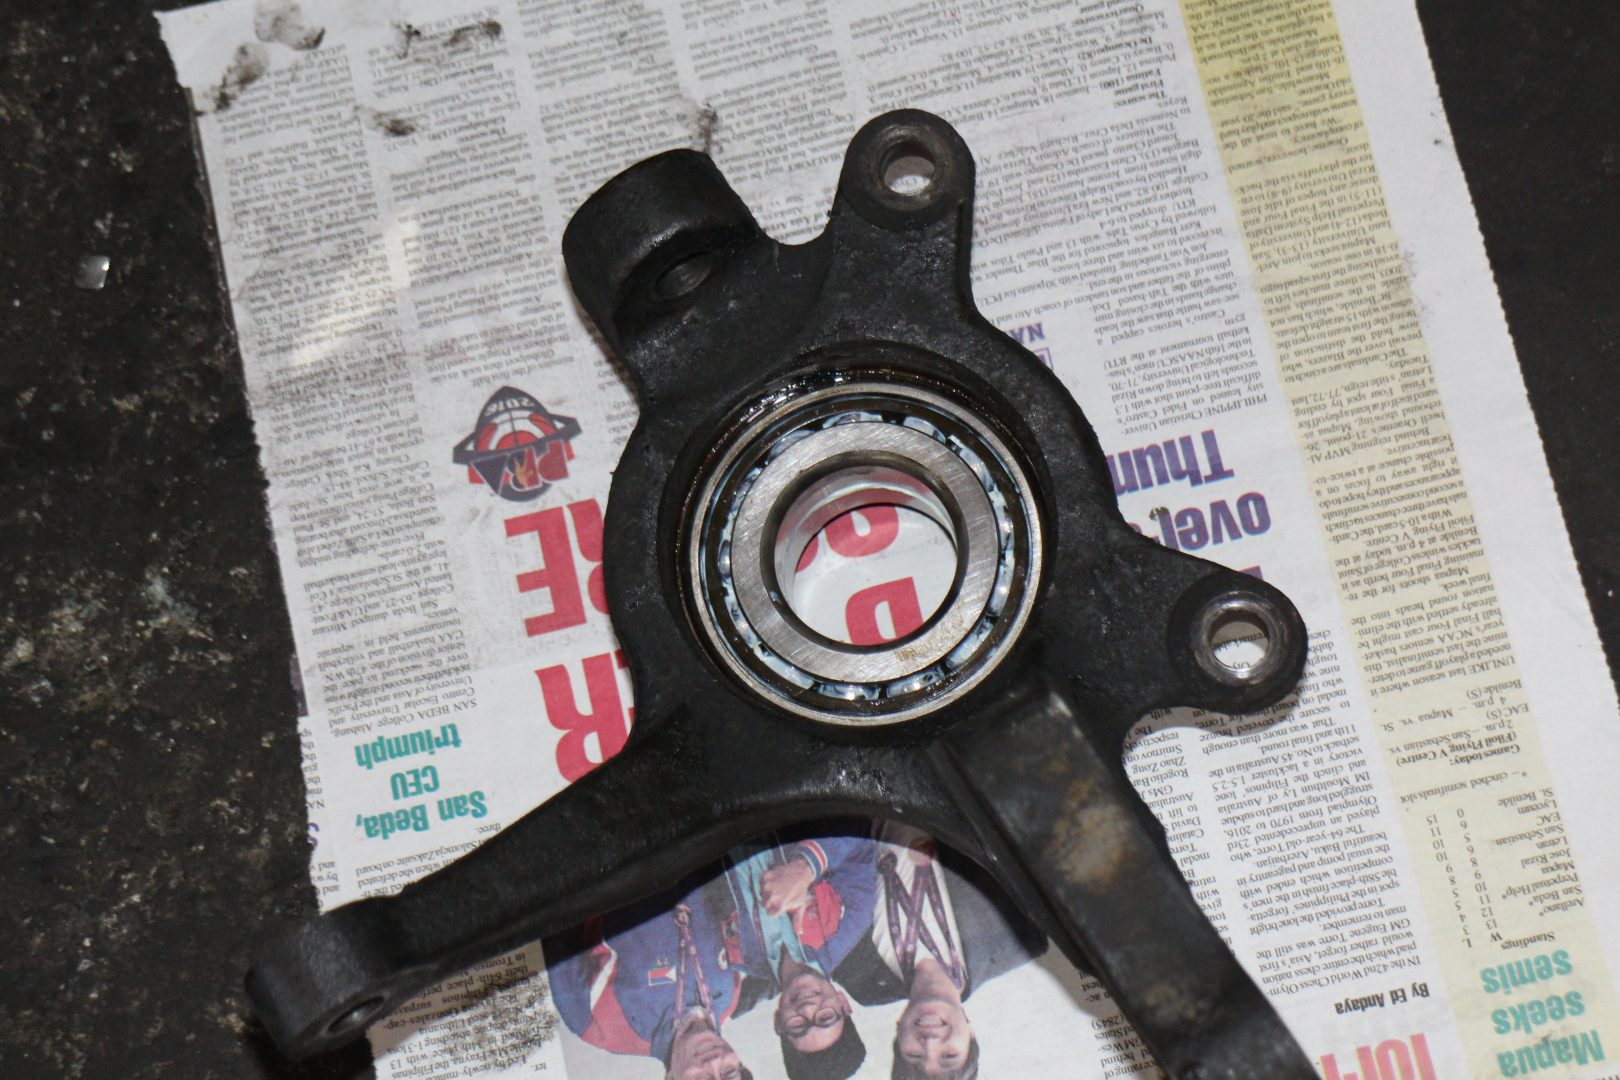
Pressed-in new Koyo bearings
In October 2016, the alternator needed servicing so we took our GTI to Yock’s Auto Electrical Repair Shop and Auto Supply along Roosevelt Avenue in San Francisco Del Monte, Quezon City.
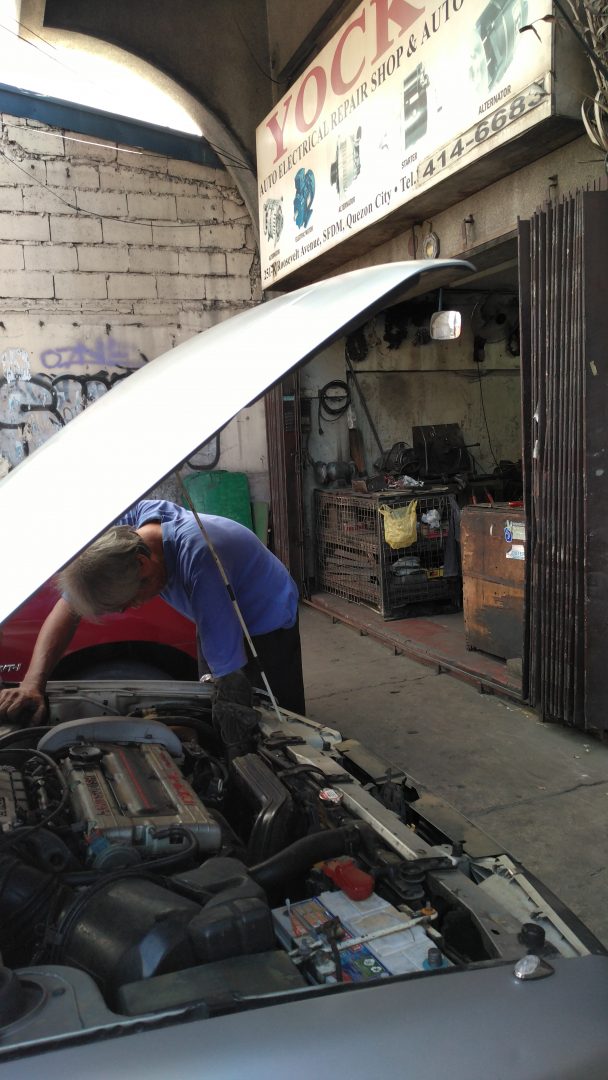
Yock’s technician starts removing the alternator…
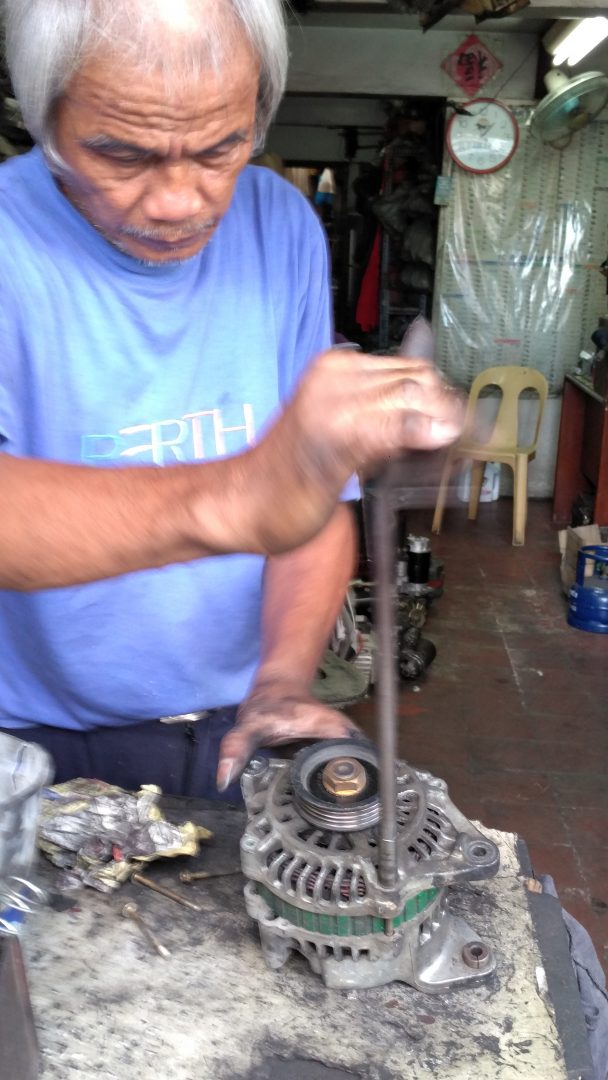
… and then disassembles it on his workbench.
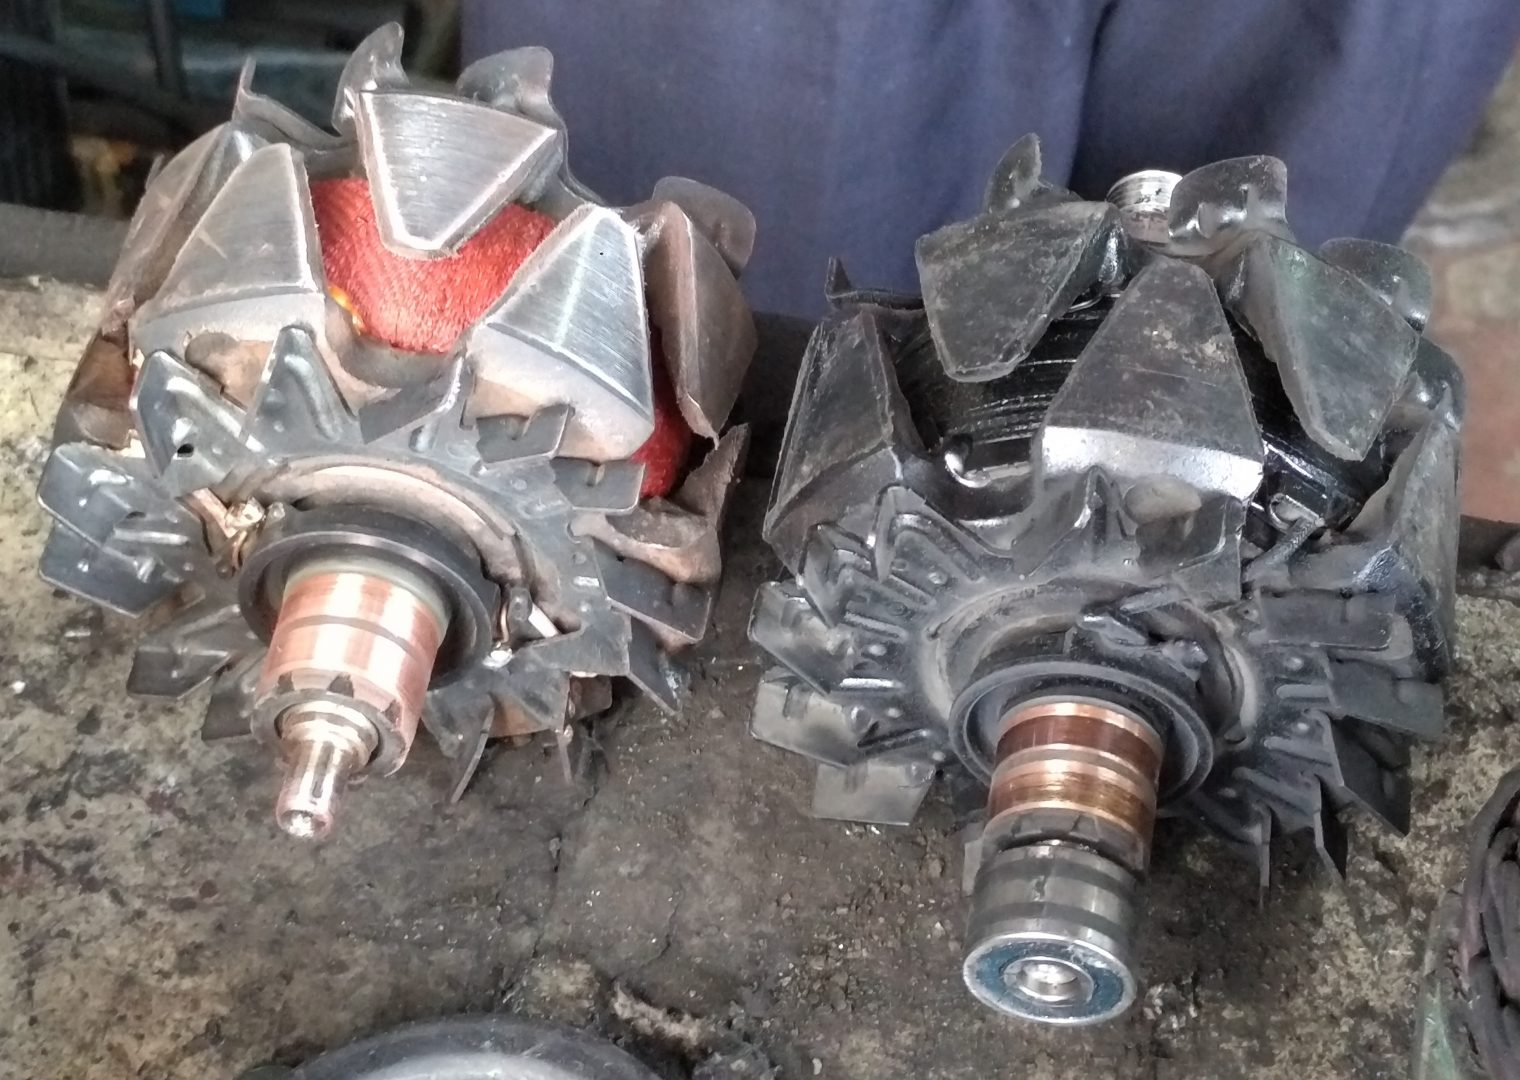
The stator/rotor needed to be replaced…
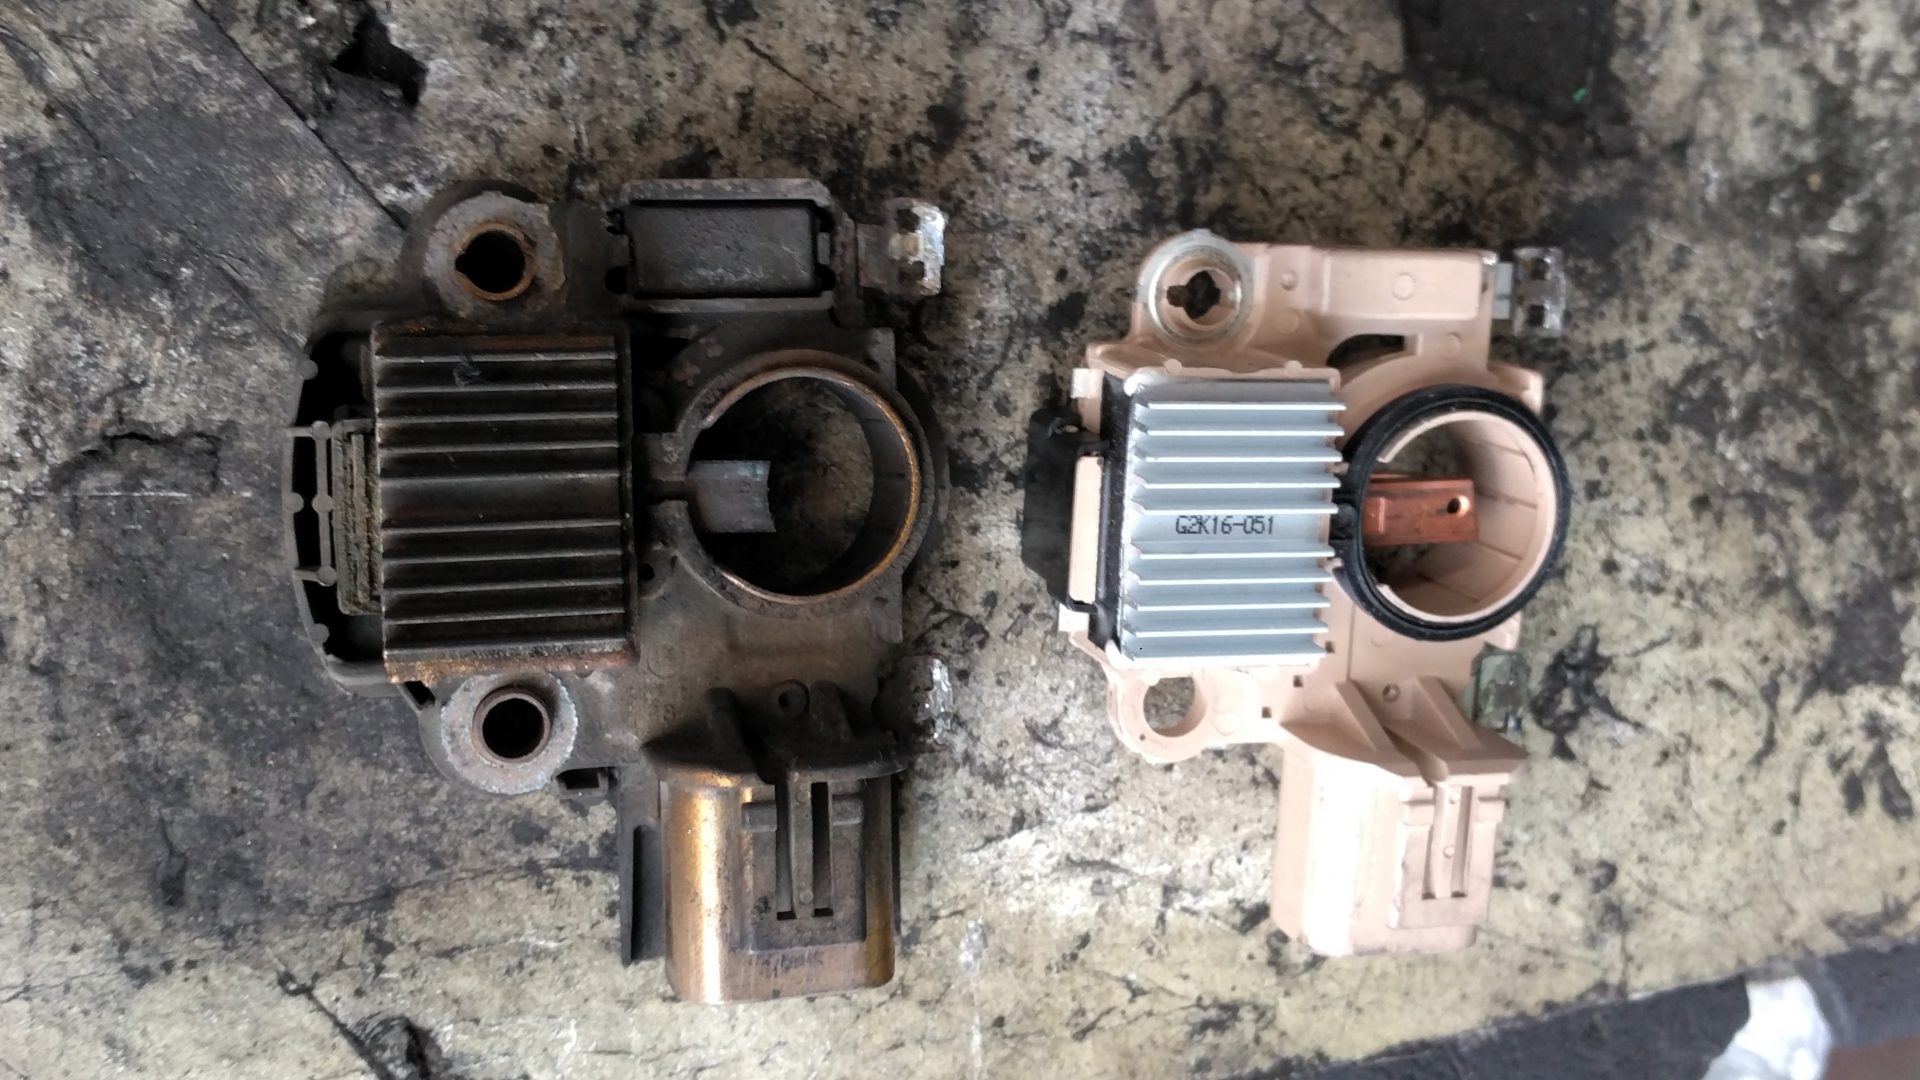
… as well as the IC/rectifier assembly.
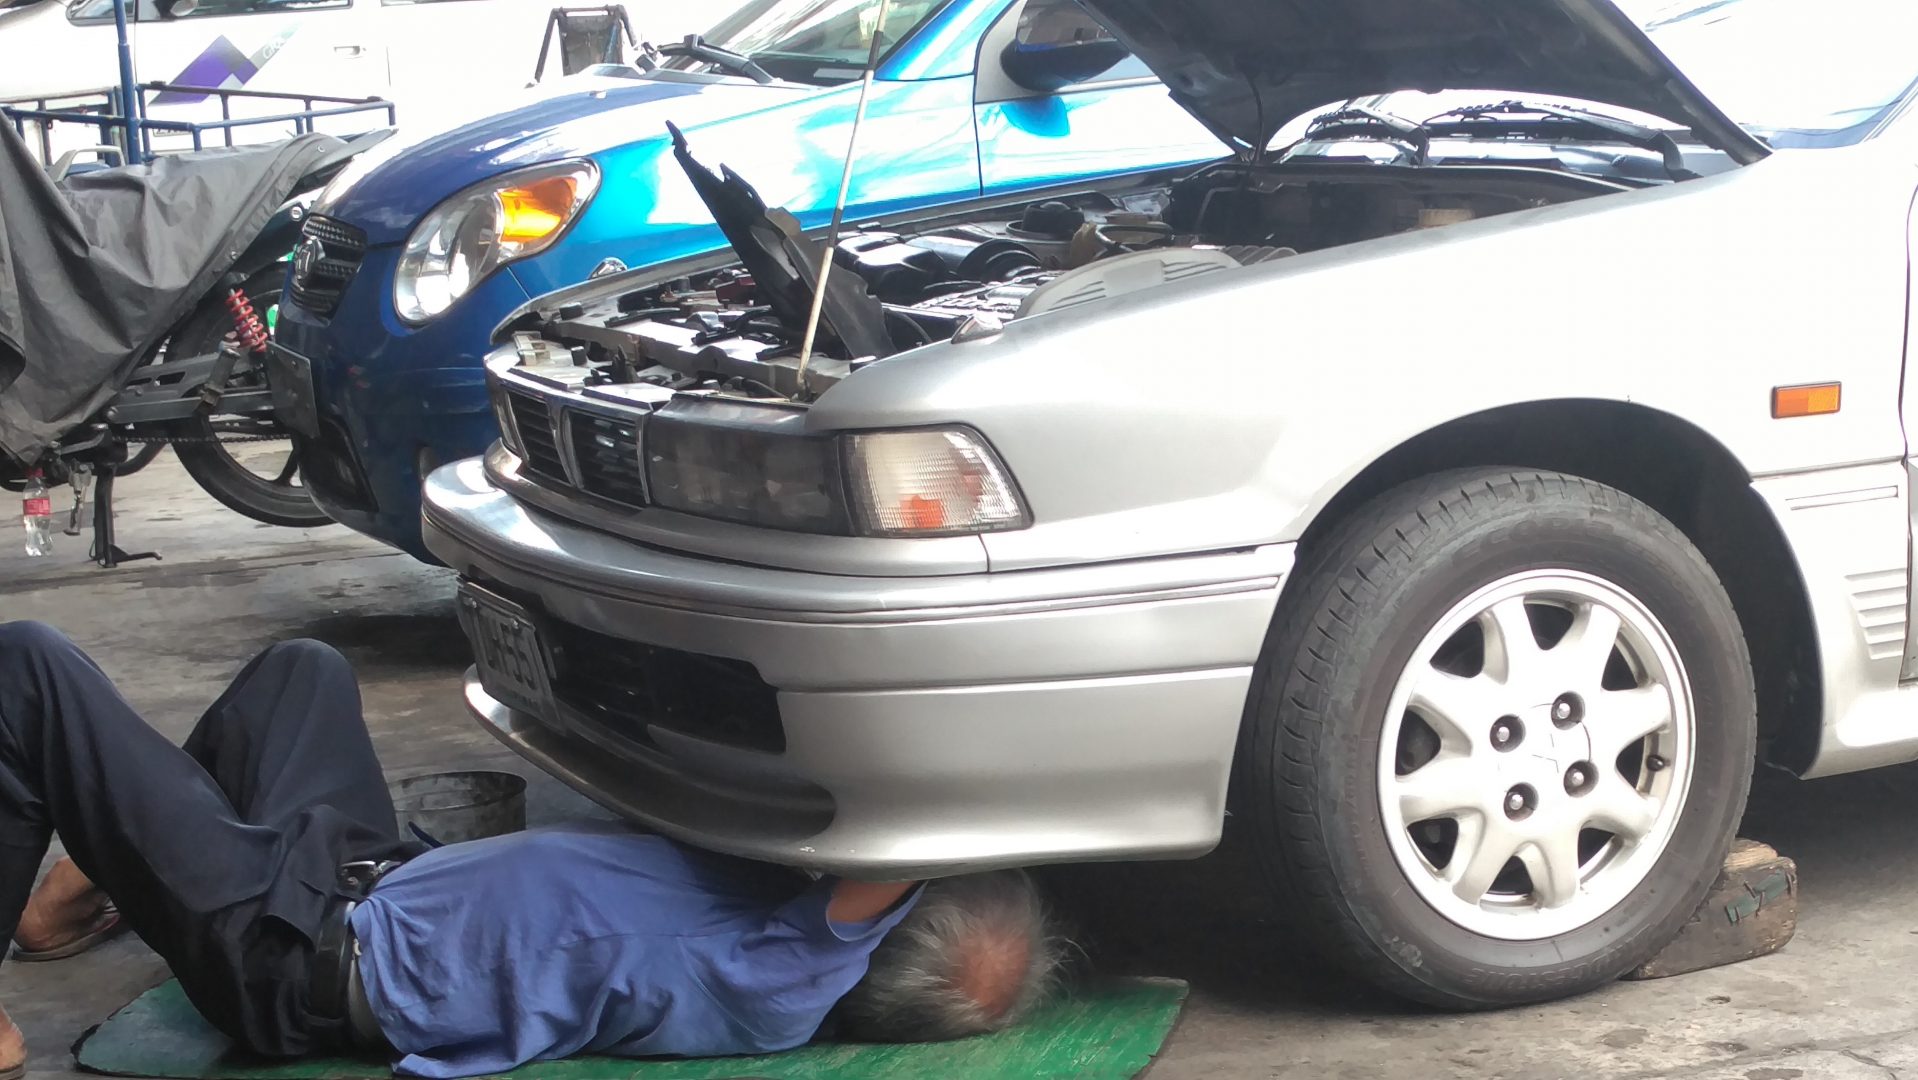
Reinstalling the alternator. Not sleeping on the job.
Driving Fun
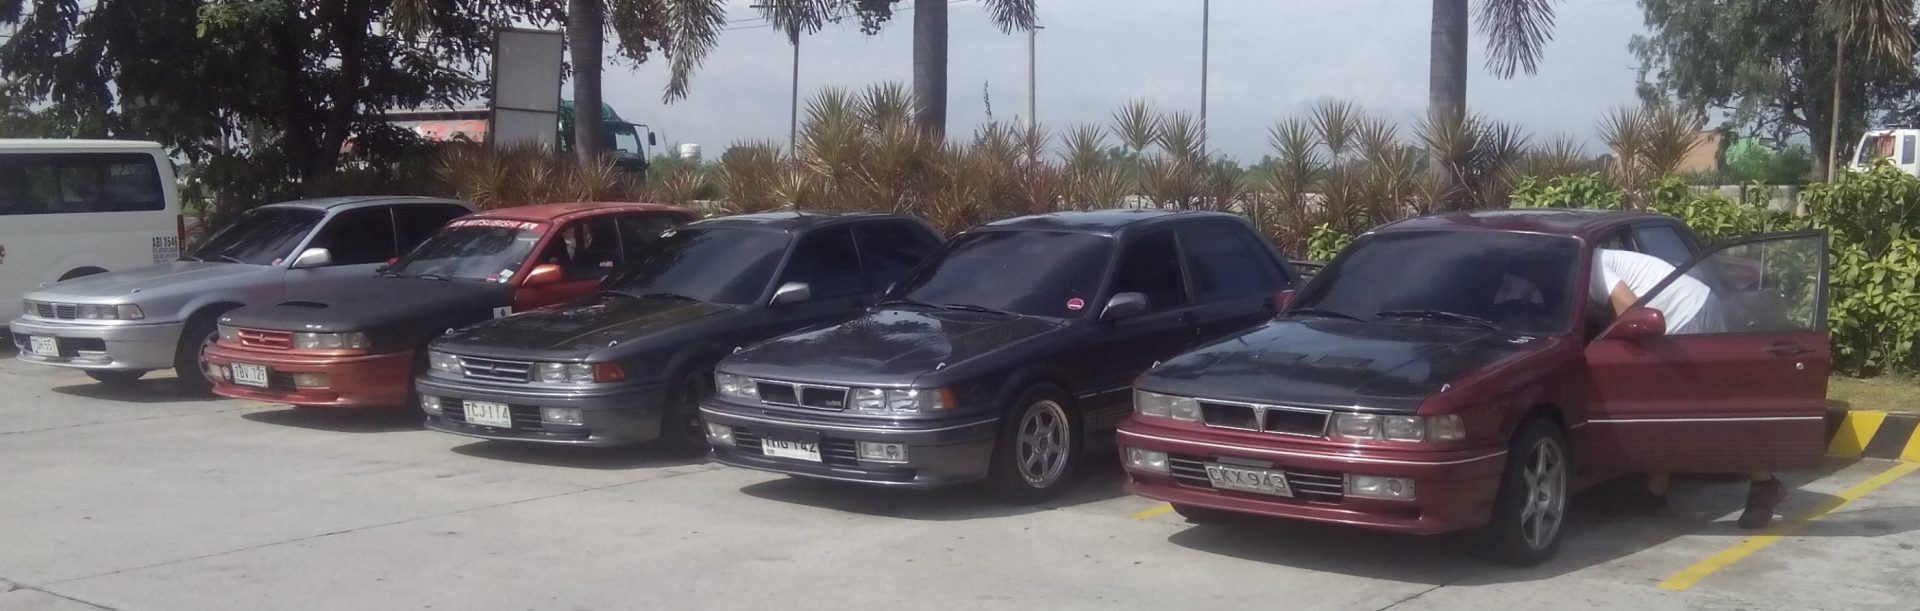
It’s often said that “all work and no play make Jack a dull boy”. So, while working on our GTI, we also played with it. We participated in the 6G Elite PH Fun Run to Clark, Pampanga in August 20, 2016.

Meet up at Petron Marilao
Stop over at Petron Lakeshore

Converging at Clark Field
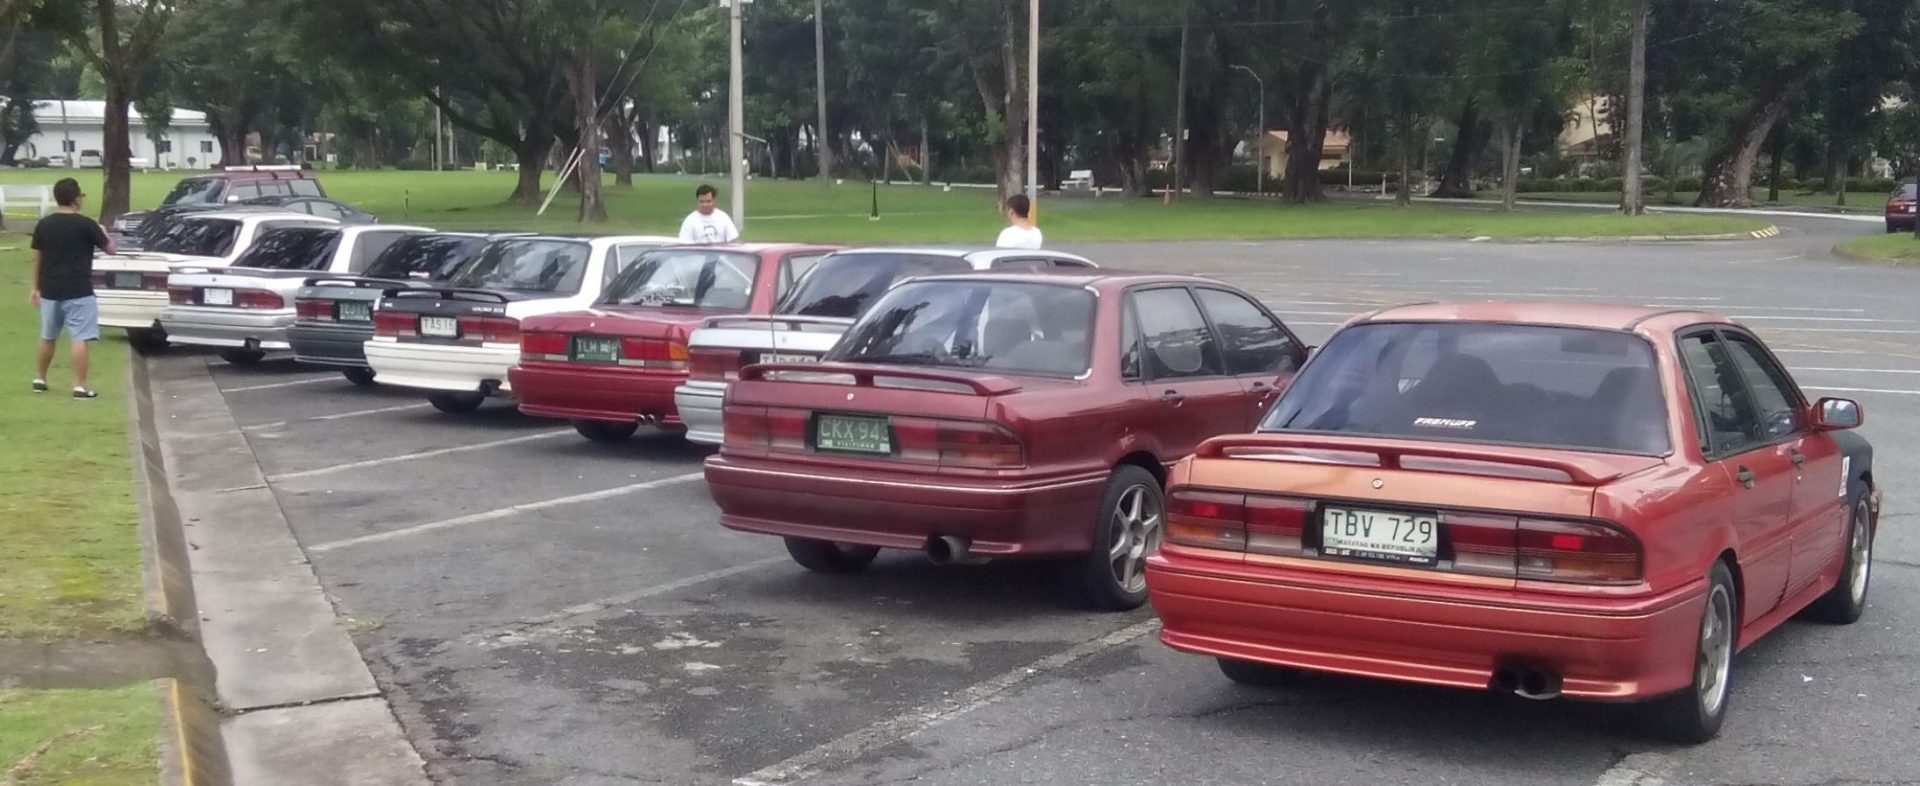
Nice butts all around!
In September, we drove our GTI to Tarlac to participate in the Mitsubishi 4×4 Camp where we met 2-time Paris-Dakar Rally Champion and Mitsubishi Rally Driver Hiroshi Masuoka face-to-face. The Japanese driving legend was pleased with the condition of our 25-year-old Galant and encouraged us to continue its restoration.
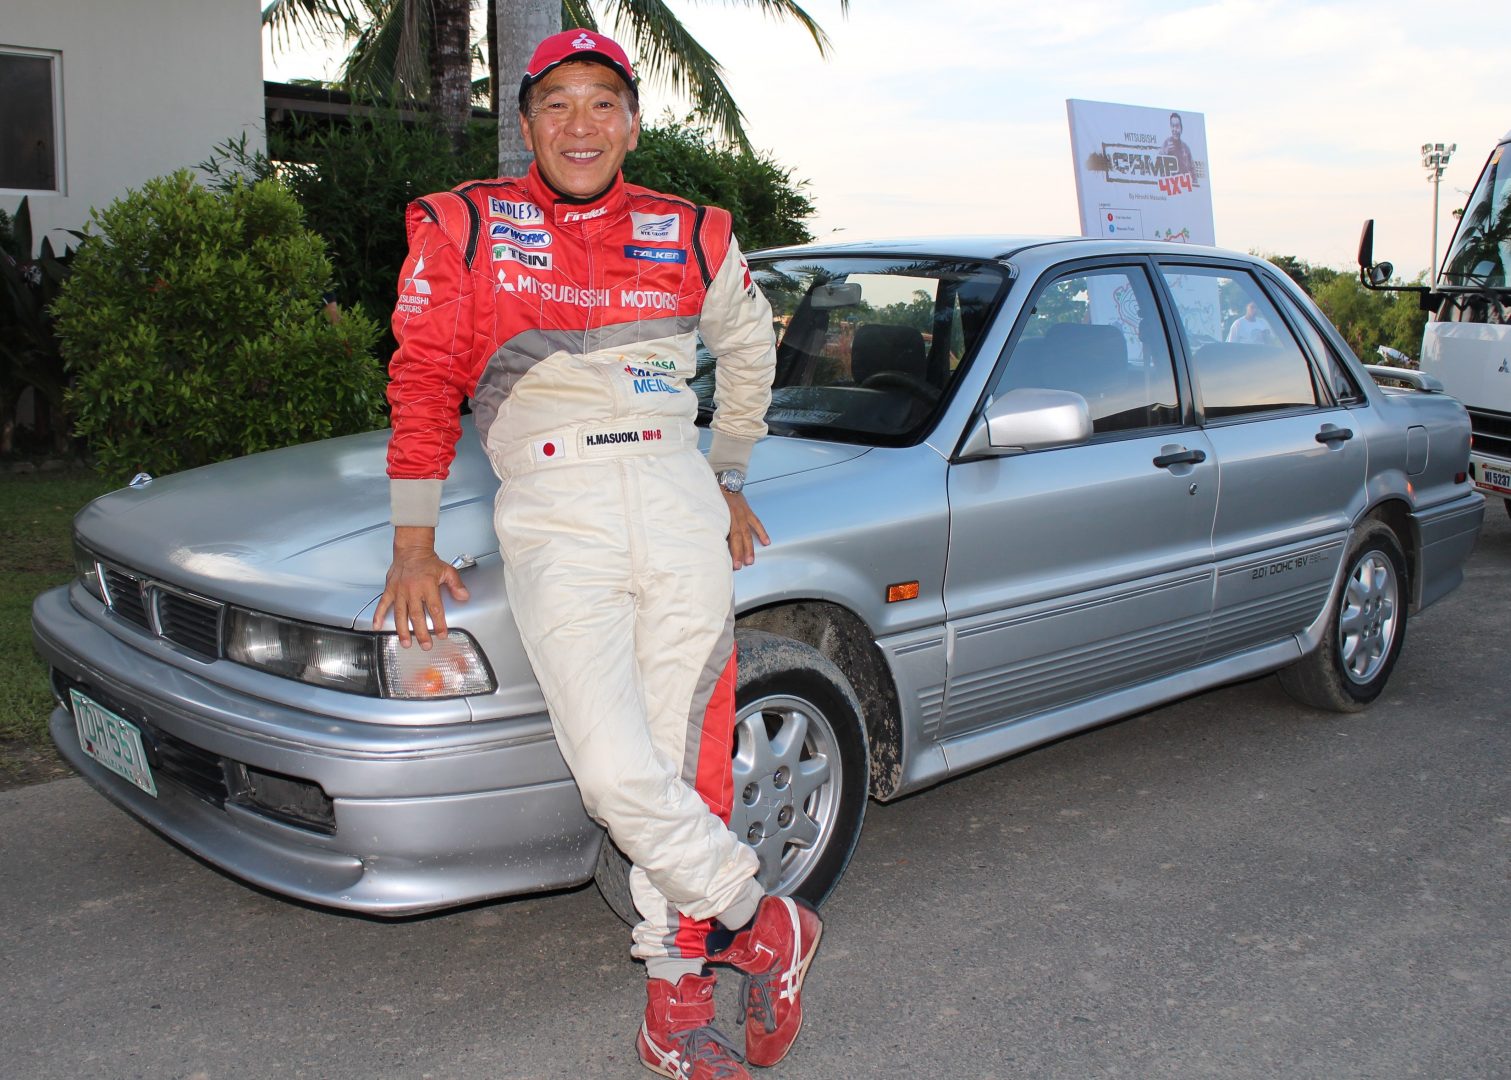
2-time Paris-Dakar Rally Champion Hiroshi Masuoka and our GTI
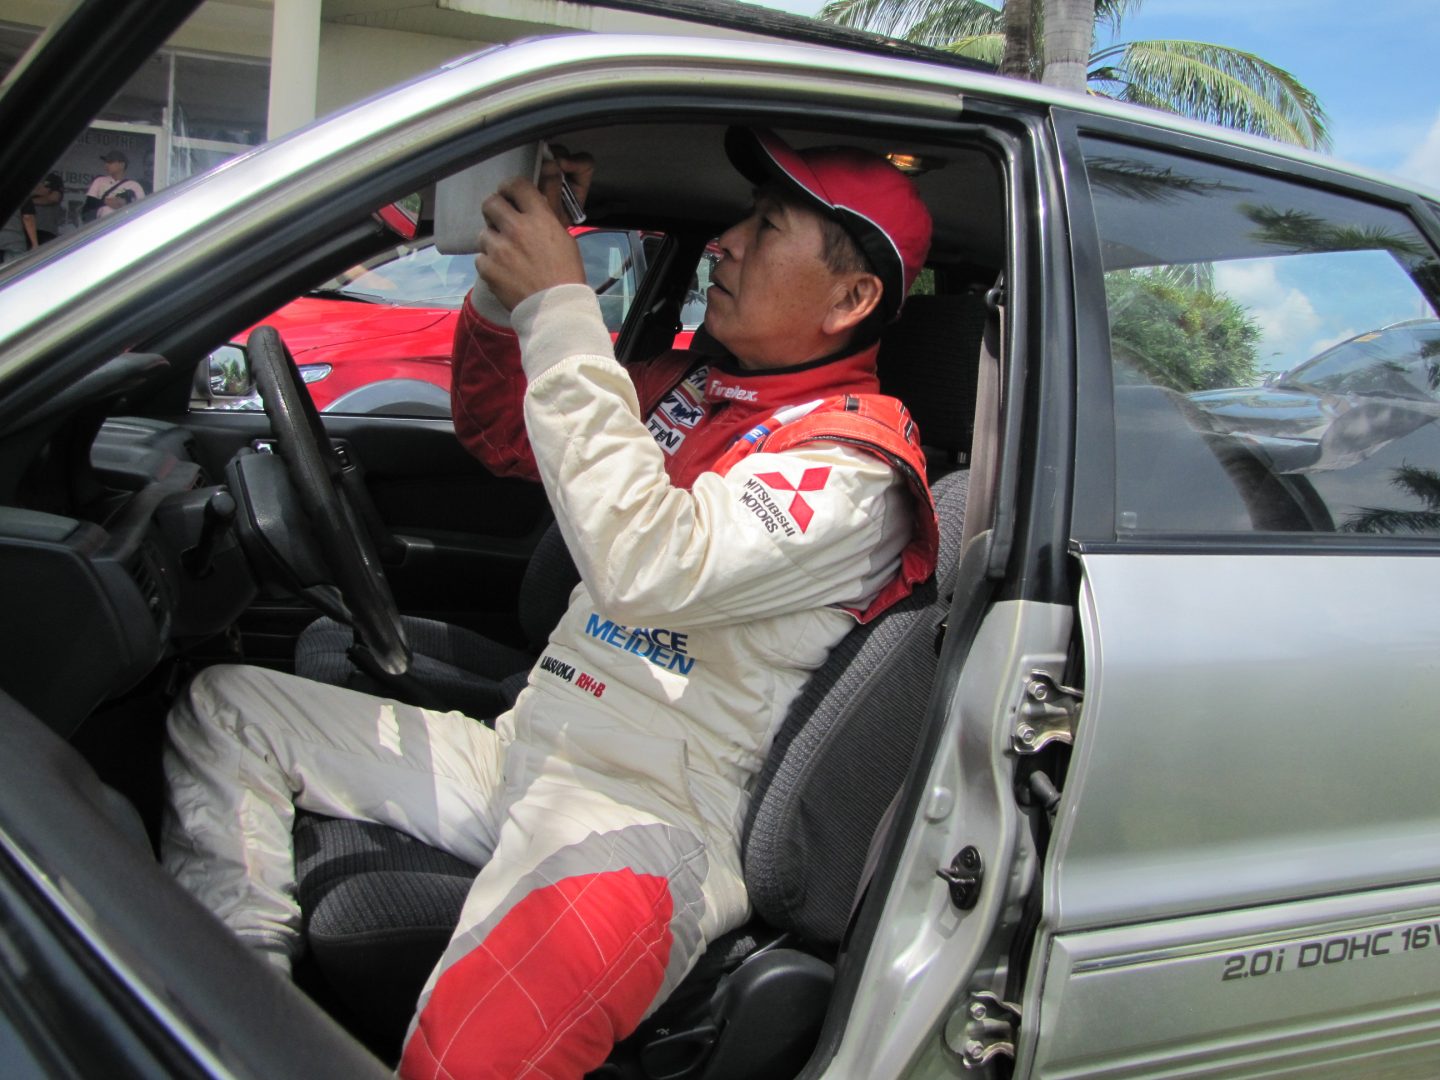
Masuoka signed the driver’s sun visor of our GTI
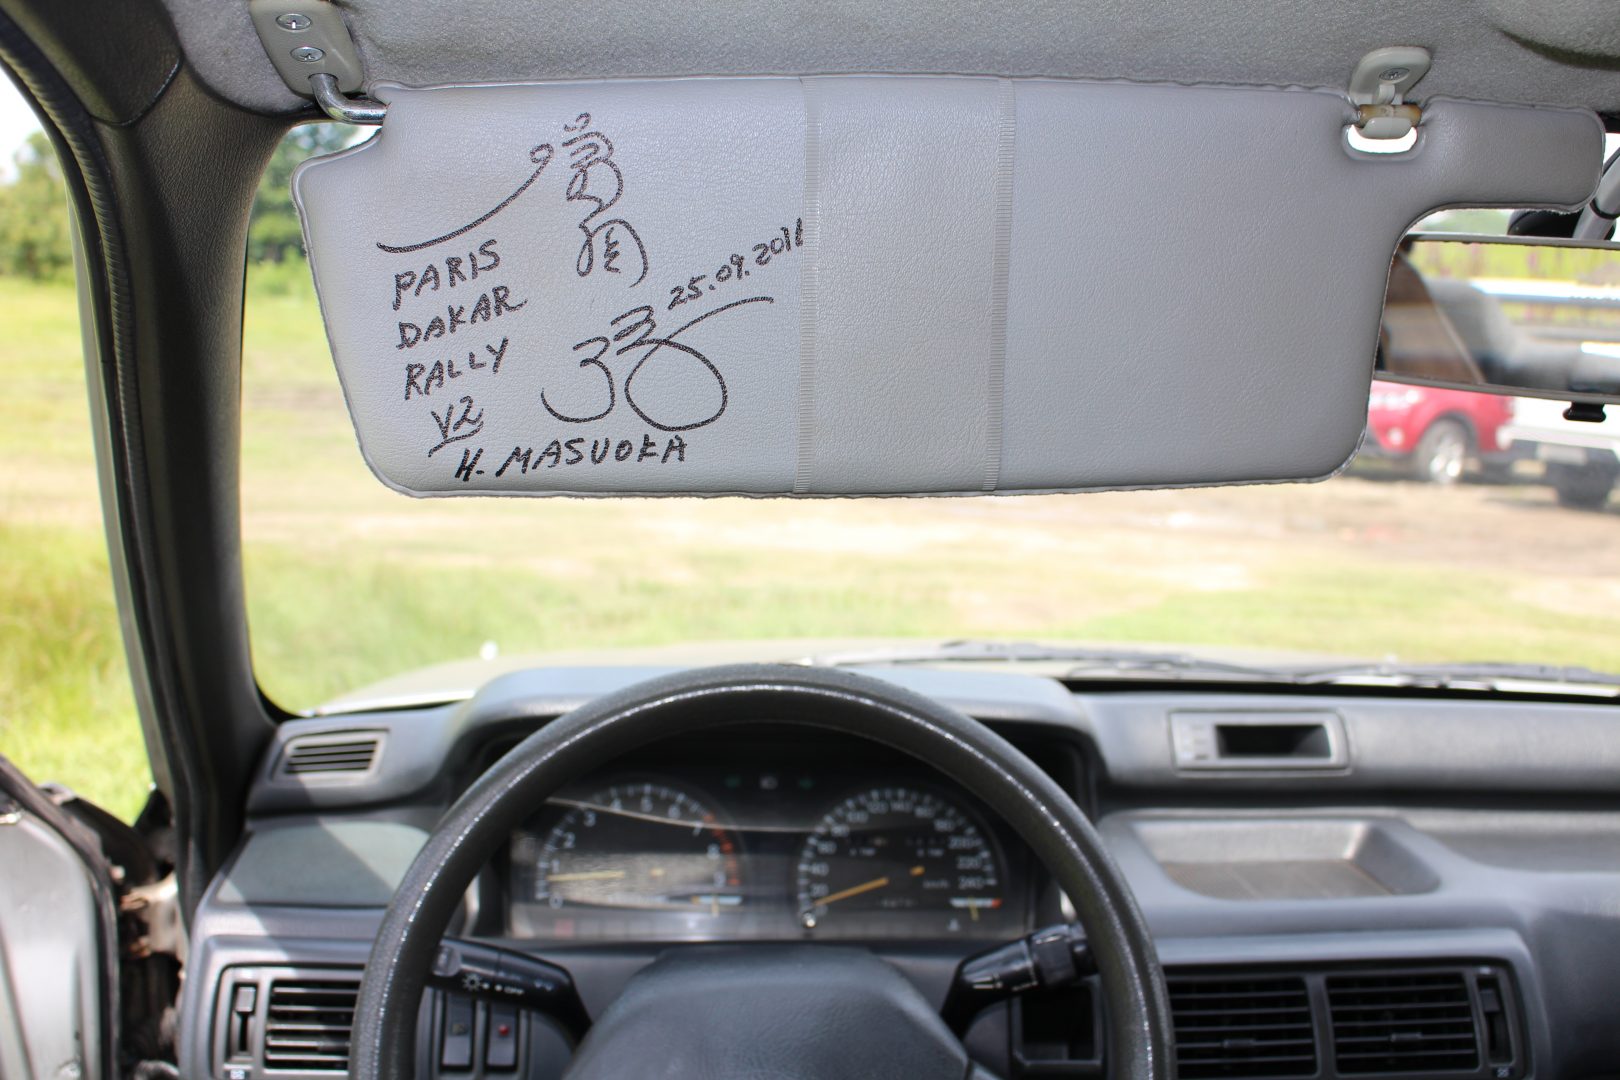
Our GTI became more valuable with Masuoka’s signature on the visor.
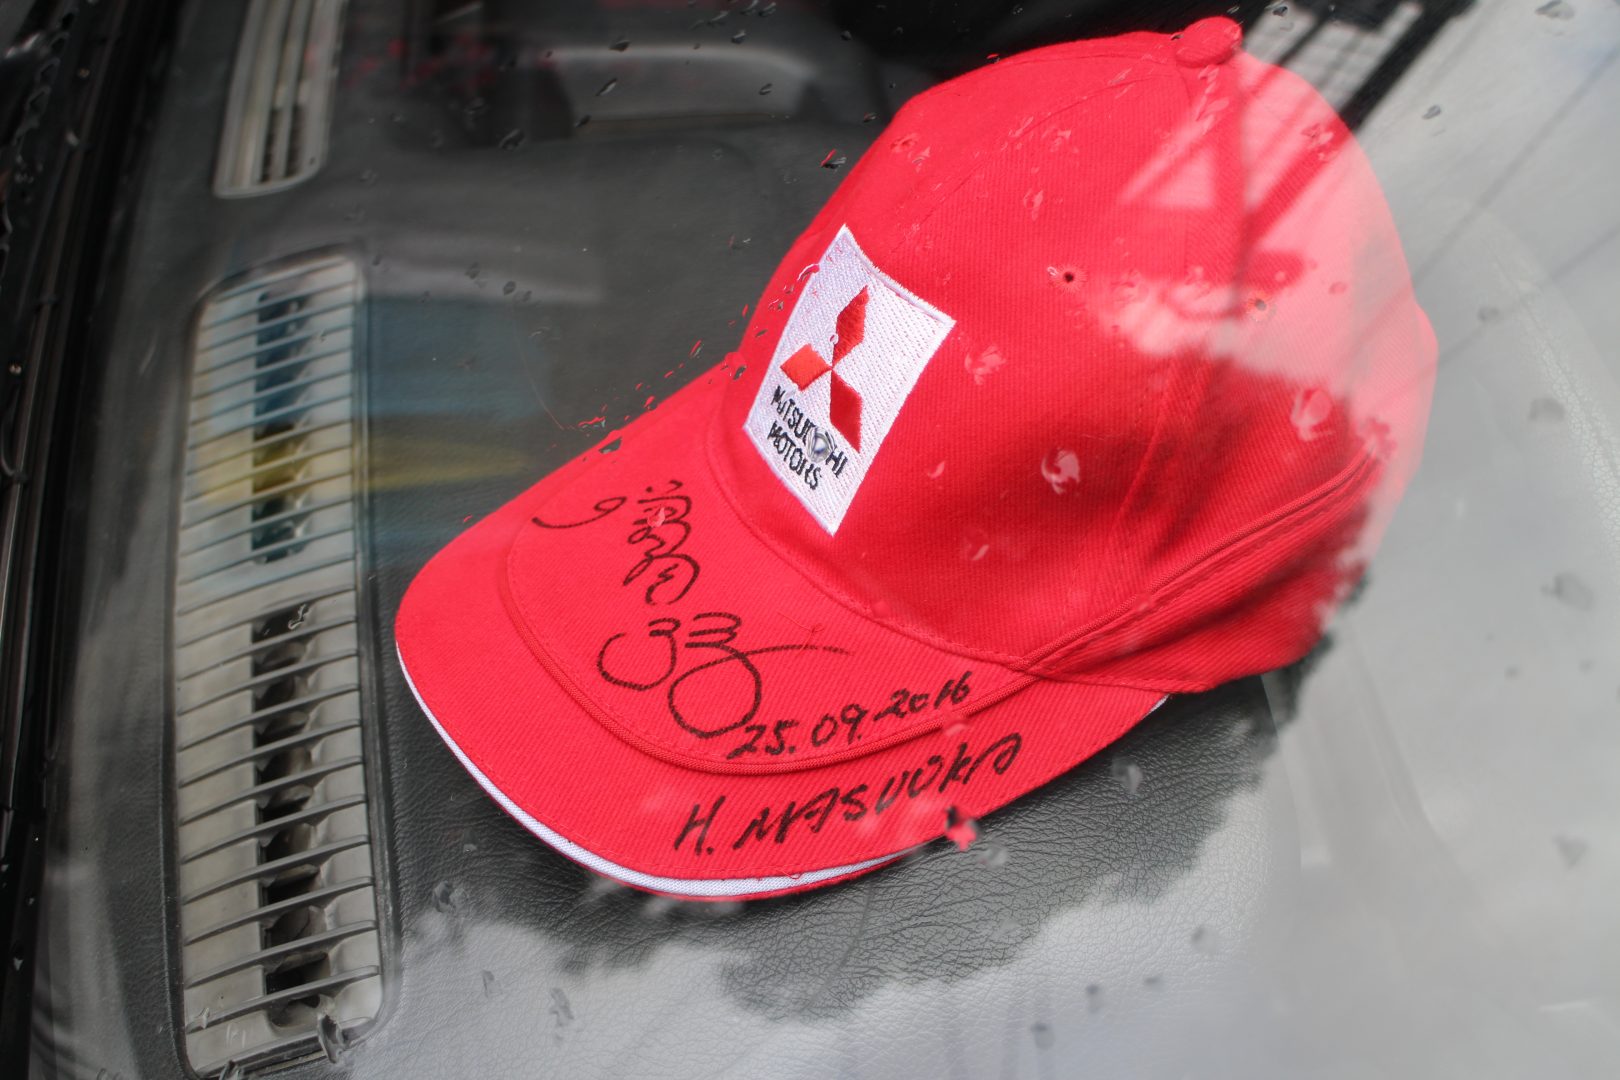
Masuoka also signed our red Mitsubishi ball cap.
With each long drive, we measured our GTI’s fuel mileage and found that it returned 10.89 kilometers per liter on the highways (in spirited driving, mind you) and an average of 7.19 km/liter ever since we started driving it more often. Best of all, the tail pipe seldom emits white smoke unlike before when we just got it.
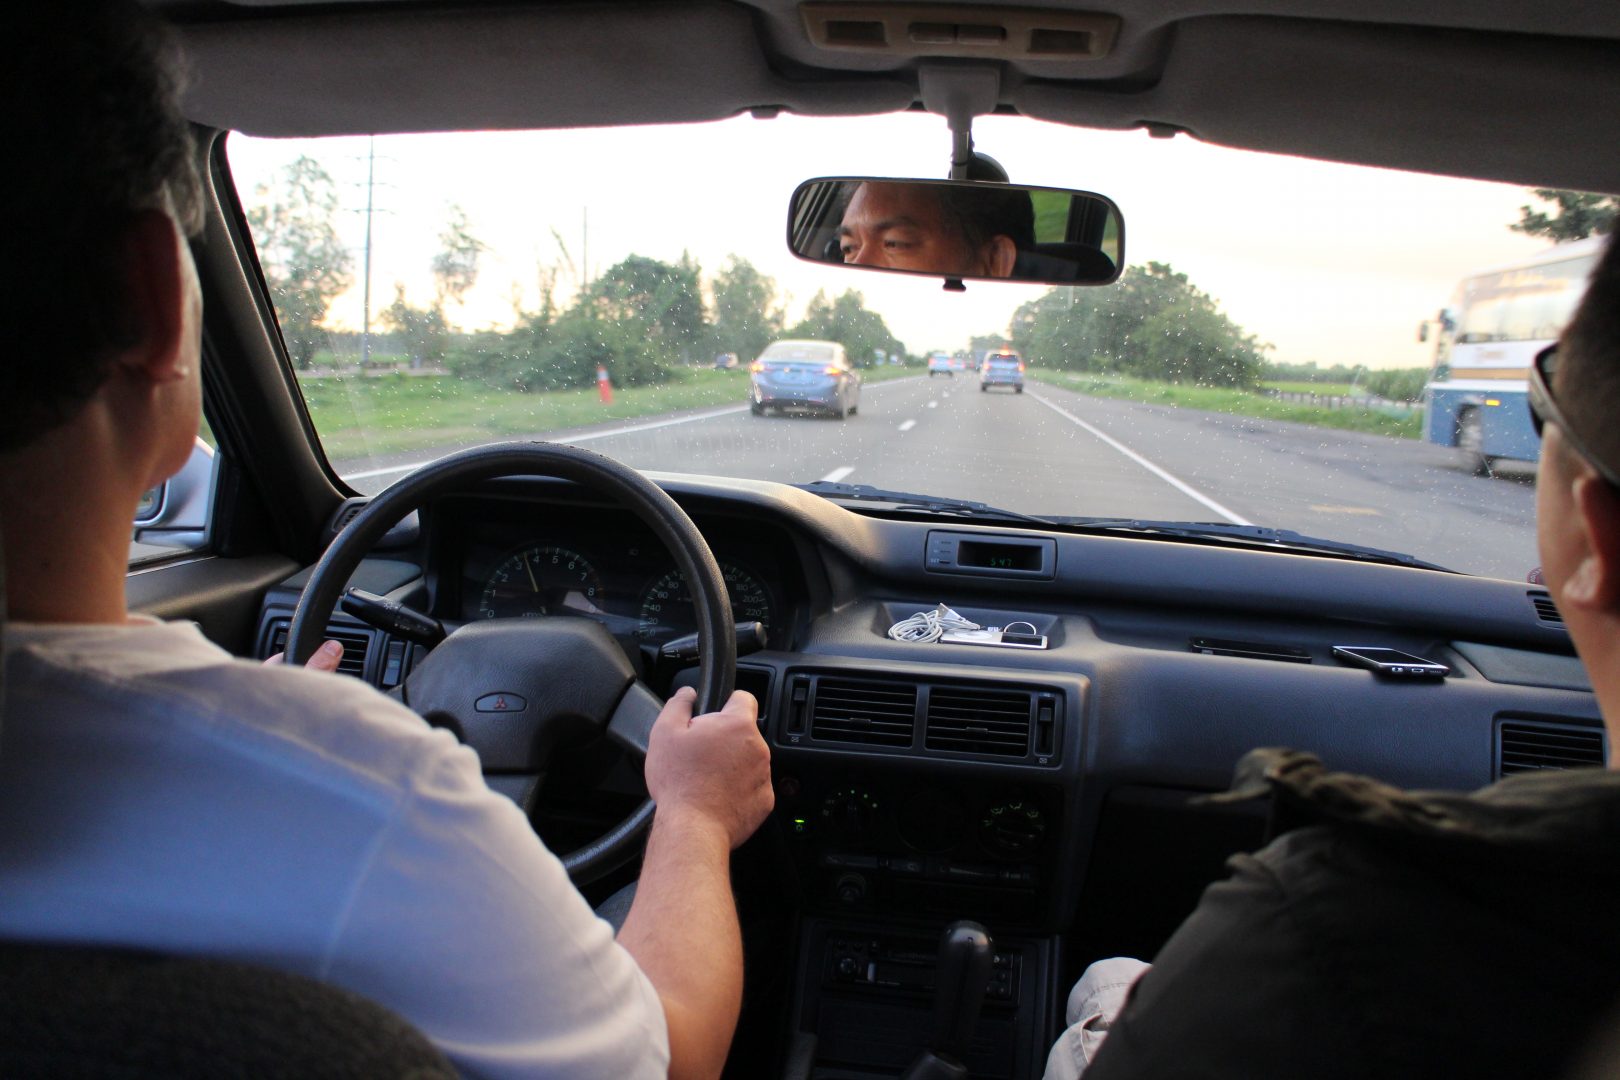
Driving north on NLEX
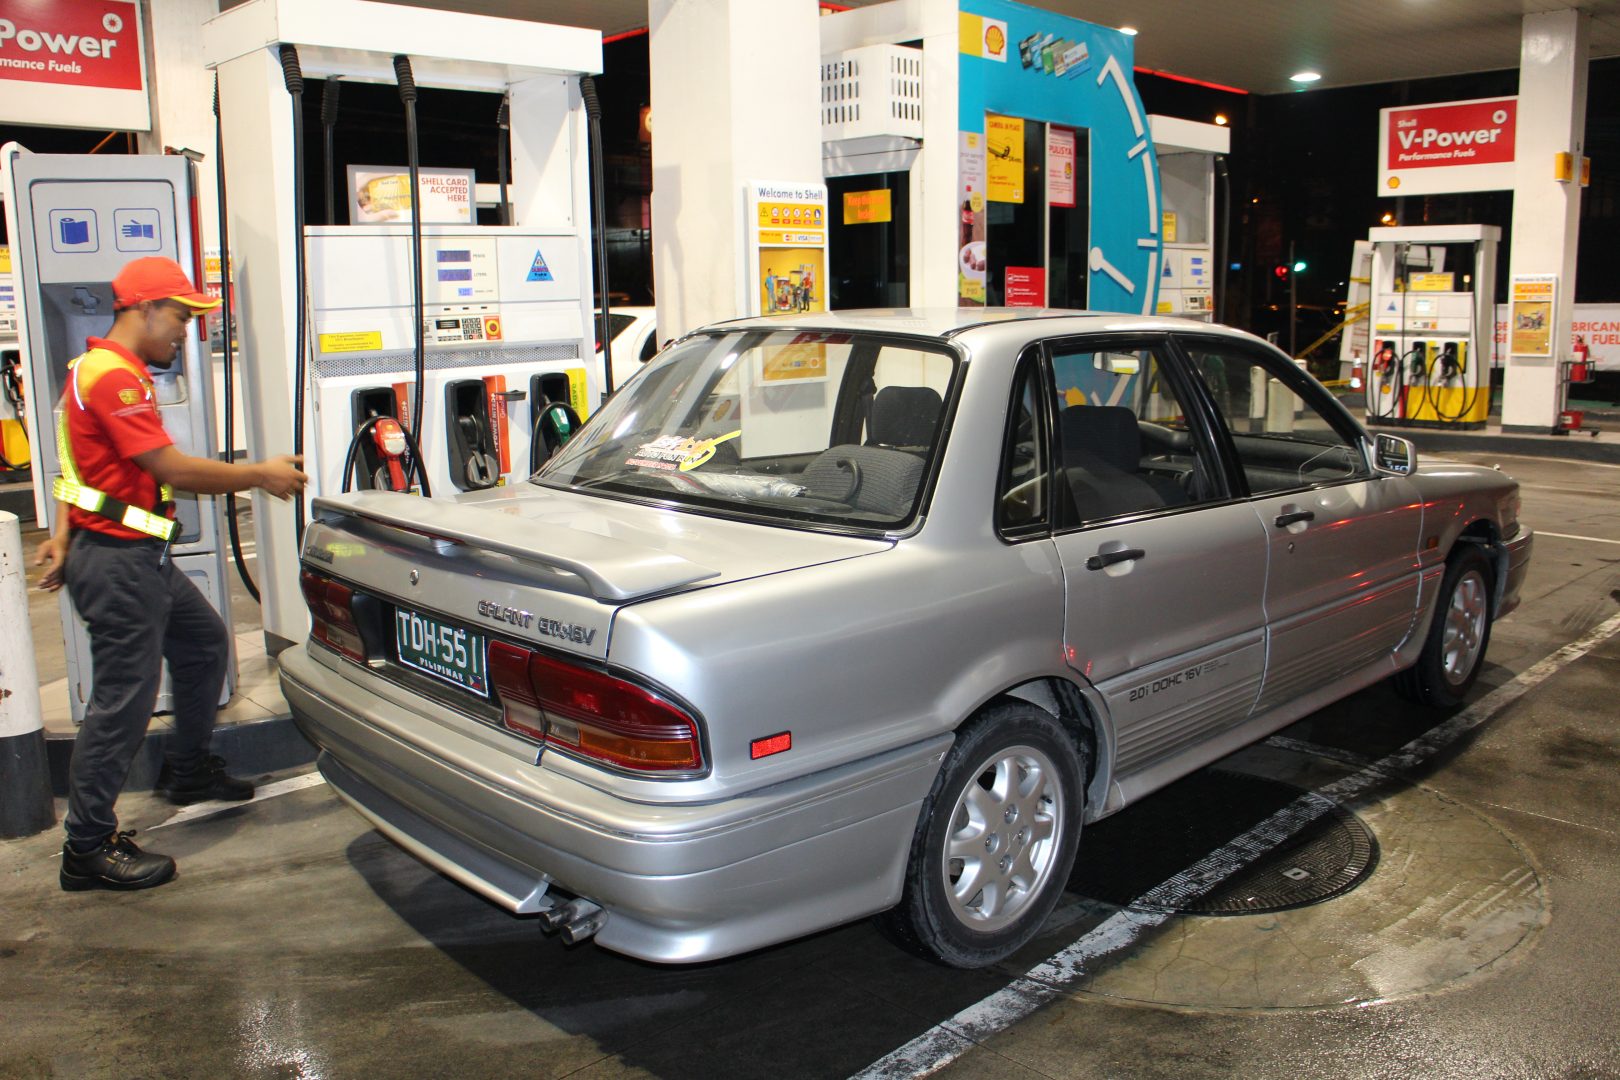
Gassing up with Shell V-Power
Restored Lighting
In March 2017, we got our restored fog light assemblies from Jonas Silvestre Constantino and we immediately installed them. The GTI maestro walked us through the restoration process.
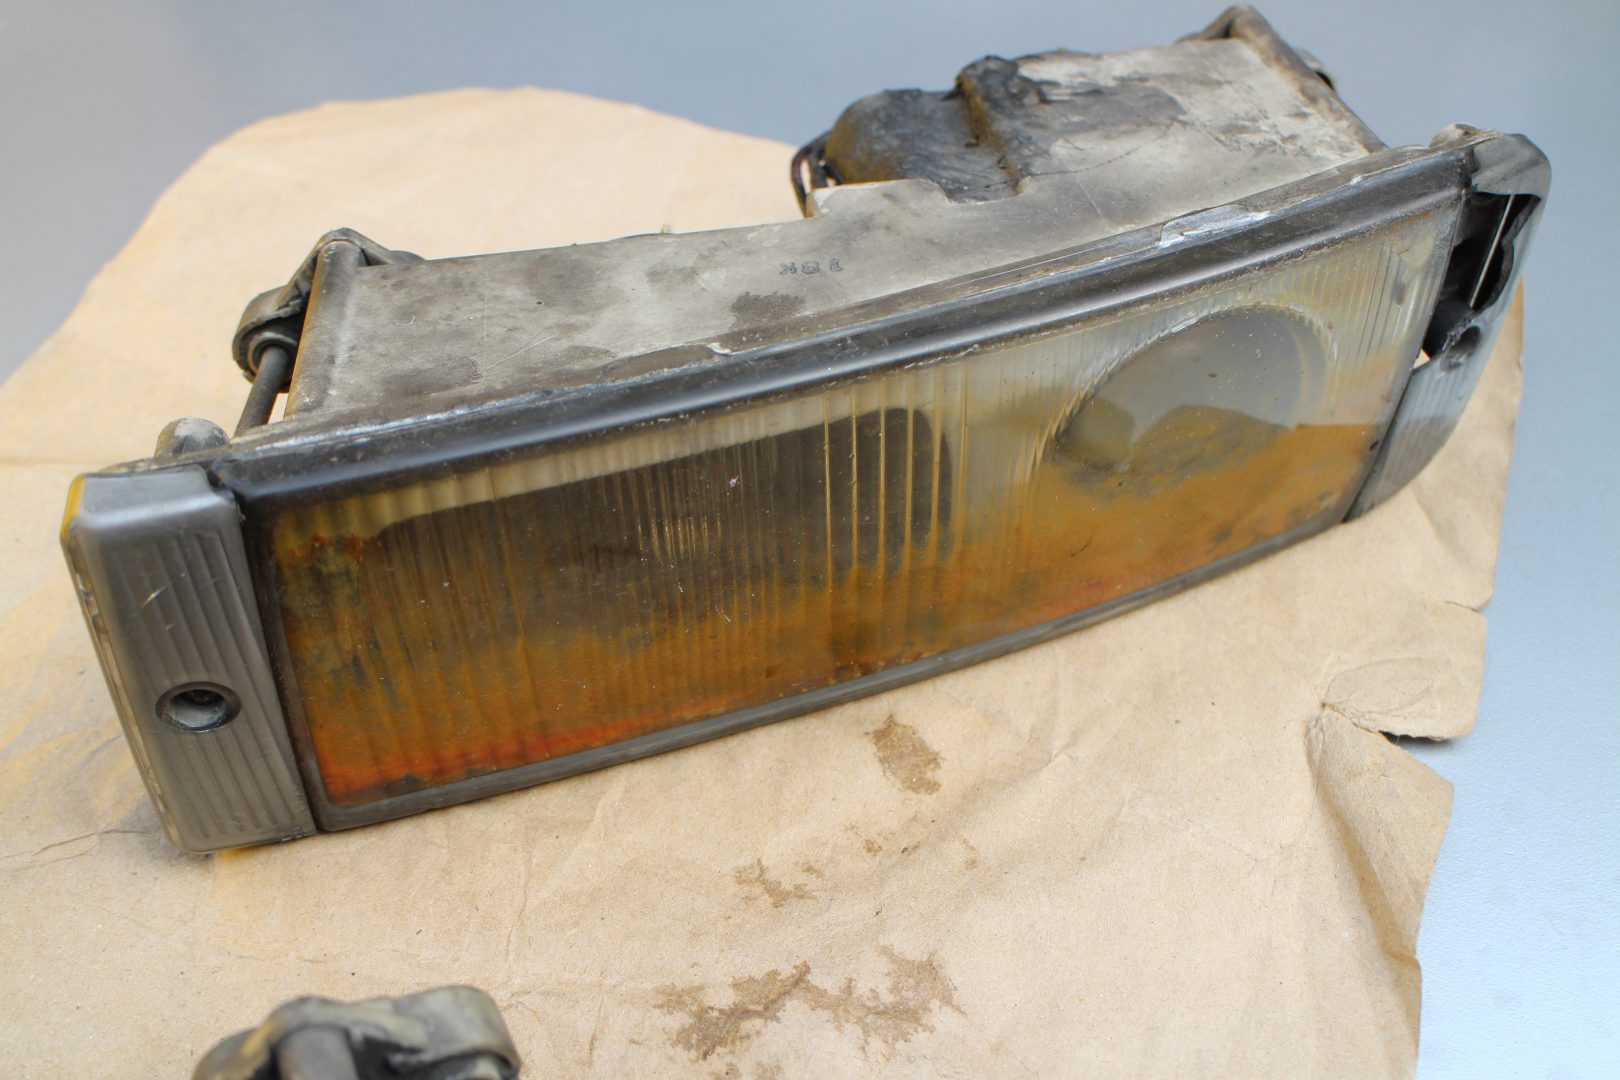
The left fog light had an ugly stain on the lens and the housing had cracks.
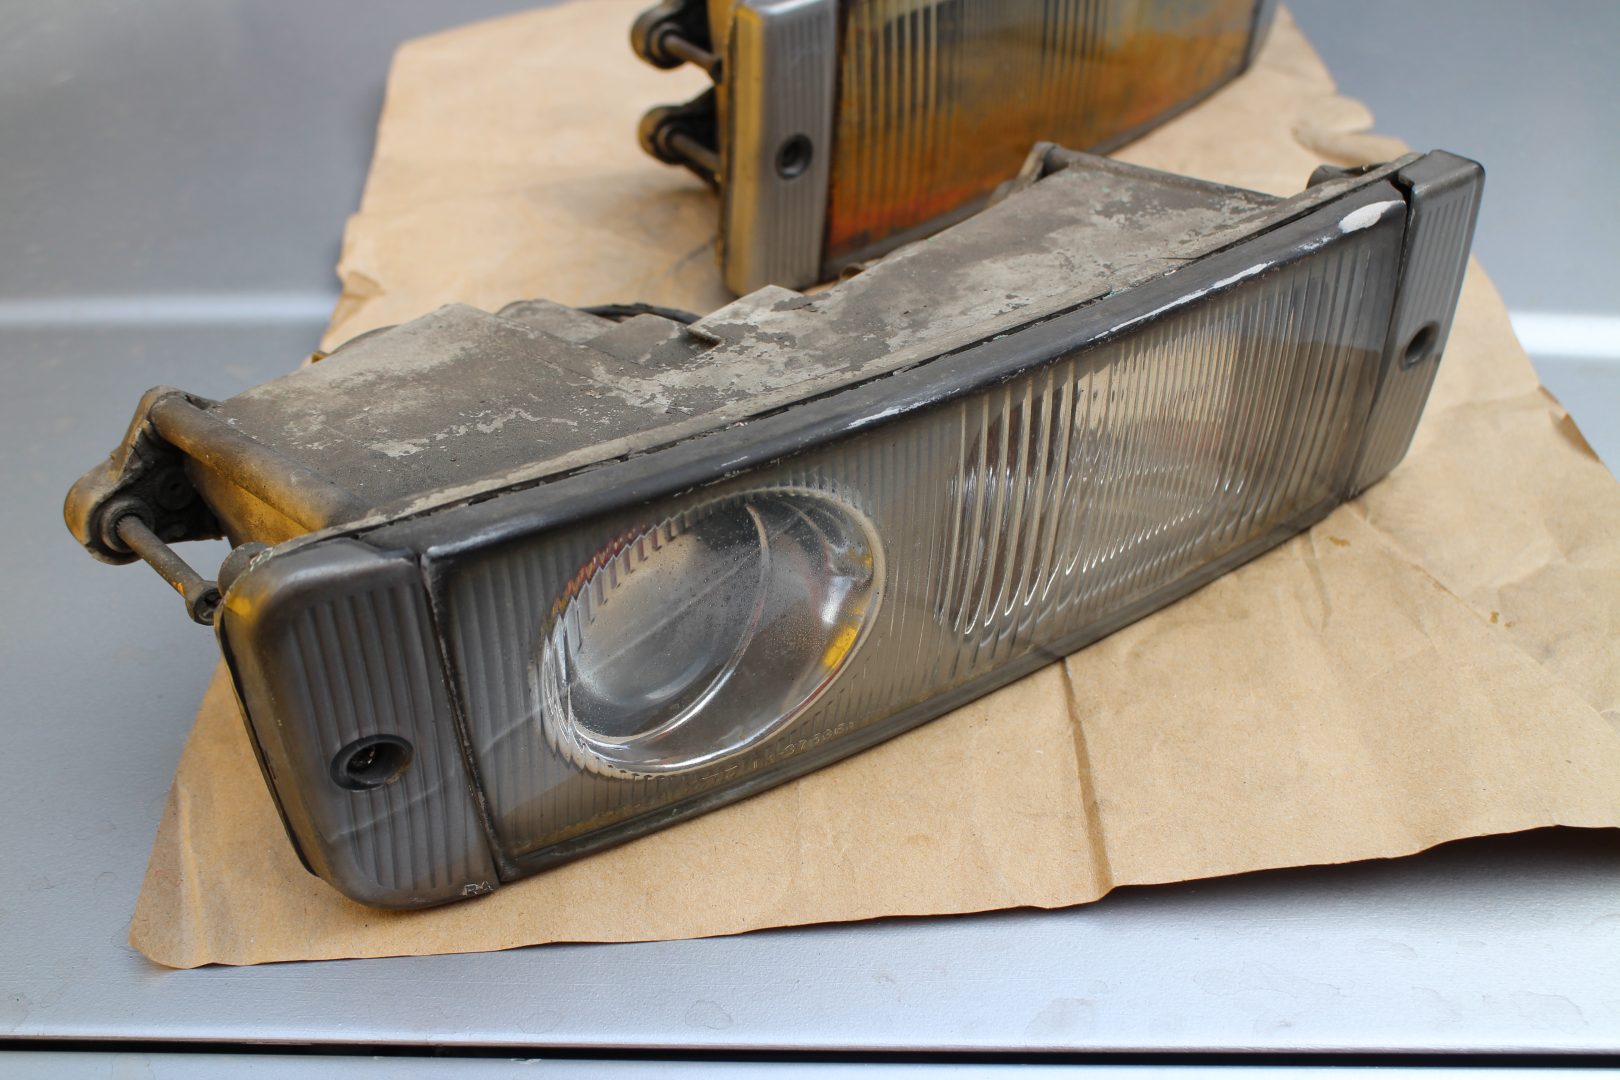
We opted to refurbish the right fog light assembly as well.
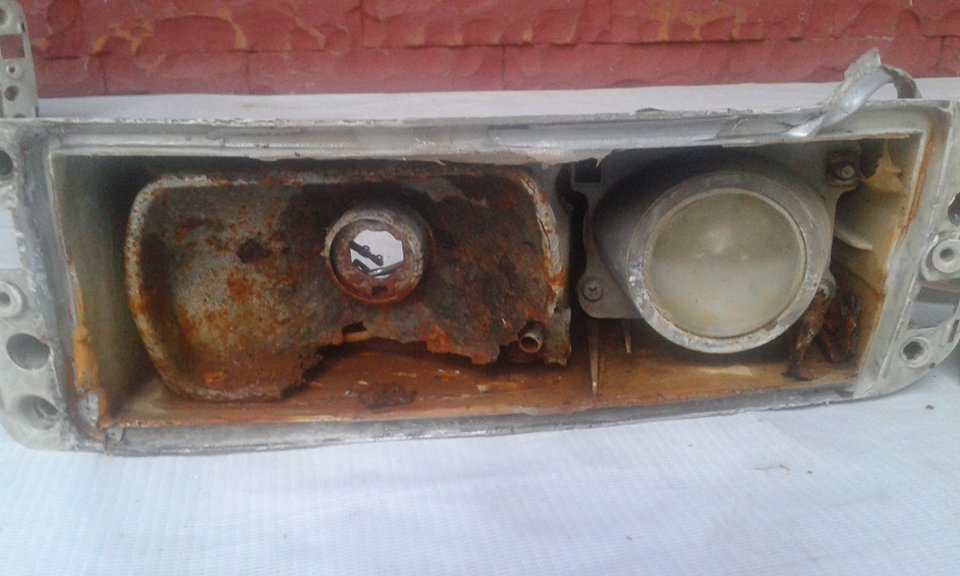
The reflector inside the left fog light was severely rusted and beyond repair.
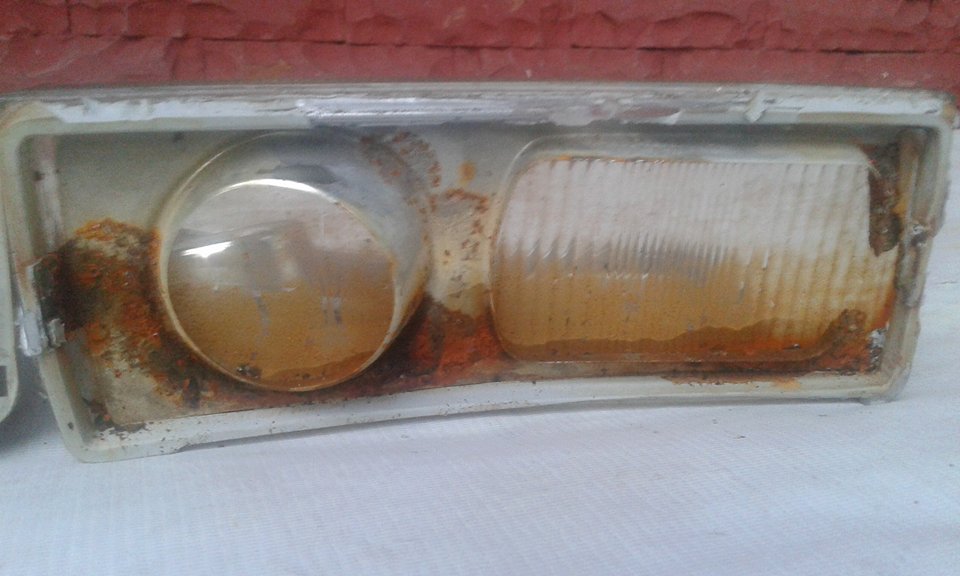
Despite the rust stains, the lens can be reused after a thorough cleaning.
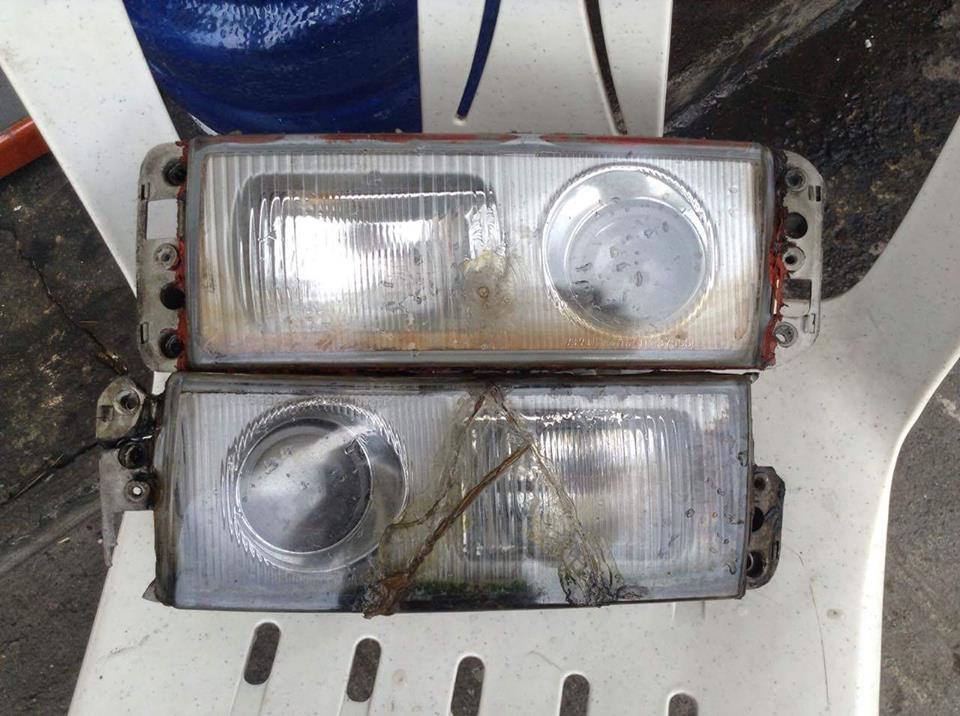
Jonas found a set of damaged fog lights with good internal parts that we can use.
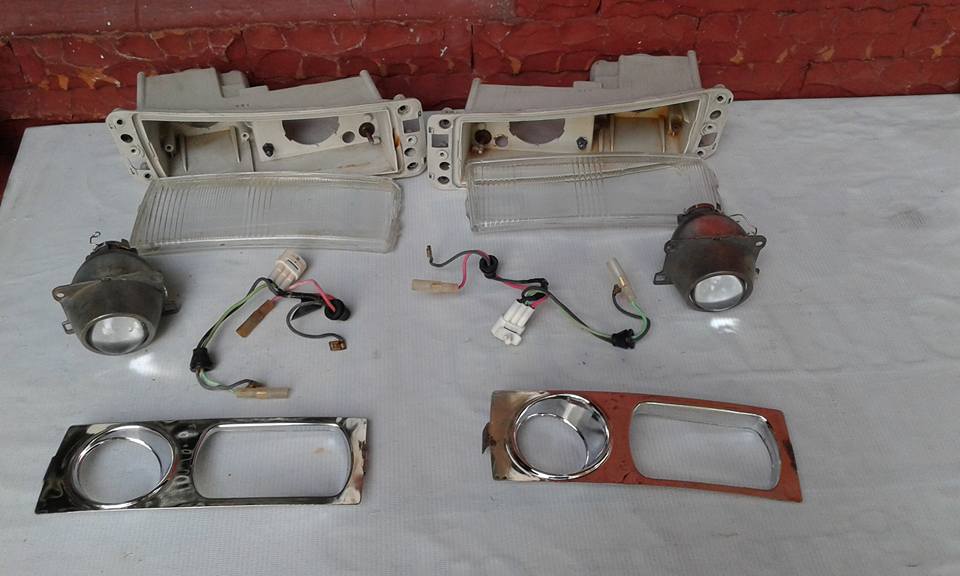
The components were cleaned and the reflectors were re-chromed before reassembly.

The fog light assemblies were reassembled and finished to look like new.
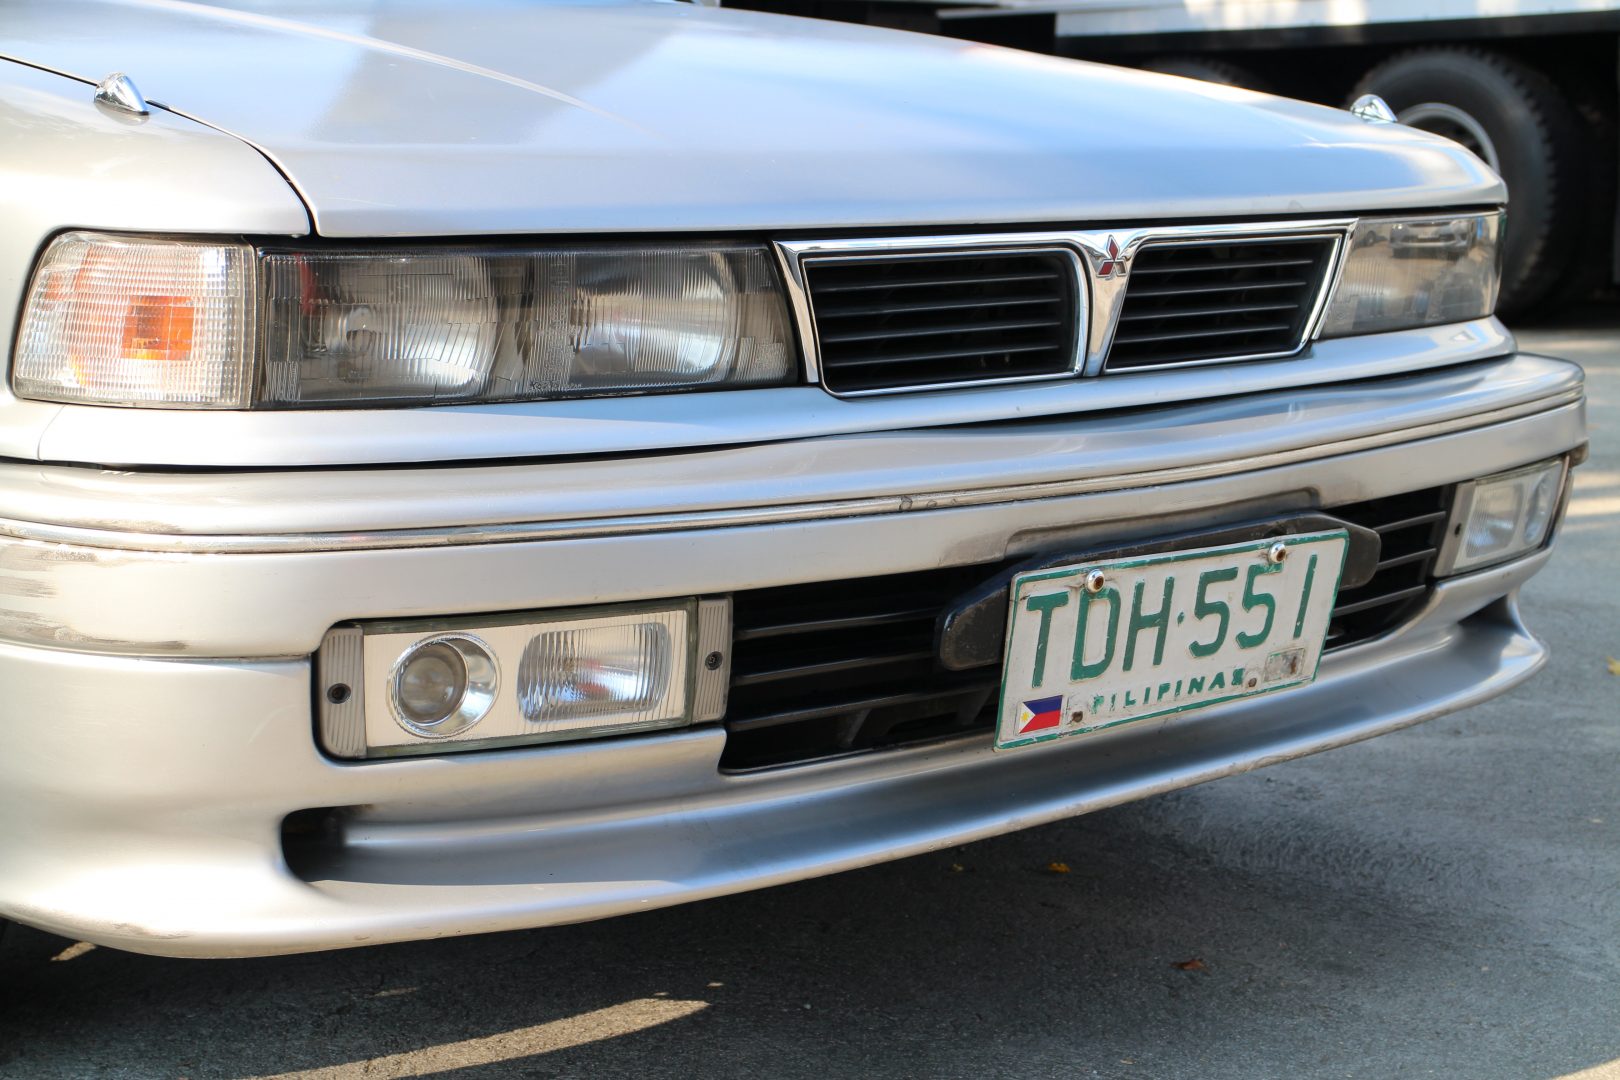
We reinstalled the refurbished fog lights back on our GTI.
Change of Plans
With our GTI almost complete and tested roadworthy, we proceeded to plan its conversion into a VR-4 rally car replica. To make things easier, we decided to have it “foiled” or wrapped in vinyl that will be finished in RalliArt colors with our company and sponsors’ insignias. We made arrangements with Lester Codog, the proprietor of Foil-A-Car, who committed to sponsoring the vinyl wrap. We also got the commitment of Robertson Tan, the big boss of Blade, to supply the accessories needed to complete our GTI’s transformation. We approached George Blaylock, the head honcho of Diamond Motor Corporation, to ask support for the repairs of the bodywork and other mechanical components of our project car. However, he felt that it would be a crime to modify our GTI because it is relatively original and intact. He felt that it would be better to restore it to its original, “like new” condition instead, especially after he saw the original documentation that came with it.
Well-Documented
When we acquired our GTI, it came with the original owner’s handbook, service booklet, Philippine Automotive Manufacturing Corporation (PAMCOR) 3-year anti-rust perforation warranty pamphlet, Mitsubishi car air conditioner warranty and service record, and instruction manual for the Kenwood KRC-210 cassette tuner stereo. All these documents were encased in a leather-bound Diamond Motor Corporation organizer that even had an intact and neatly-folded 1991 Galant GTI brochure in it.
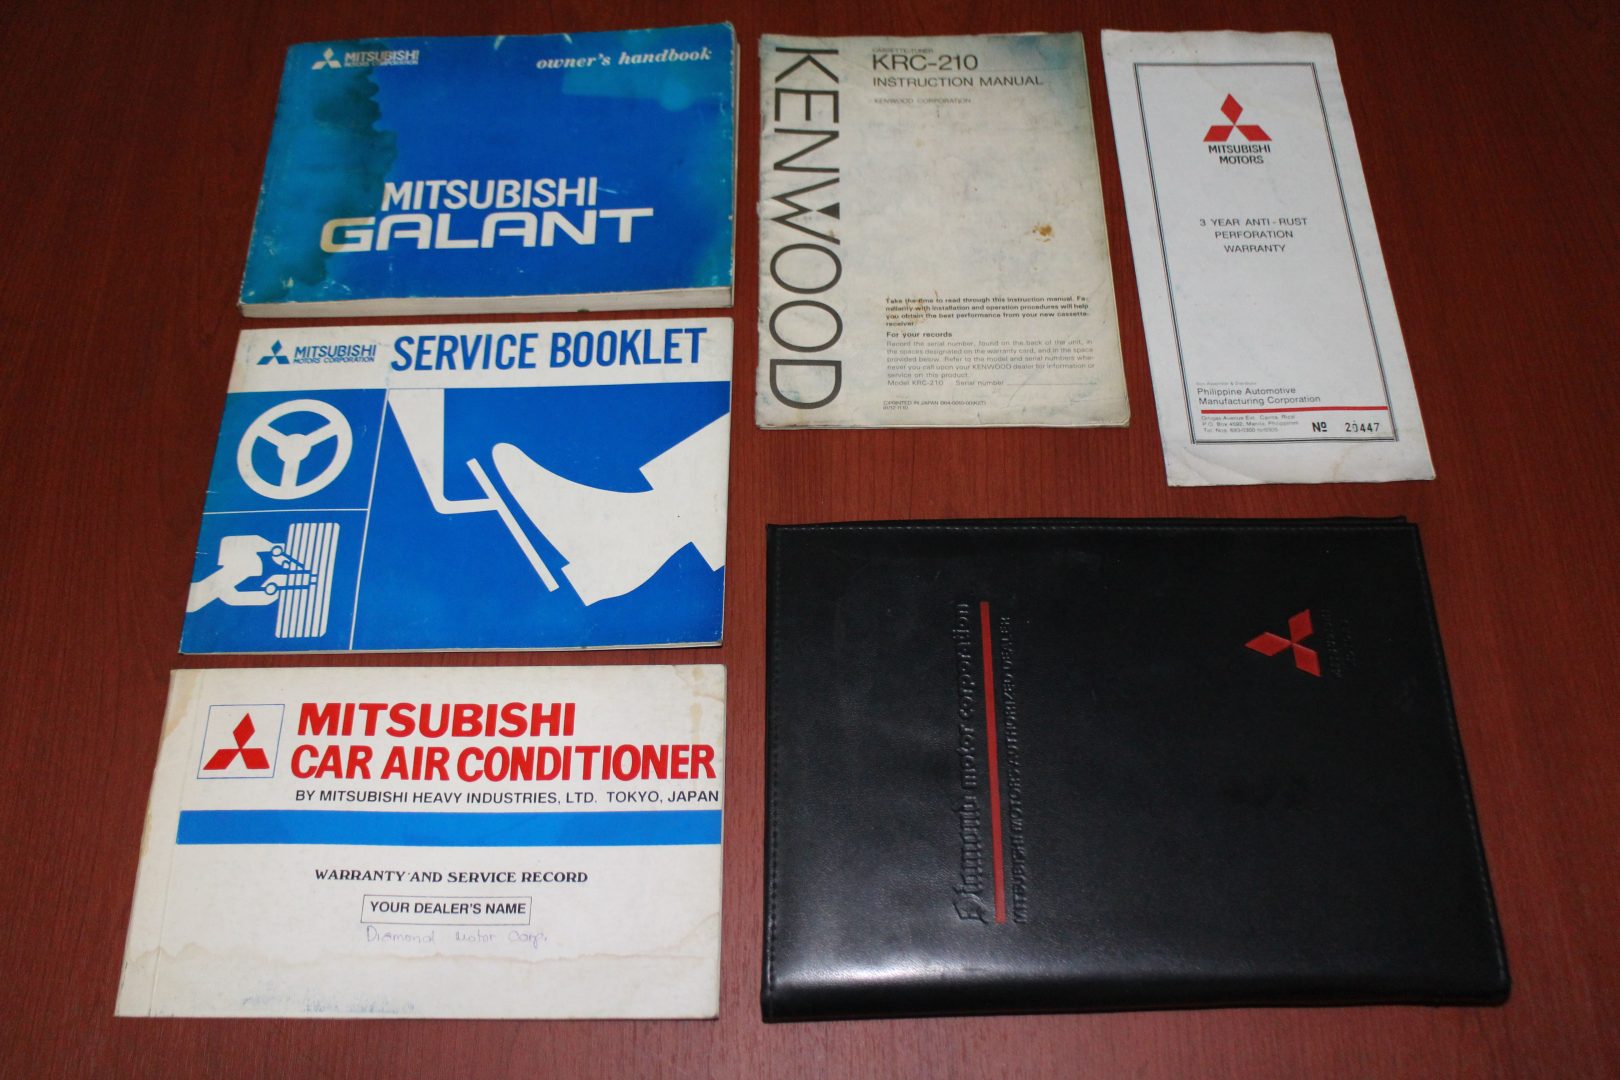
Preserved manuals and DMC leather organizer
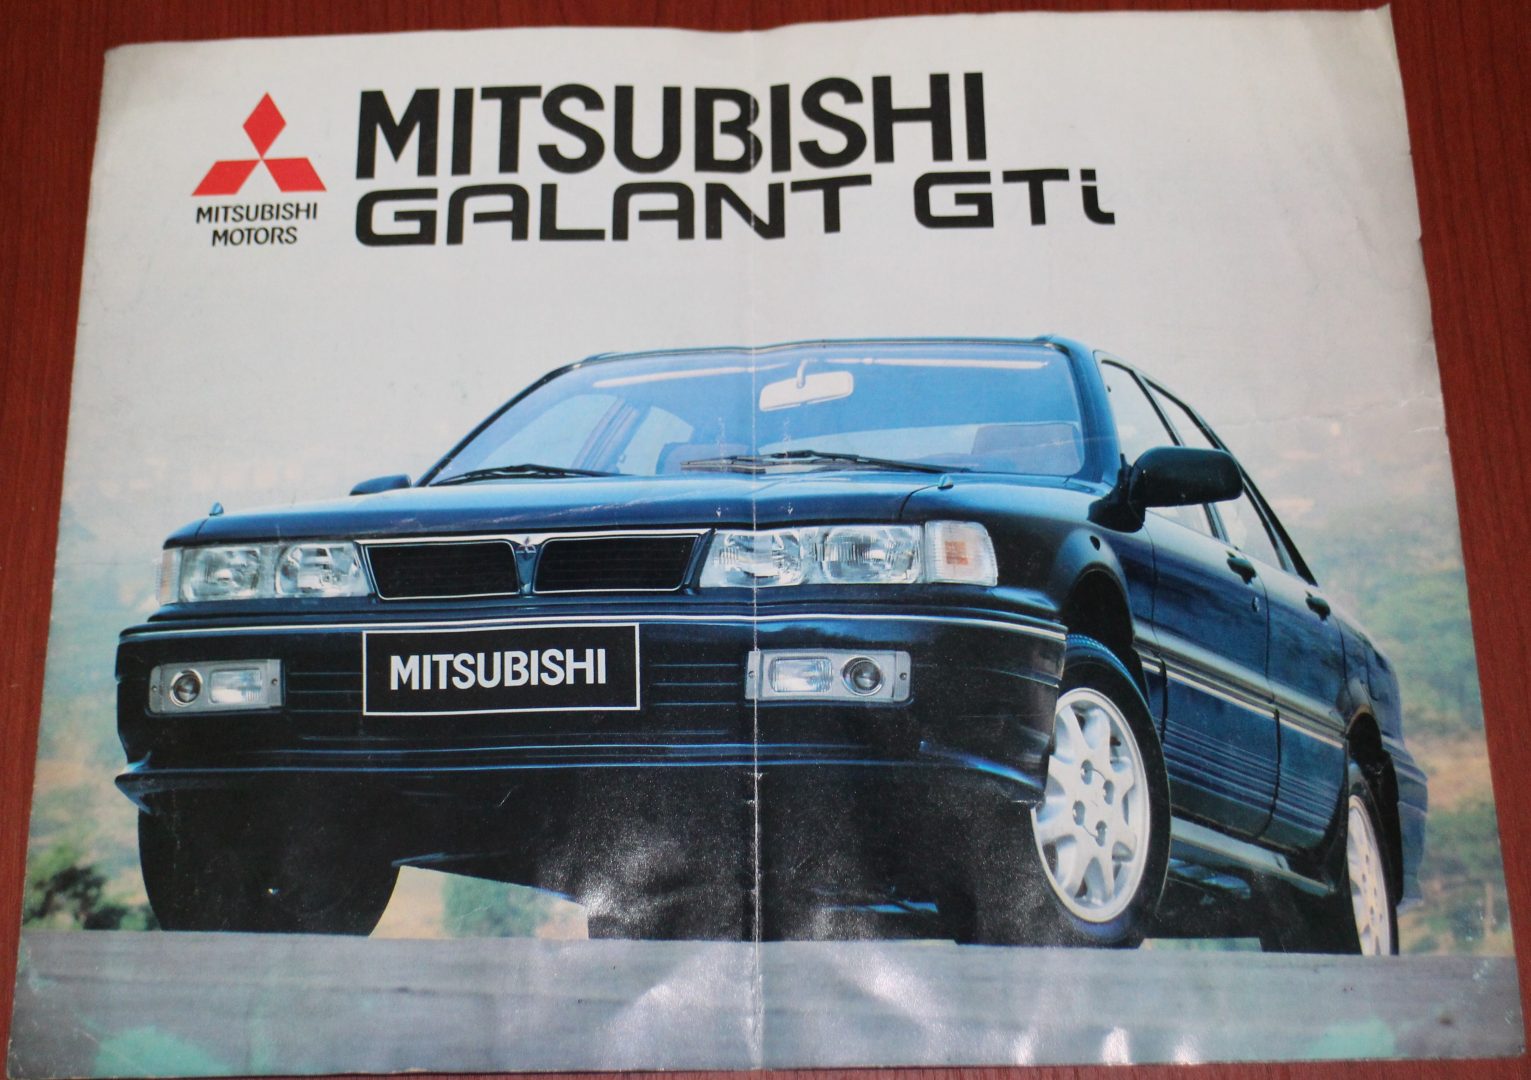
1991 Galant GTI brochure front cover
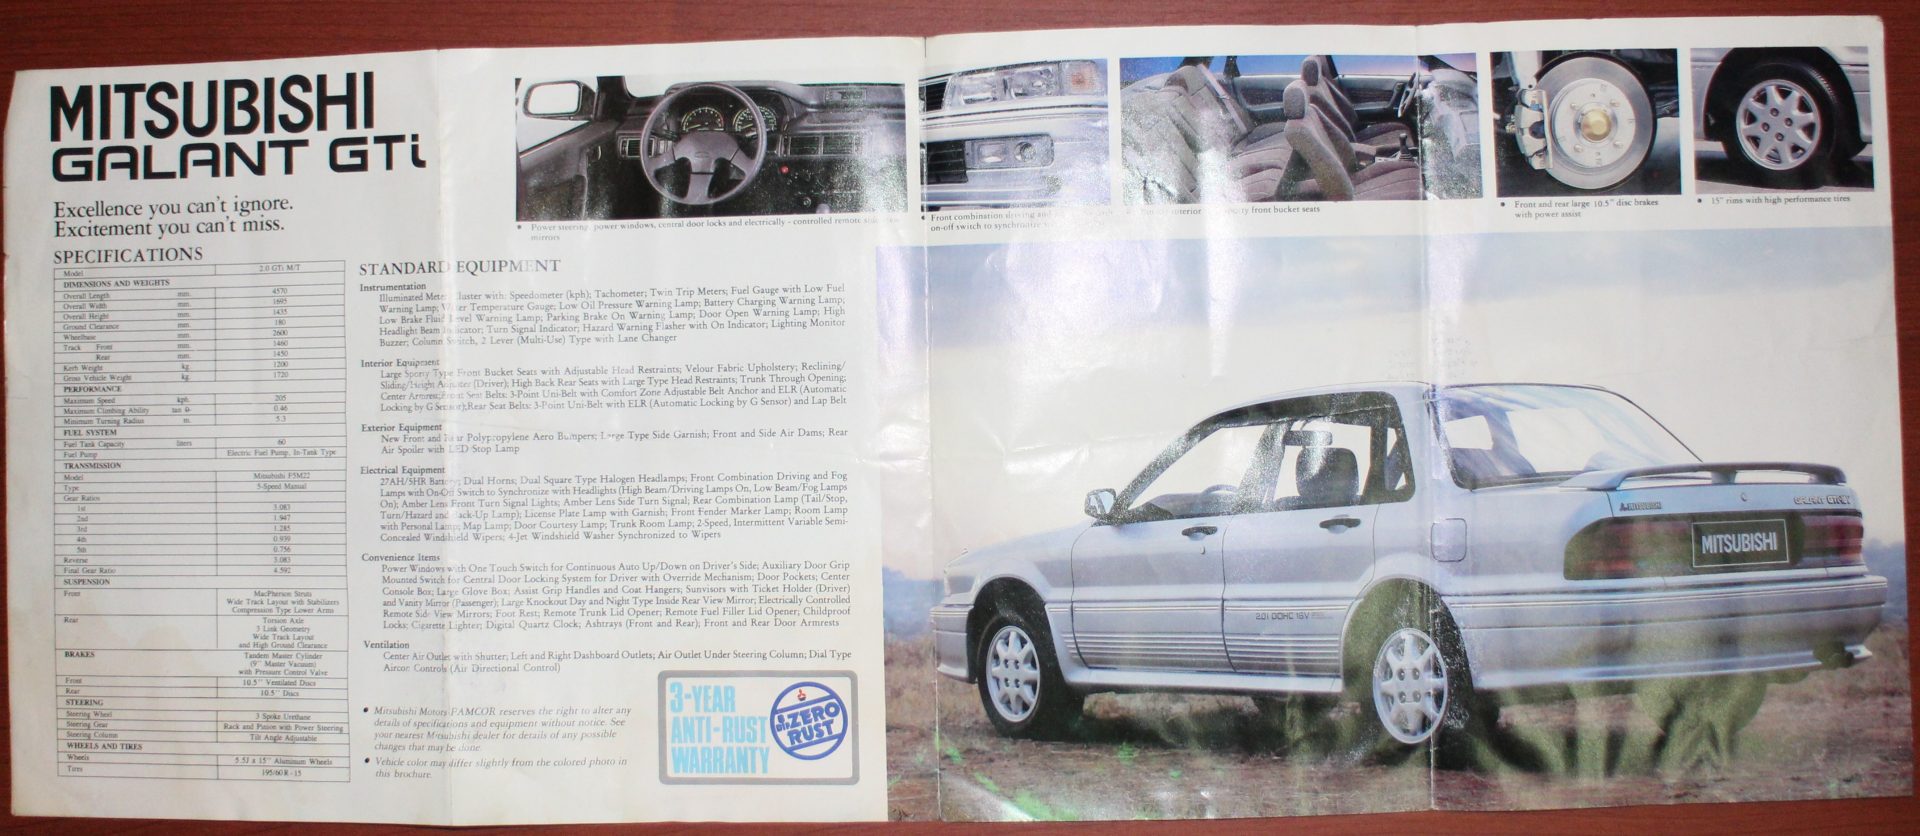
Inside pages
Back cover of the brochure
Along with its original LTO registration documents, our GTI also came with the original Diamond Motor Corporation documents when it was delivered on February 25, 1992, including the Vehicle Invoice, Vehicle Delivery Receipt, Official Receipt, Charge Invoice, Cash invoice for the additional accessories, and Acknowledgement Receipt.
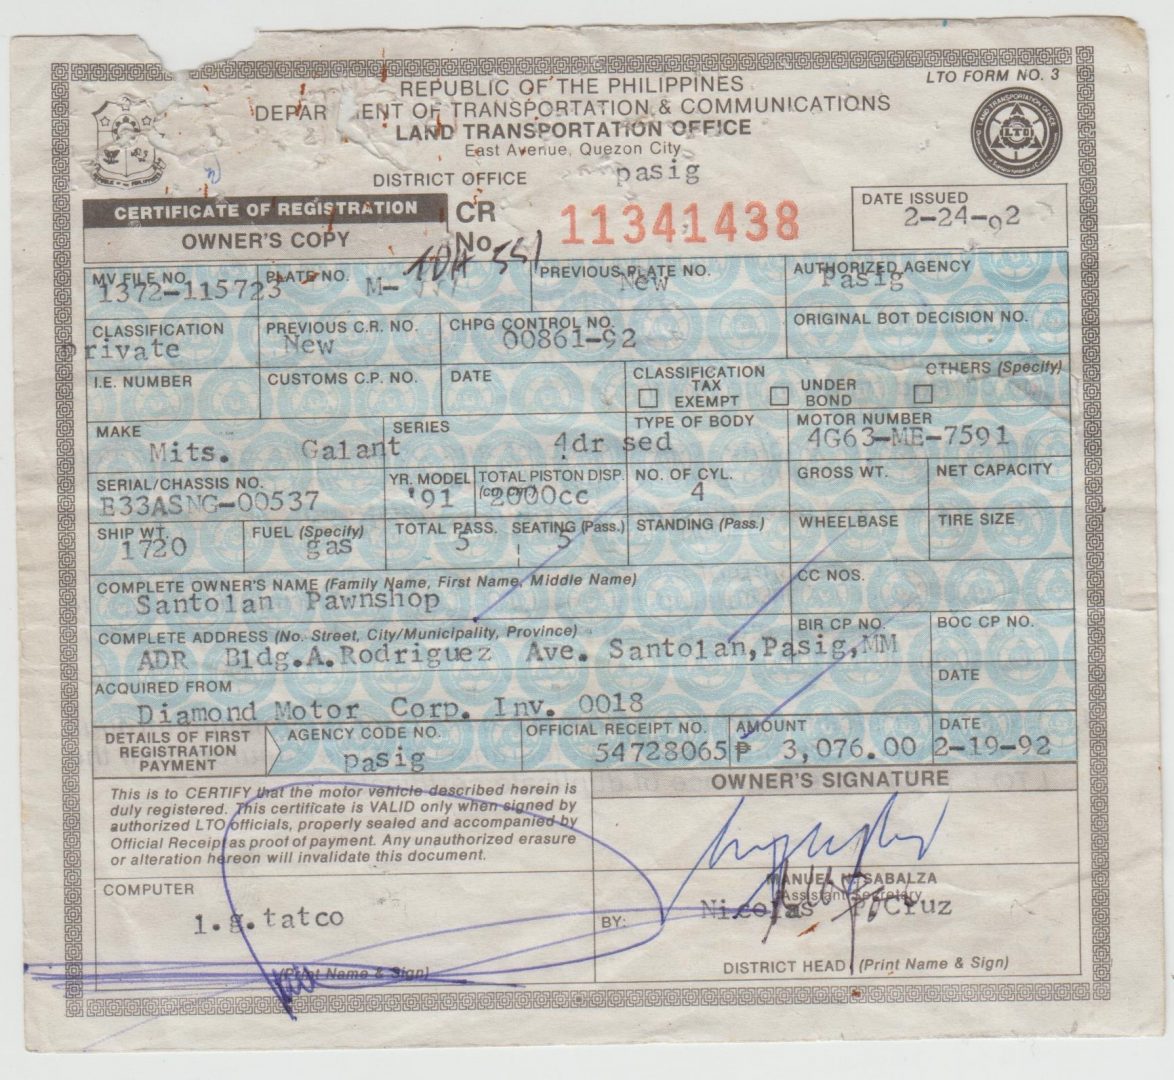
Original 1992 LTO Certificate of Ownership
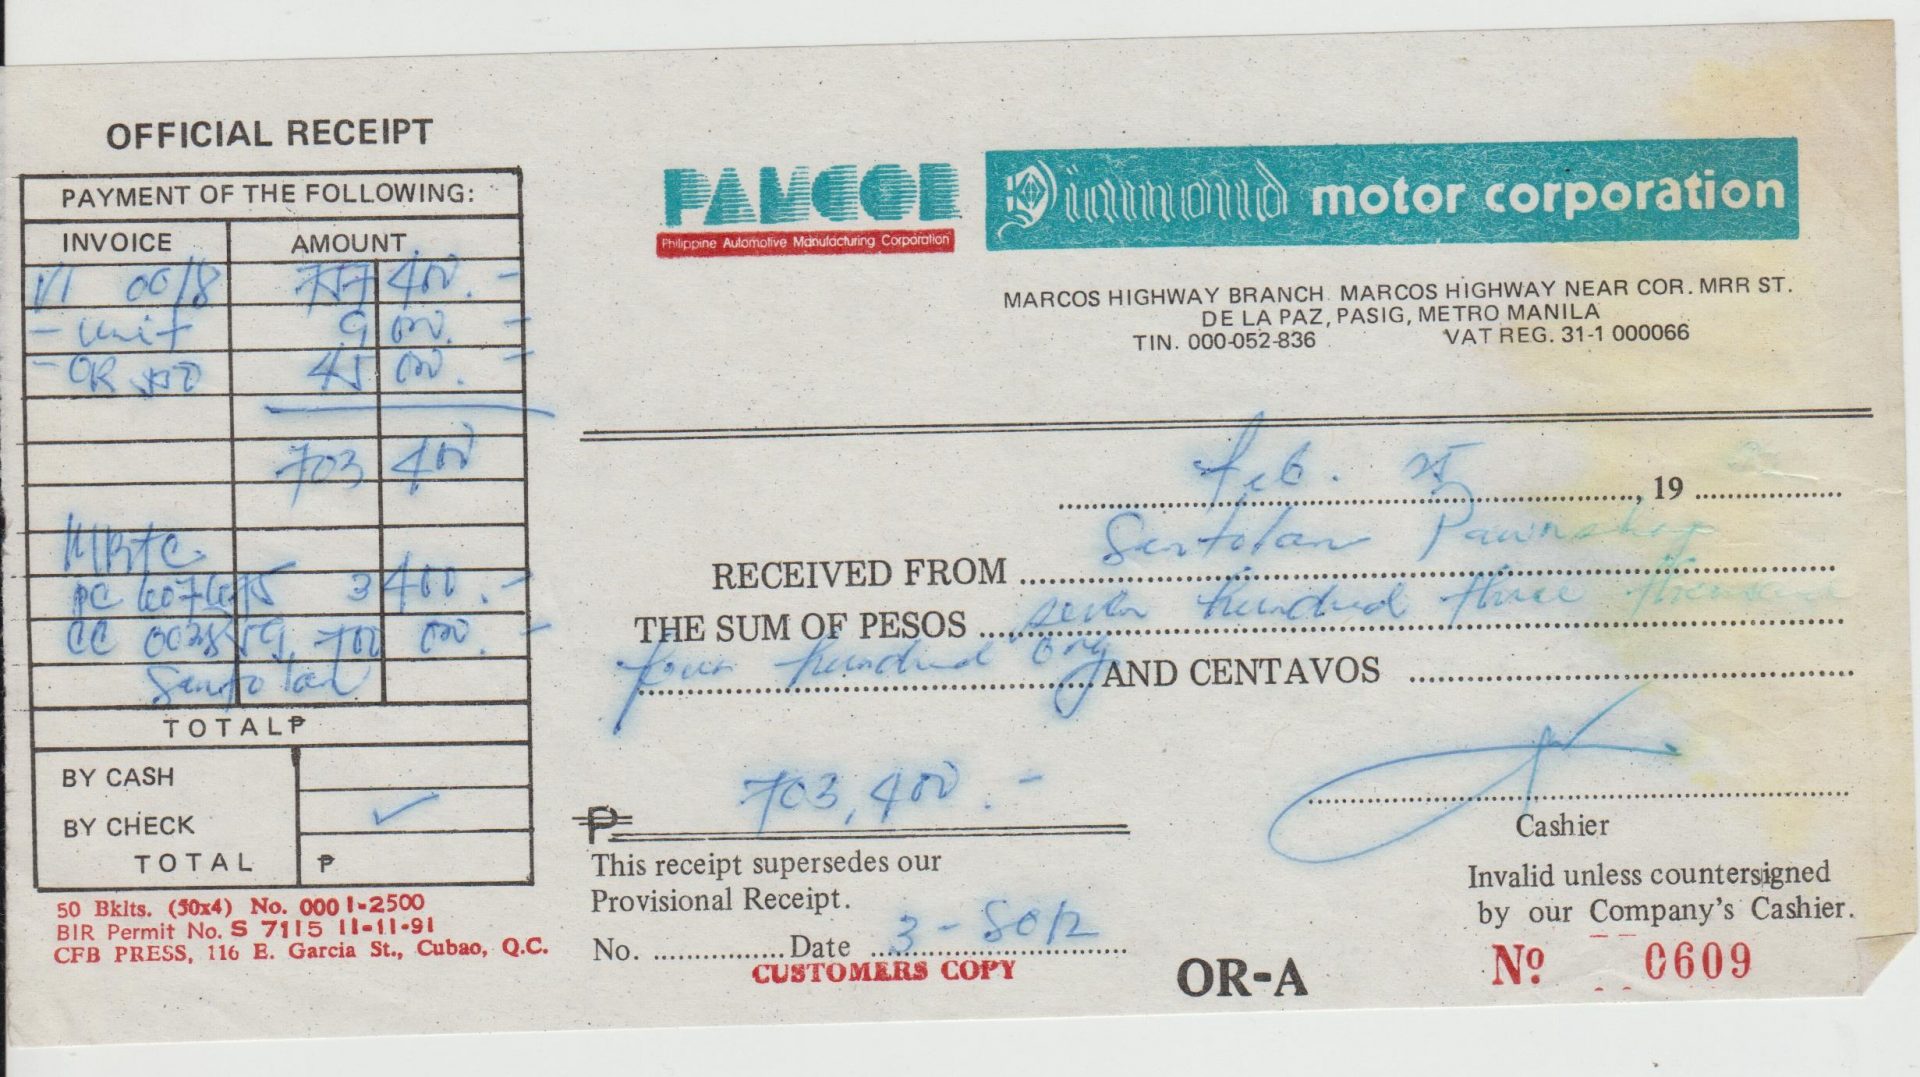
Diamond Motor Corporation Official Receipt
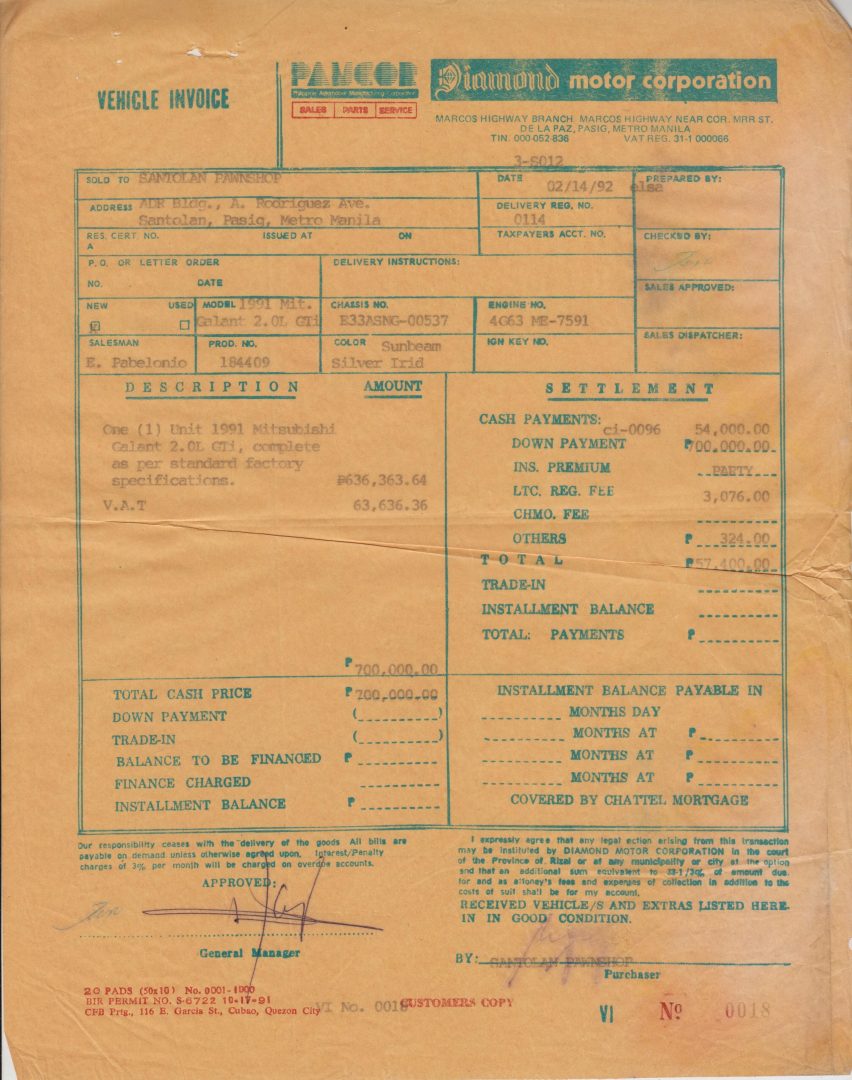
Diamond Motor Corporation Vehicle Invoice
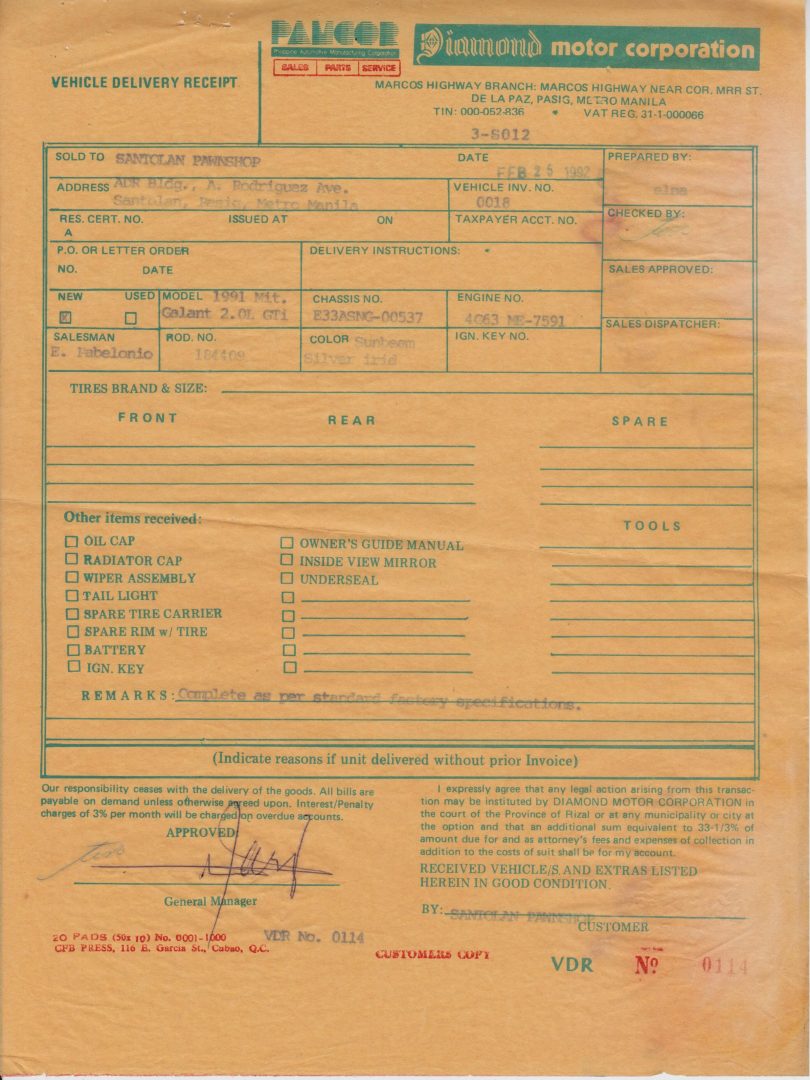
Diamond Motor Corporation Vehicle Delivery Receipt
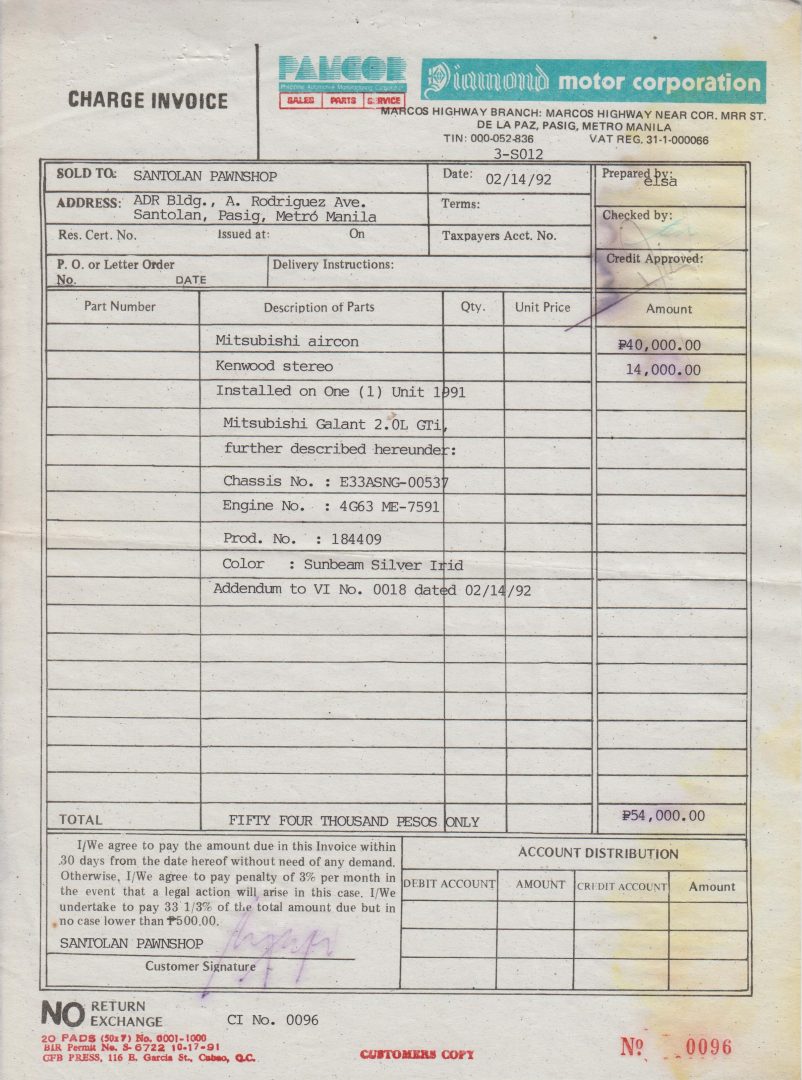
Diamond Motor Corporation Charge Invoice
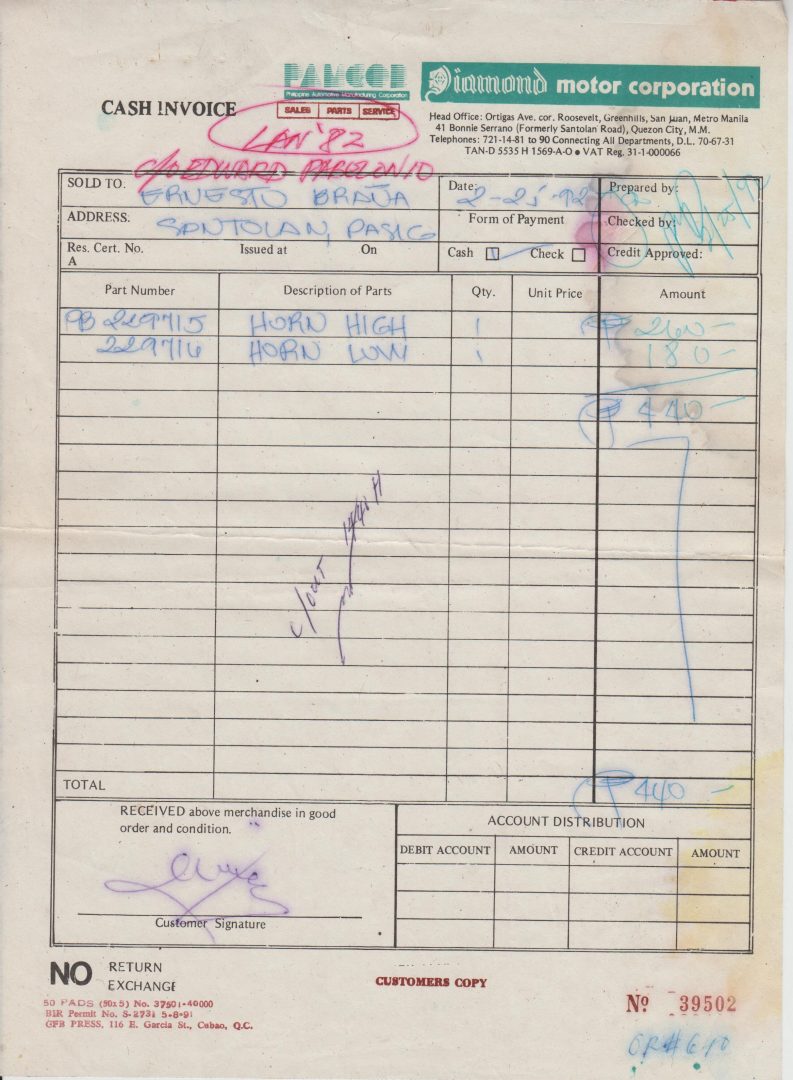
Diamond Motor Corporation Cash Invoice
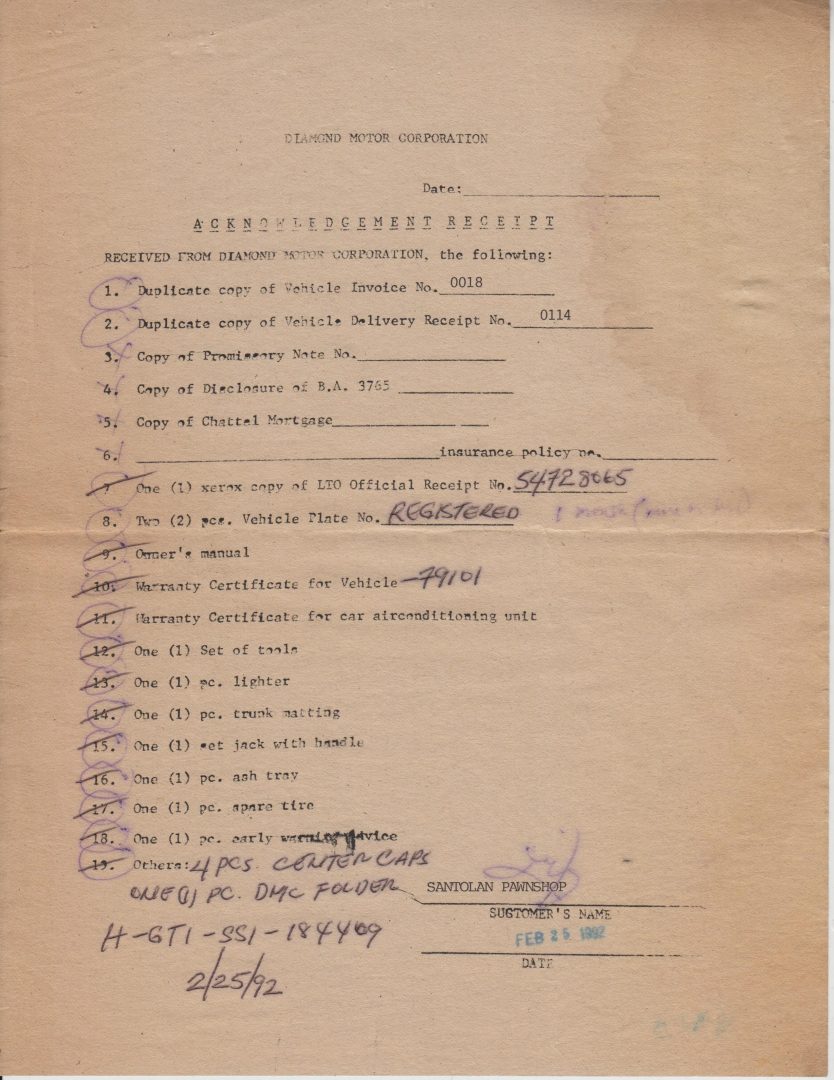
Diamond Motor Corporation Acknowledgement Receipt
We realized that the complete and intact documentation added authenticity and originality to the car’s value and so did Mr. Blaylock. He offered to buy the car from us to add to his personal collection of Mitsubishi vehicles, for which he was planning to build a museum. We knew that our GTI was going to a good home, so we agreed, with the proviso that we continue to cover its restoration until the finish. Watch out for more next week!