First of all, we’d like to start with some clarifications: In Part 1 of this Power Wheels Magazine Project Car series on the 1989 and 1990 Jaguar XJ6 (XJ40) luxury sport sedans being restored at JSK Custom Paint and Auto Works in Marulas, Valenzuela City for our patron and good friend Rodger Yu, we wrote that the paint finish of the 1989 XJ6 was Jaguar Racing Green, which was indicated in the company’s paint catalogue. Some well-meaning friends argued that it should be called British Racing Green (BRG), which in truth, it is. During the XJ40’s introduction, the Coventry factory wanted their new car to be different and one of the things they did is concoct new names for the paint finishes. Thus, “Jaguar Racing Green” is simply BRG in Jaguar-speak , okay? We hope that settles that.
As for the other XJ40, the Savoy Grey 1990 XJ6, one of our well-meaning friends in the publishing business called to correct us that it should be “gray” with an “a” and not “grey” with an “e”. We looked it up with a Thesaurus (Ha! We’re dinosaurs!) and we learned that “gray” is frequently used in American English (think “Fifty Shades of Gray”) while “grey” is more commonly used in British English (Think Old Earl Grey English Tea). Some would argue that we Filipinos use American English so we should use “gray” while purists will insist that because it is painted on a British car it should be “grey”. To be safe, we’re sticking with the colour, err… color nomencleture as written in the factory catalogue, err,… catalog, okay? Geez…
Work Begins on the Grey One First
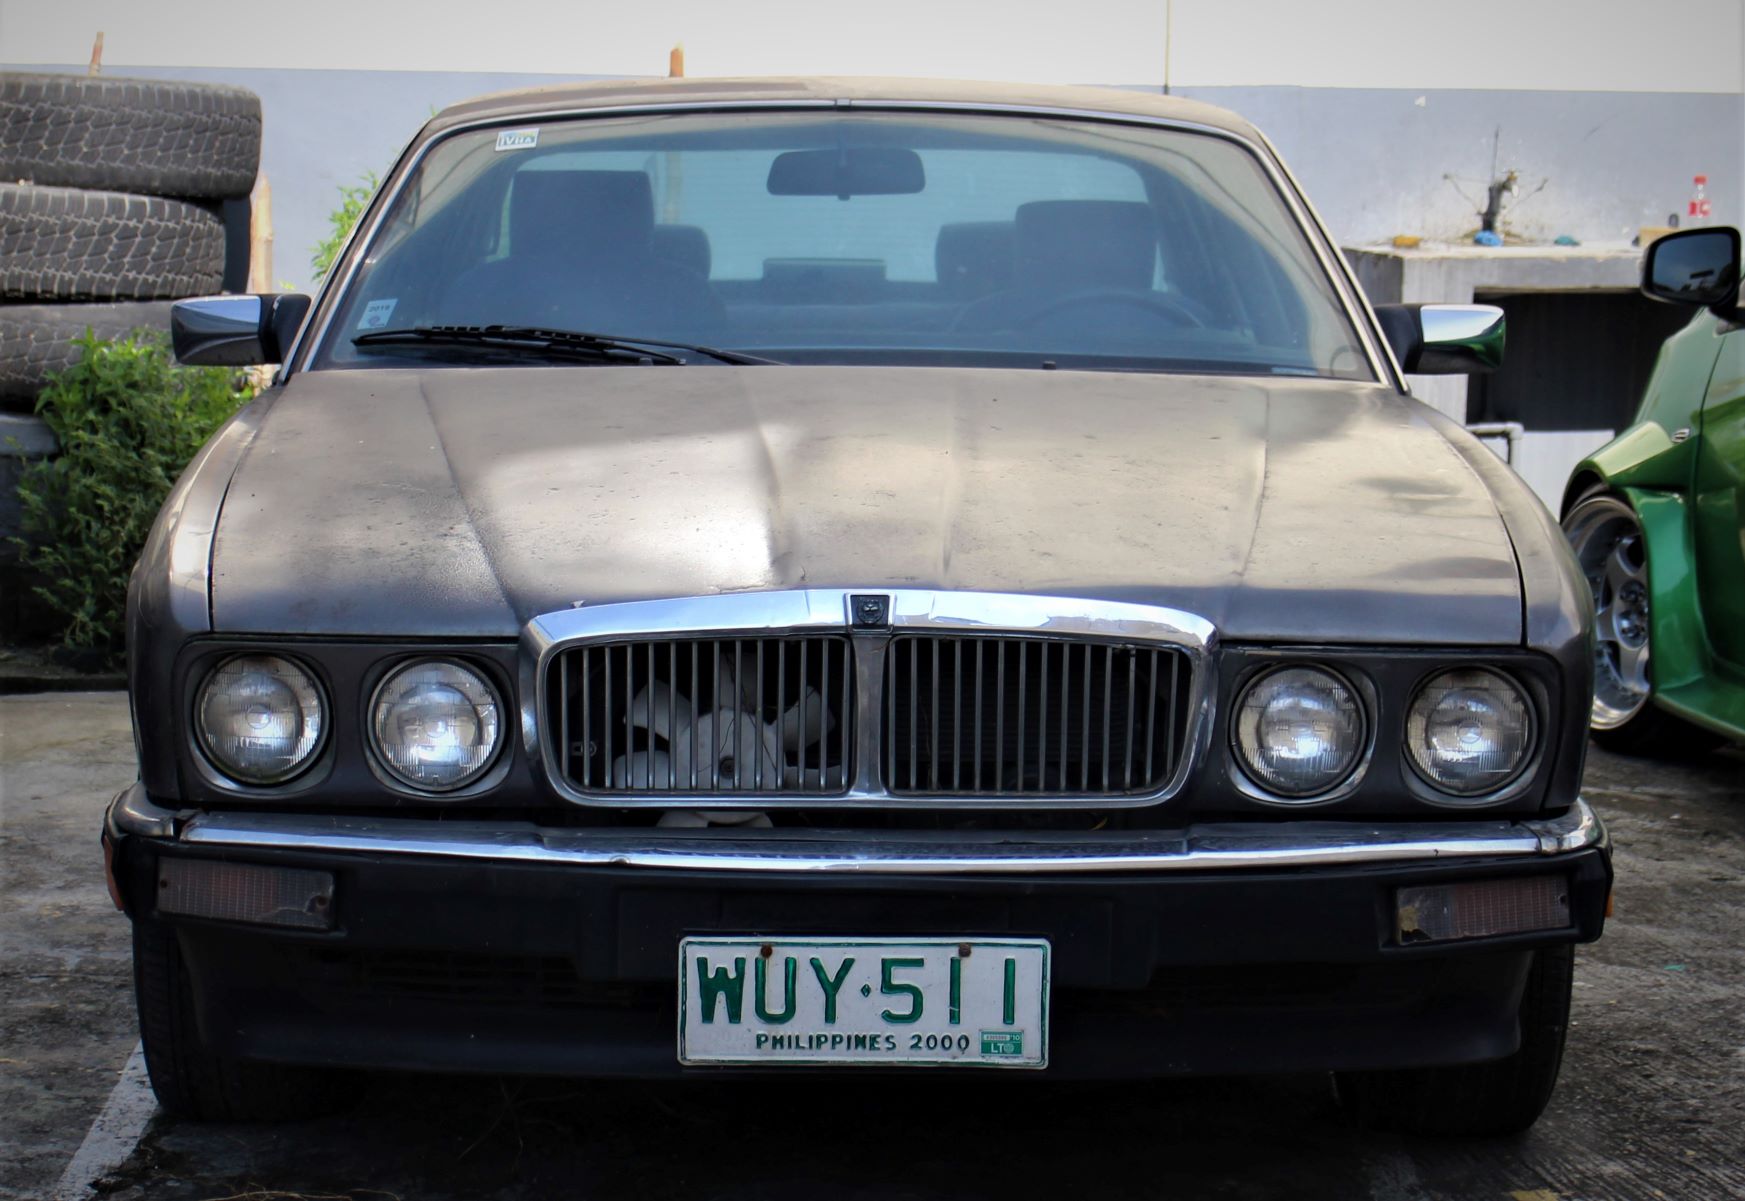
Initially, Johnson Tan, the car-crazy proprietor of JSK, wanted to work on both cars simultaneously but upon closer inspection and measurement of both Jaguars, he realized that the grey XJ6 needed a lot more work than the green one. He noticed that the front grille wass’t mounted in the same angle as the one in the green car and that the alignment of the front panels were a bit off. After consulting his team, Johnson decided that the best course of action was to work on the grey one first and use the green XJ6 as a template. And since the grey one was originally a right-hand-drive (RHD) model converted to left-hand-drive (LHD), having the original LHD green XJ6 as a completely-assembled model to compare the grey car to will make the job a whole lot easier.
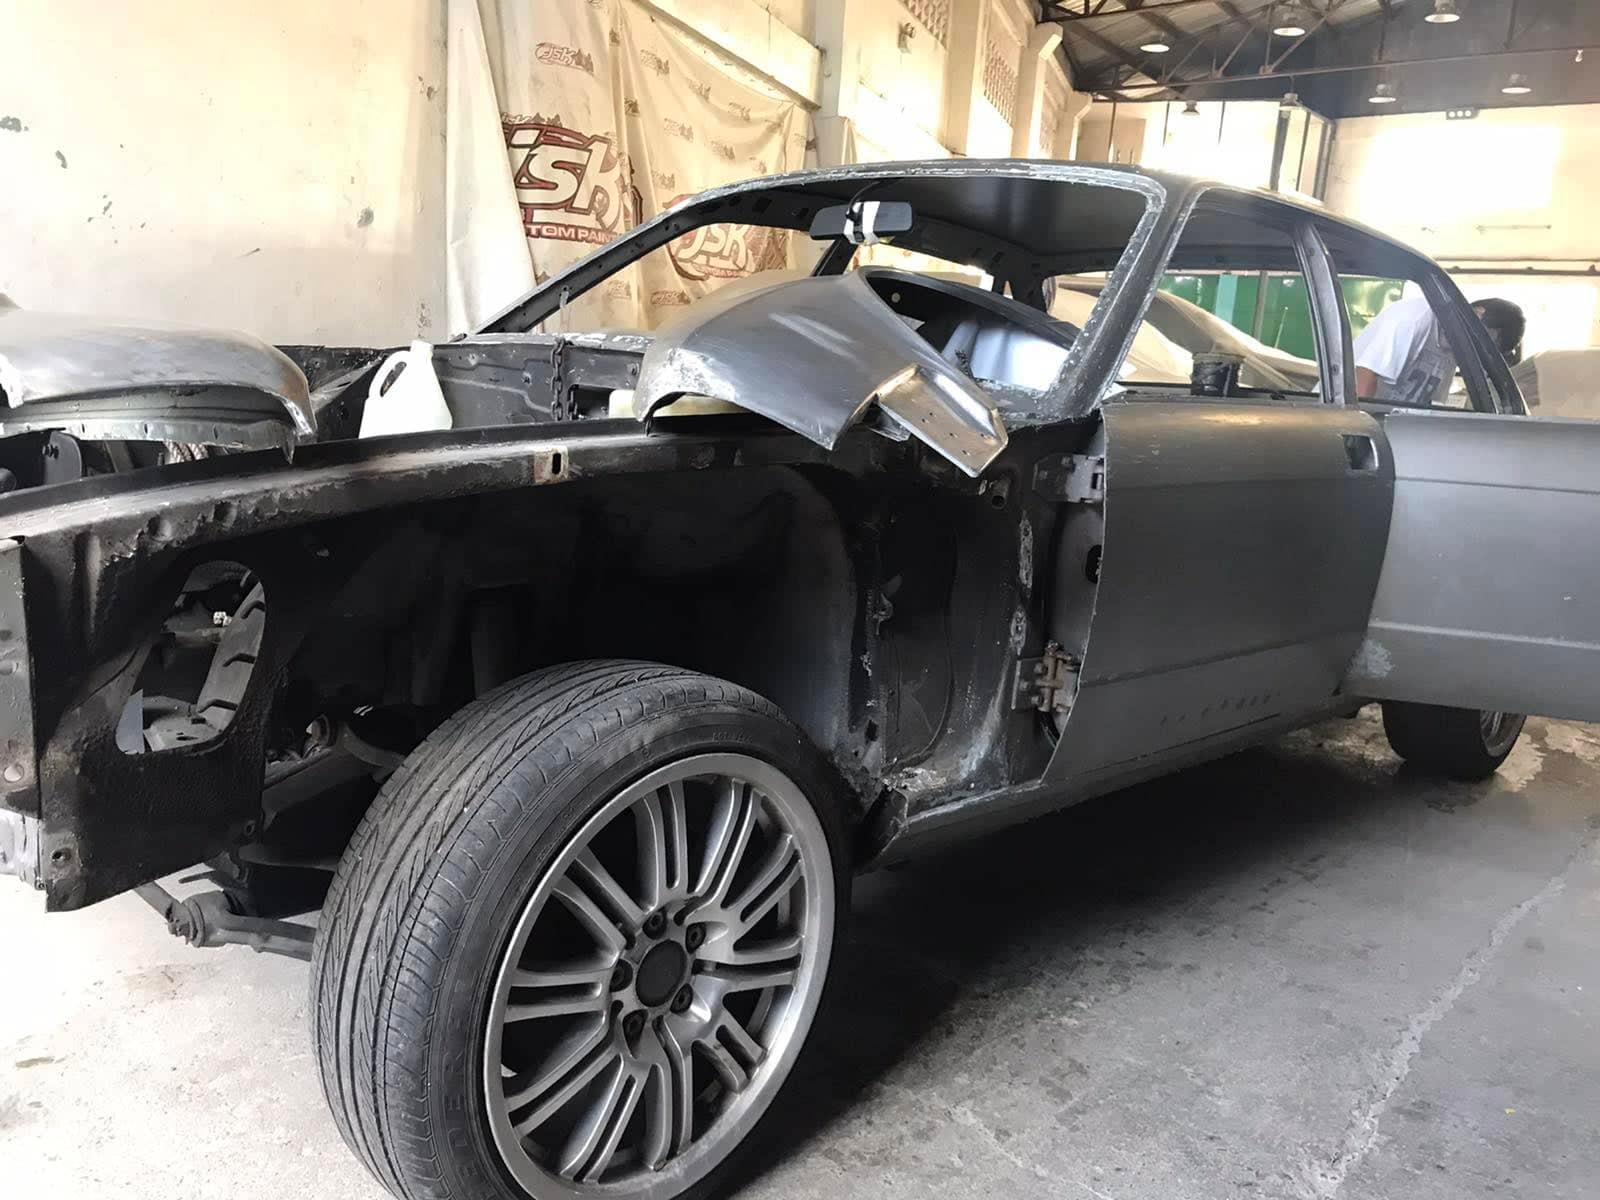
However, because of the increasing mutations of the Coronavirus, the slight increase in infections, the resurgence of government health protocols and for our own safety, we were not able to visit the shop for a couple of months. During our absence, the work on the grey Jaguar began with a careful measurement of the misaligned front end compared to the straight facade of the green XJ6. After the exact measurements were taken, all the exterior trim and all the blue glass were removed, followed by the removal of the interior, most of the wiring, and then, the engiine. Diving into the full restoration of a 32-year old XJ40, with all its wiring harnesses, is definitely not for the fainthearted, as these photos show:
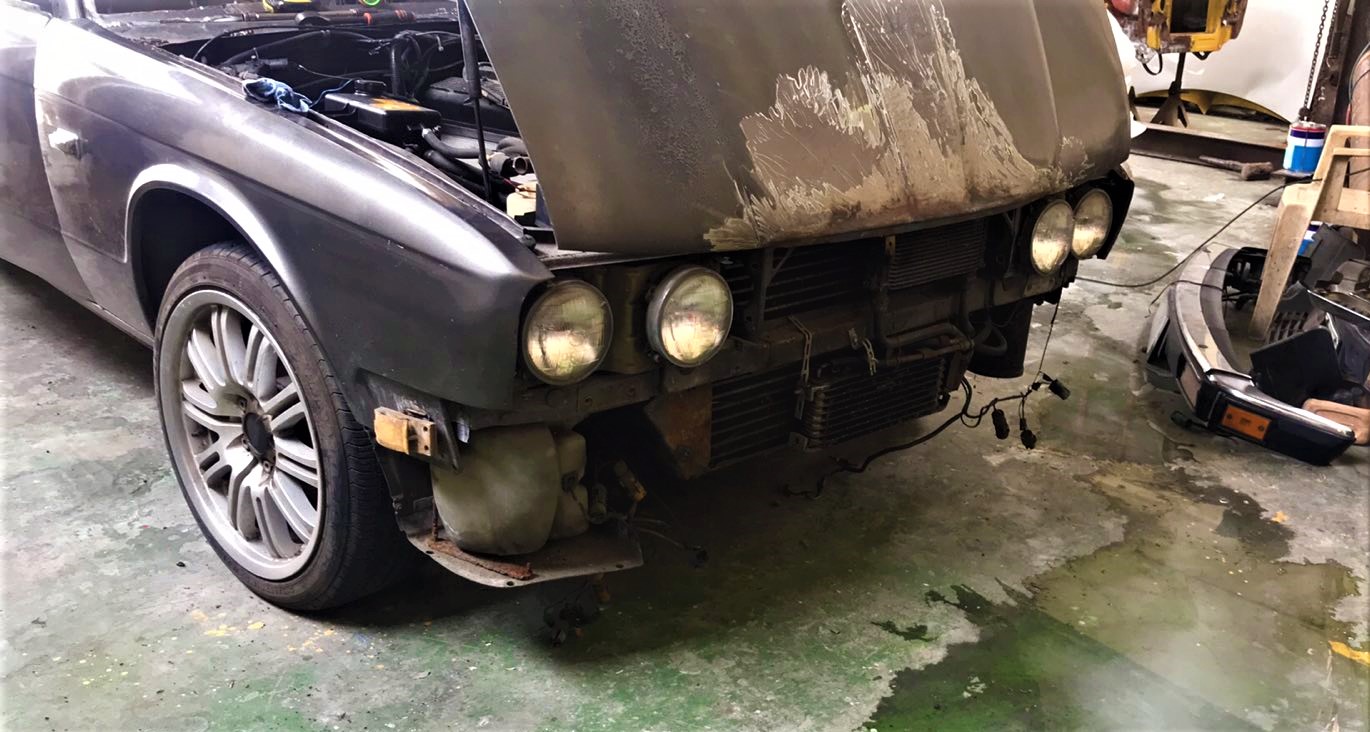
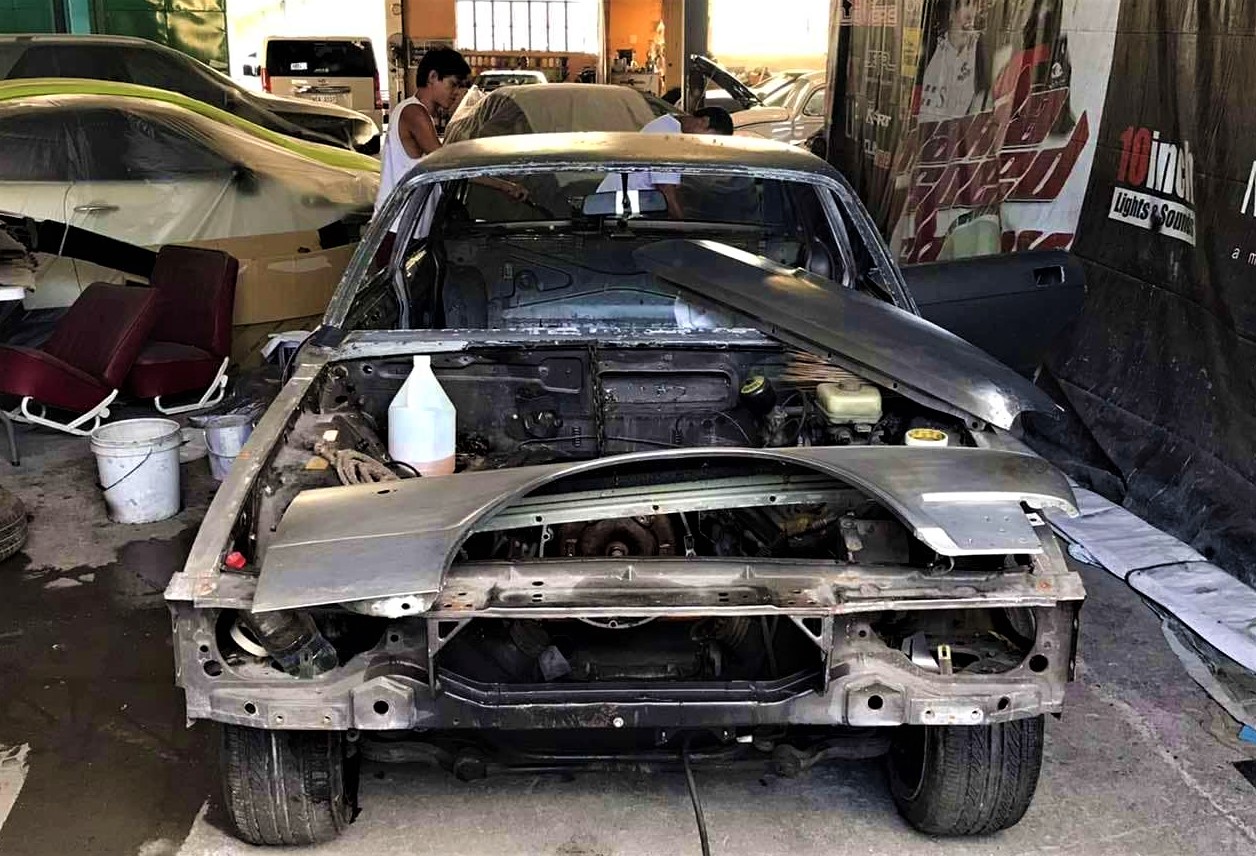
The front end of the grey car was carefully measured against the green one and the sheet metal and brackets, including the front bumper, were all “massaged” to align properly.
The hood and the front fenders were aligned and the gaps were checked to ensure that they will fit properly during reassembly. At this juncture, all the glass the interior have been removed.
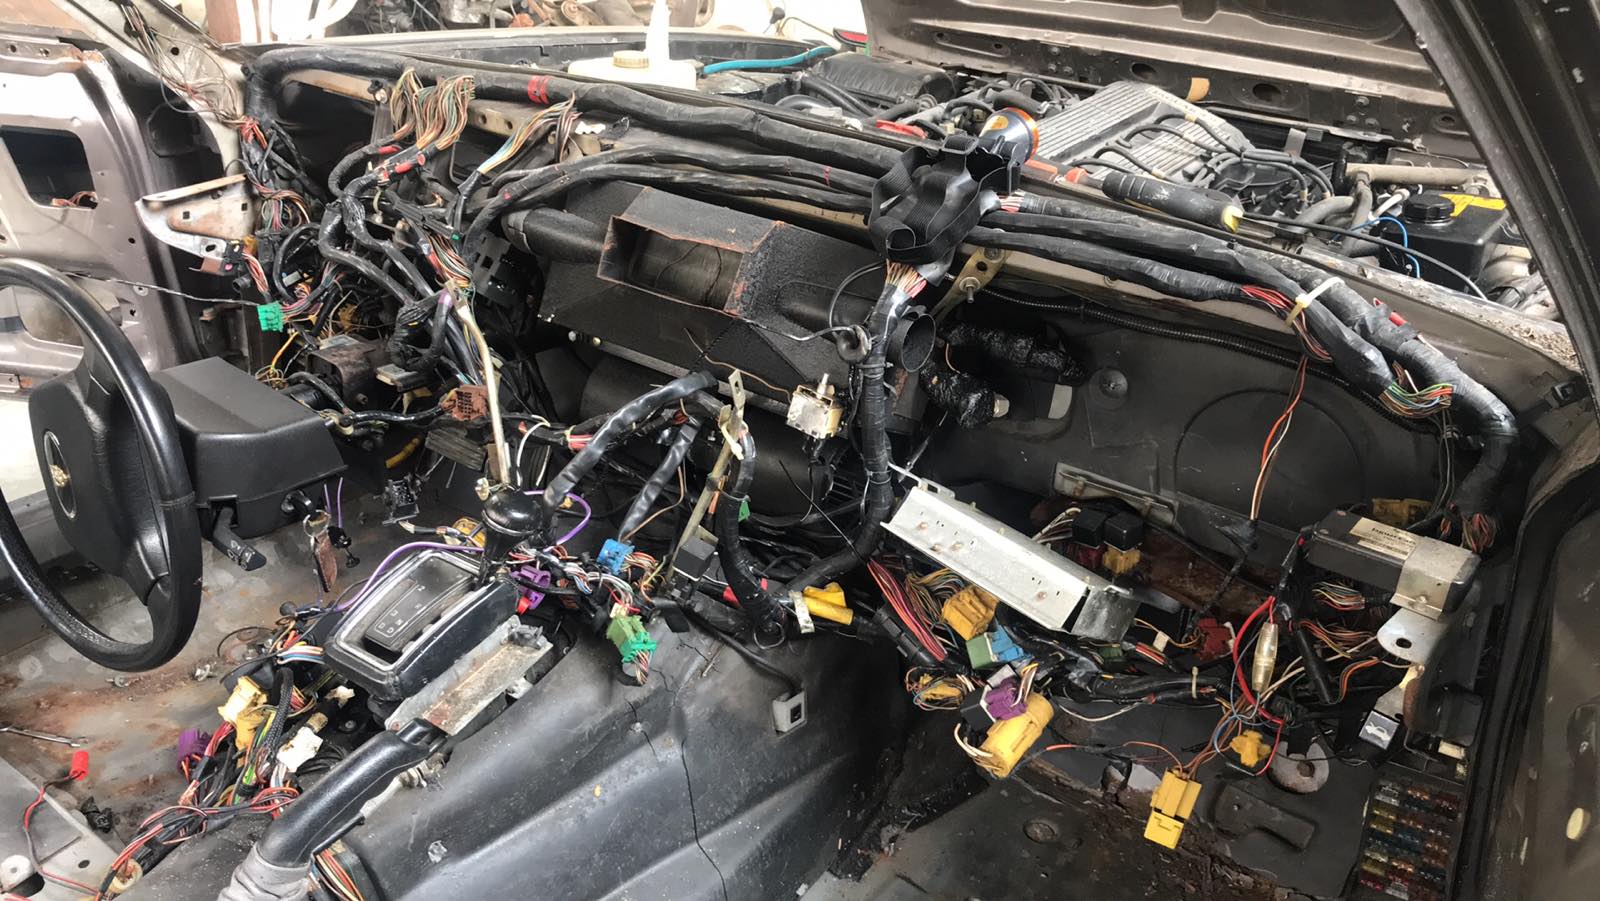
The JSK electrician has to mark all these wirings during disassembly so everything will work as Coventry intended when the car is reassembled.
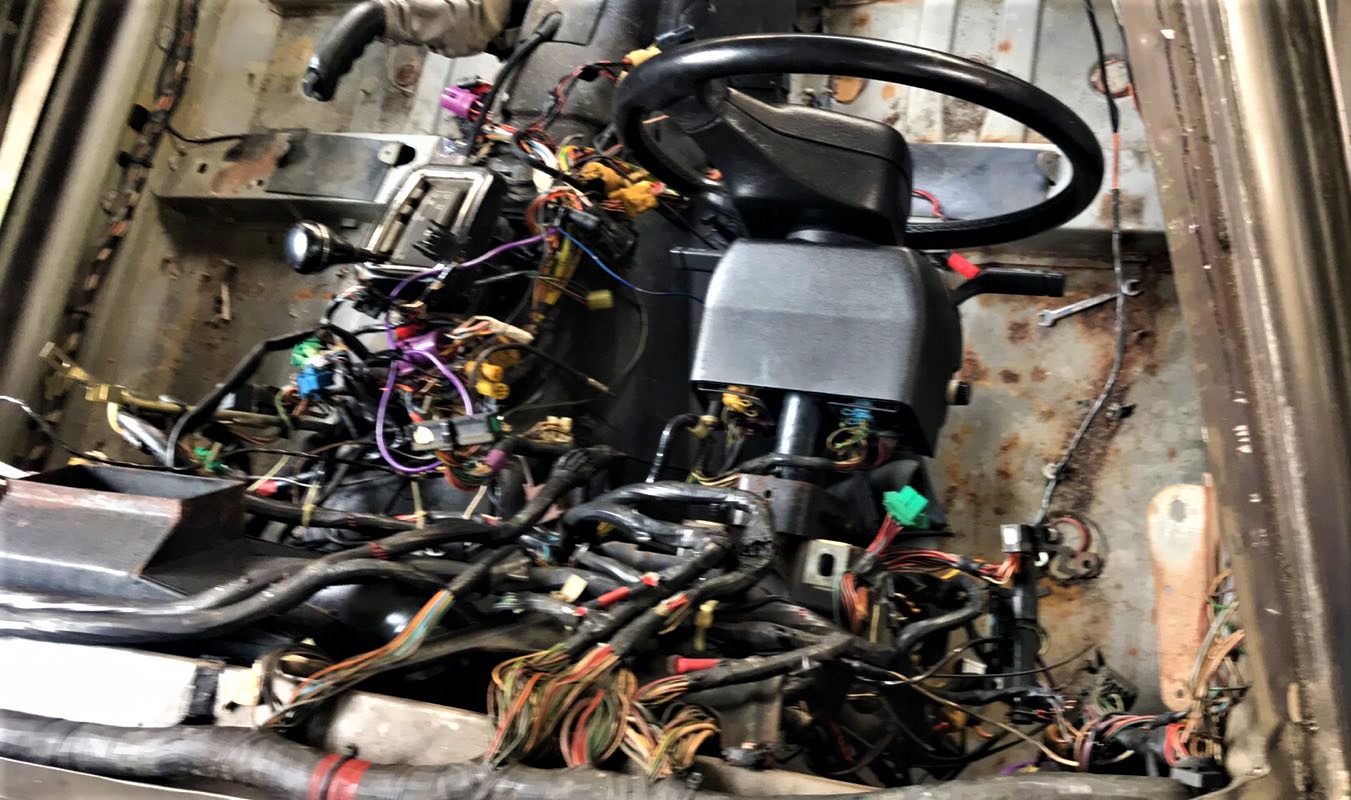
Another view of the massive amount of wires from the front cowl and intrument panel.
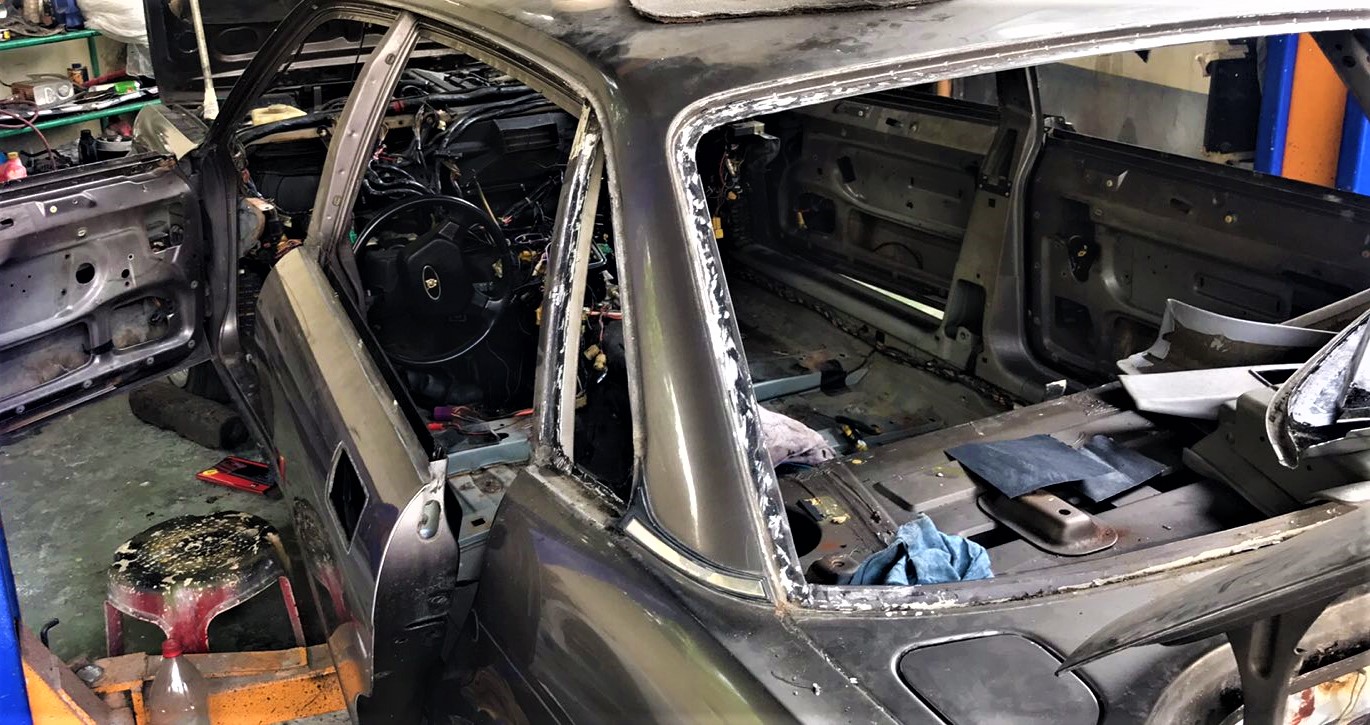
With the back glass removed, the pillars, frame and surrounding panels were sanded and checked for rust and holes.
Engine Removal + Stripped to Bare Metal + Rust Repair
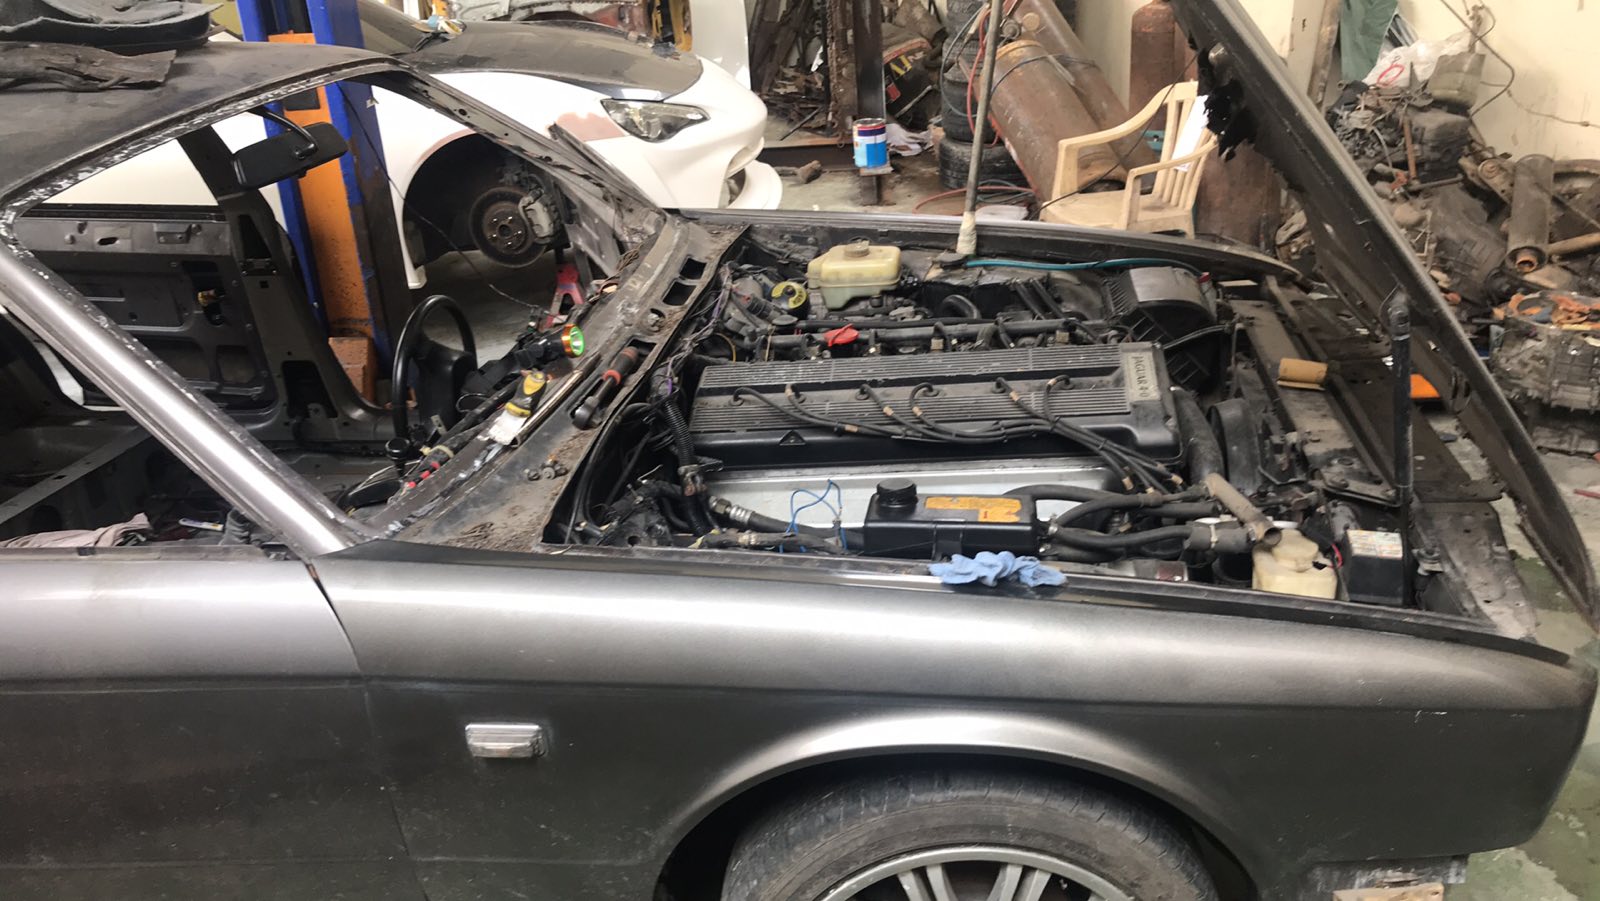
Once all the panels were aligned and the gaps were checked and double checked, JSK technicians began the disassembly process. To facilitate easier work on the engine bay, mechanics removed the massive AJ6 4.0-liter inline 6-cylinder engine that’s equipped with electronic fuel injection (EFI), double overhead camshaft (DOHC), and four valves per cylinder (24V). The ZF 4HP22 4-speed automatic transmission was left installed and carefully chained to the front cowl with all the attendant wirings carefully marked. The weather strips, rubber seals, and exterior trim were marked and stored while the metal underneath was sanded and inspected for rust perforation.

The faded Savoy Grey was chemically stripped…
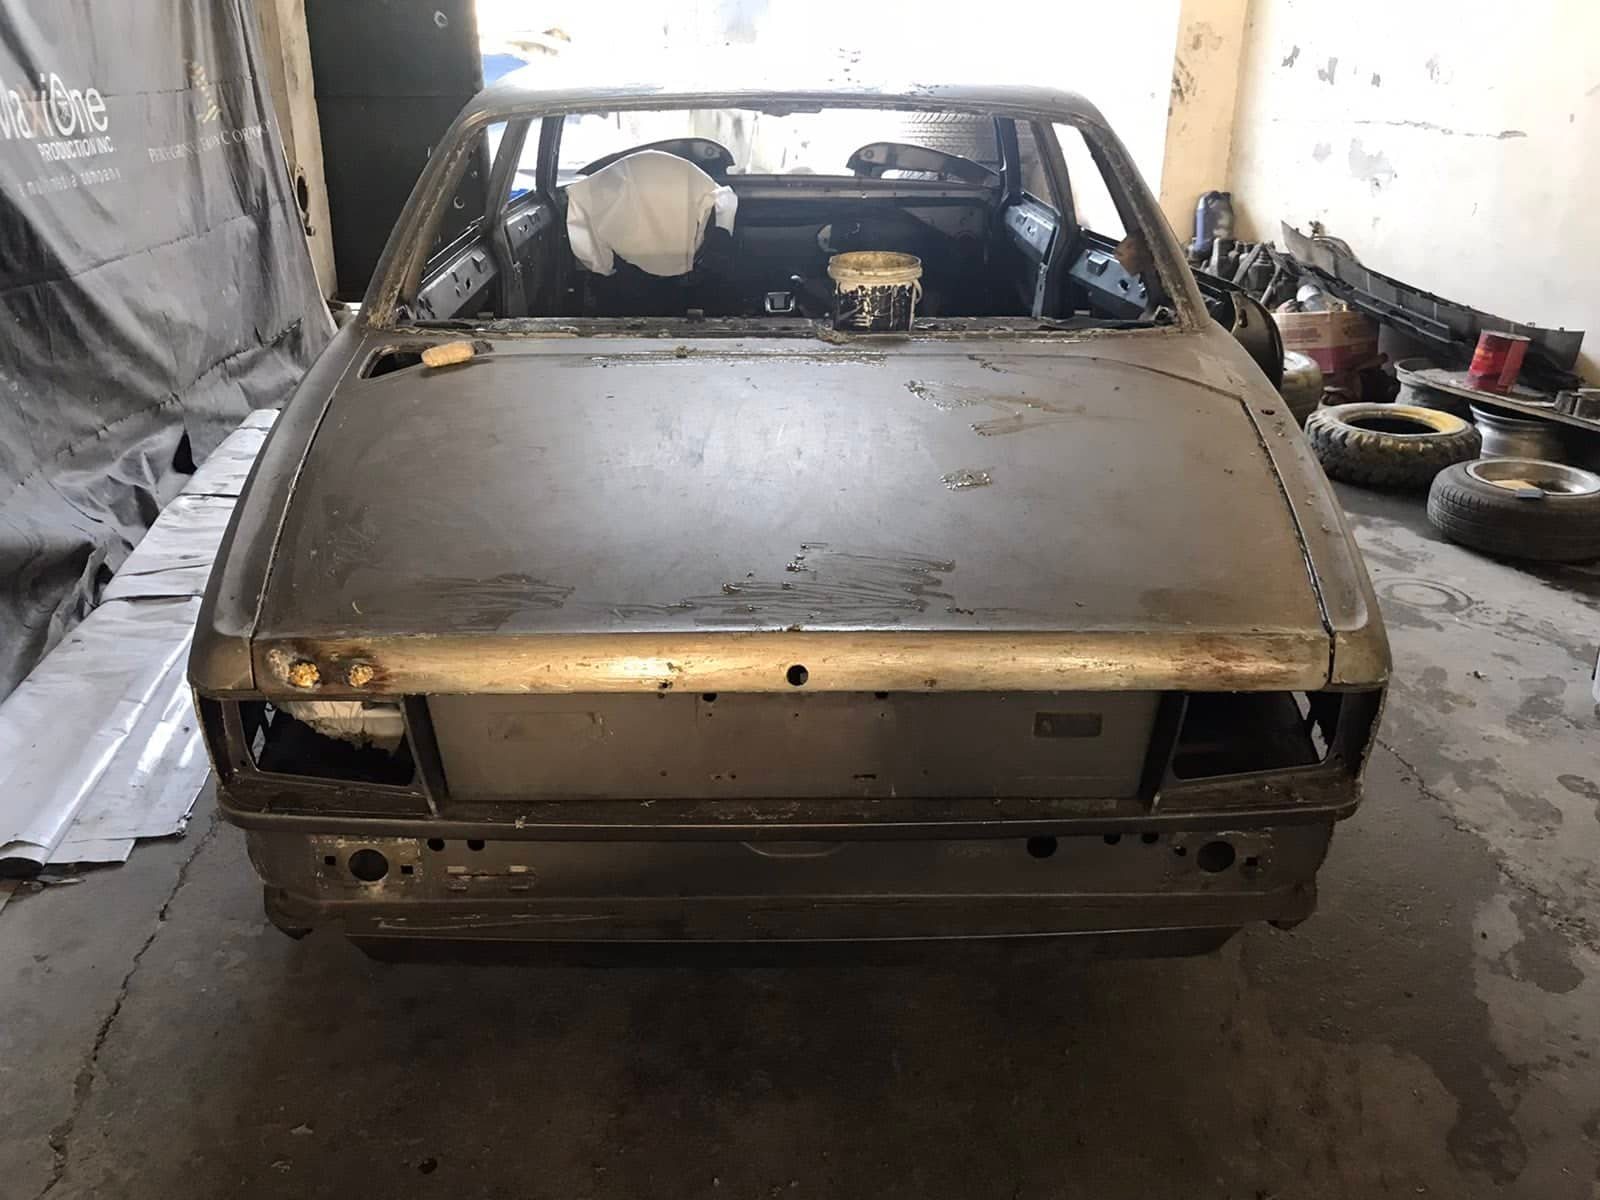
… and revealed the base metal, which looks remarakble straight at the back.

After the chemical stripping and cleaning…
… the front panels were removed and all the nooks and crannies were meticulously cleaned of the chemical stripper’s remnants.
JSK body techs took the time to inspect all the panels around the car for hidden rust, including the hard-to-reach places.
Green with Envy
A few weeks later, we returned to the JSK workshop and was surprised to find the still-disassembled XJ40 covered in green paint. Well, actually it was sprayed with a green rust inhibitor/etching primer to allow the JSK body guys to see all the dips, nicks and curves of the body and to pinpoint the needed metal work. Having a “laser-straight” body avoids excessive use of body filler, which Johnson considers a sin when restoring cars, especially of this caliber. “I’ve been competing in car shows for a long time”, he narrated, “And I know that judges frown upon thick body fillers, which some people use to hide the imperfections of their metal work. We try to avoid, as much as possible, applying body filler in the cars we restore here in the shop. We don’t do ‘short-cut’ work because we work on each car as if it was going to compete in a car show.”

From the A-pillar going back to the tail, the XJ40 was covered in green etching primer / rust inhibitor.

The floors and all the inner panels were cleaned and devoid of rust before the primer was liberally applied.
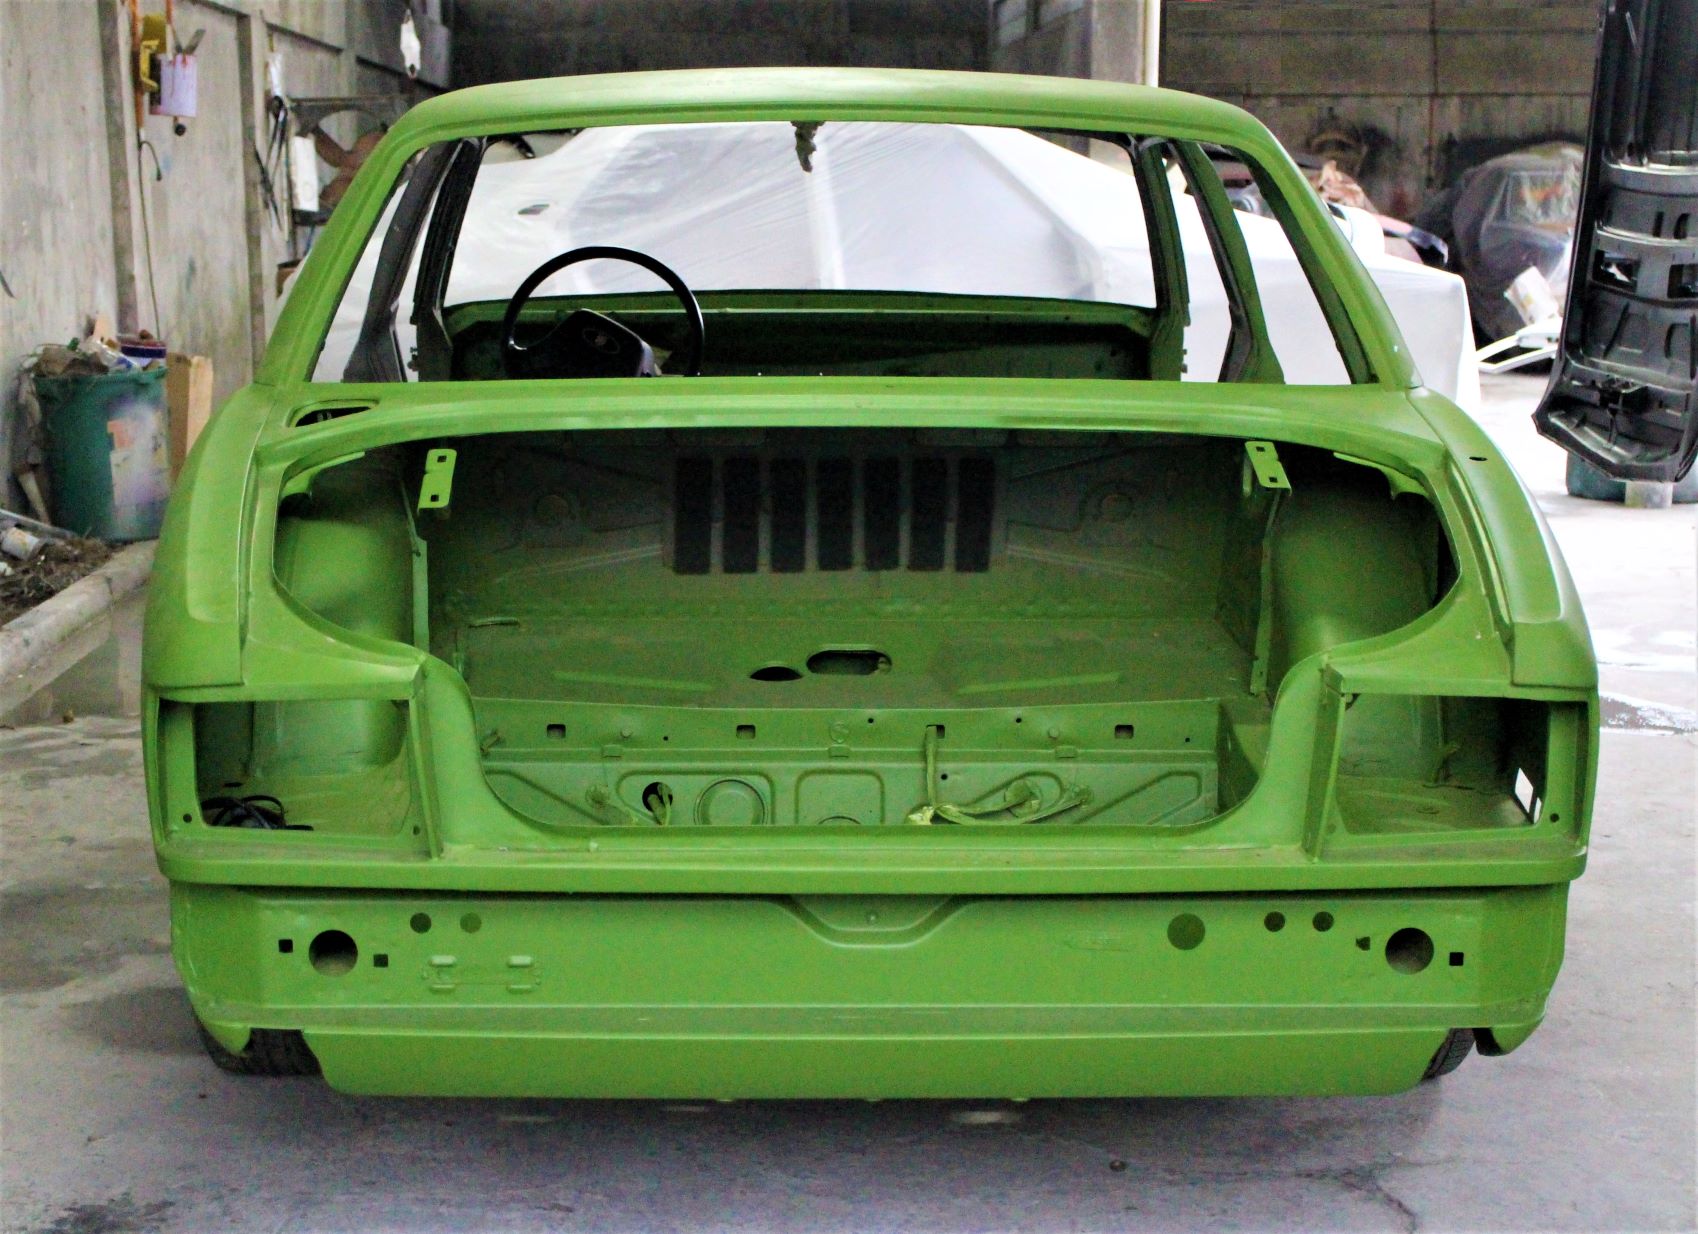
Even the entire trunk, including the floor, was cleaned and painted green.
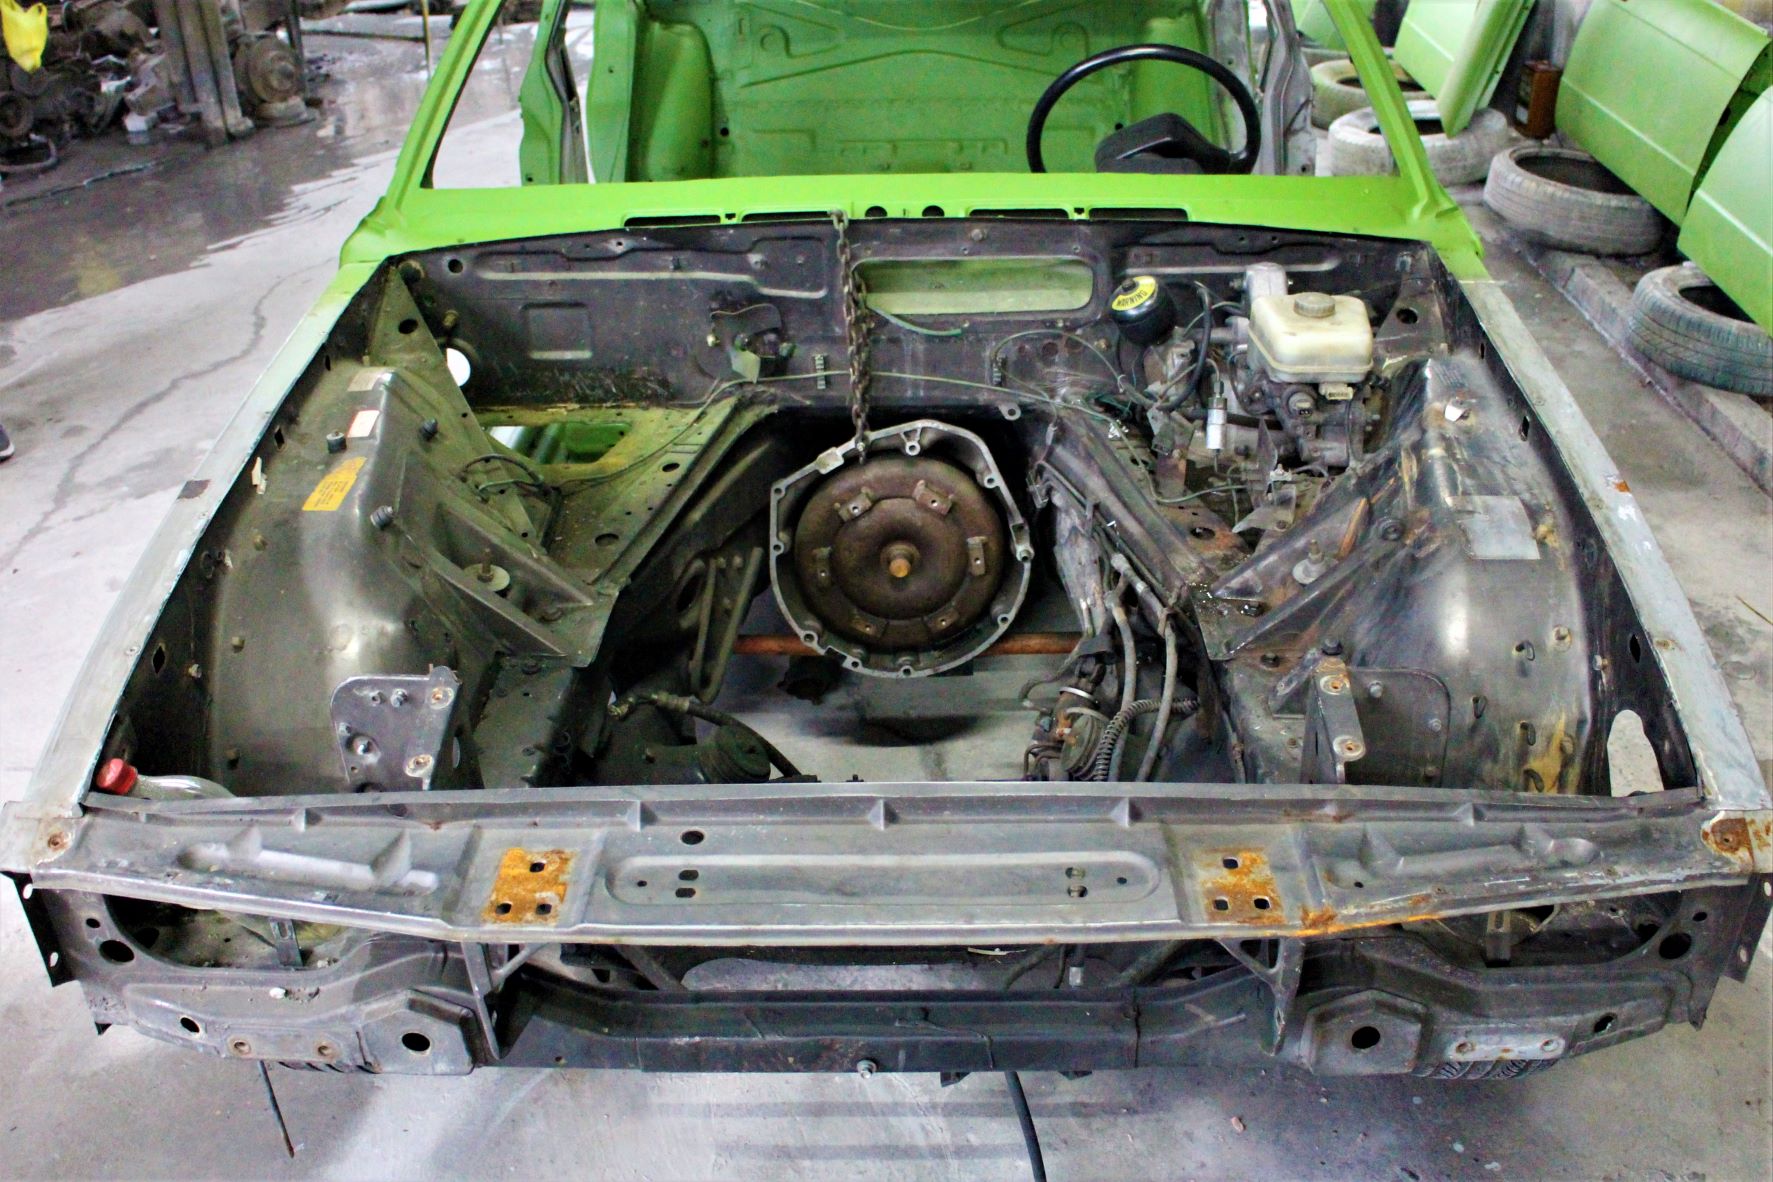
The mechanical components and electronic parts in the engine bay were carefully marked and removed before the JSK artisans can work on cleaning, derusting and painting the metal around the bay.
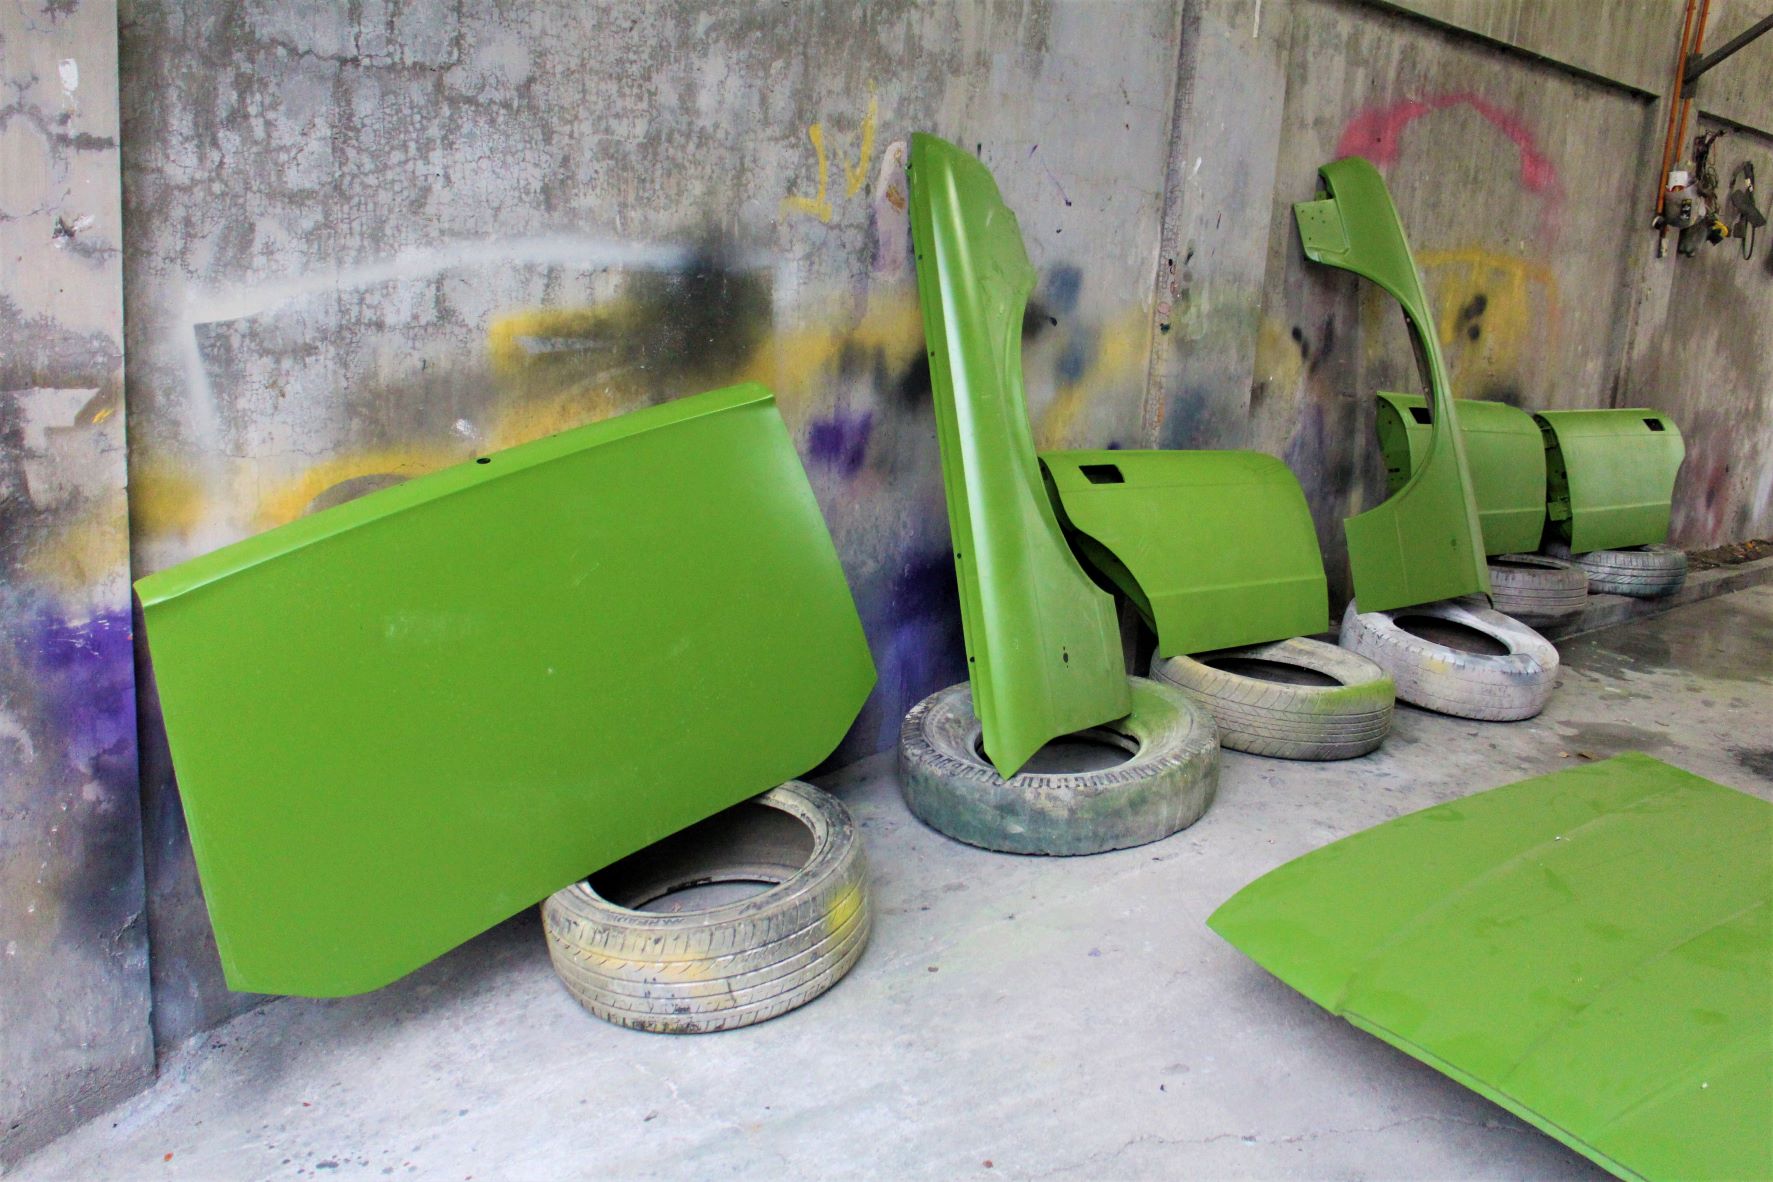
The hood, trunk lid, and doors were all stripped, cleaned, repaired, and prepared for paint.
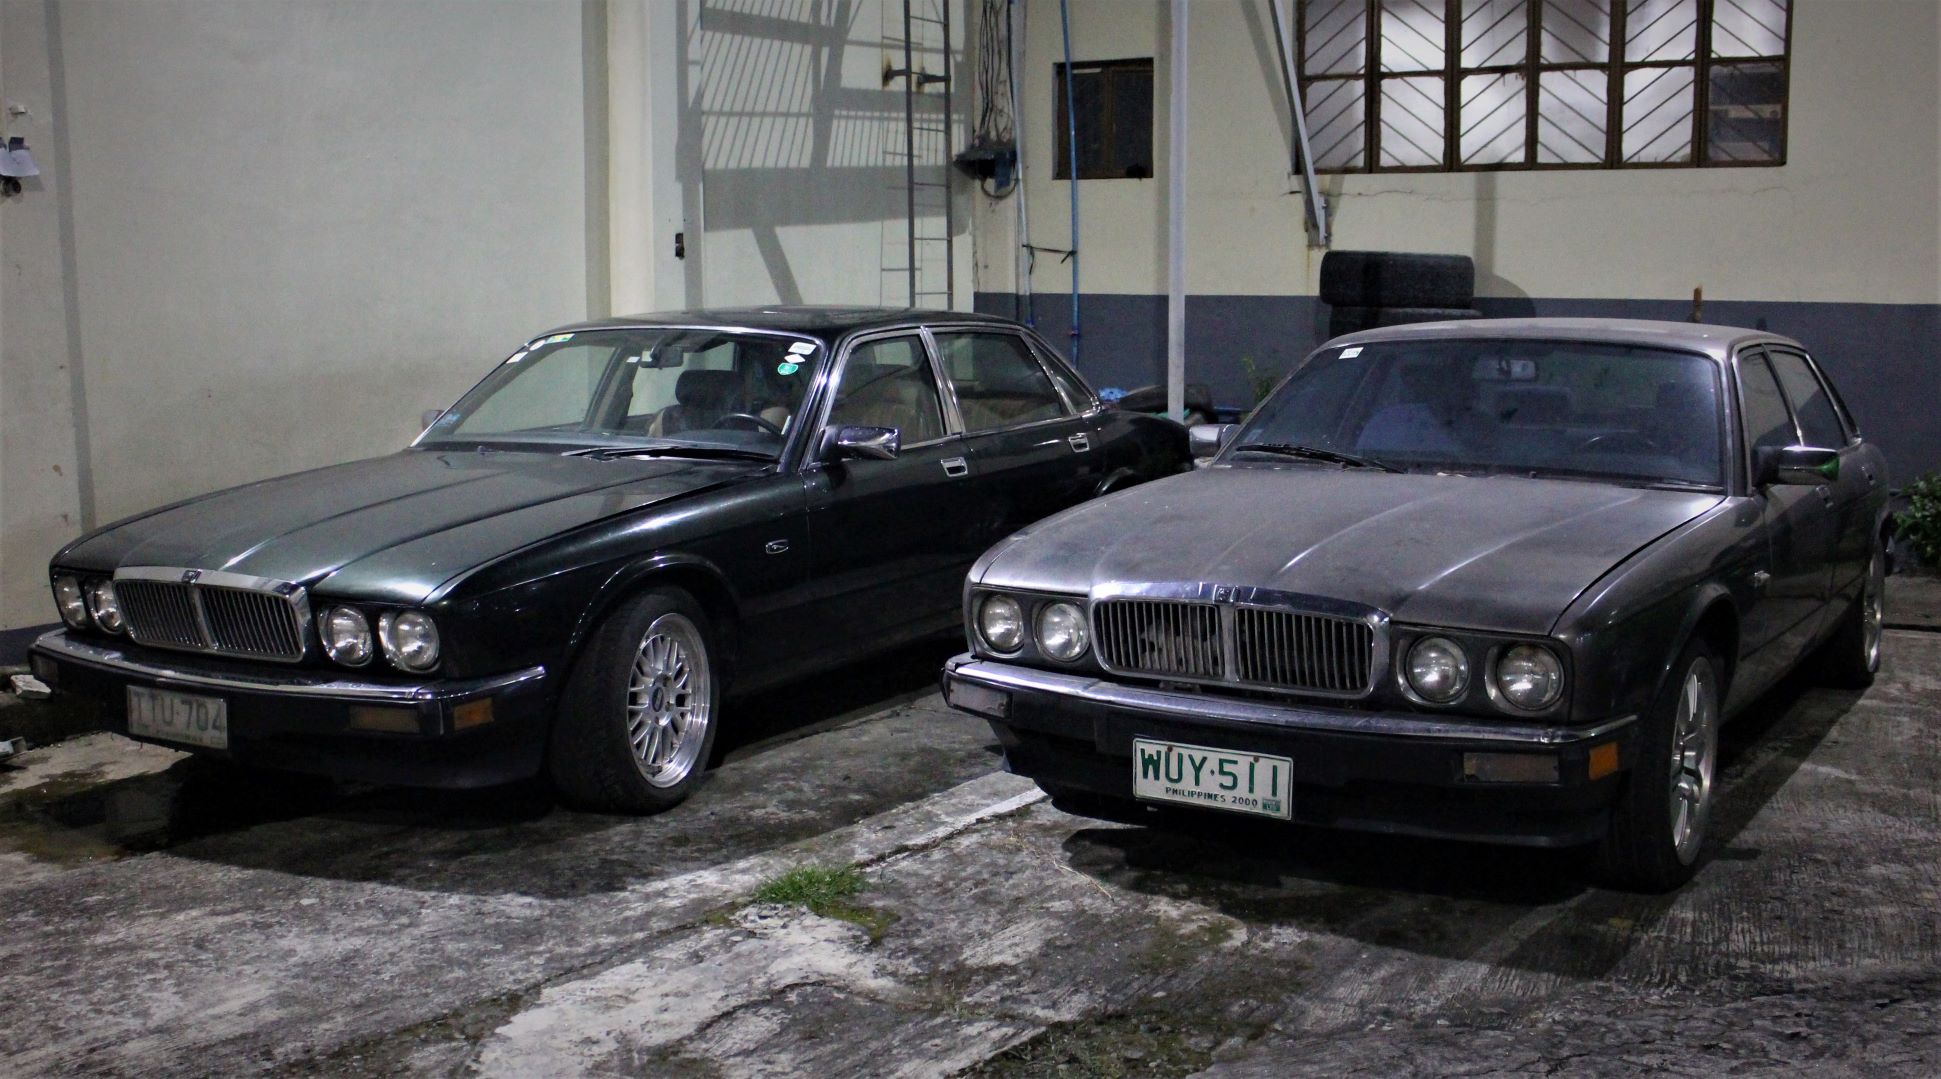
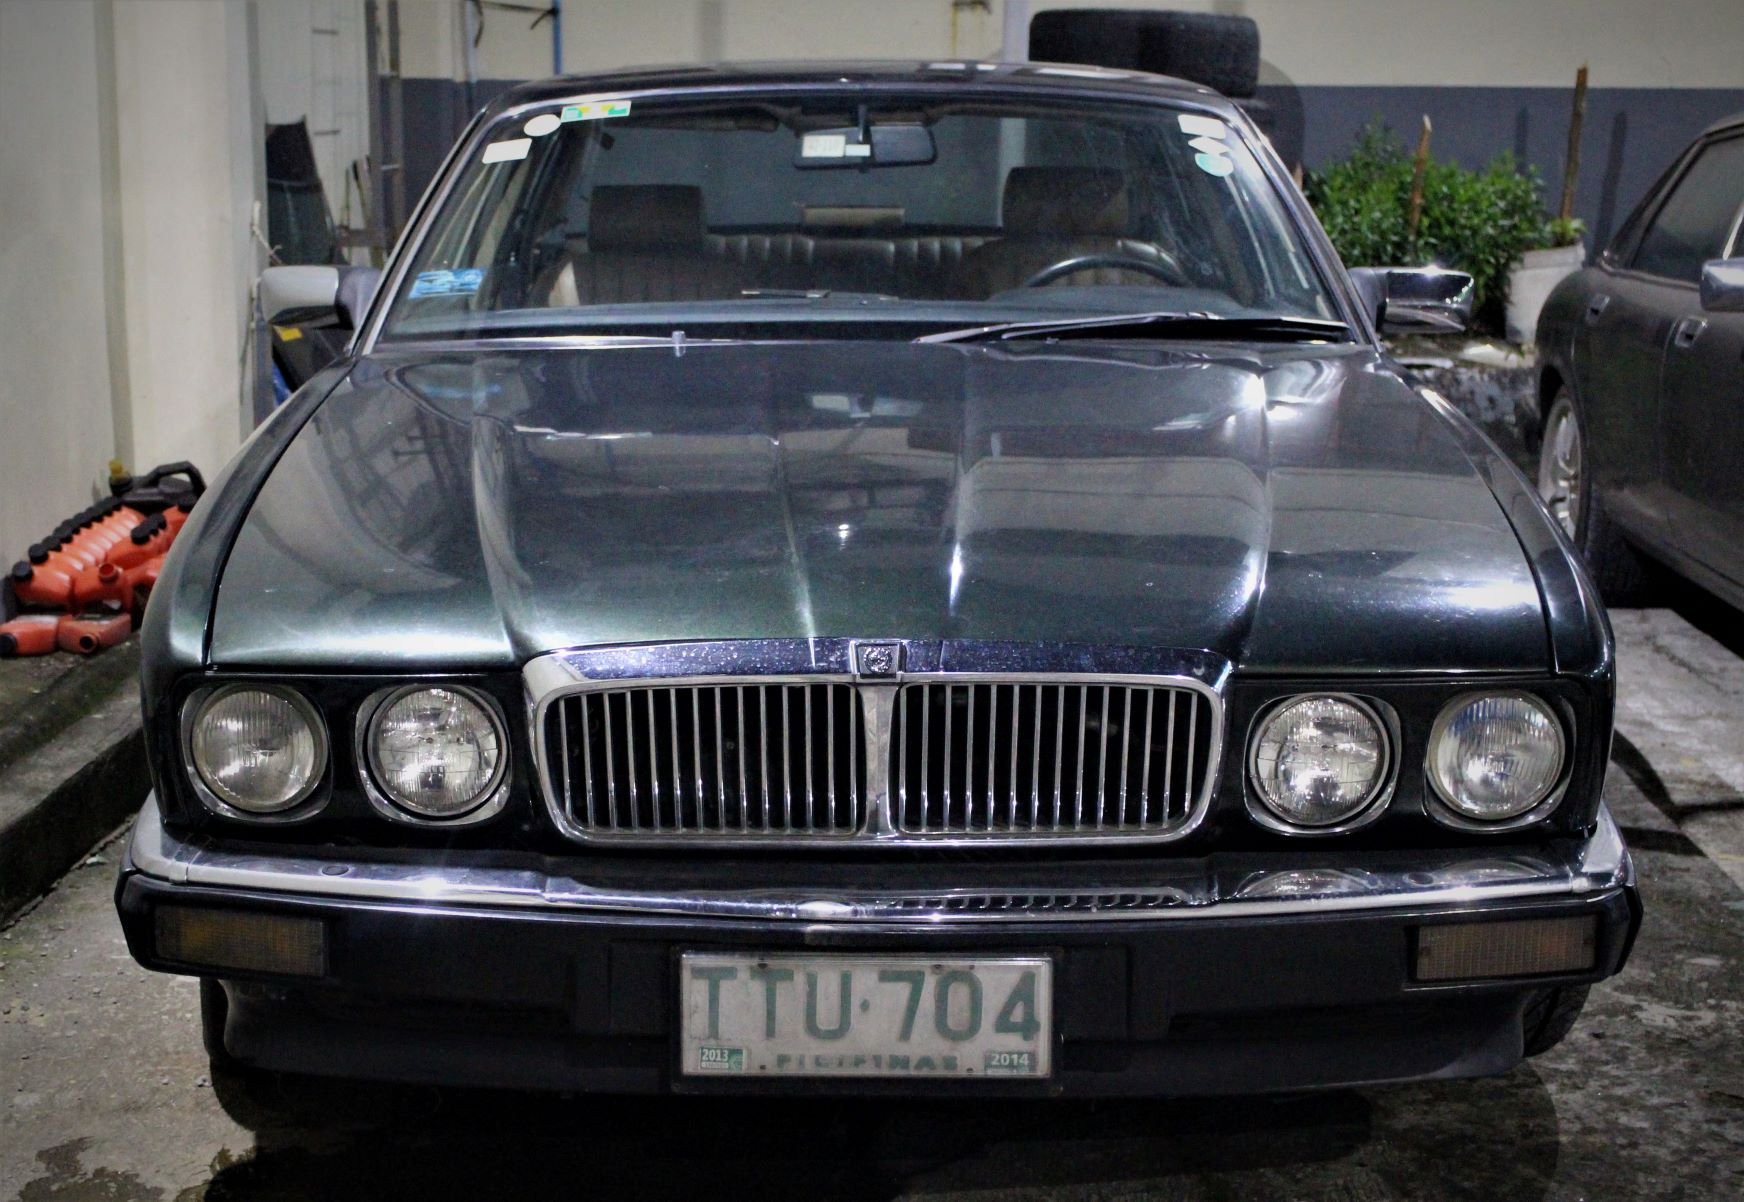
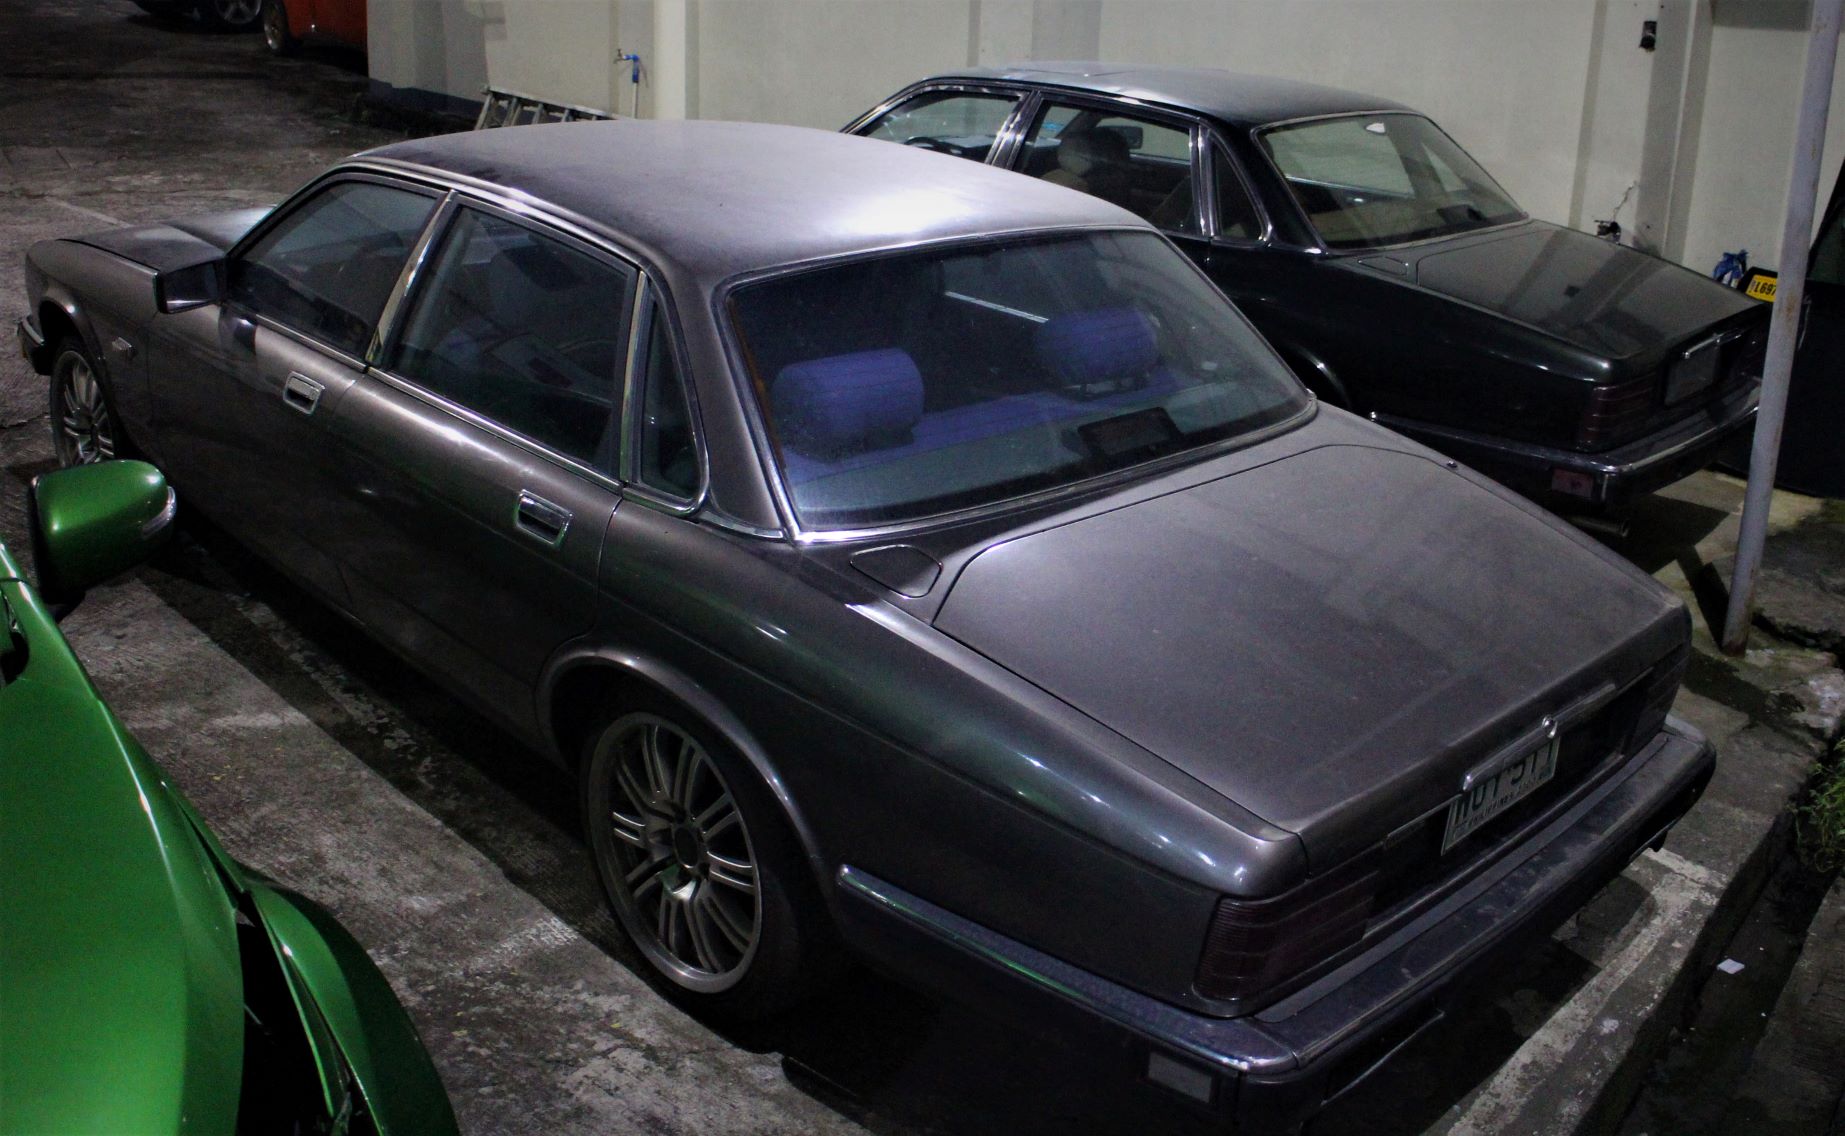
Meanwhile, the 1989 green Jaguar was parked outside, patiently awaiting its turn to be disassembled and restored. Johnson explained that the front end was removed and used as the template to properly and correctly align the front end of the grey car. He also pointed out some of the parts that will be needed to complete the transformation of the grey car from RHD to LHD, including the door switches on the driver’s door, the pull-tab to open the hood, and the handbrake lever. In the grey XJ40, all these parts were mounted on the right side because of its original RHD orientation. Johnson hopes that these parts can be reveresed, relocated and reused, or if not, secured as soon as possible so he can finish the grey car and work on the green one soon.
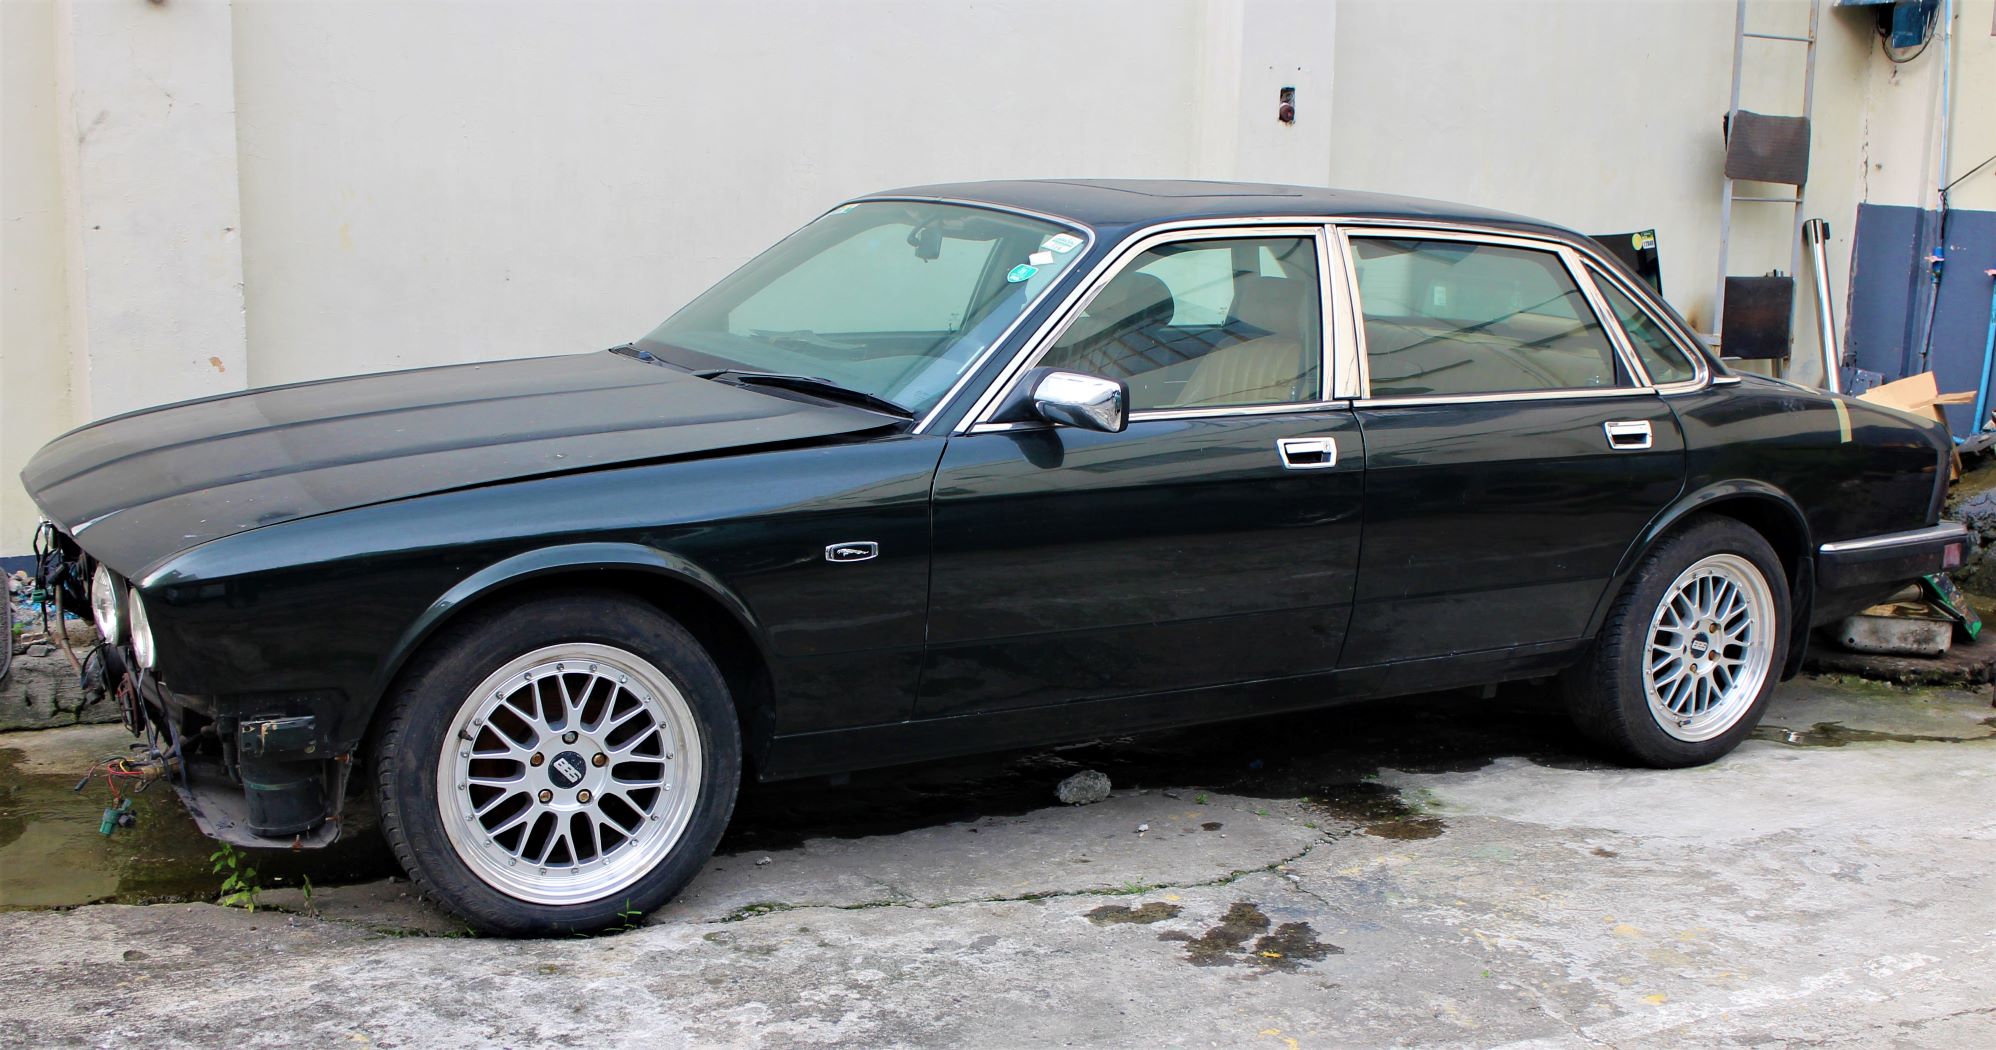
The green Jaguar waits patiently for its turn to be restored…
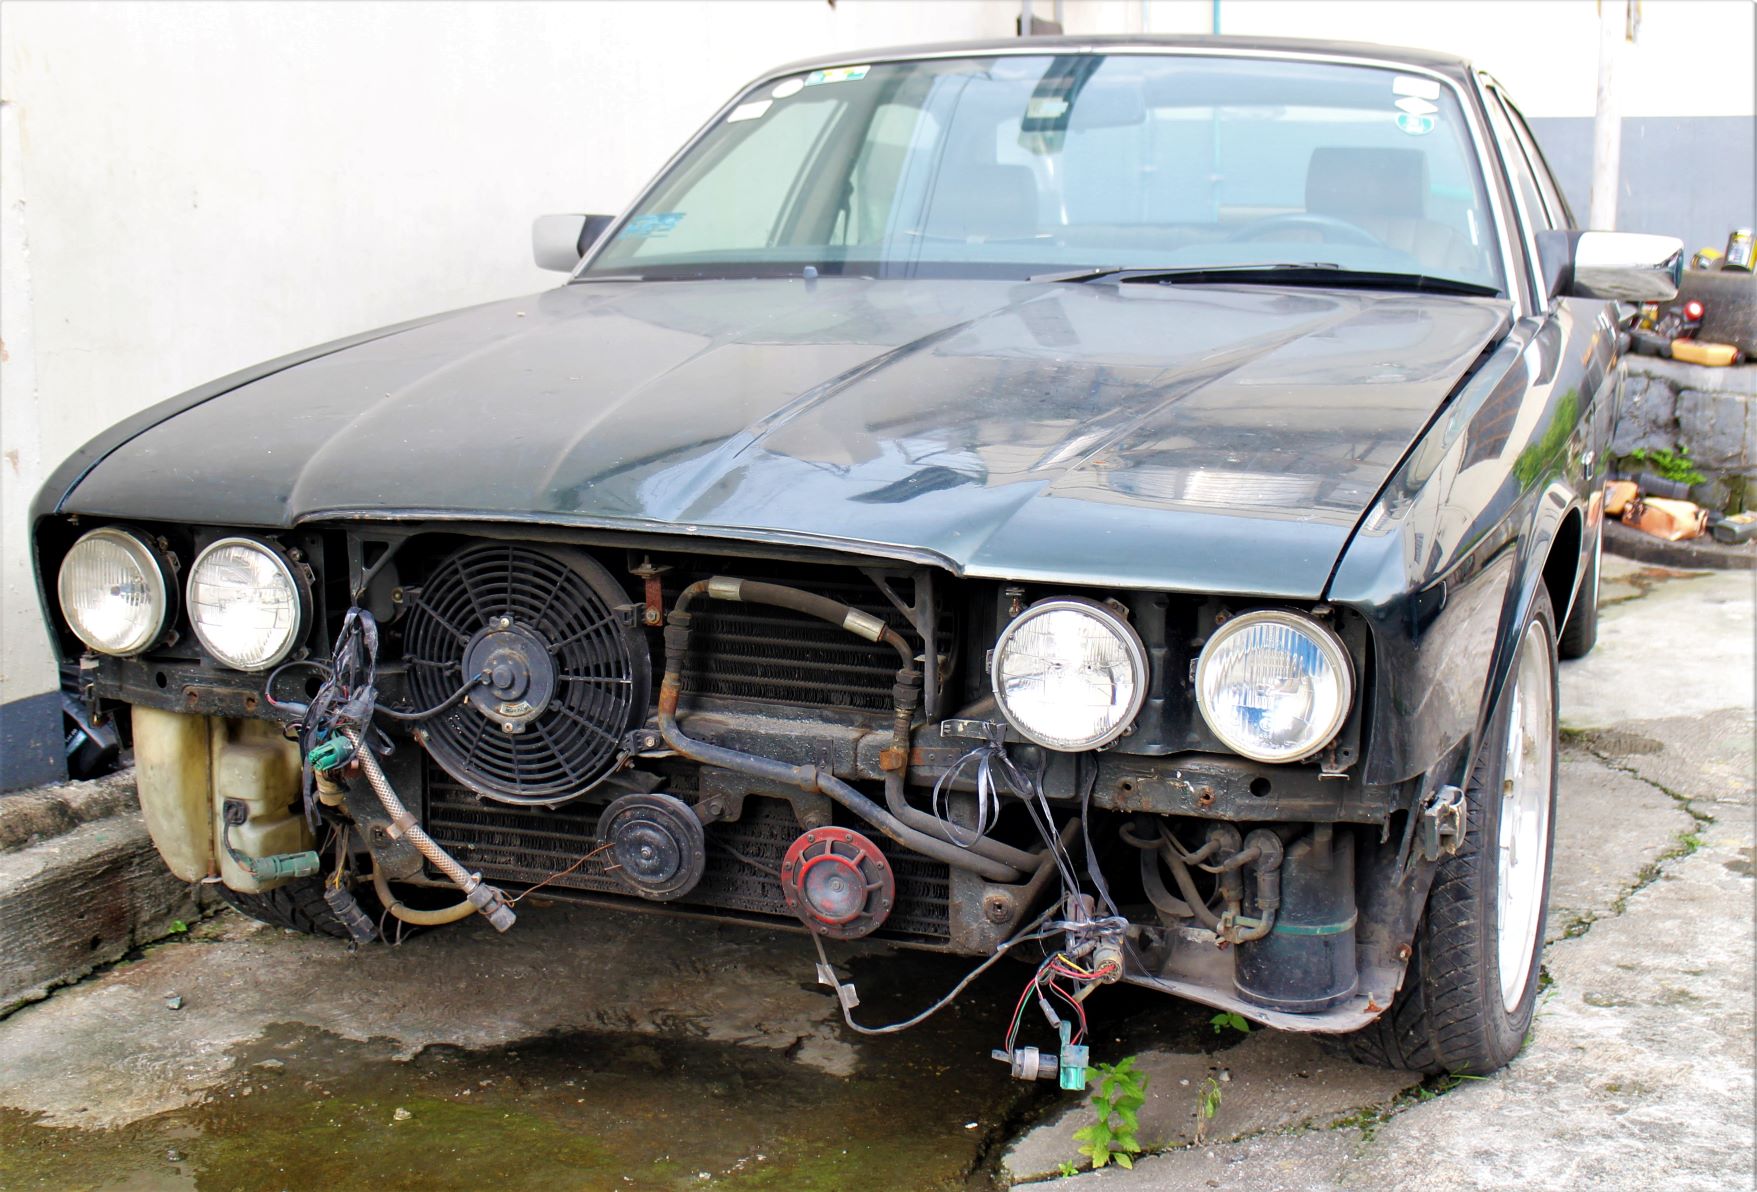
It lent its front end to the grey XJ40 as a template for proper alignment.
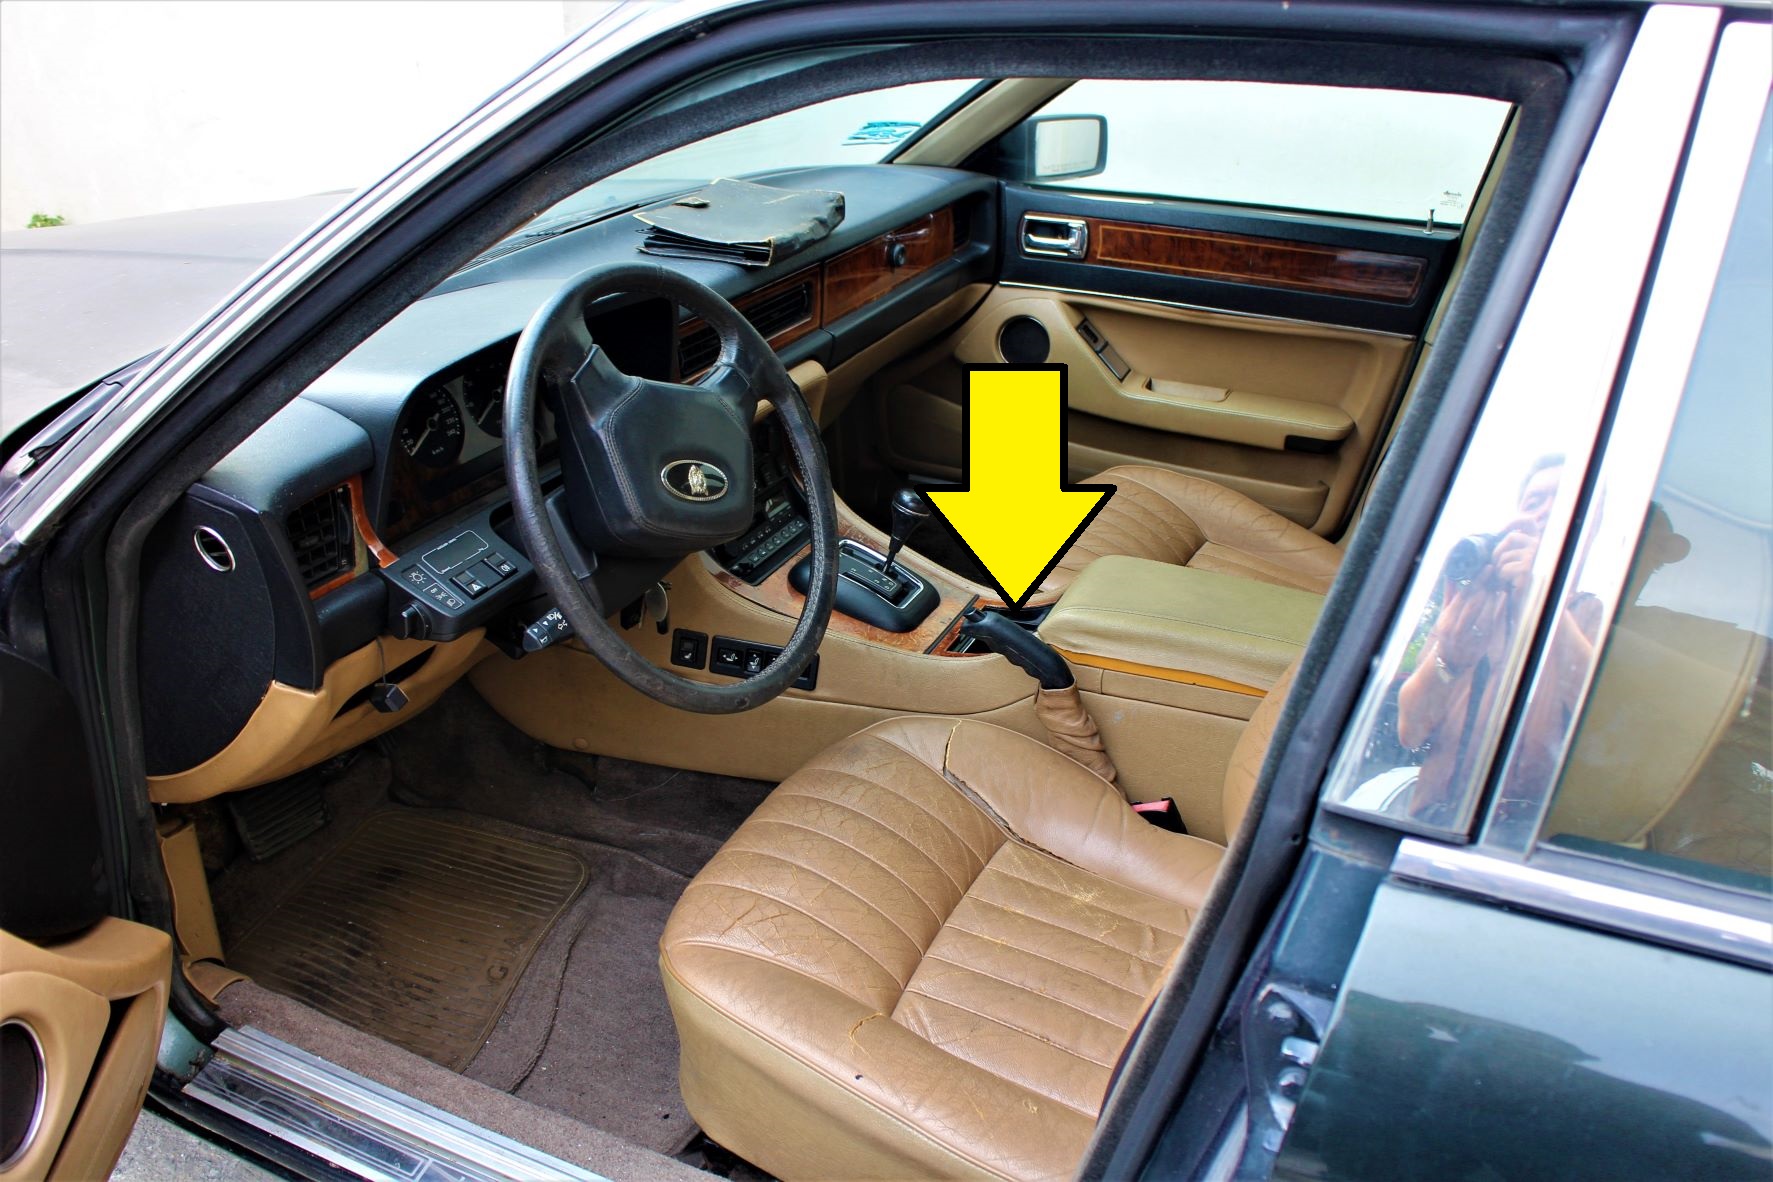
The handbrake lever of the grey car is on the right side of the console nearer the front passenger seat, unlike the lever in this original LHD car. We’ll try to see if it can be relocated and reused.
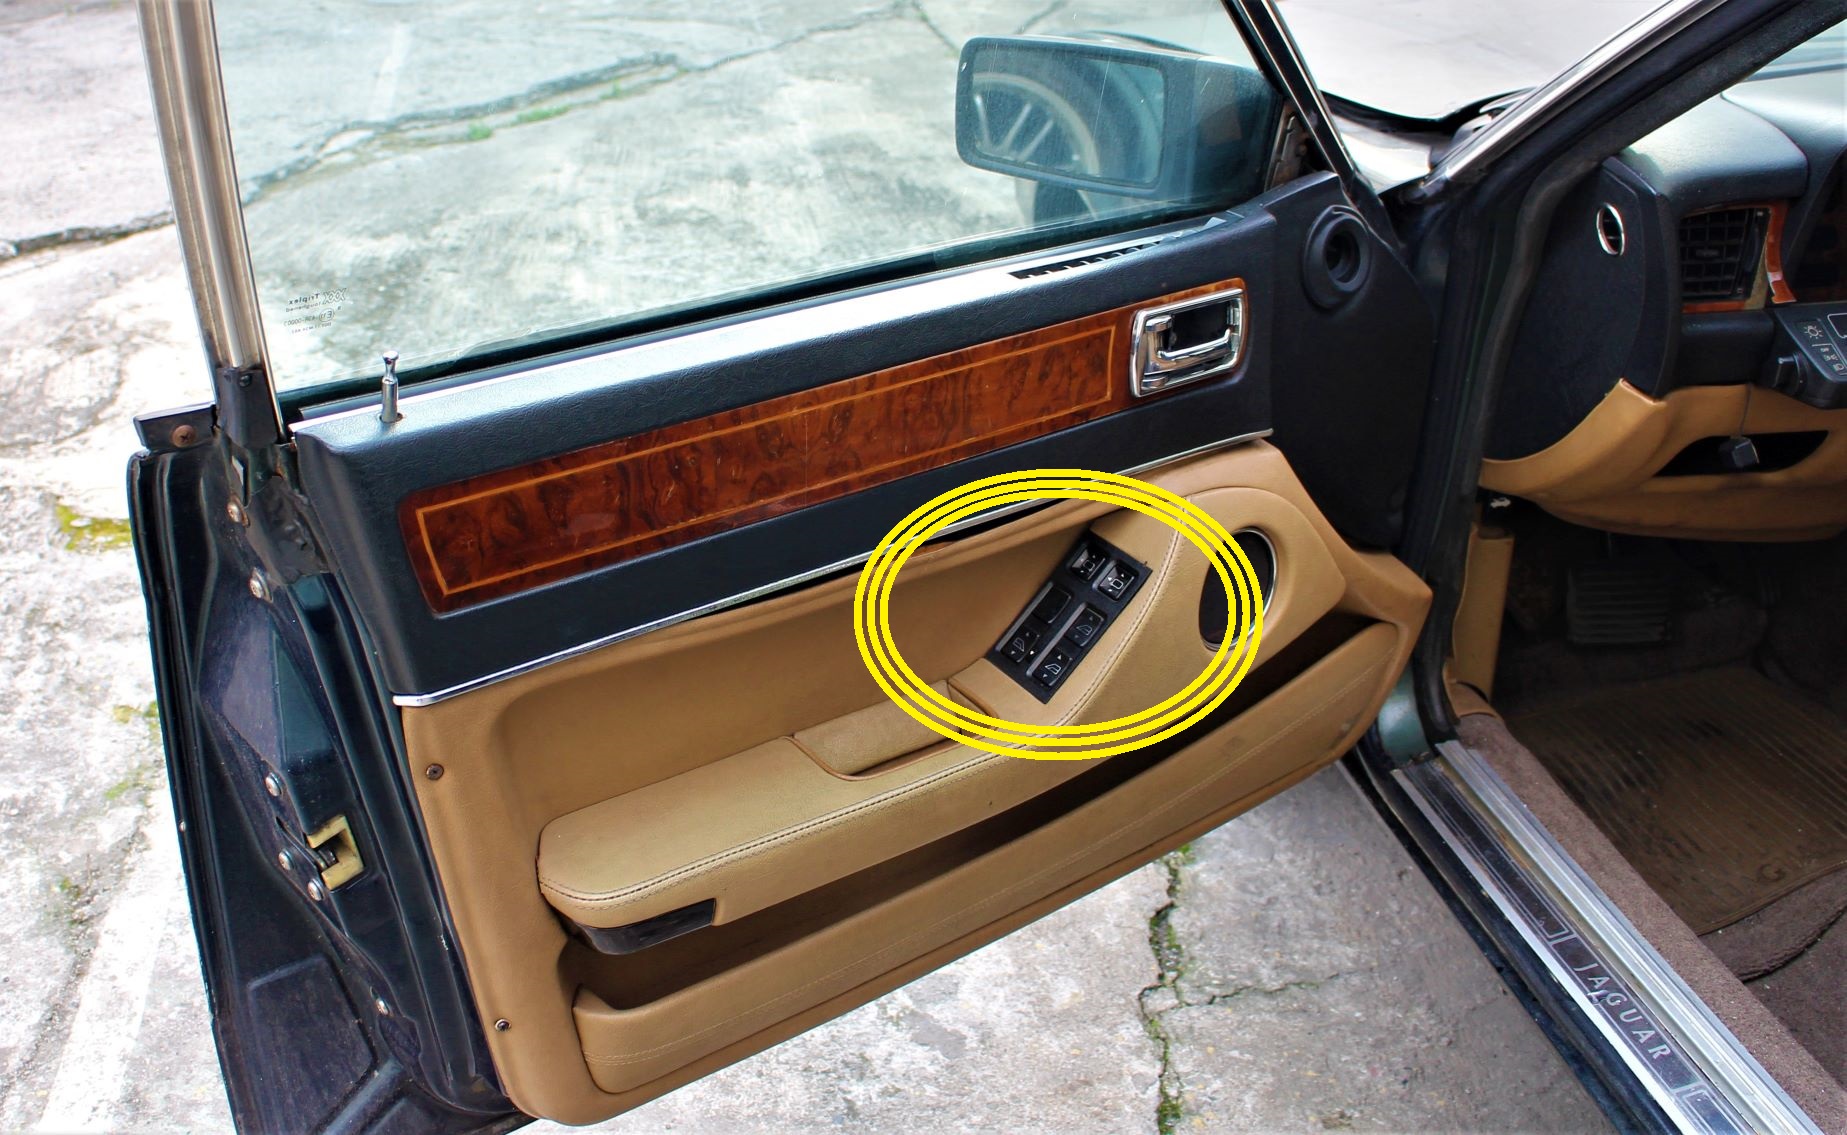
The driver’s central locking/power window switches/command module should be relocated from the right door to the left…

… as well as the little pull-lever to open the hood.
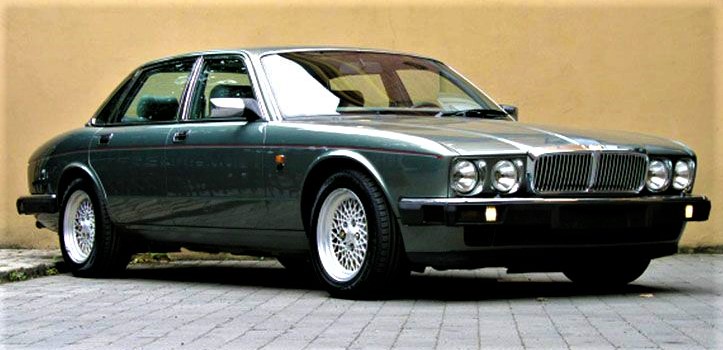
The next step is for “Uncle” Rodger to choose whether to stick with the factory Savoy Grey paint finish or choose from several shades of savory metallic grey paint finishes to make this 1990 luxury sport sedan even more attractive like the one pictured below.
Woo-hoo-hoo! We can hardly wait for the outcome of this twin Jaguar XJ40 project. Stay tuned!