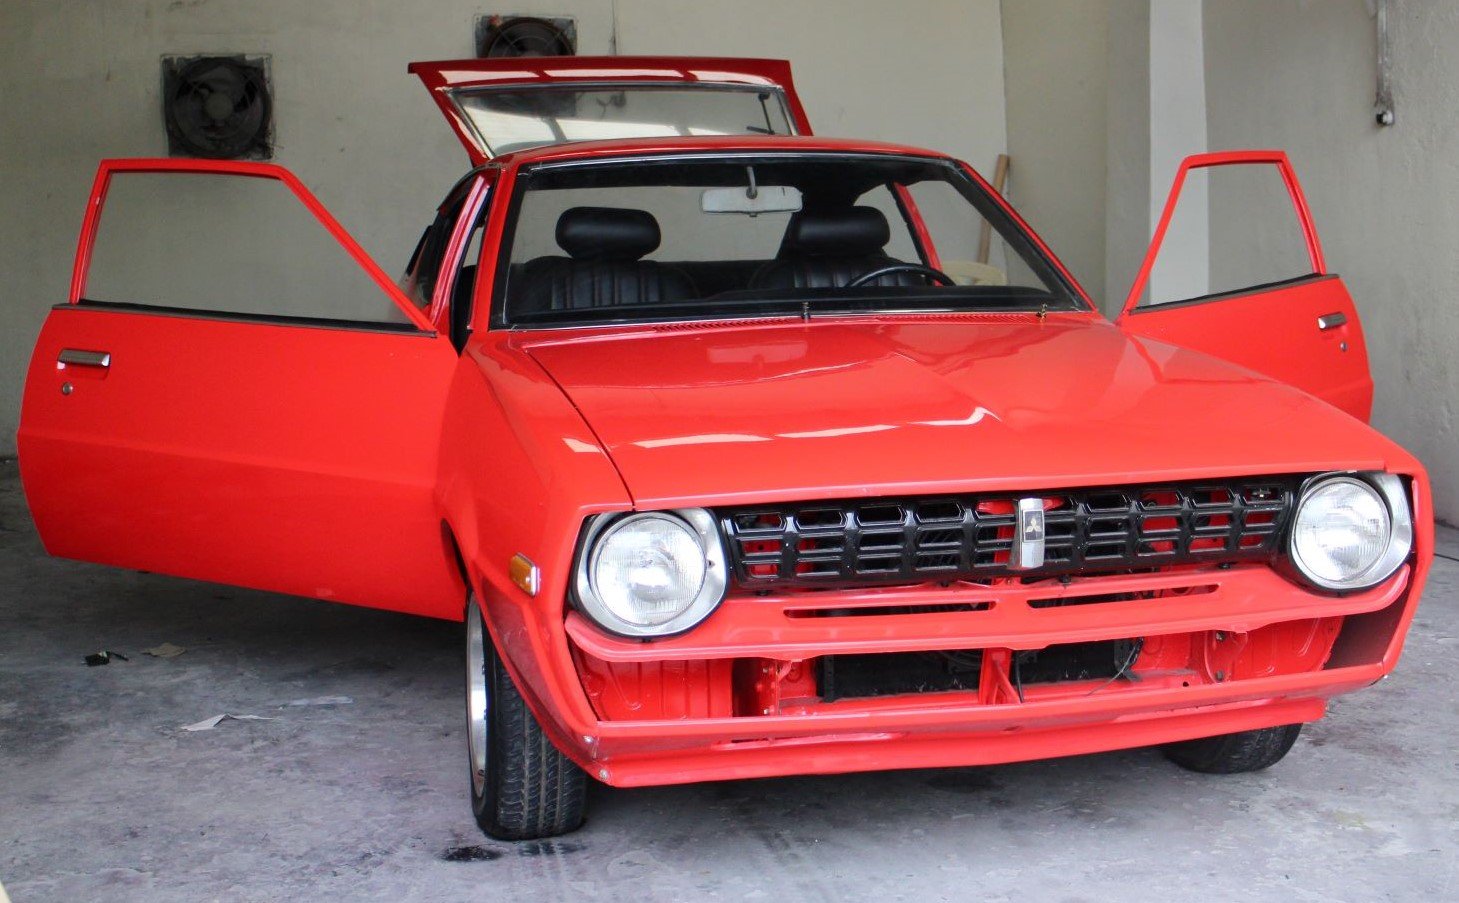
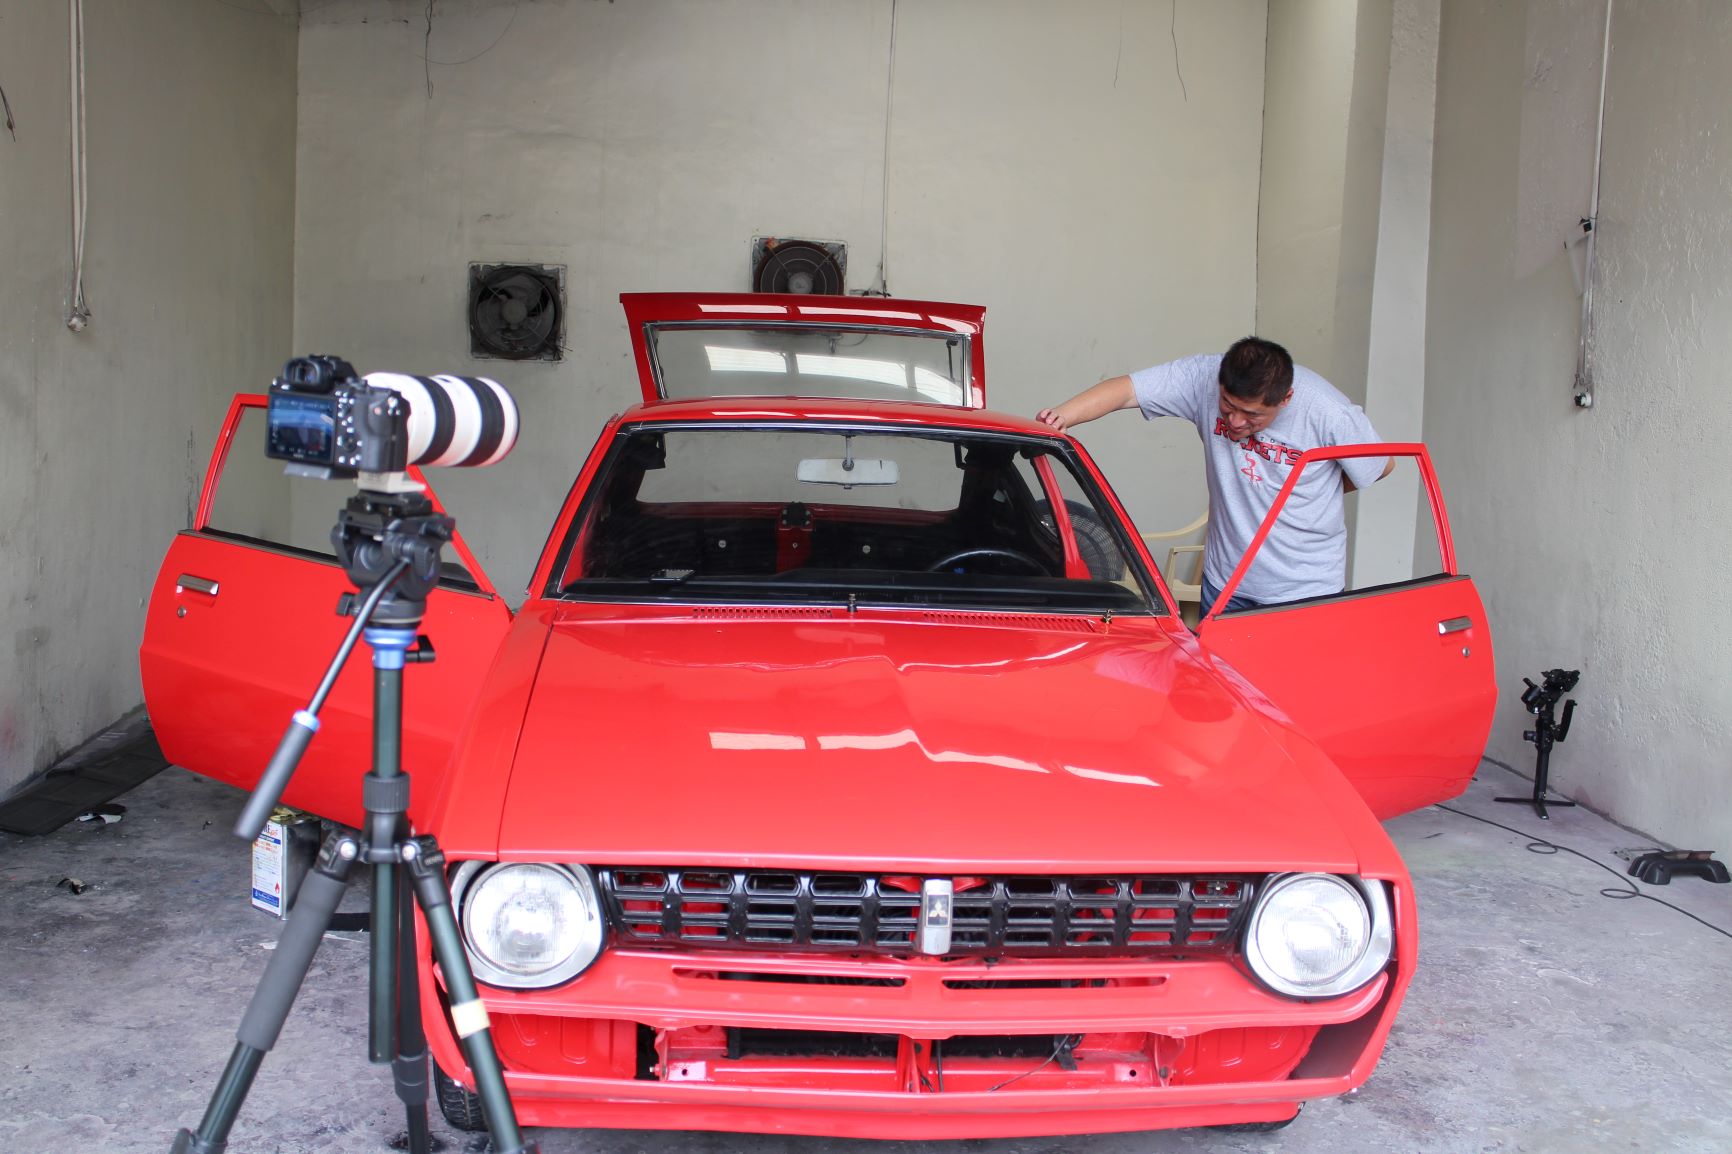
In Part 9 of our Power Wheels Magazine Project Cars series on the 1976 Mitsubishi Celeste 1600ST that we are helping restore for our good friend Aldous Rex Alingog, we narrated that the car has been painted and was in the process of being reassembled. The reassembly of a 44-year-old Japanese sports coupe is not as easy as it seems. Unlike American muscle cars and classic cars, which has catalogues of brand new reproduction parts and the support of specialists firms, spare parts for the Celeste, especially trim and rubber parts, are becoming as rare as a hen’s teeth.
We were fortunate that the donor car we got had almost all the parts we needed to complete the restoration of this now-luscious red Celeste. Otherwise, it would take us ages before we can finish it so Aldous can lovingly present it as a gift to his dad, ROPALI Chairman Roberto P. Alingog, who bought the Celeste brand-new in 1976. We have already missed our original deadline because of unforeseen problems like hidden rust spots, but’s that all behind us now as the mechanics and technicians at JSK Custom Paint and Auto Works start the long and tedious process of putting the car and its components back together.

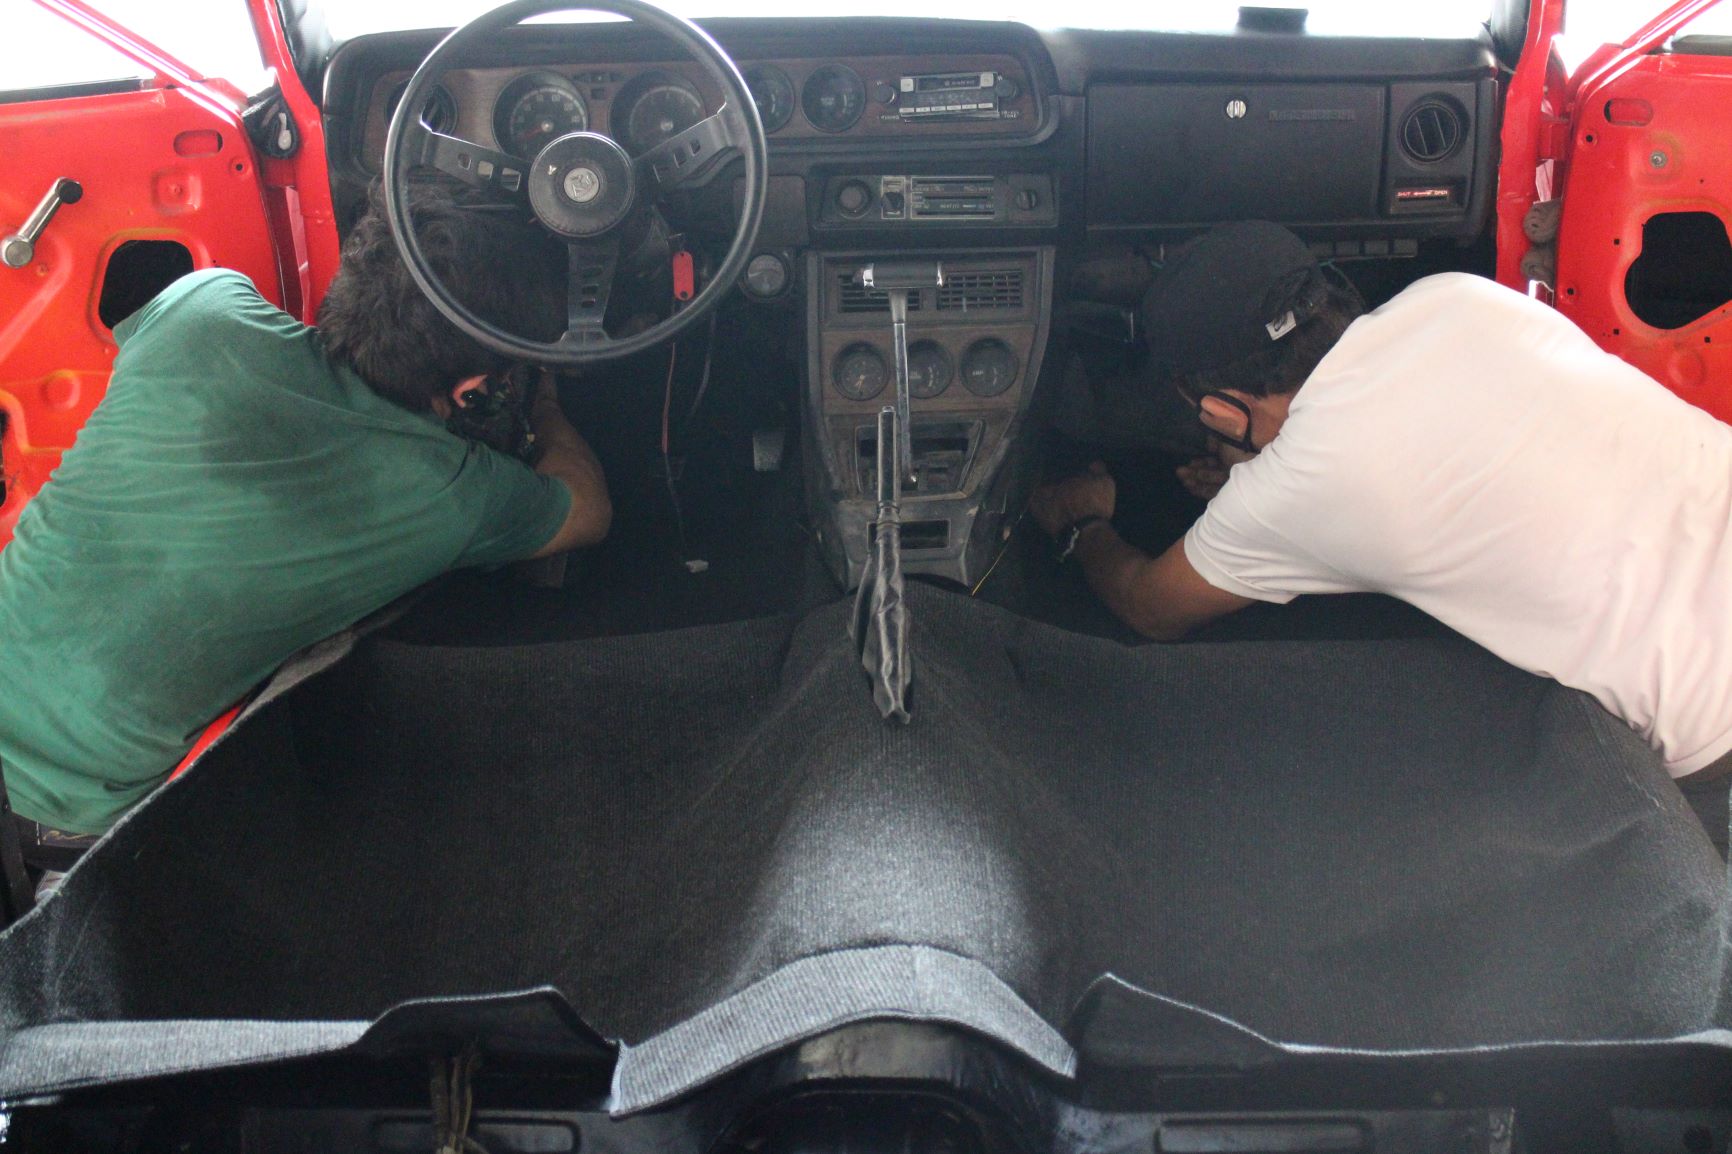
It was a flurry of activities in and around the Celeste as JSK technicians worked alongside the interior and upholstery specialists.
Planned and Coordinated Installation
In mid-August, Johnson Tan, the proprietor of JSK, asked us to get our Power Wheels TV-Cruise Control video team ready to shoot the installation of the interior. It seems that Johnson has earlier coordinated with a team of auto upholstery specialists to finish the interior. Meanwhile, the JSK technicians laid out the interior wiring harness and installed all the necessary rubber, lights, insulation, grommets, and other components that will be hidden under the new upholstery. The interior specialists measured the interior dimensions beforehand, pre-cut the roof insulation, and pre-cut and pre-sewn the ceiling material so they’ll just attach these to the car.
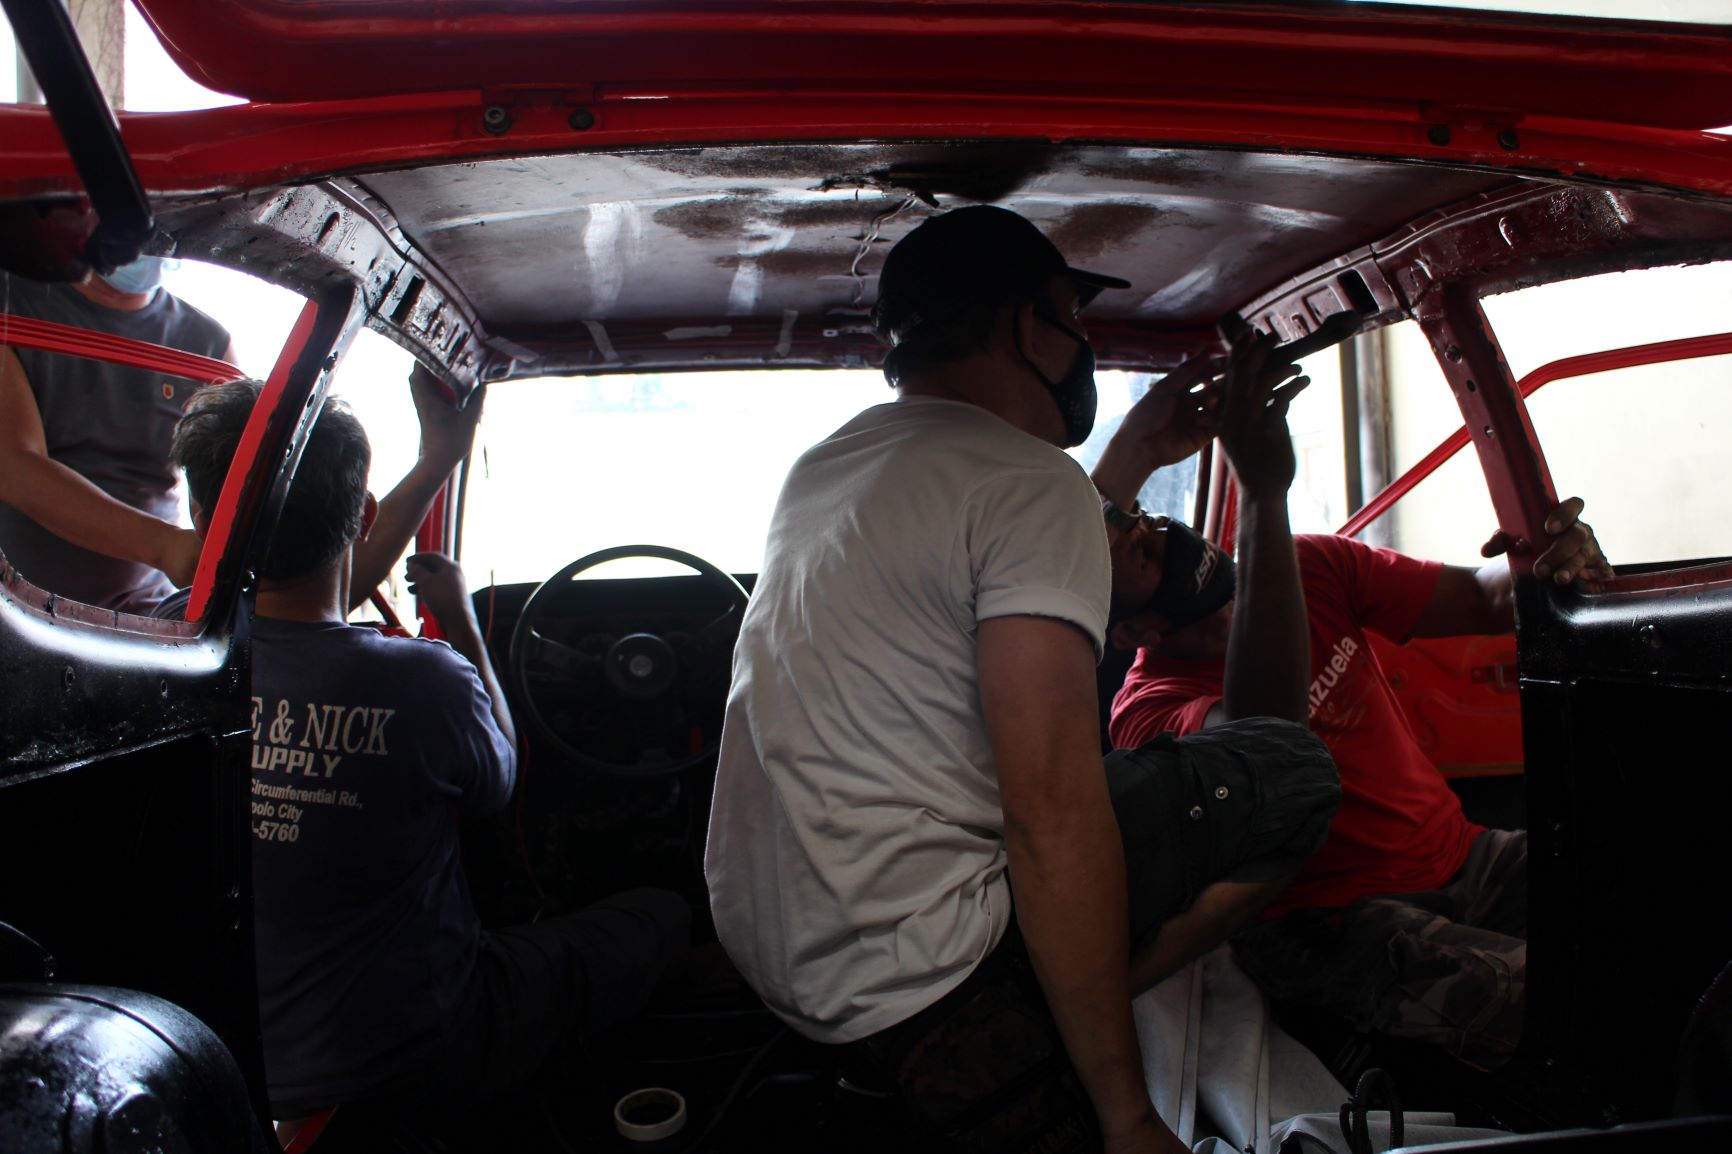
We got a little “high” as the interior guys spread all those contact adhesives on the roof before attaching the insulation and the ceiling.
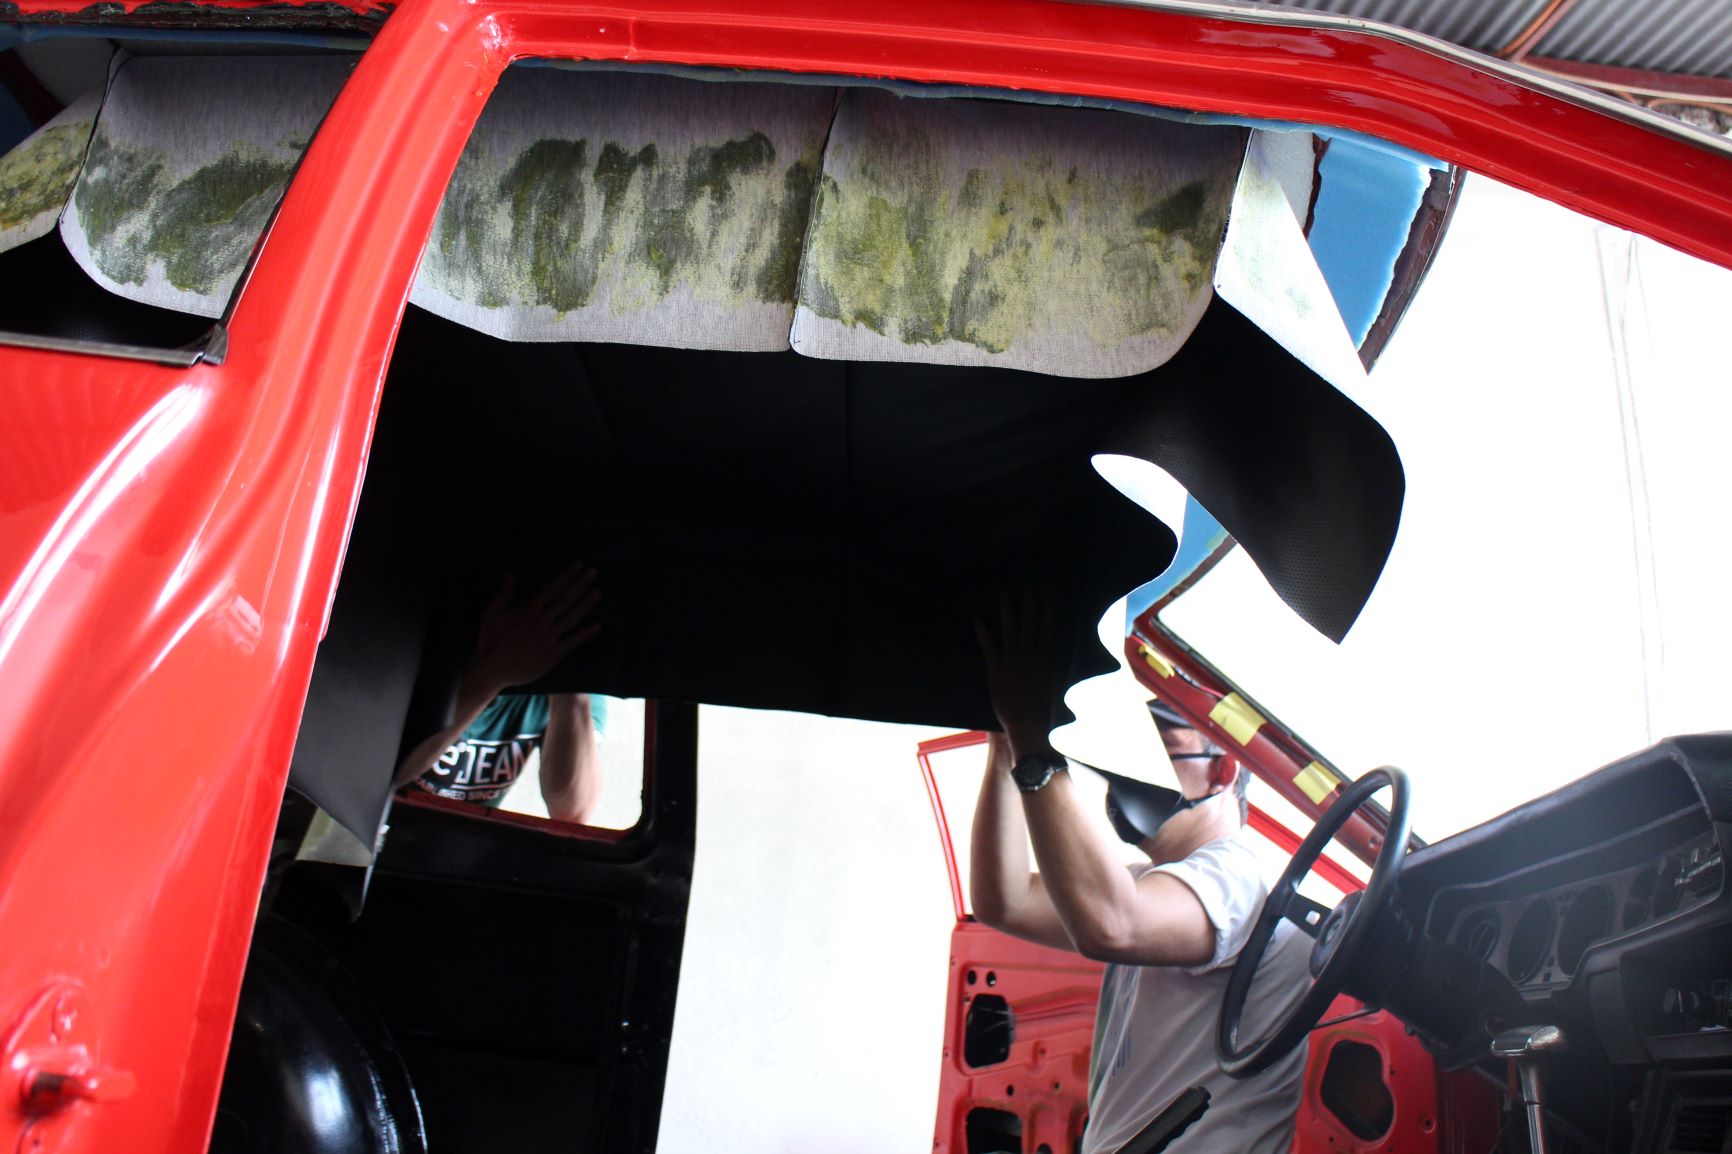
After a few minutes, the contact adhesive is right and sticky enough to attach the pre-cut foam insulation and the pre-sewn black perforated vinyl ceiling material…
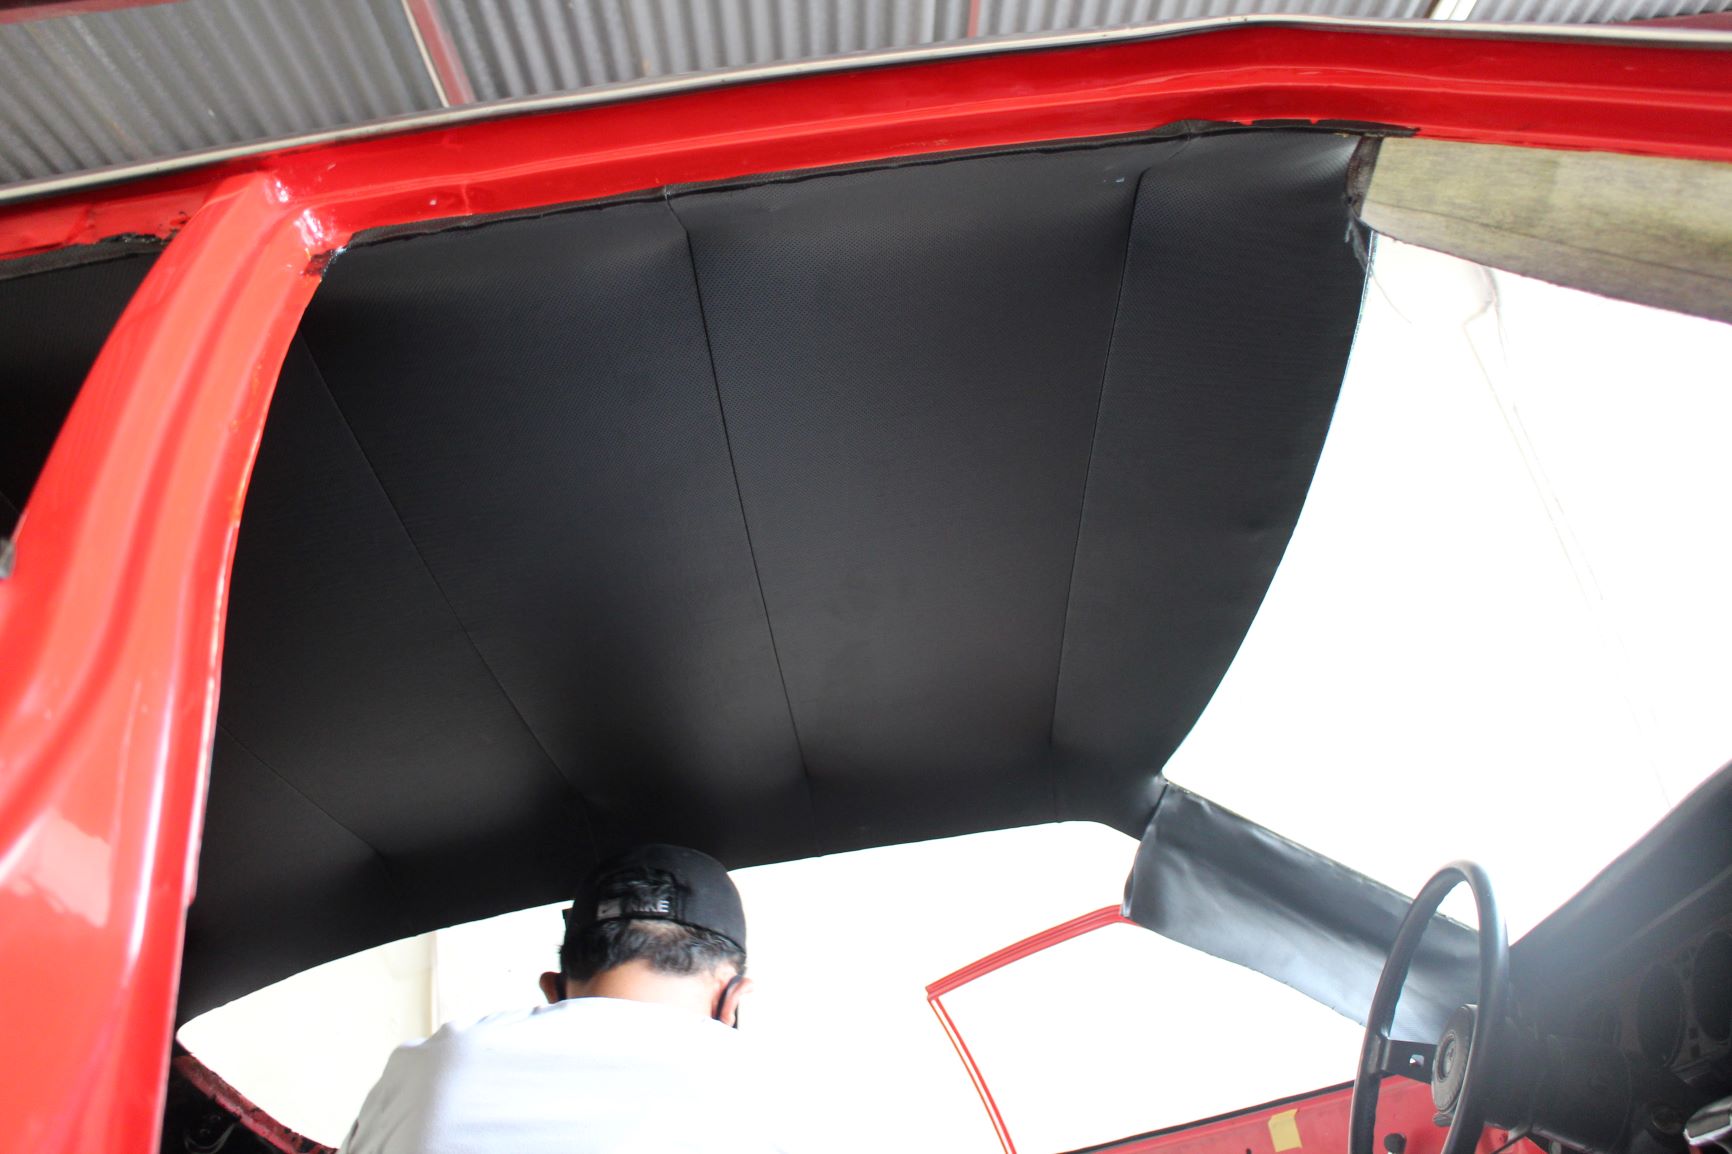
After some cutting, some trimming, and a little persuasion, the ceiling of our project car was beginning to look great.
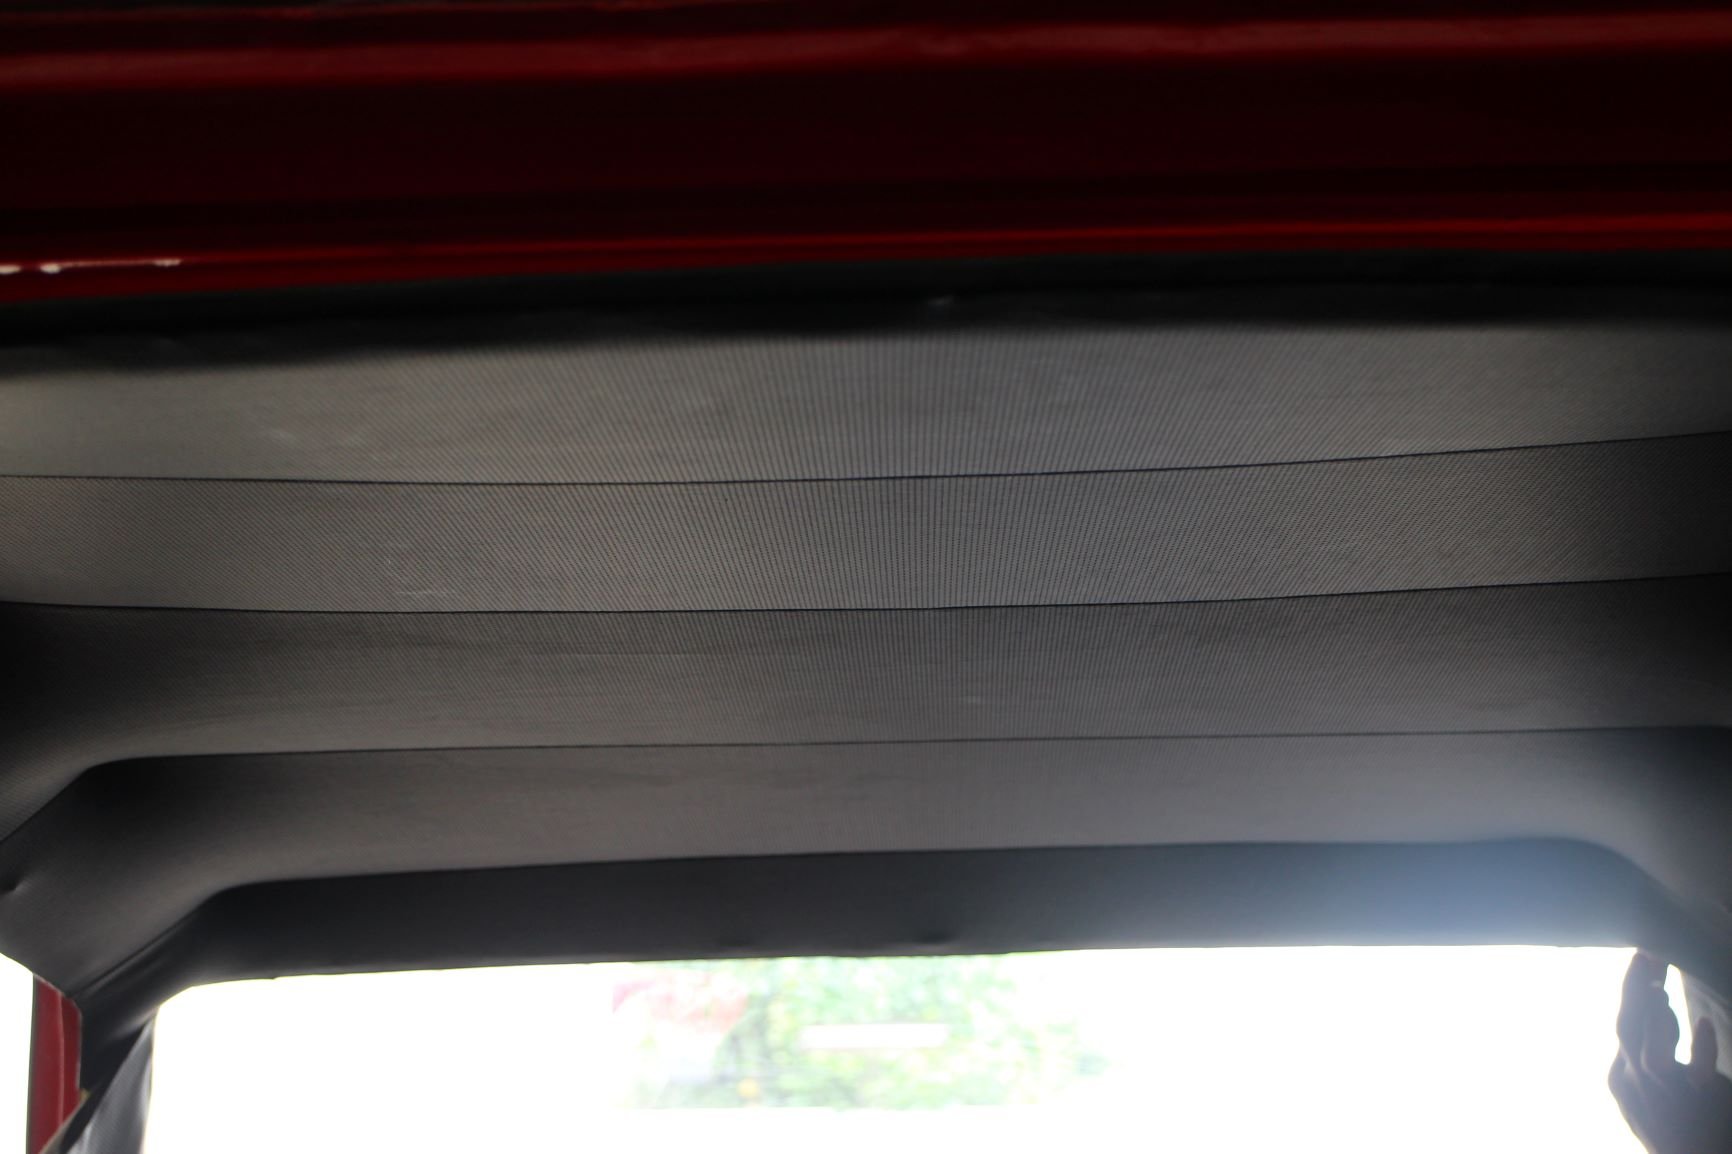
The upholstery guys are real professionals and their work shows it.
After the ceiling was finished, the upholstery guys turned their attention to the floor and spread the same sweet-smelling and addictive… err, effective contact adhesive. Like the ceiling, they also had the short loop carpet already pre-cut and pre-sewn before going to the JSK workshop so they won’t need to do a lot of cutting and snipping to fit it inside the car.
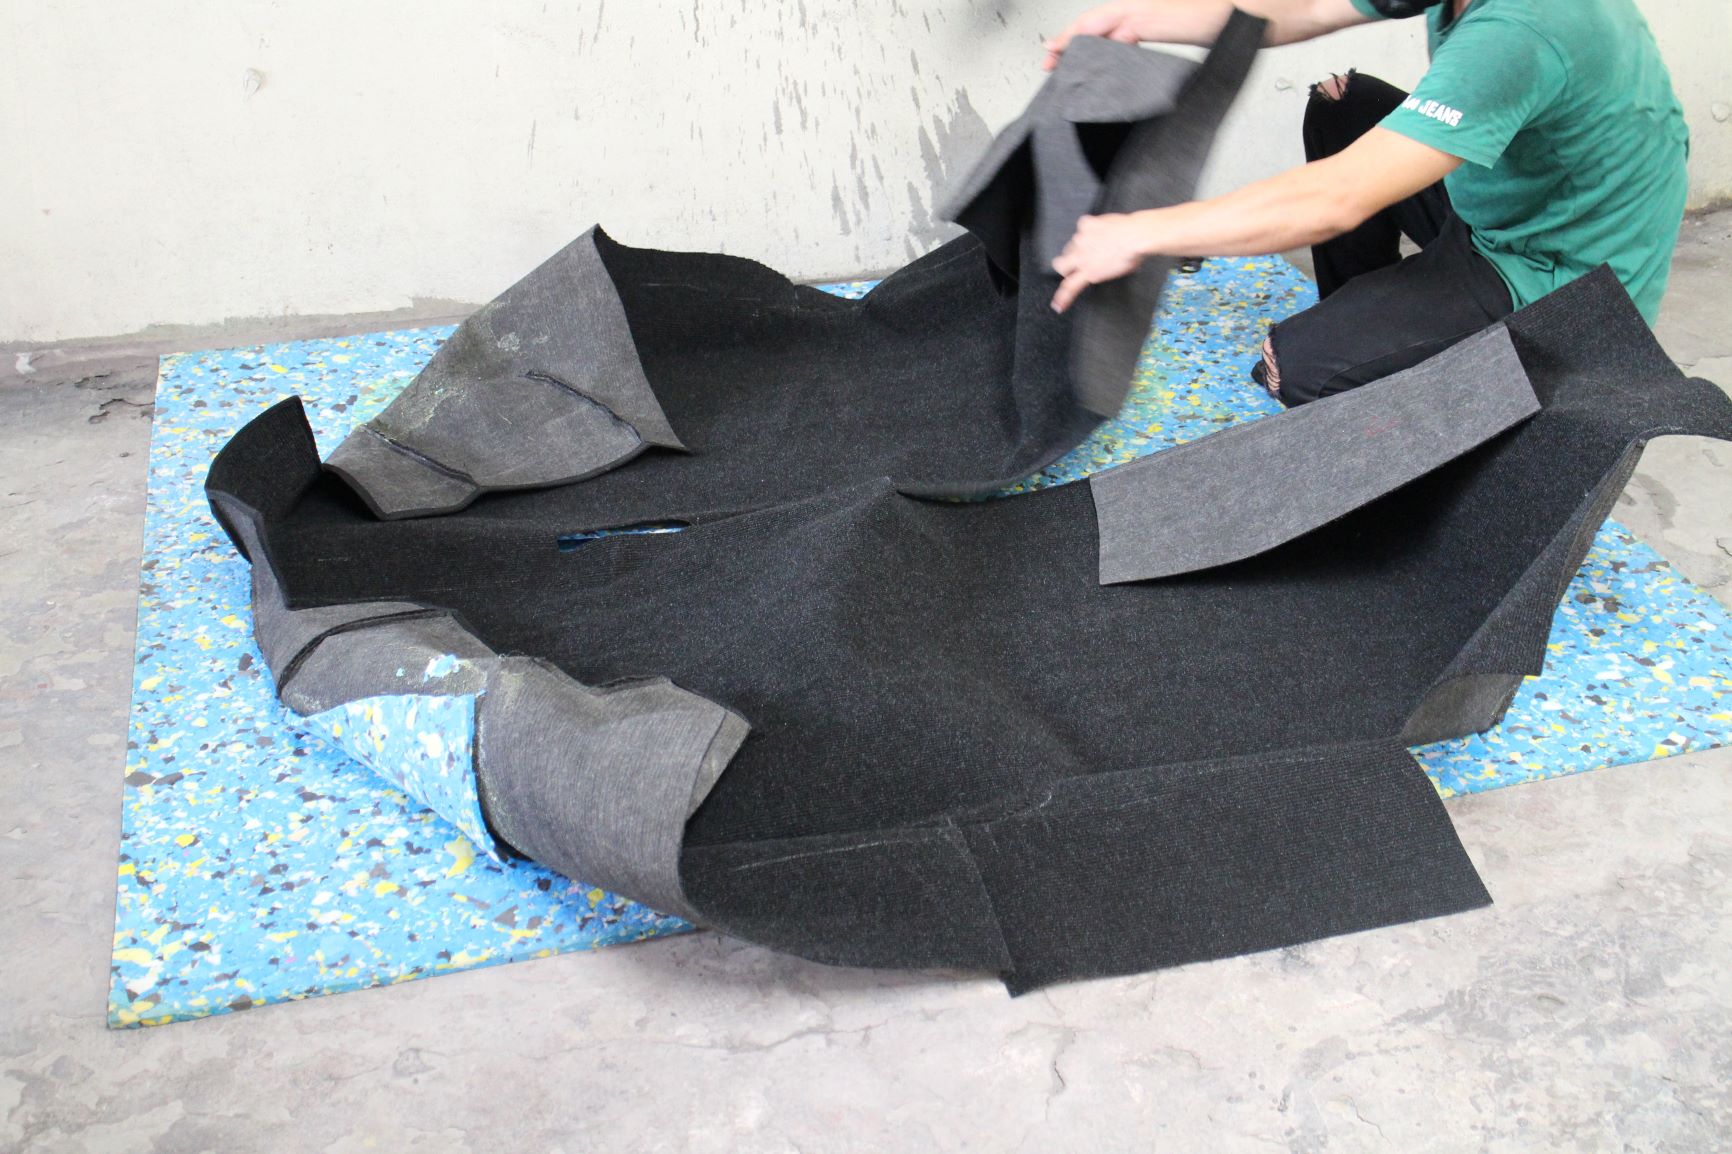
While waiting for the adhesive to dry, the pre-cut and pre-sewn cut-pile carpeting material was laid out over the foam insulation and checked before installation.
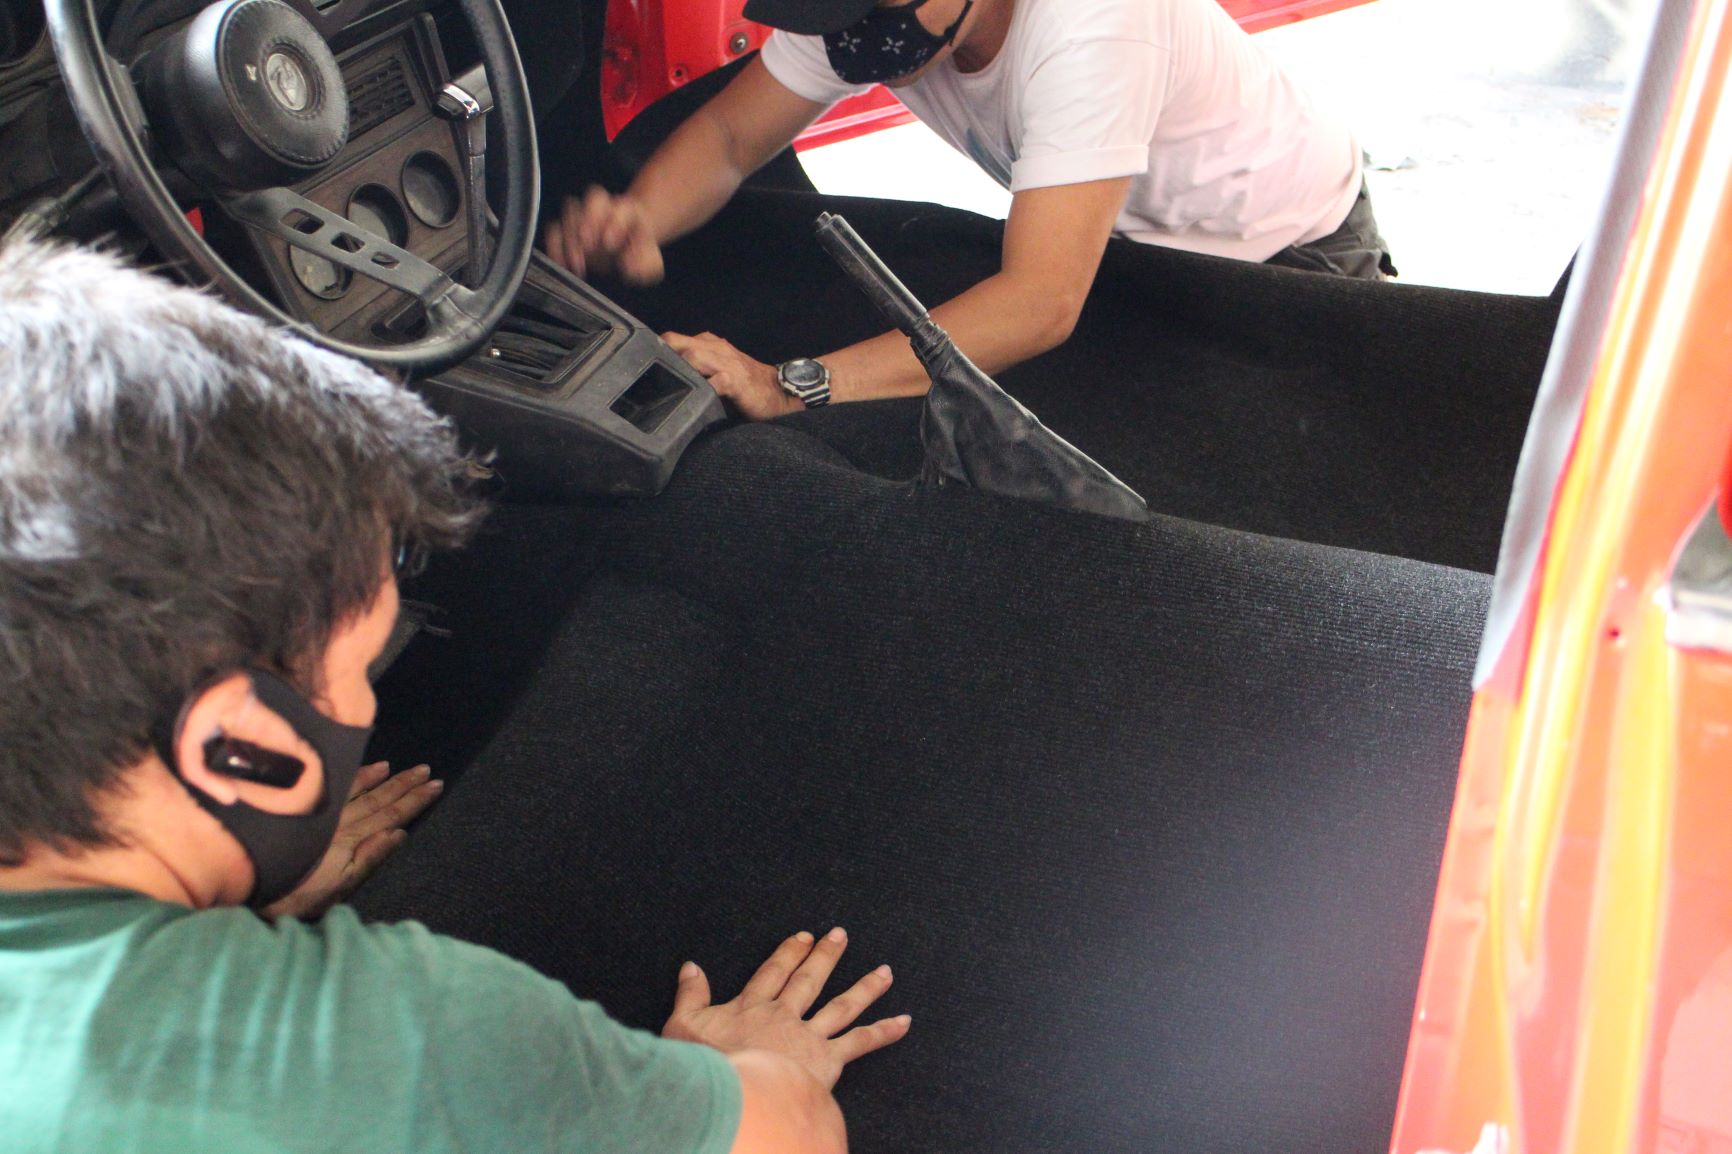
The upholstery guys carefully laid the new carpet into the Celeste’s interior, stretched it over the floor and checked for fitment issues…
… then they made sure that the edges of the carpet are firmly attached to the clips in the footwells and that it does not snag the foot controls.
In between video shoots of the installation, JSK big boss Johnson Tan looks into the Celeste to inspect the progress and quality of the installation.
Sitting in Comfort on Sporty Leather Seats
While we would love to keep the interior of the Celeste correct from the seat material to the last nut-and-bolt, we also have to be realistic about our timeline and the preference of the car owner, Bob. Since Aldous wanted the best for his dad, he opted to have the seats wrapped in black leather for comfort and opulence, especially since the Celeste will be a his dad’s drive down memory lane. Johnson added a little flair of sportiness to the black leather seats by specifying red double stitching since he also wants Aldous to be proud when he presents this car to his dad.
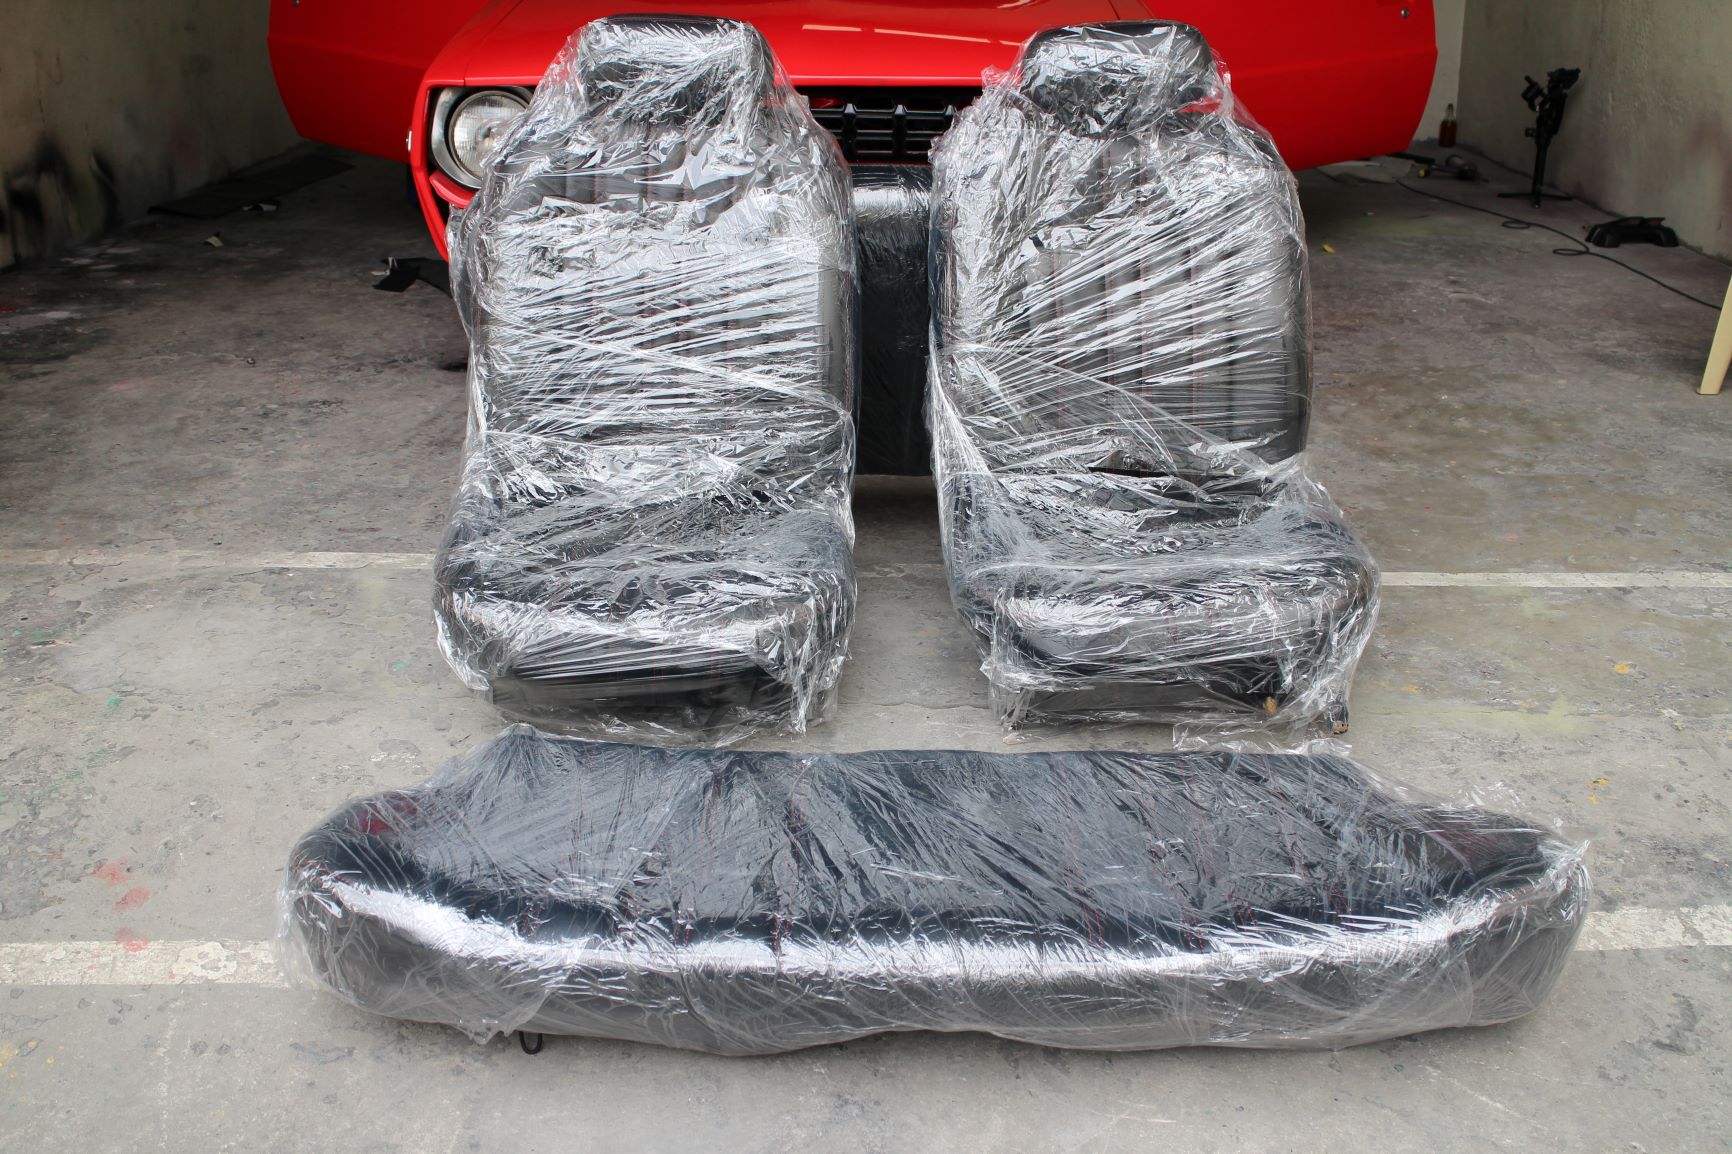
The upholstery guys pulled a rabbit out of their magic hat and emerged from their van with the Celeste’s front and rear seats., still wrapped in protective plastic.
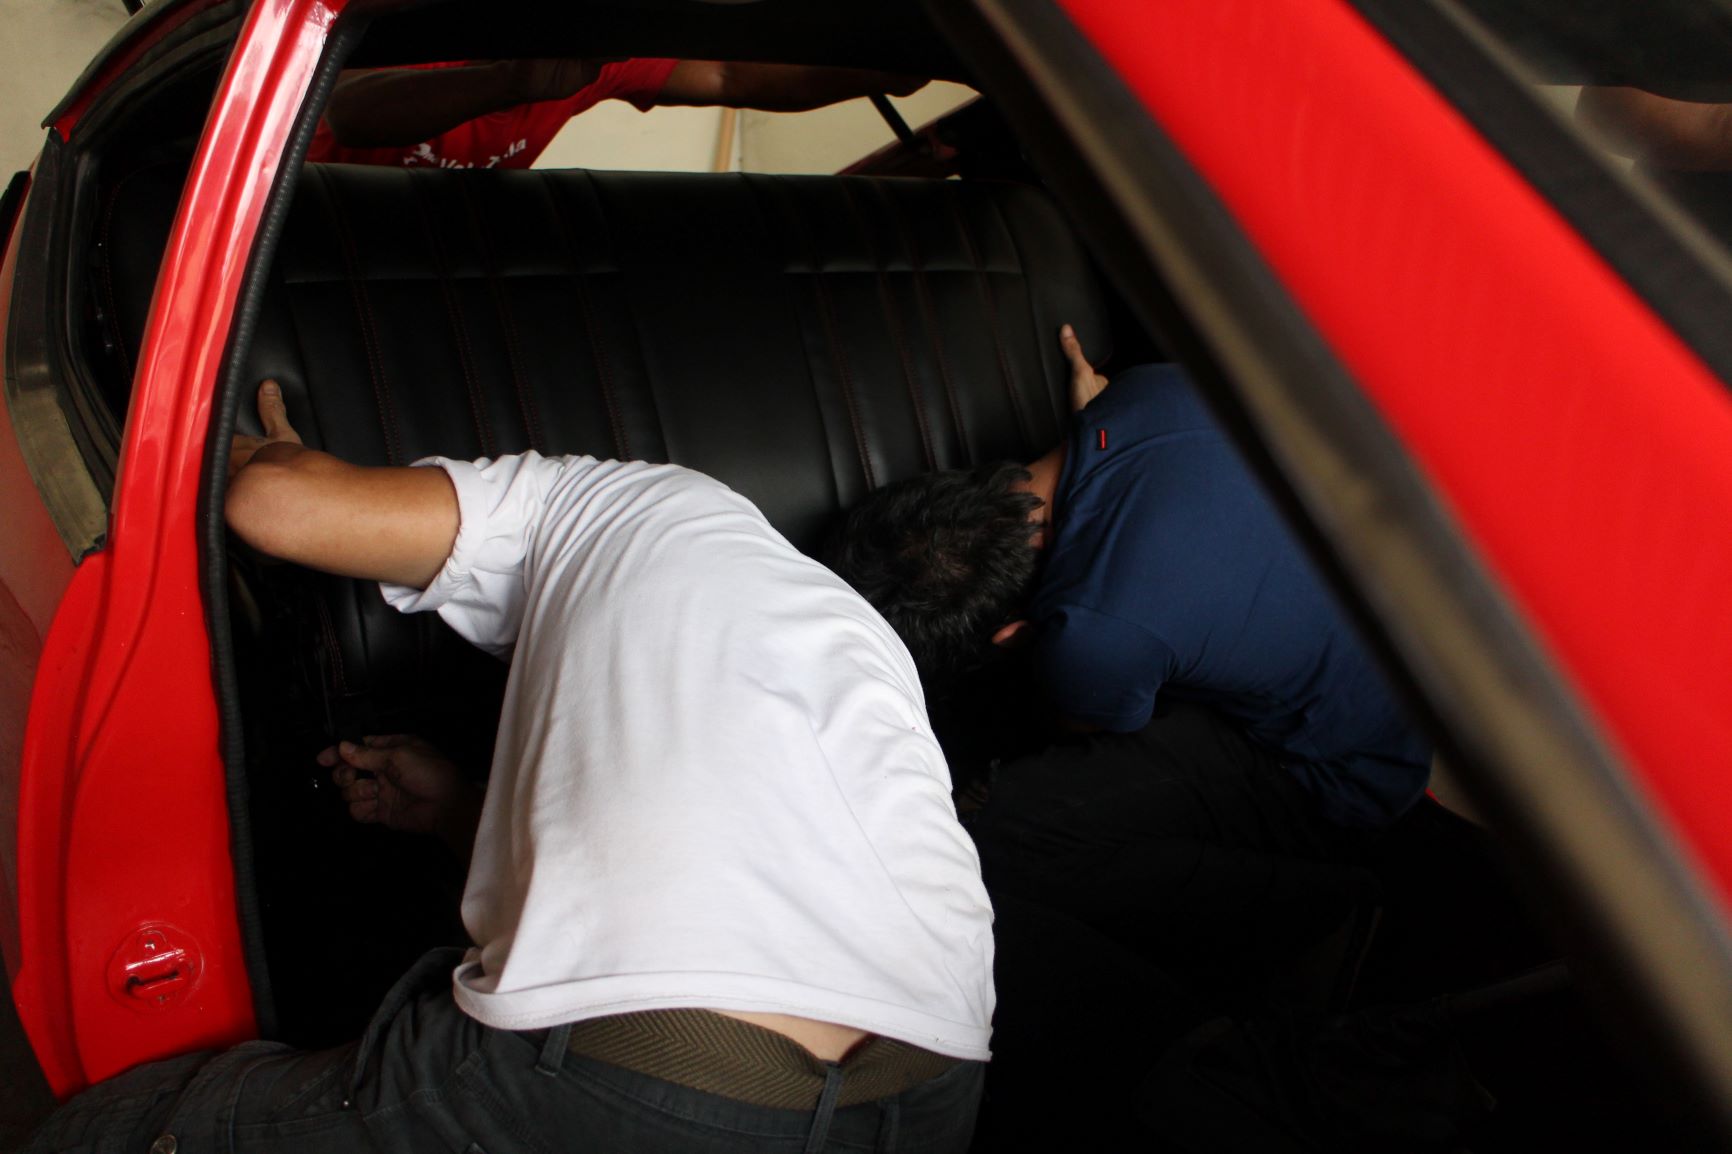
After removing the plastic wrappers, the rear seat back was bolted into its designated hole where it can freely pivot up and down.
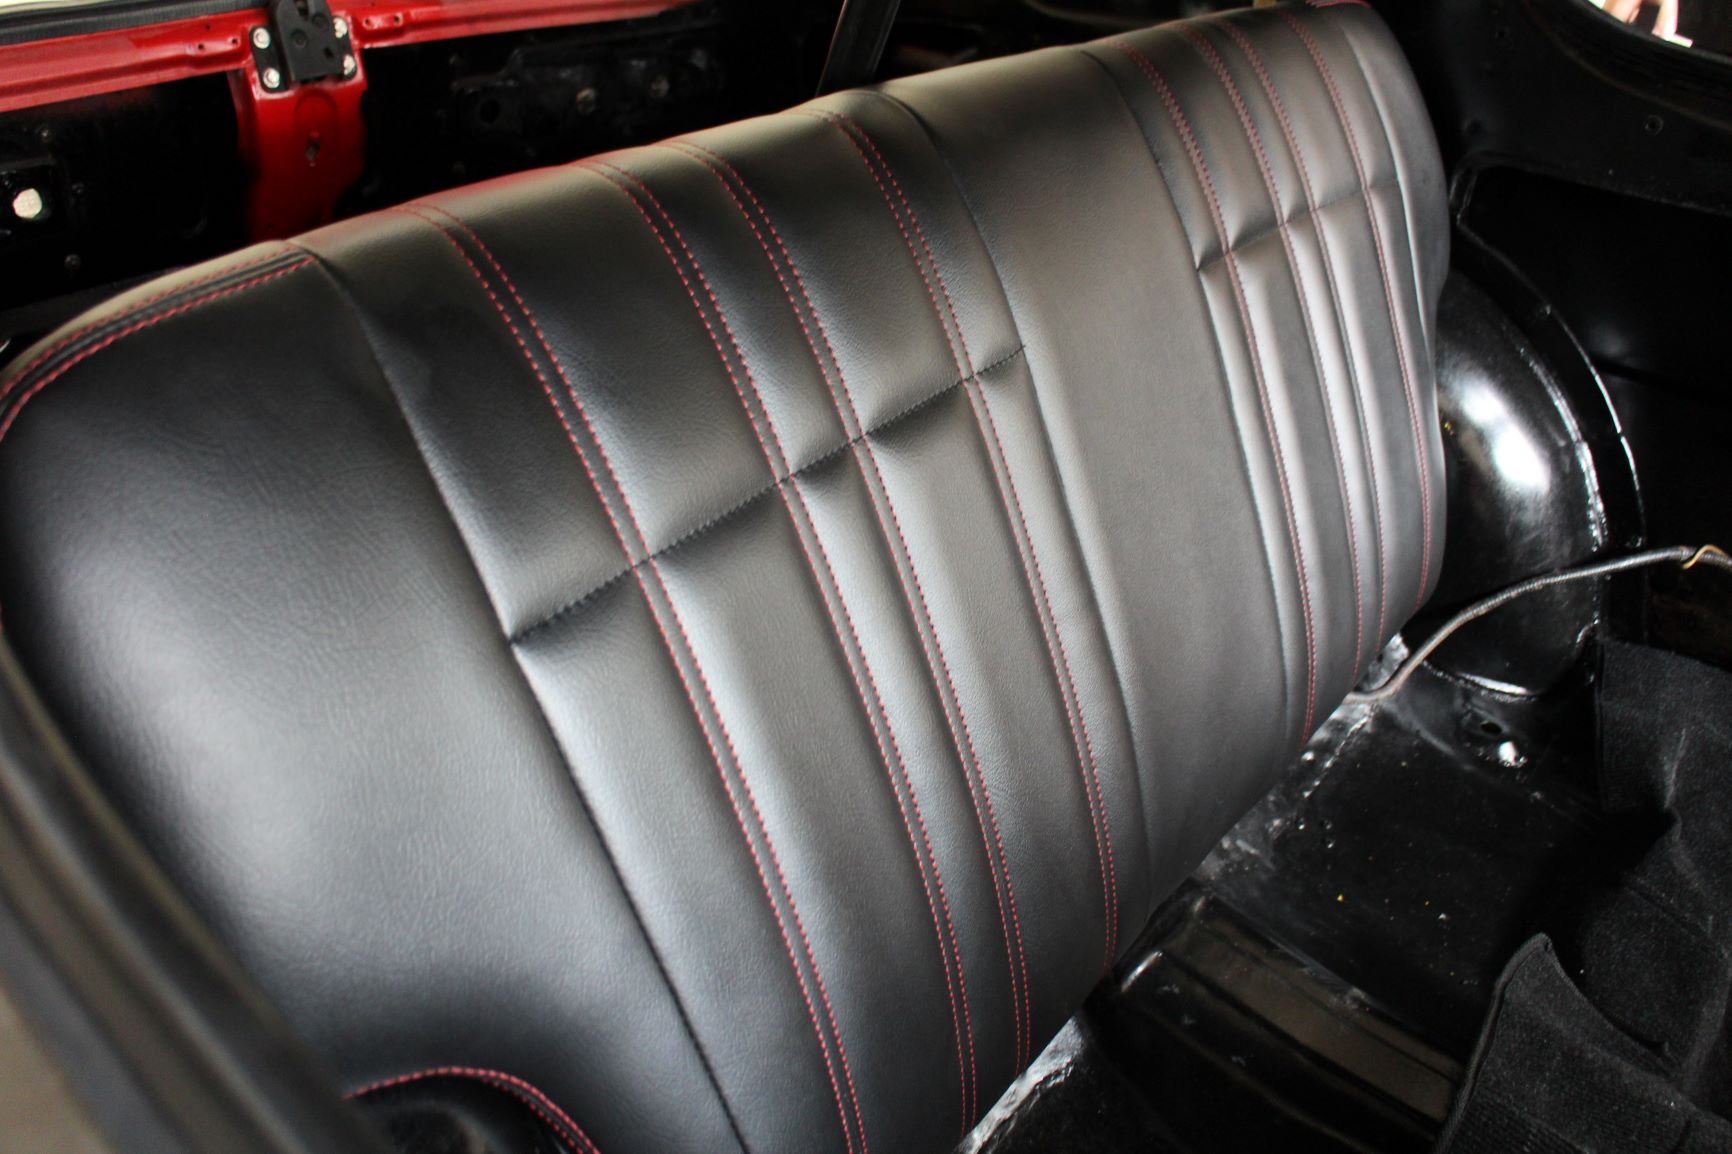
We couldn’t resist taking a photo of the double stiches running the breadth and length of the black leather seats.
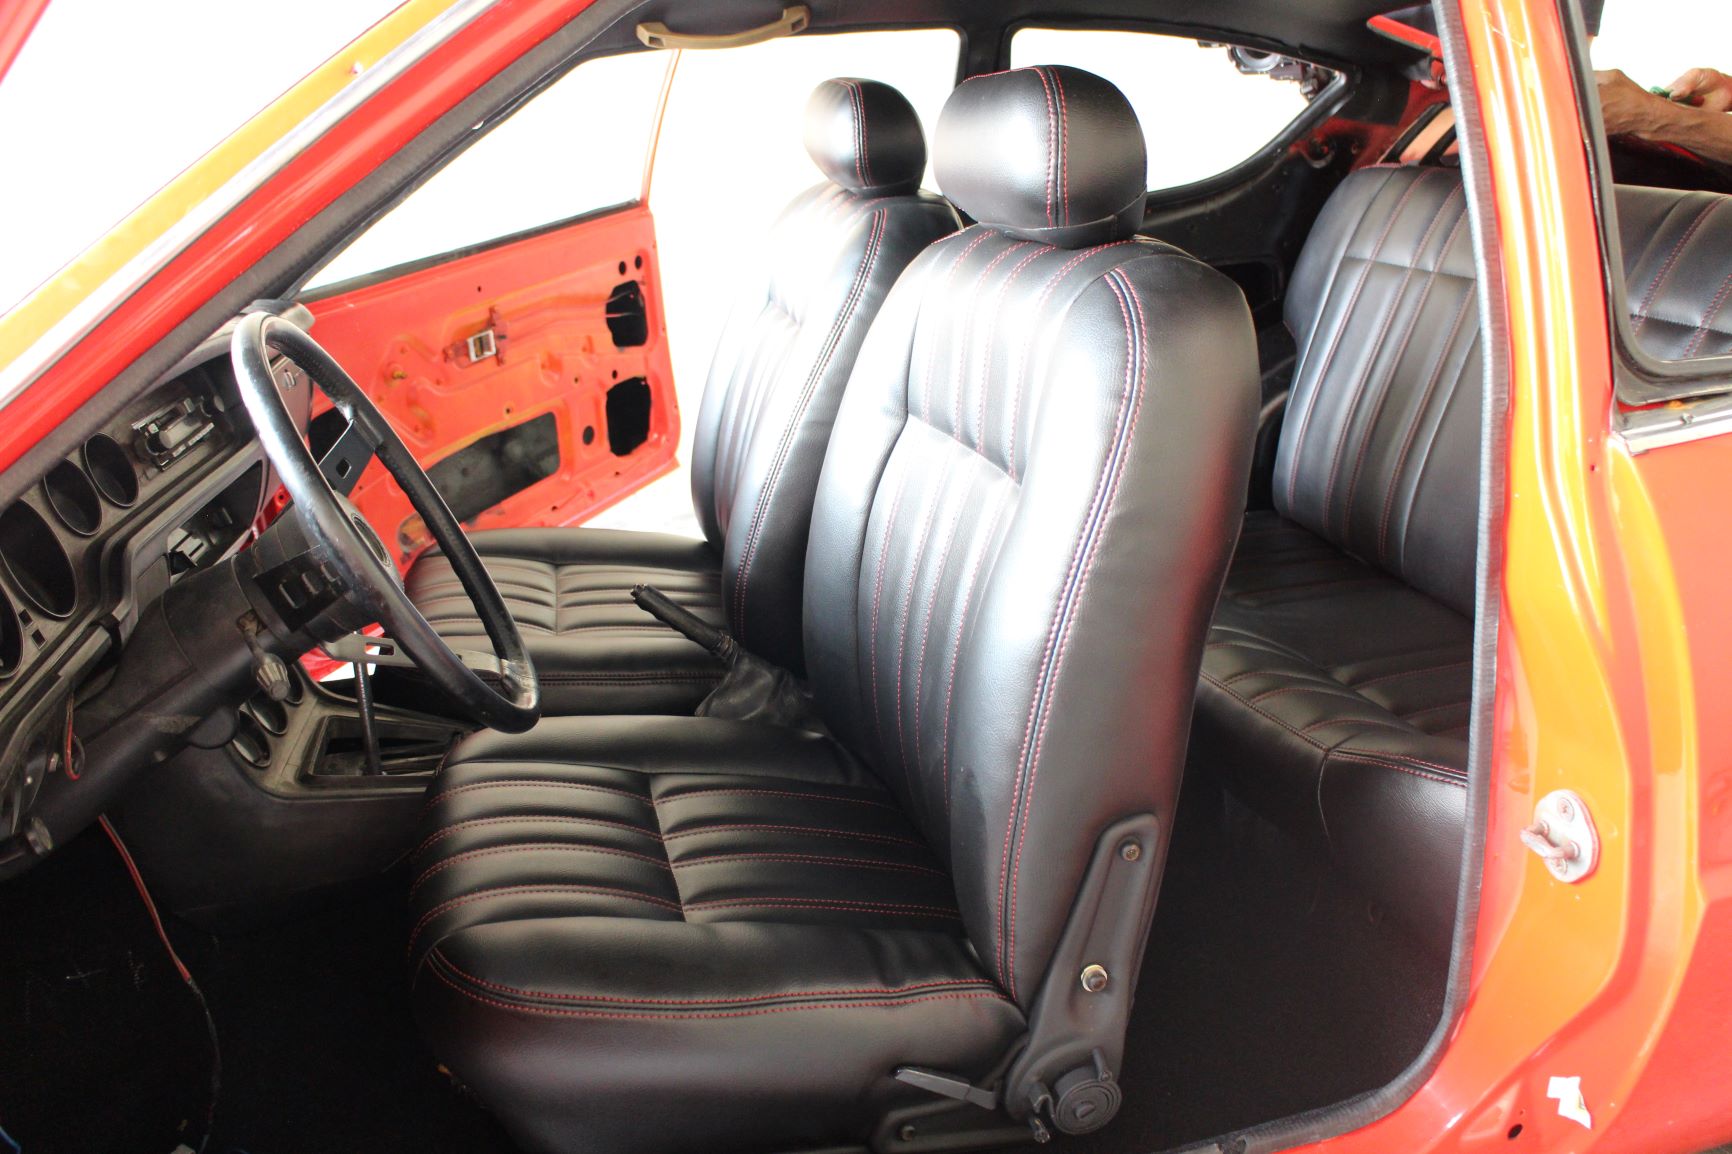
We just turned our backs for a moment and the interior guys did quick work of installing the bottom of the rear seat and the two front seats.
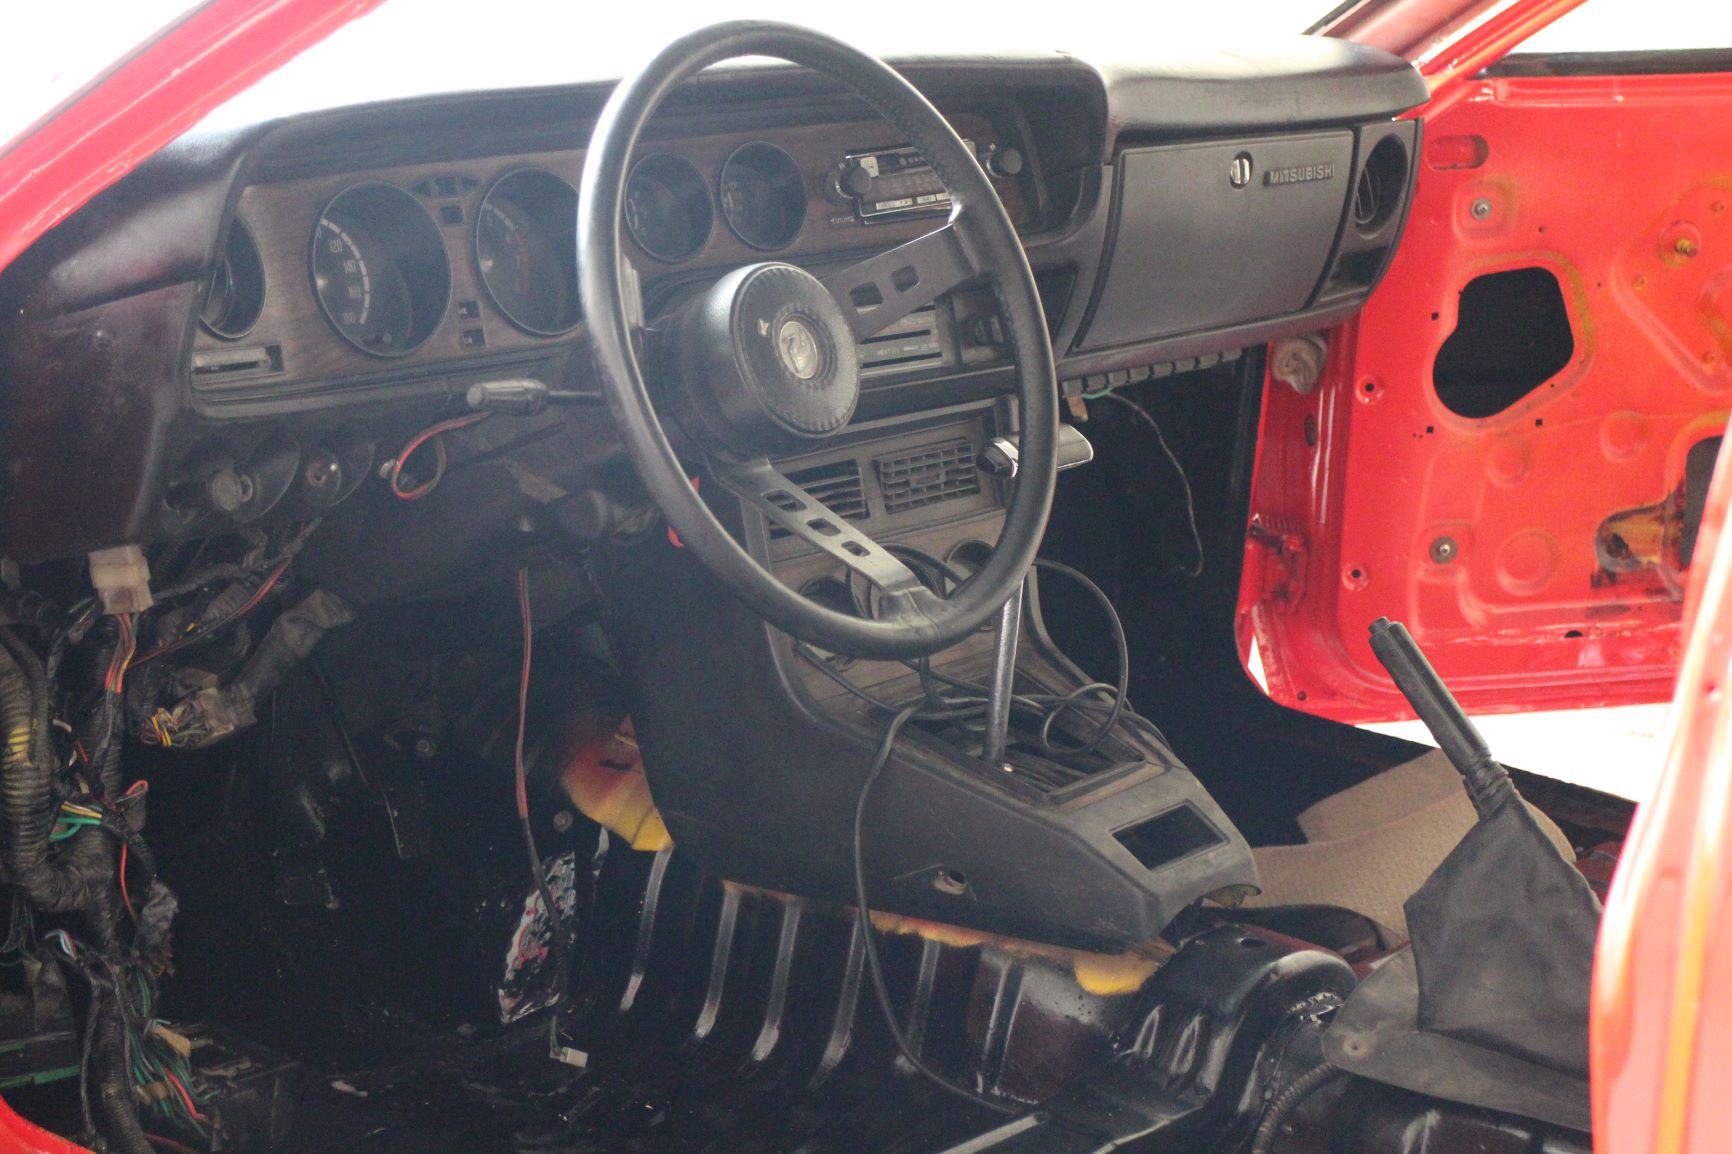
We were told that the new door cards (or sidings, as they’re more popularly known here in our country) were still being made with new back boards since the old ones were warped with age and neglect. Johnson also reminded me to look for a pair of brand new hatchback struts because the ones holding the hatchback of our Celeste are perished. The JSK guys just chucked a small screwdriver into a hole in the left strut to keep the hatch up and open, otherwise it will slowly arch down and close.
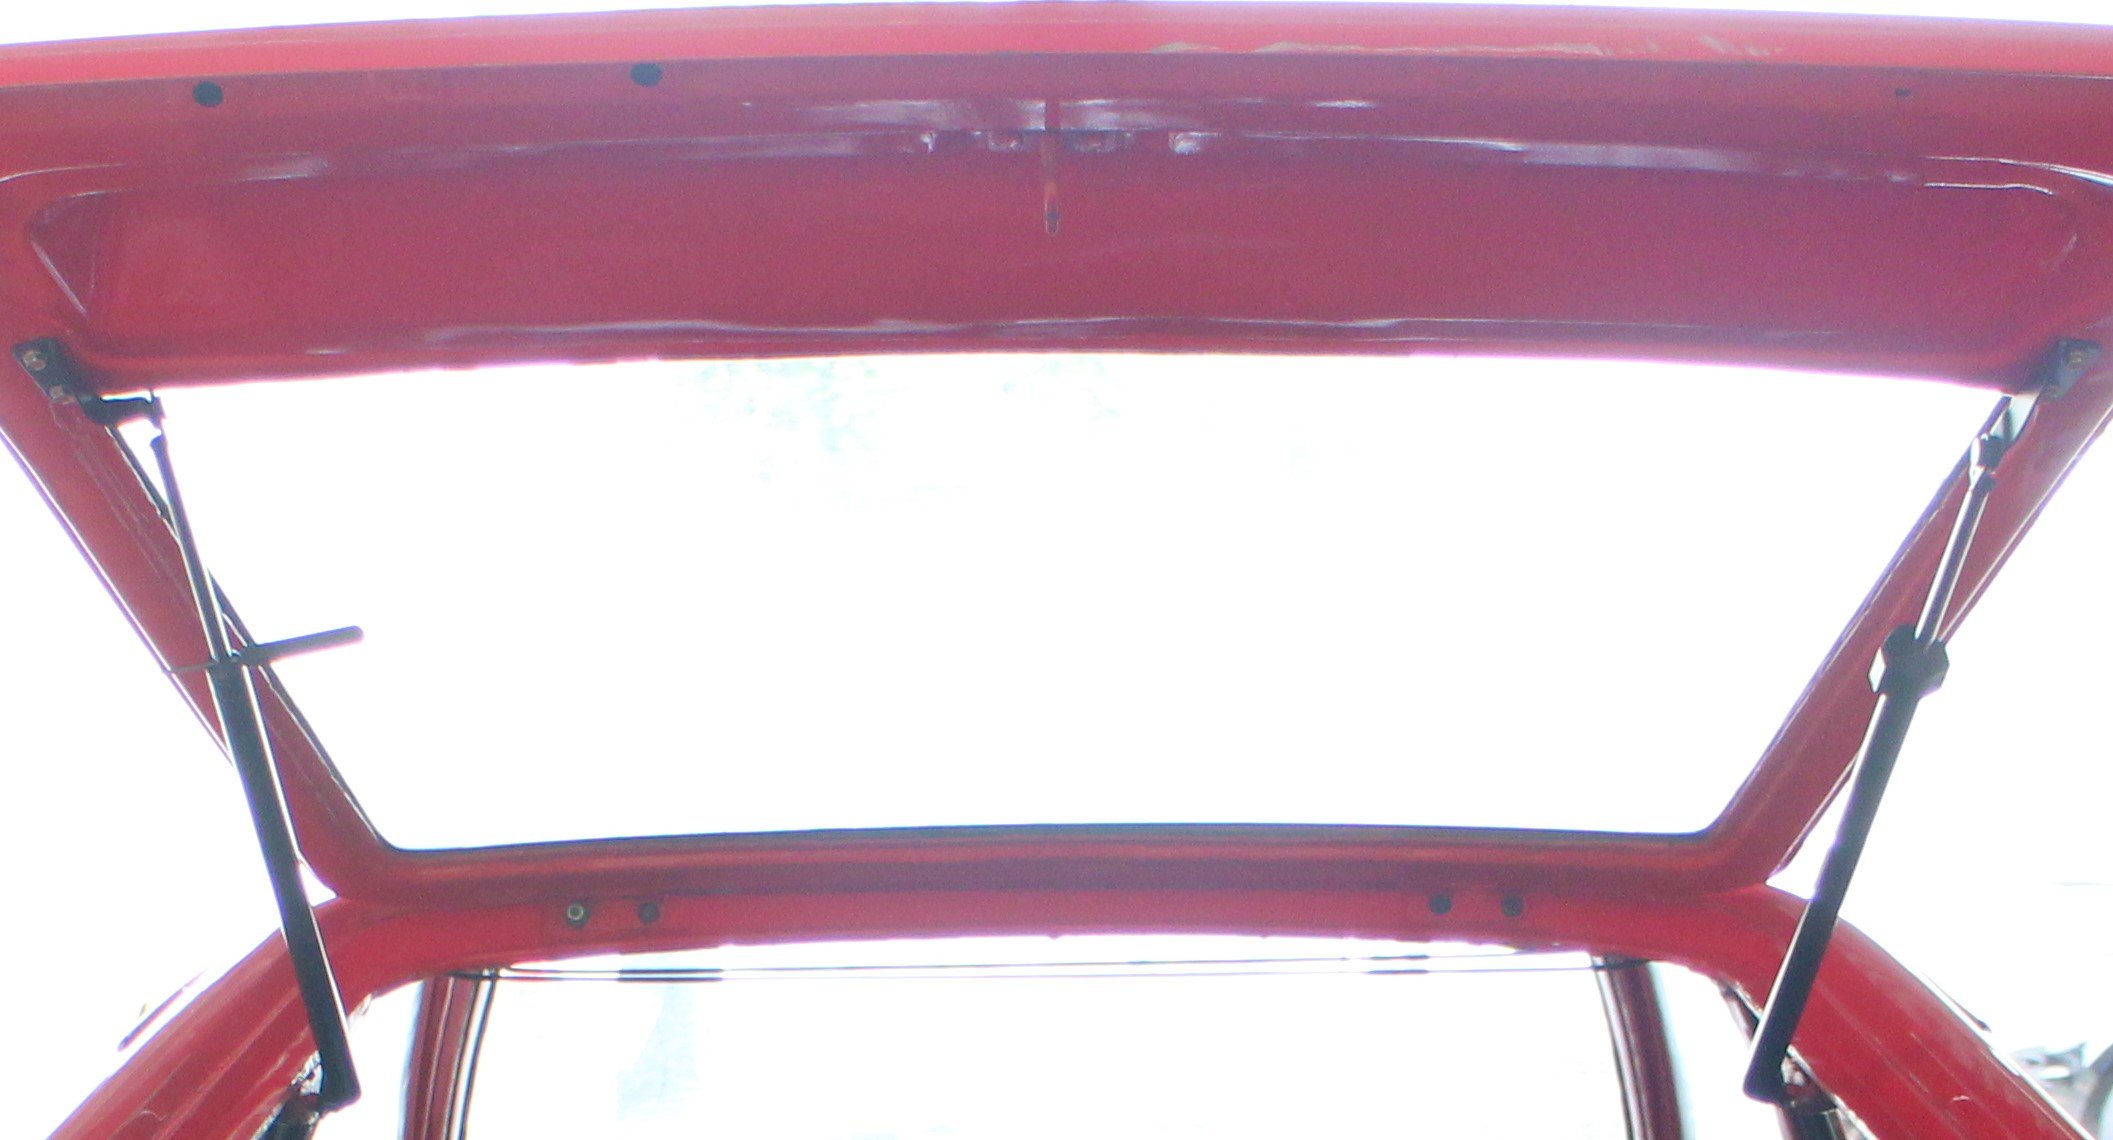
The hatchback struts are perished and need to be replaced. A small screwdriver holds the left strut open…
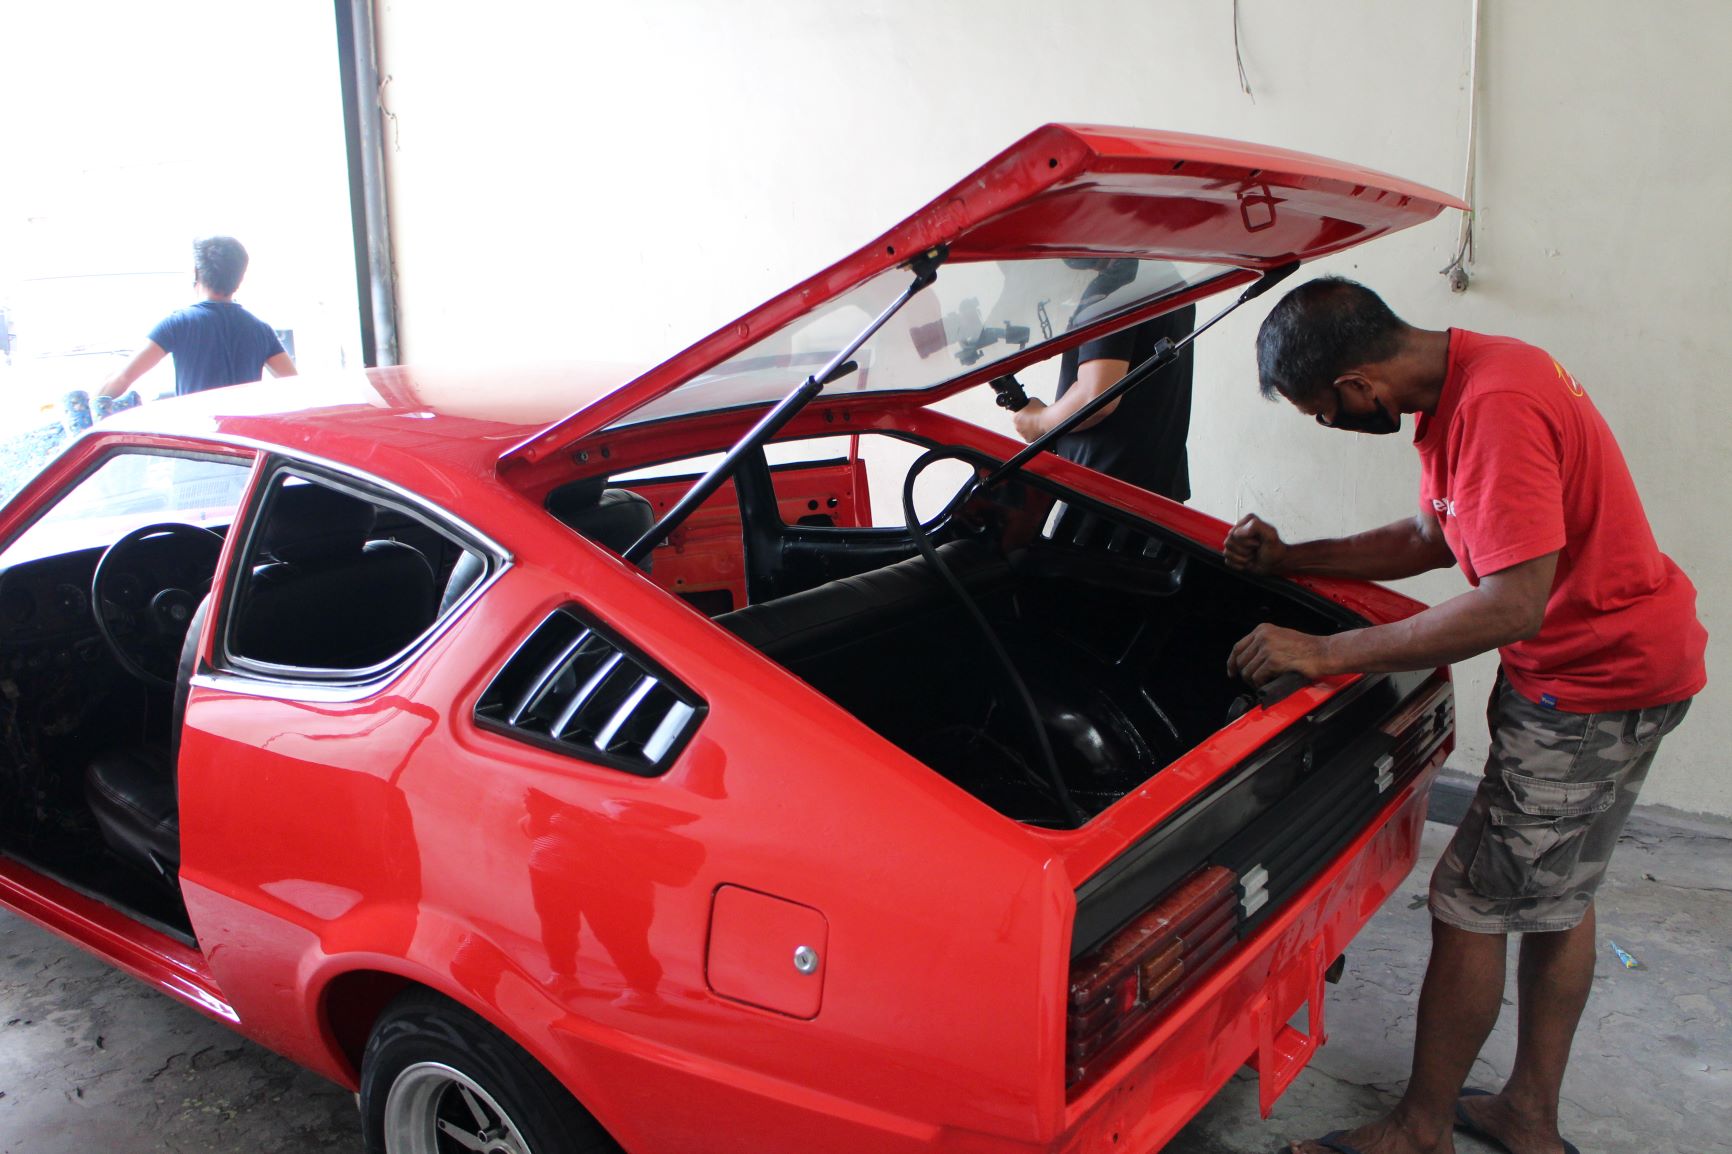
… so the JSK technicians can continue working on the trunk, like installing the weather strips.
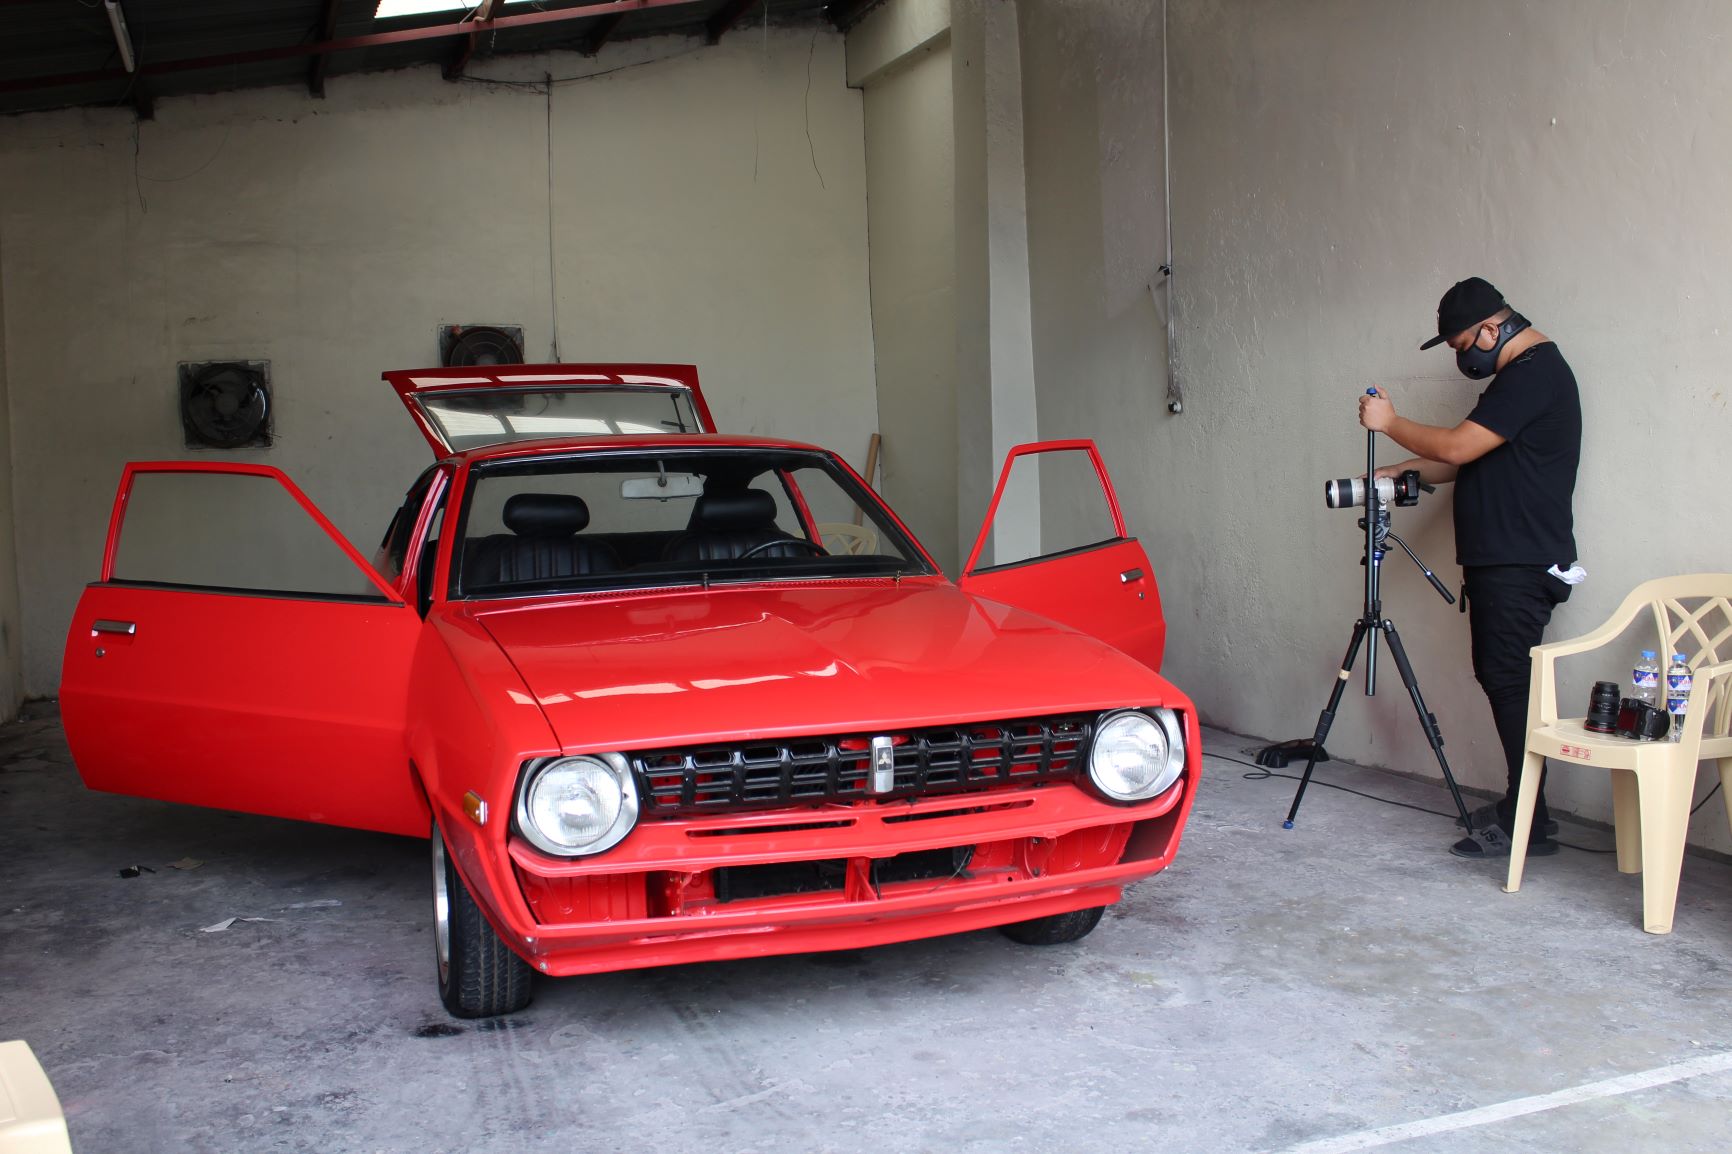
Vanjo de Guzman of MAD Films takes some more videos of our project car’s new seats before we wrapped up and called it a day.
Just When You Thought It’s Almost Done…
Johnson called us up to inform us that the air-conditioning system of the Celeste was spewing warm air out of the vents instead of cold cooling comfort. He had the JSK technician replace the A/C compressor that came with the car with the compressor from the 1982 Mitsubishi Lancer SL, from which we also got the 3-speed automatic transmission and power steering system. After installing the Lancer’s compressor and charging the system, the A/C was still blowing toasty air, so Johnson recommended buying a new compressor. After a brand-new Sanden SD5-S11 compressor was installed, the Celeste’s interior felt like a freezer, befitting the leather seats.

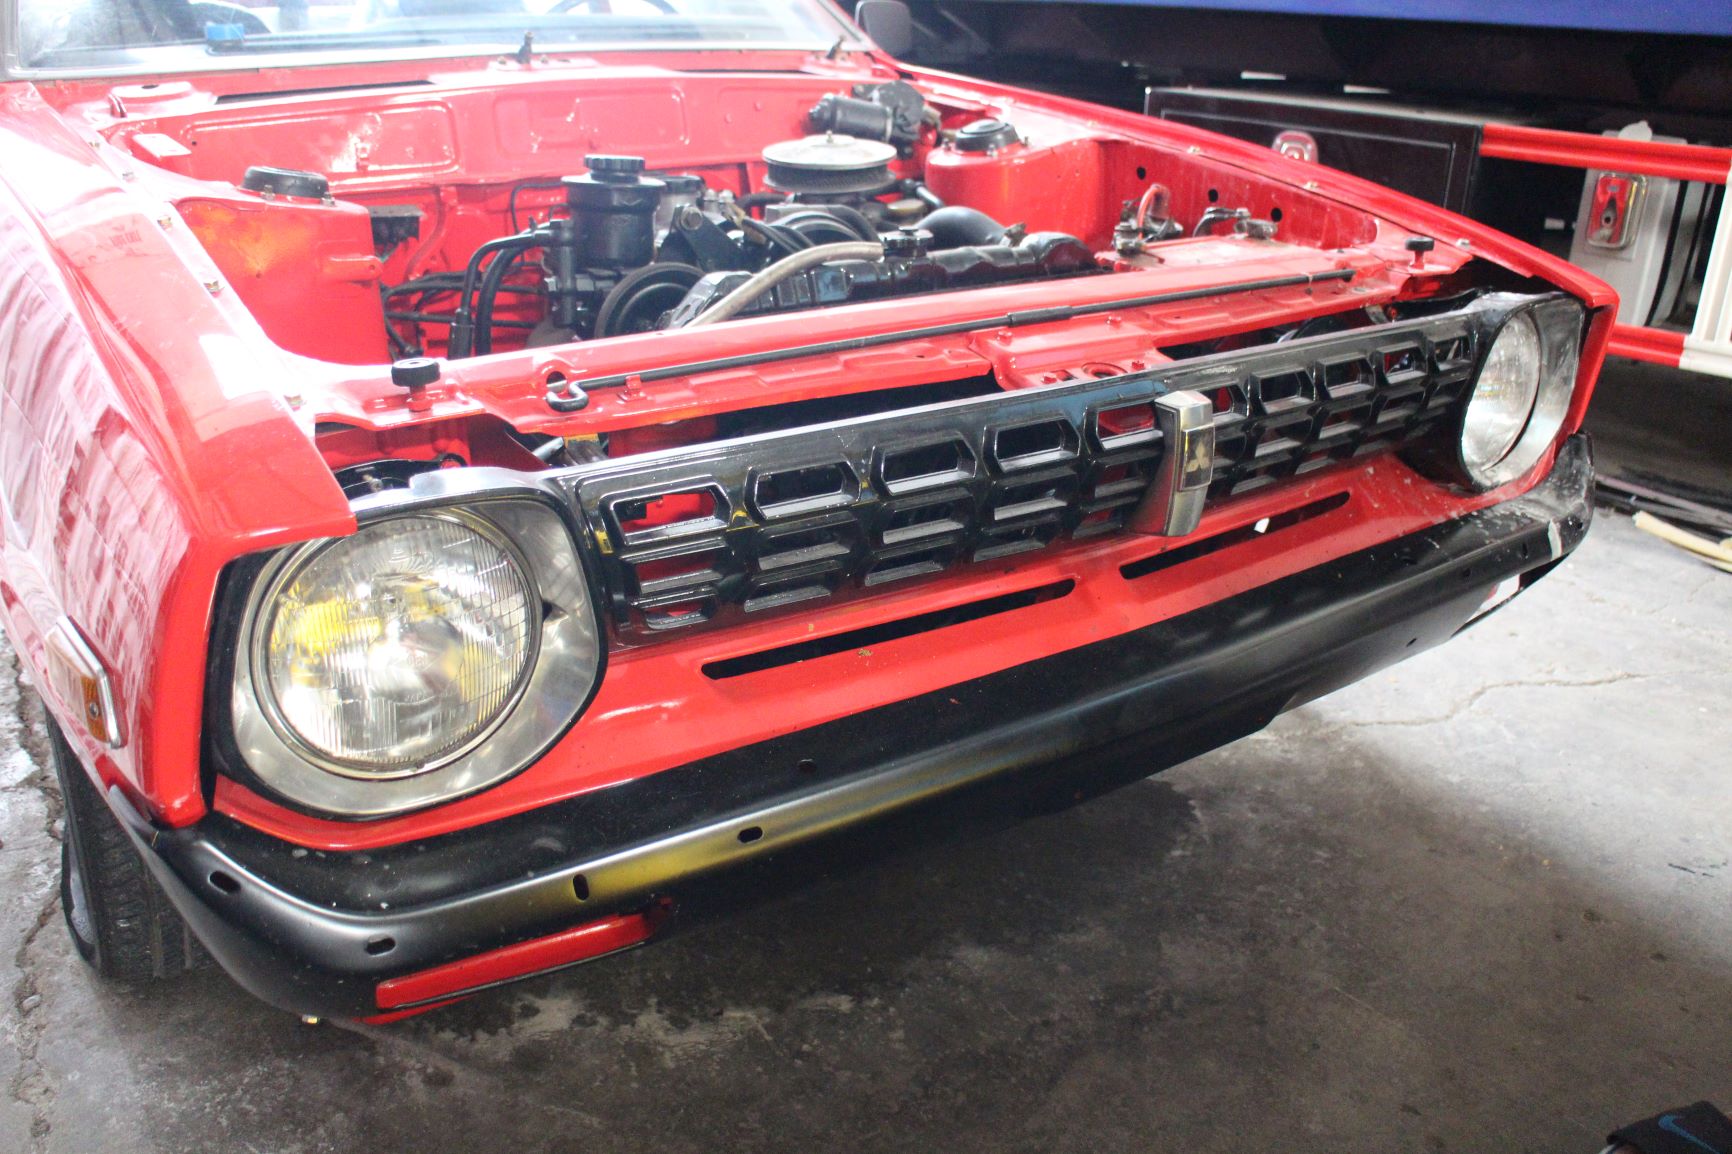
In early September, we were surprised to see the Celeste’s hood and grille removed again…

The JSK boys were busy completing the under hood components when they found the A/C compressor needed to be replaced.
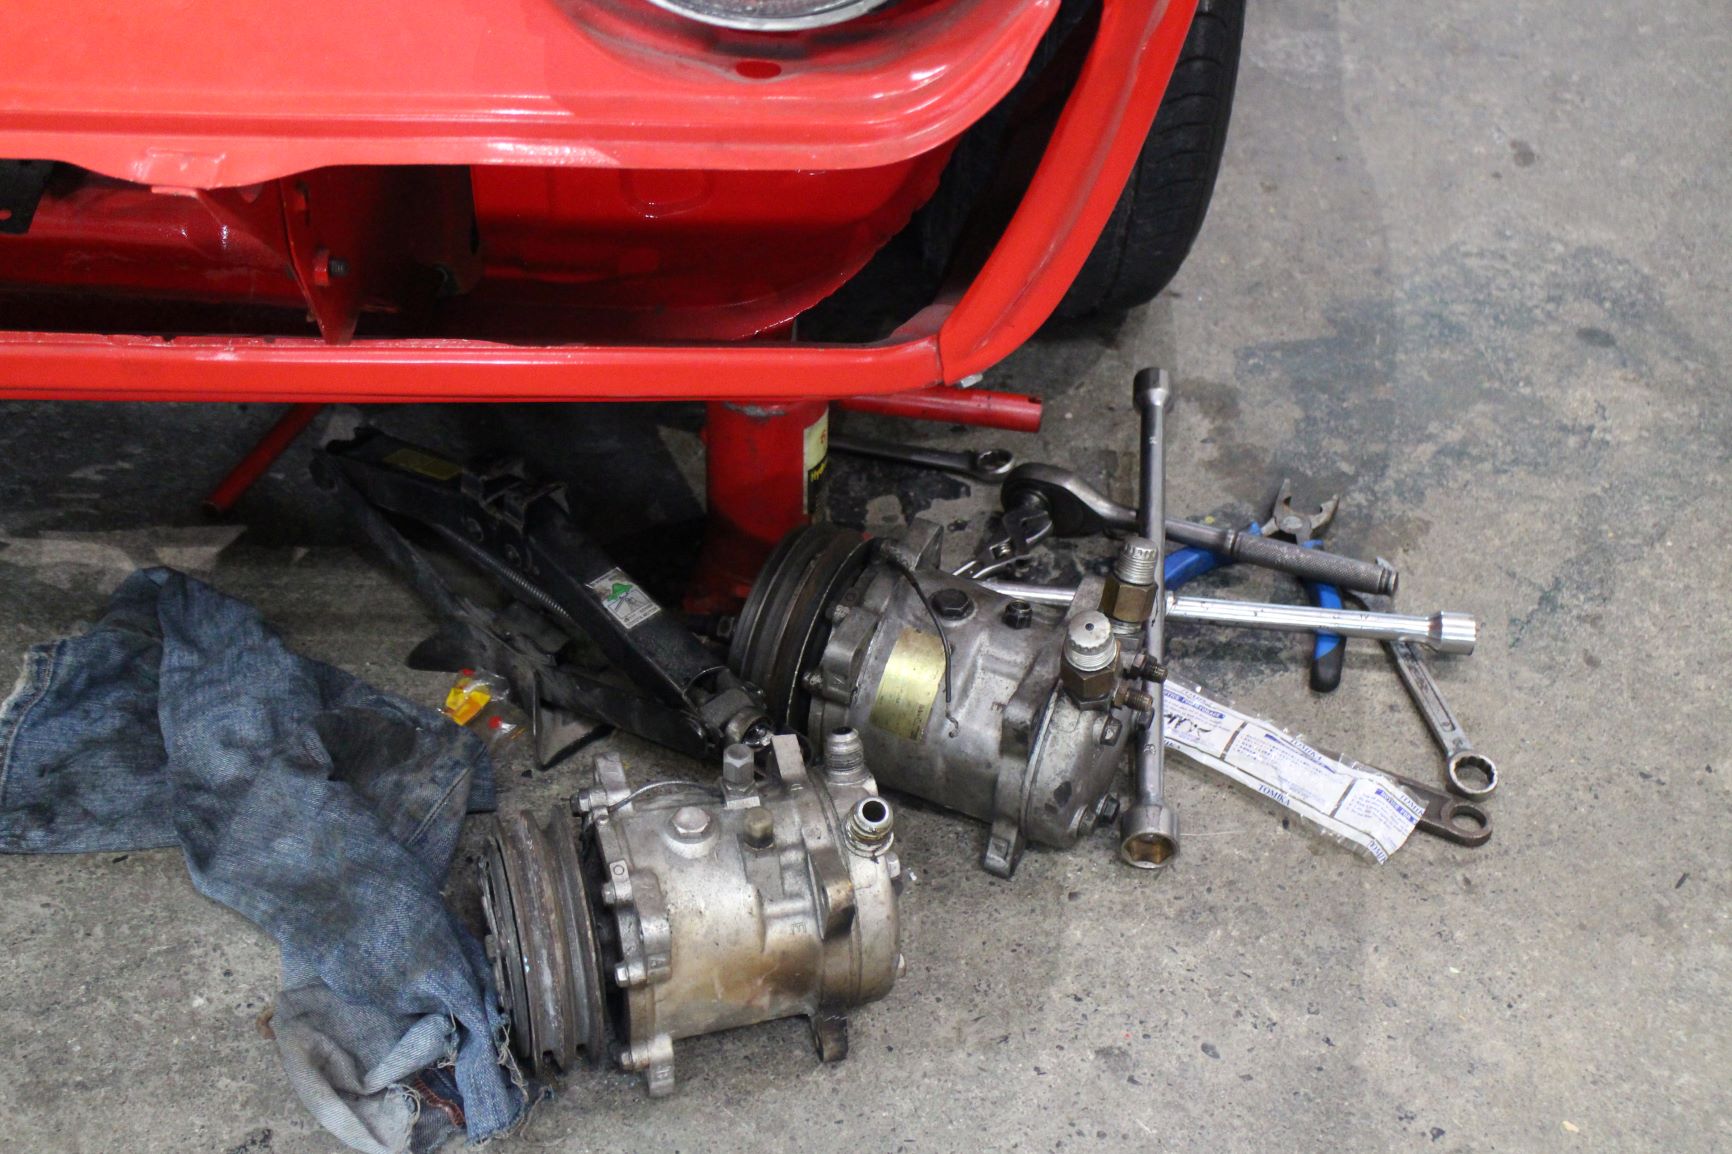
The aircon compressor in the foreground came with the Celeste, the one behind it came from the ’82 Lancer donor car…
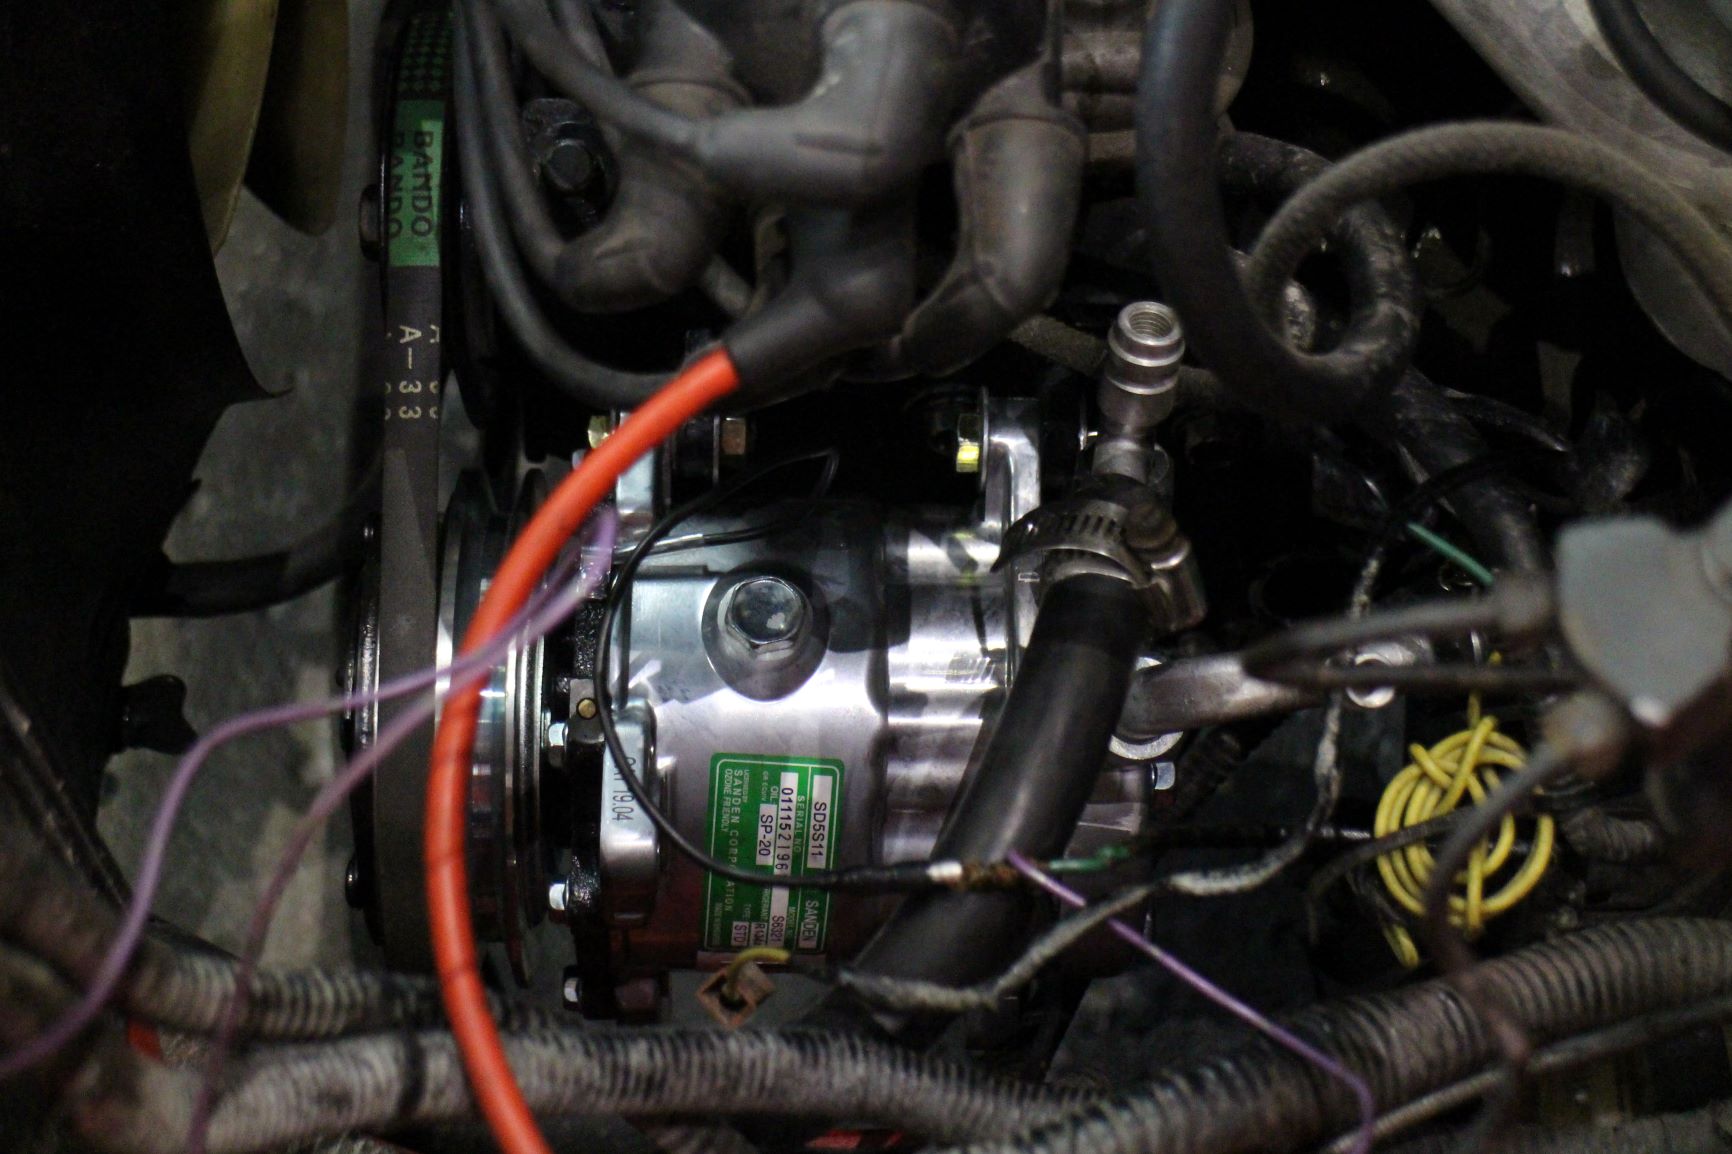
… and the one attached to the engine is a brand-new Sanden SD5-S11 compressor.
In early October, Johnson showed us the newly-repaired front and rear bumpers and we were surprised that they were finished in black instead of the original chrome. Johnson explained that when the bumpers were removed for cleaning and polishing, they found that rust already bore a couple of holes in the rear bumper and that rust was staring at the edges of the front bumper, which was found to be slightly twisted, presumably from a botched repair after a collision. So, he had the rubber bumper guards and accessories removed and the chrome peeled off the bumpers so they can repair the metal. We showed Aldous photos of the flat black bumpers and told him that since these were repaired, we can have them wrapped in chrome foil or painted gloss black or body color. He liked what he saw and instructed us to stick with the black bumpers.
The newly repaired front bumpers were finished in black and test-fitted into the car to test the alignment of the body panels.
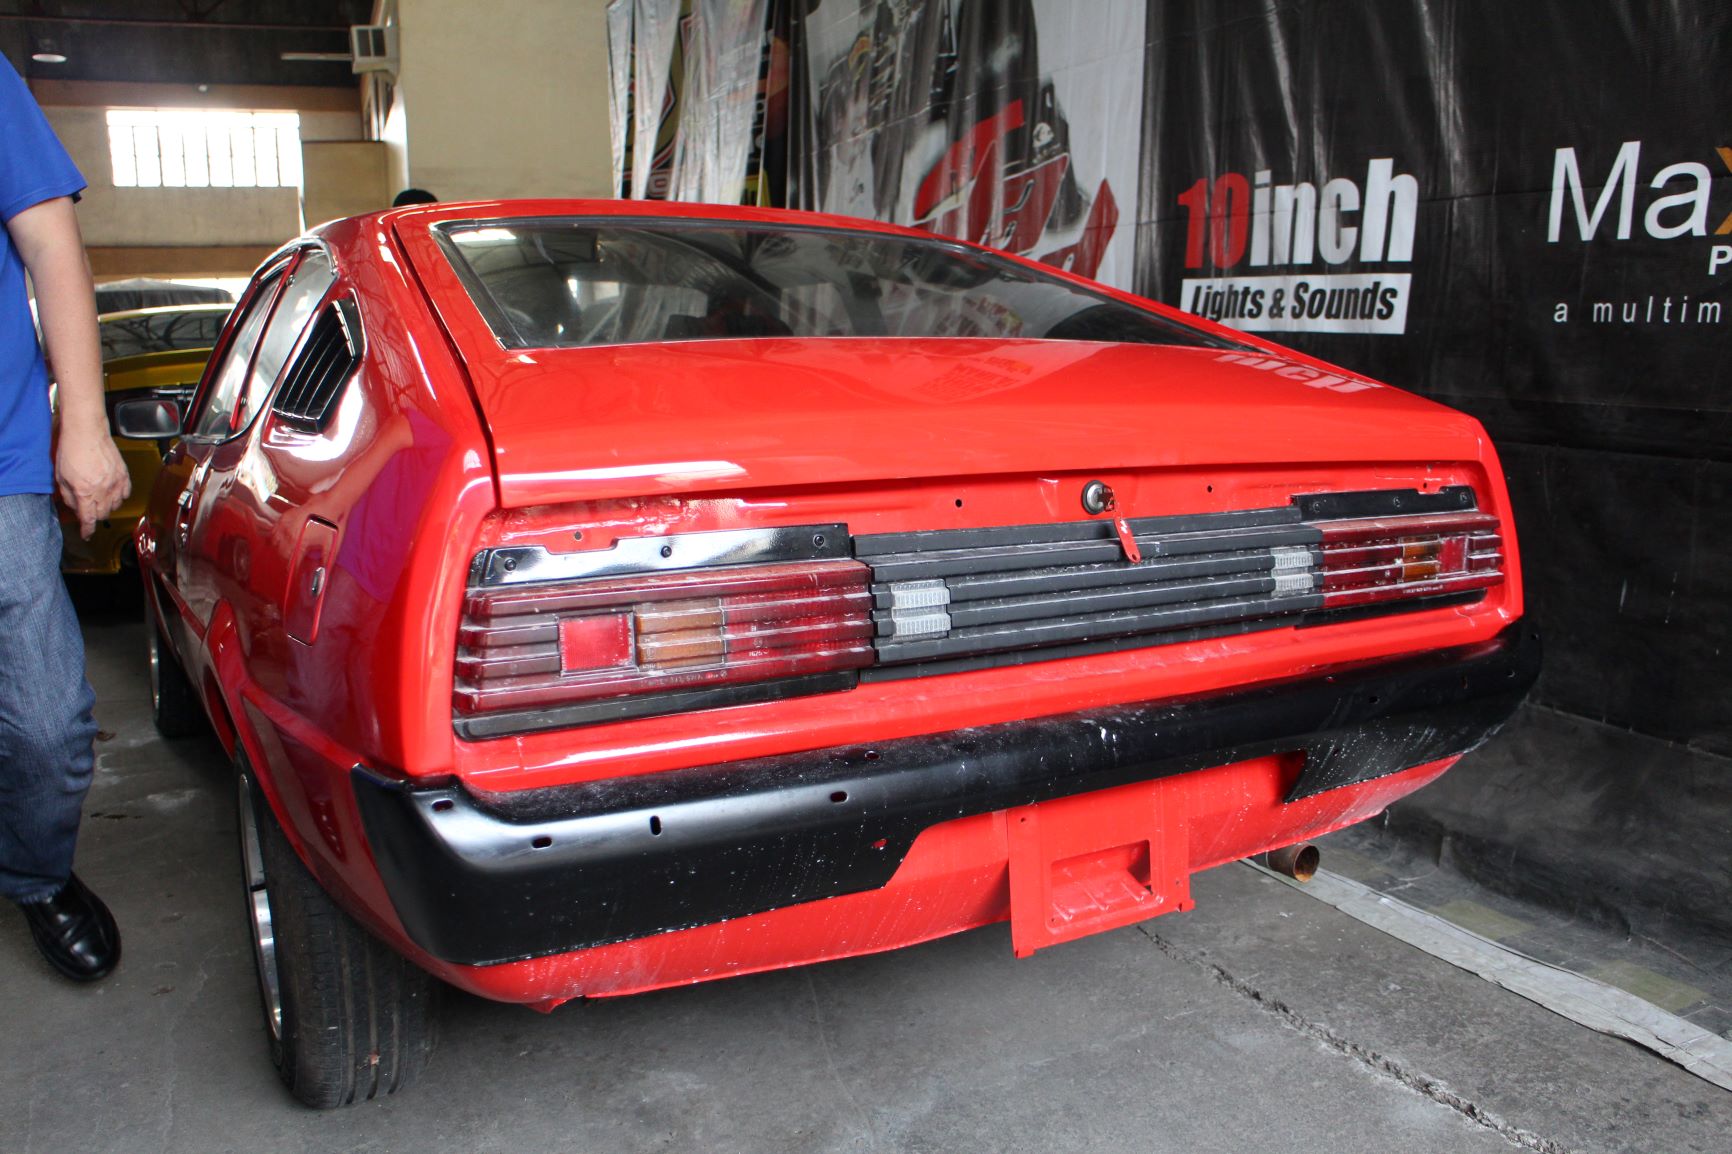
Since the bumpers were rid of rust holes and repaired with some body filler, they only be painted black, or matched to the red body color, or foil-wrapped in chrome for the original look.
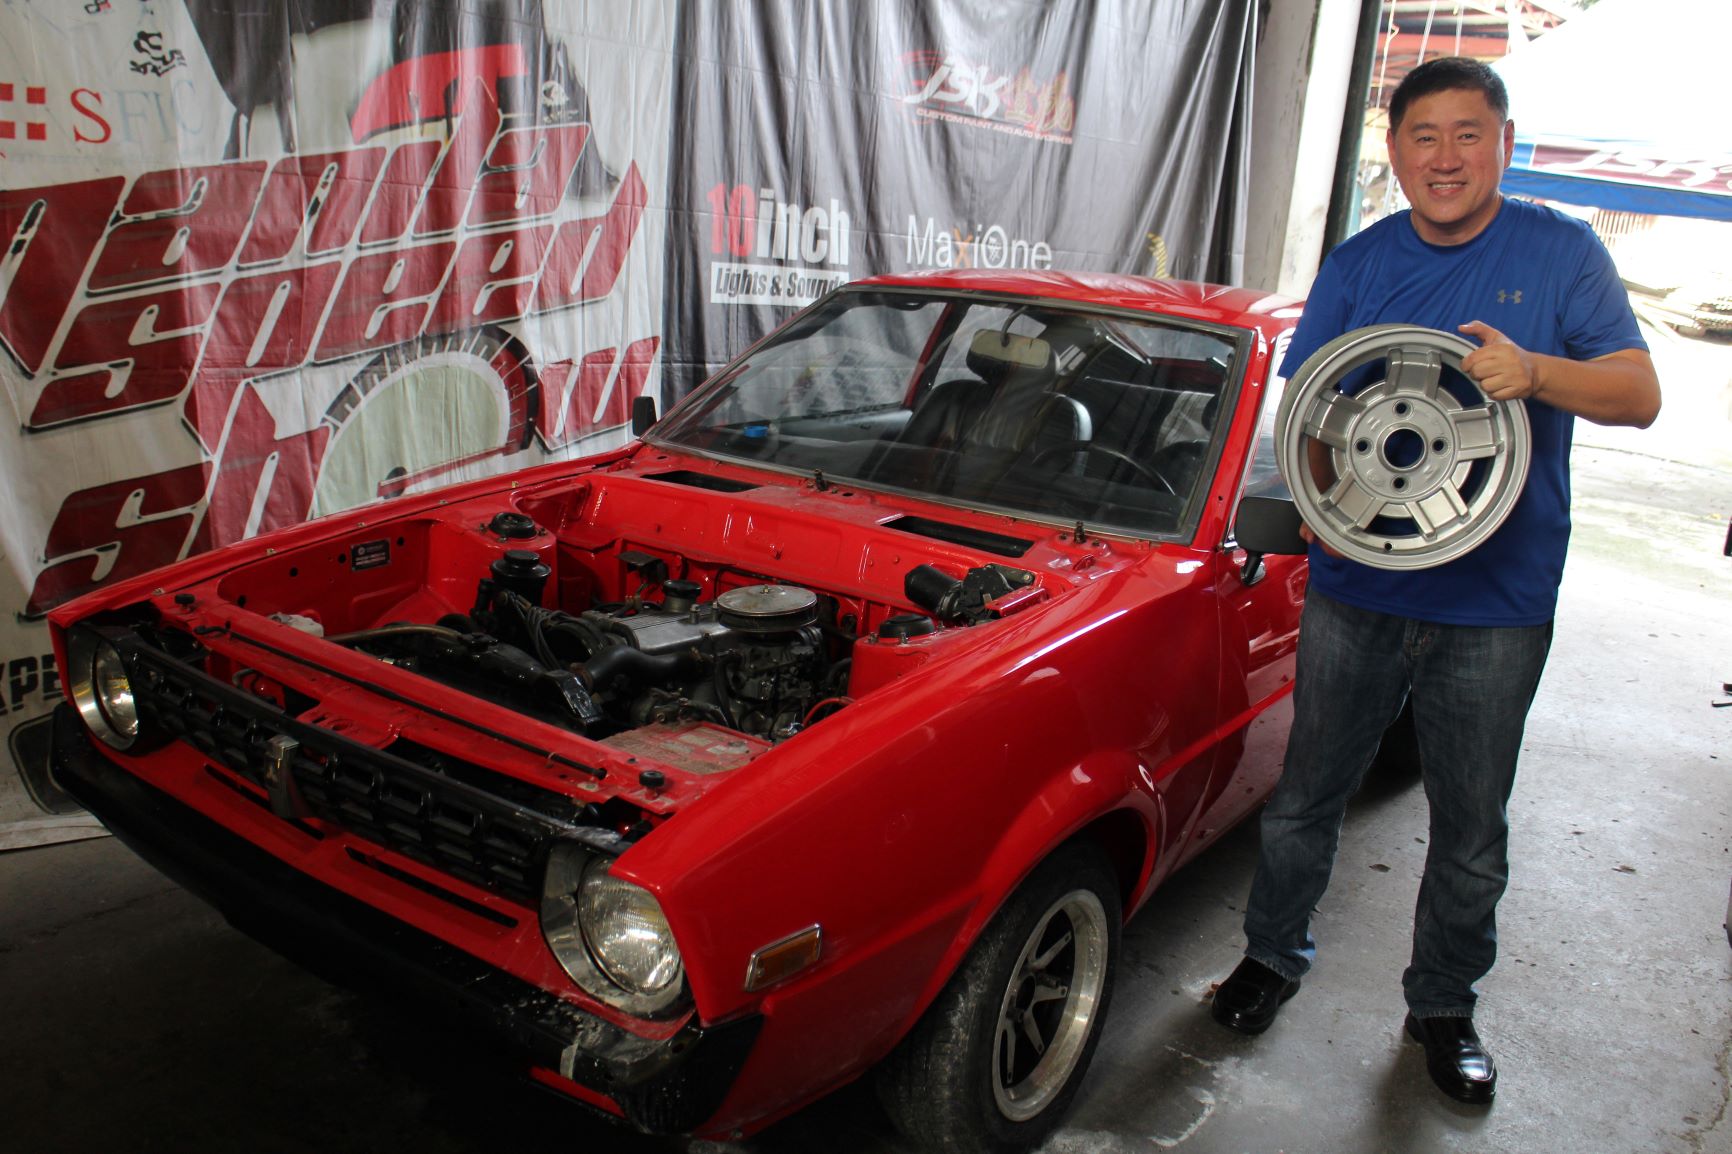
Johnson teased us with the Celeste’s original 13-inch PAWI wheels after these were refurbished in-house at JSK Custom Paint and Auto Works.
In the next chapter, we’ll deal with mounting, balancing and the installation of the newly-refurbished 13-inch 5-spoke PAWI (Philippine Aluminum Wheels, Inc.) aluminum alloy wheels and the Bridgestone Ecopia EP-150 tires, 175/70R13 in front and 185/70R13 at the back, that we ordered from Bridgestone Philippines for this soon-to-be-completed 1976 Mitsubishi Celeste 1600ST intended as a time machine for one lucky dad!