

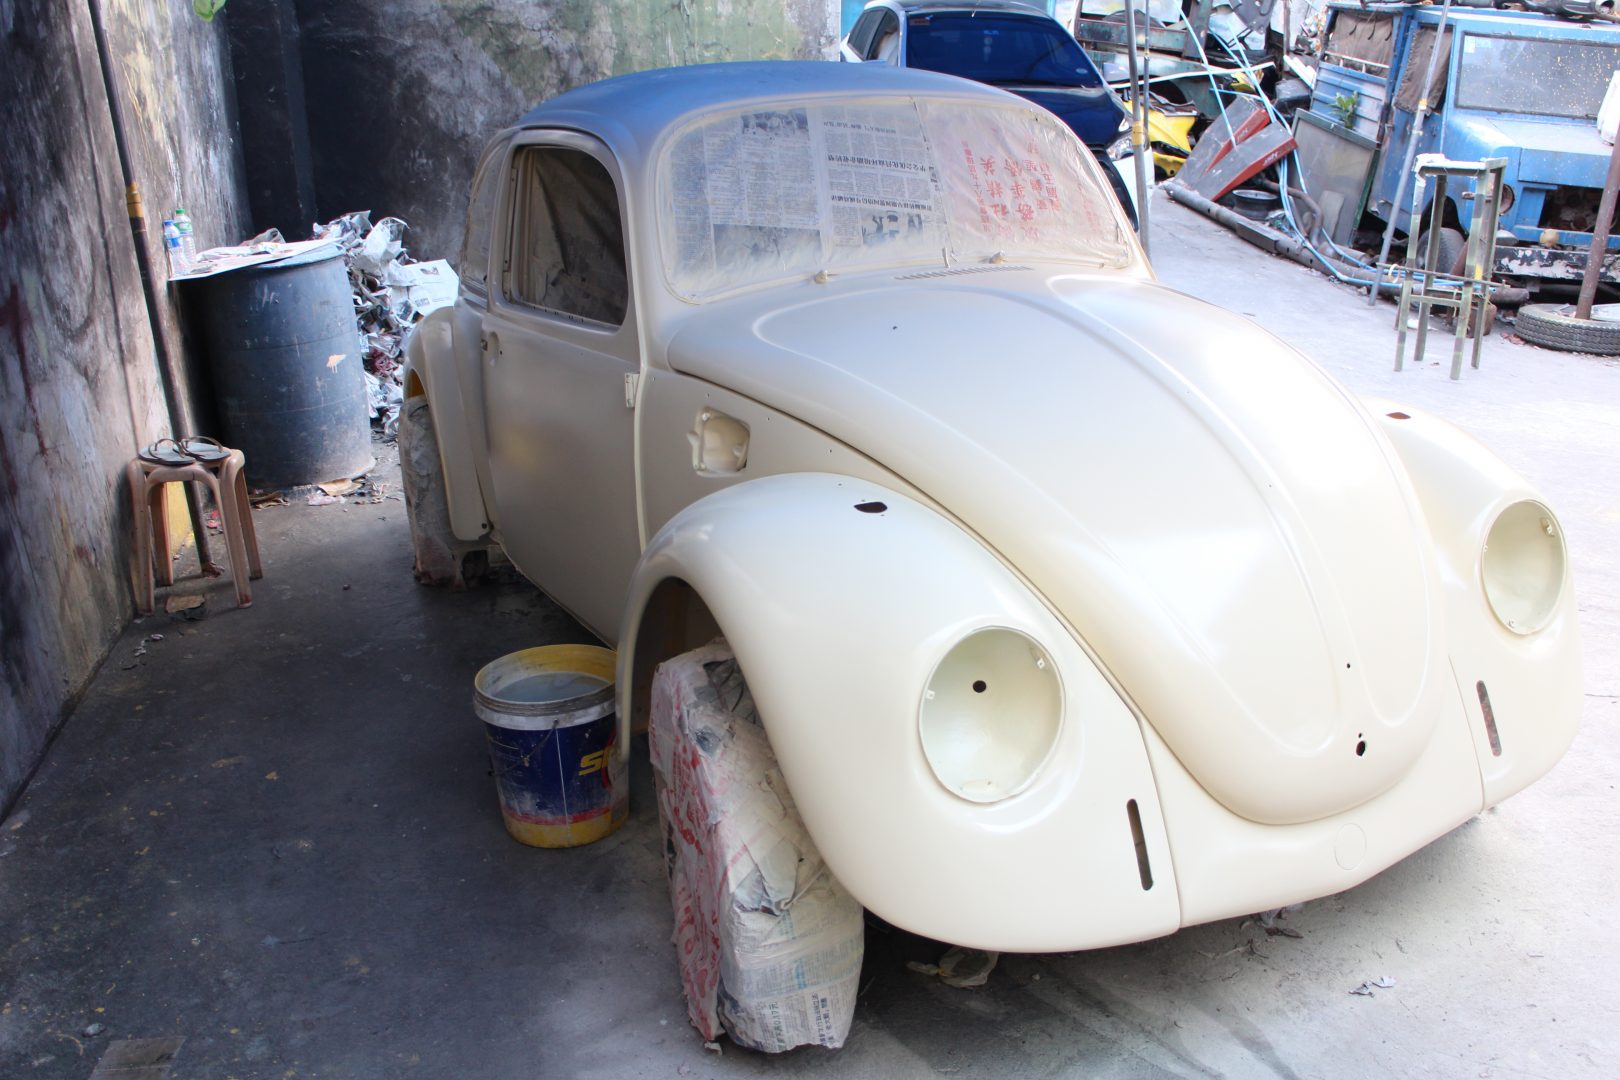
When we last saw the 1973 Volkswagen Beetle 1600 of Ildefonso “Fons” Caluag, it was getting a thin coat of body filler prior to it receiving its base paint. The painter assigned to work on the Bug by Johnson Tan, the proprietor of JSK Custom Paint and Auto Works, was all praises with the VW’s straight body and minimal rust. He had worked on Beetle restorations before and he said that ours was the most solid and complete that he has seen.
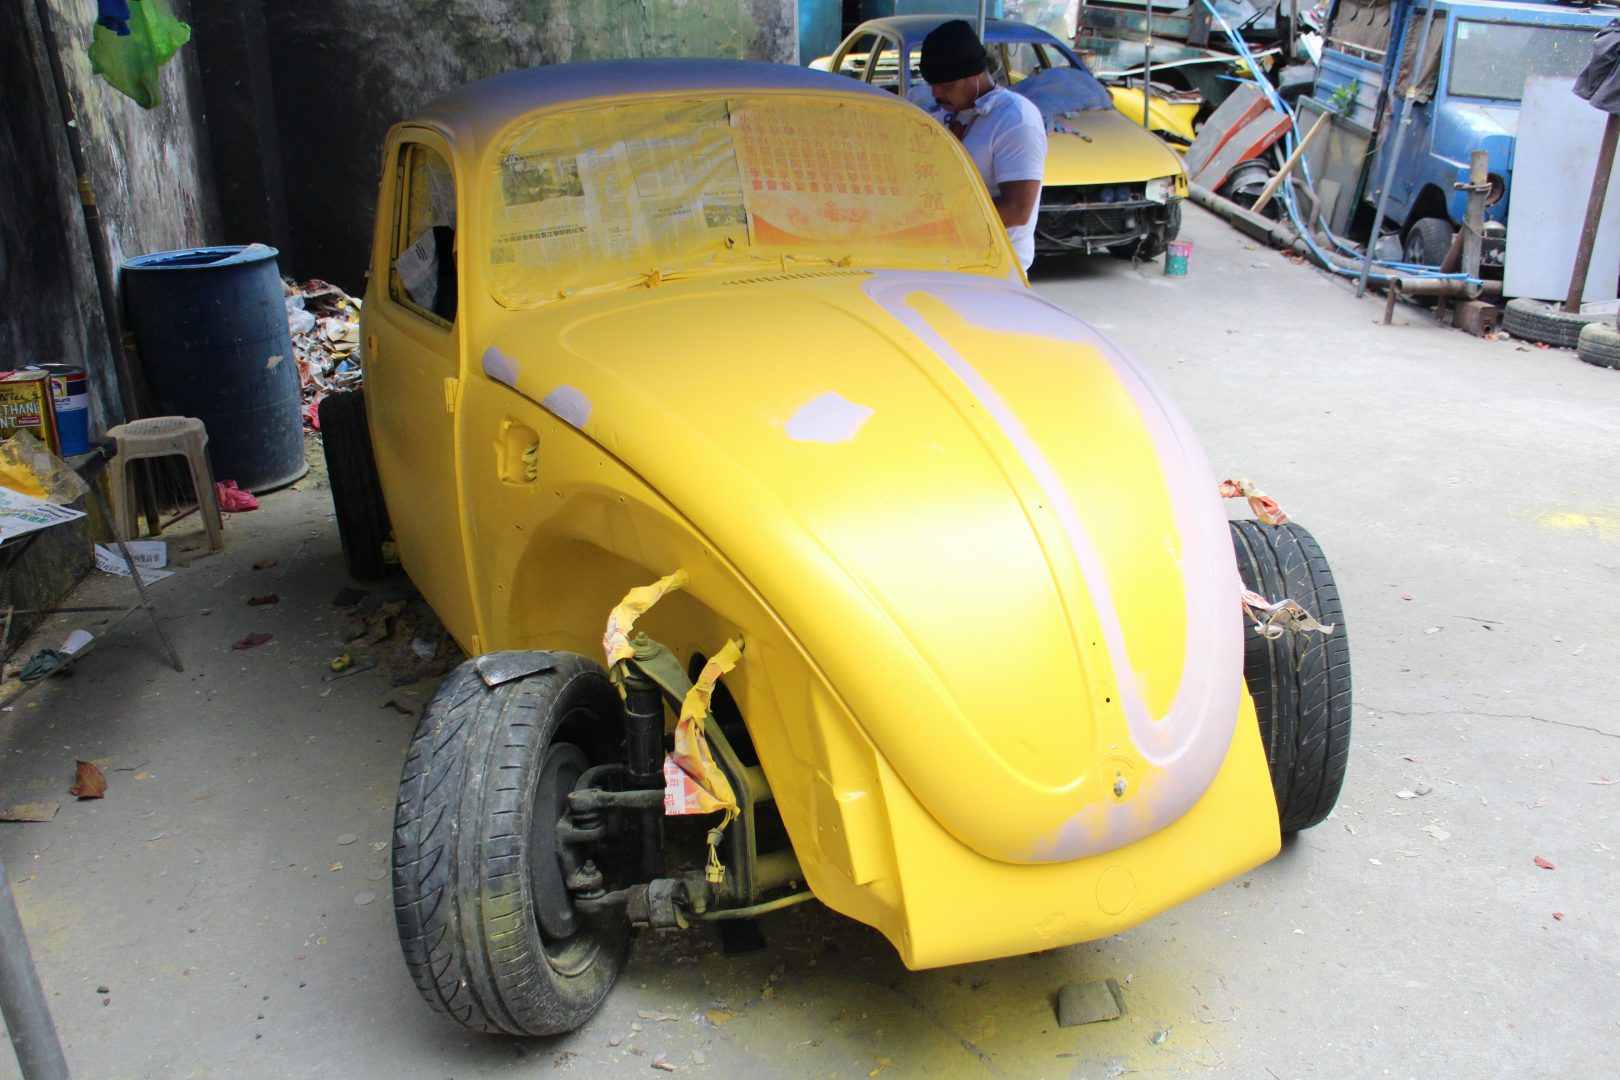
Someone from a VW Beetle website commented that judging from the photos we published the body filler was a bit too thick, especially on the front hood. We told the painter of the netizen’s observation and he said that it will be sanded down to match the body lines of the Beetle. When we told the owner, Fons, about this, he replied, “That’s true. Dinaya namin ‘yan para pumantay nang pininturahan naming yung VW noong 2001. (We cheated to align the body lines when we painted the car in 2001.)” We were assured by the JSK painter that the body lines will be corrected before the finishing coats of paint will be sprayed on the car.
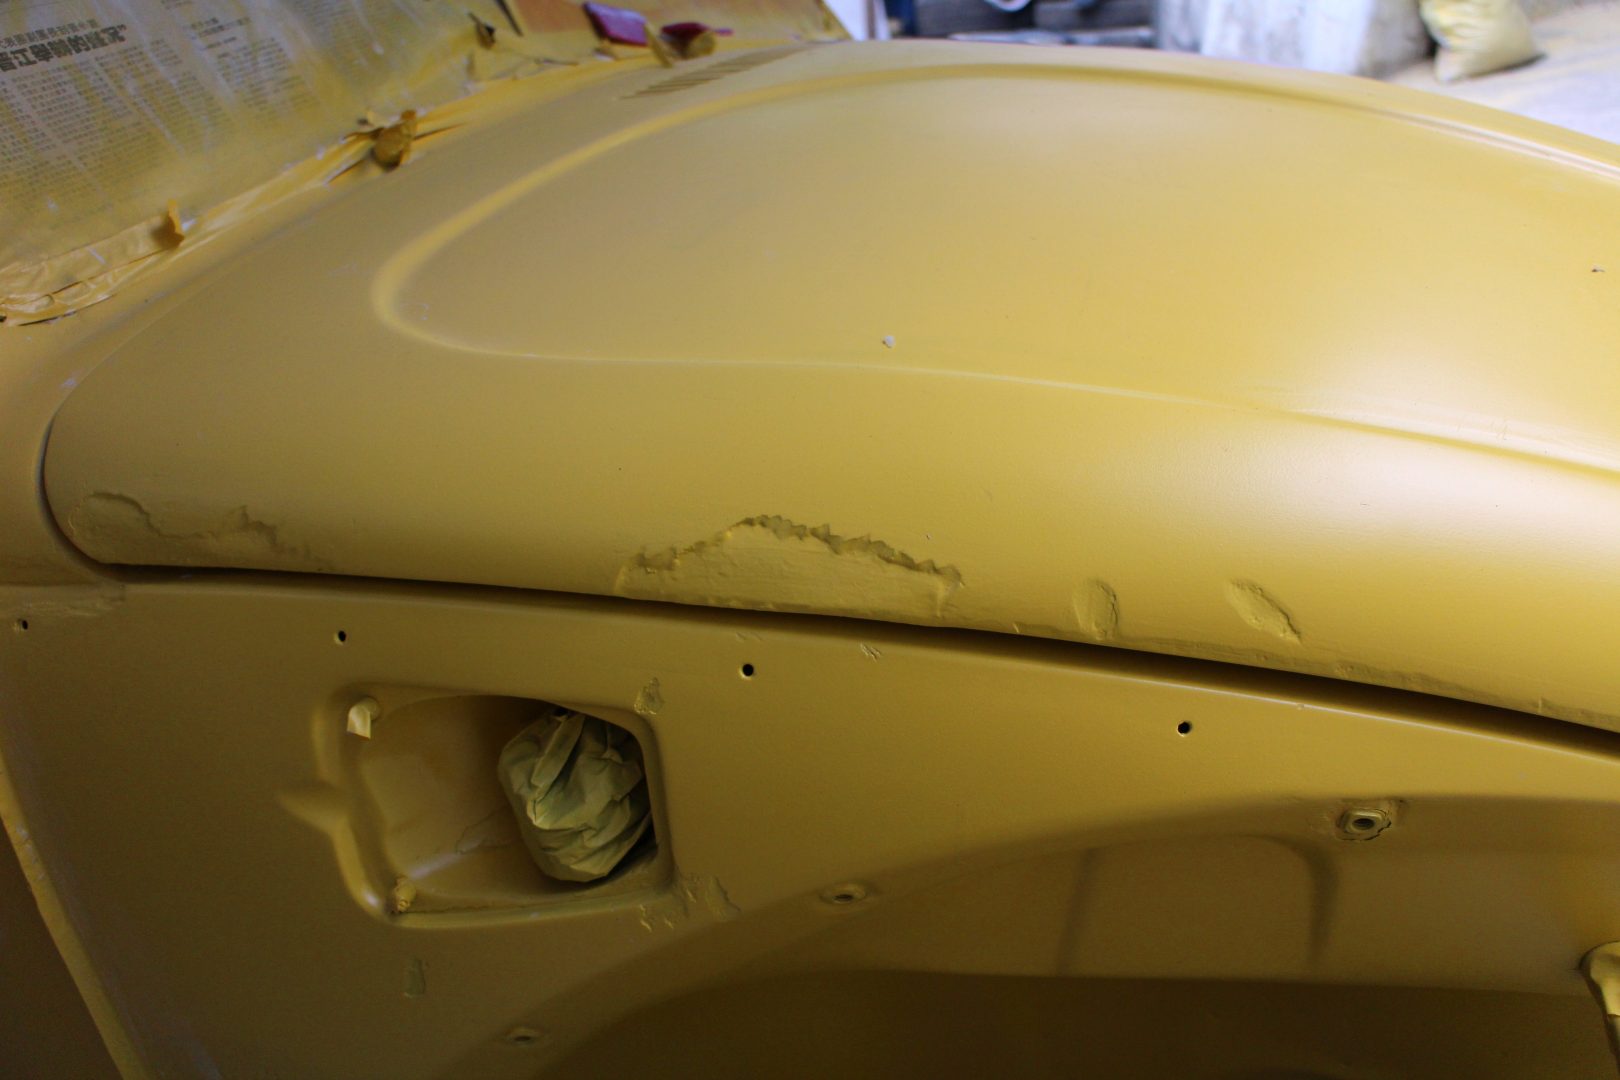
The front hood had a thick layer of filler that will be sanded down.
Getting the Parts
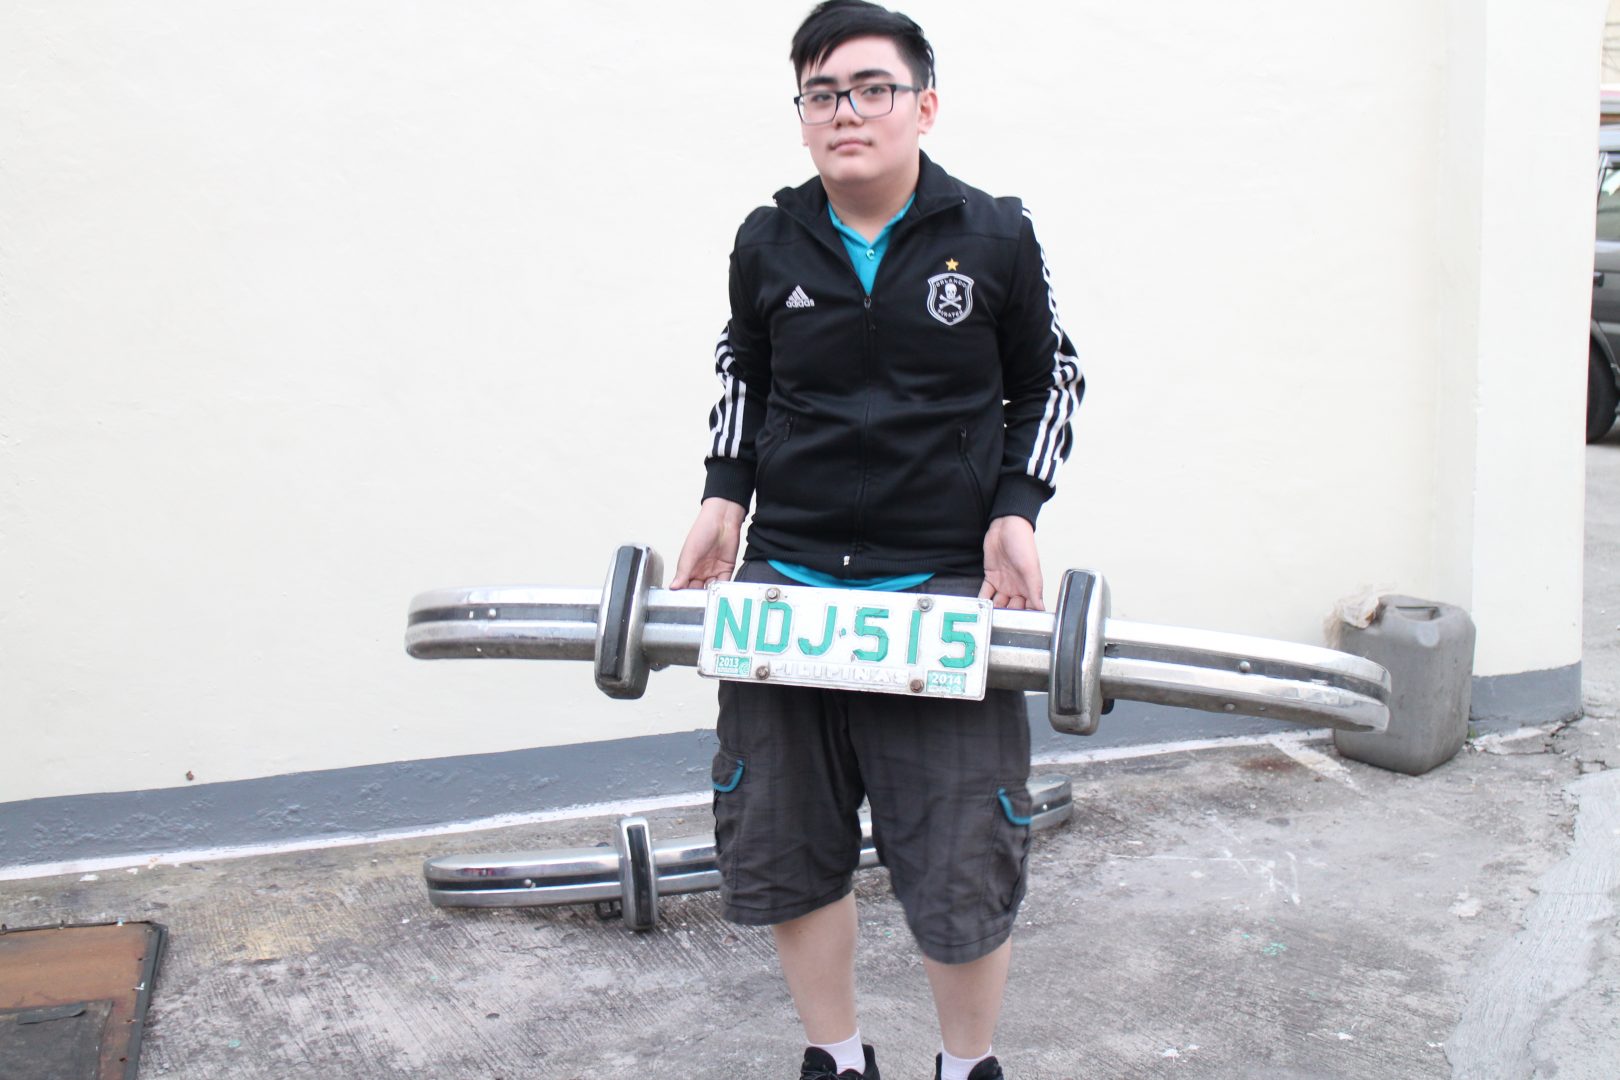
In the of middle of March, we were informed by our friends from JSK that we need to bring the Beetle’s running boards, bumpers, and other parts so they can align the body panels before the final paint finish. We drove our 2019 Suzuki Ertiga GLX test drive unit to the Pandacan residence of Fons Caluag to get the parts that he and the former painter removed from the car. Fons, who was recovering from a nasty bout of pneumonia, had all the parts in boxes and bundles, so my son Chevy Martin and I had an easy time loading them into our borrowed MPV.
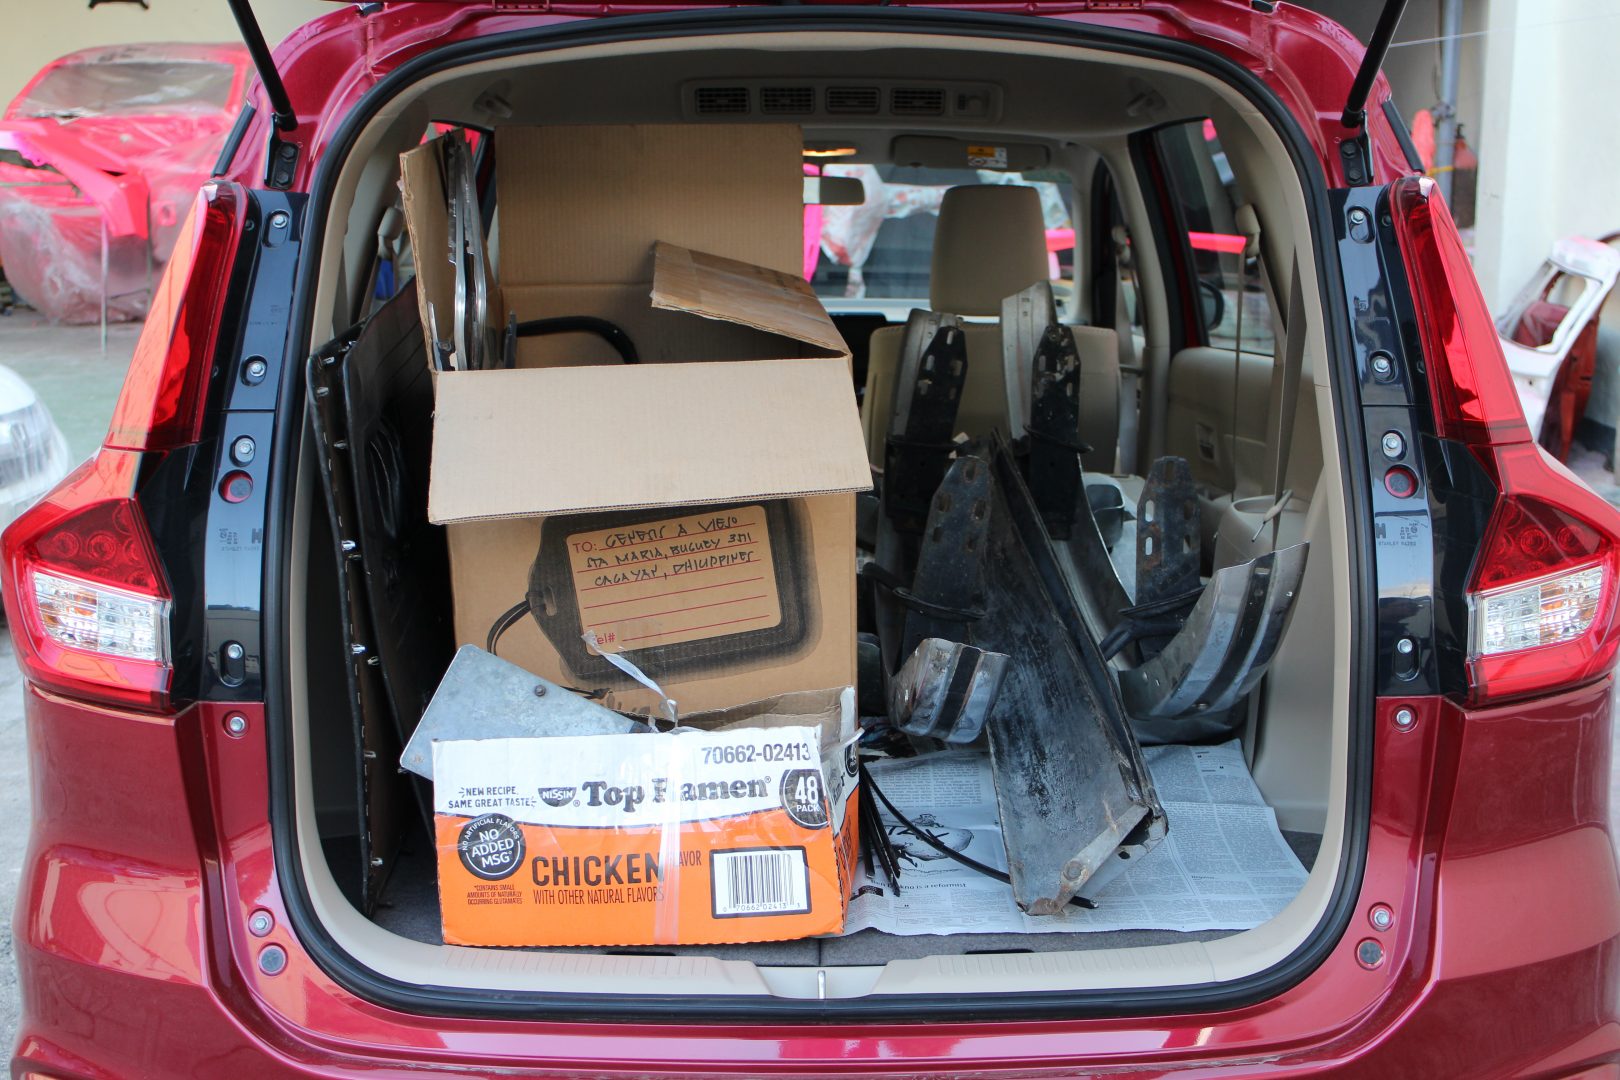
We got the Beetle’s parts loaded into the Suzuki Ertiga’s spacious interior.
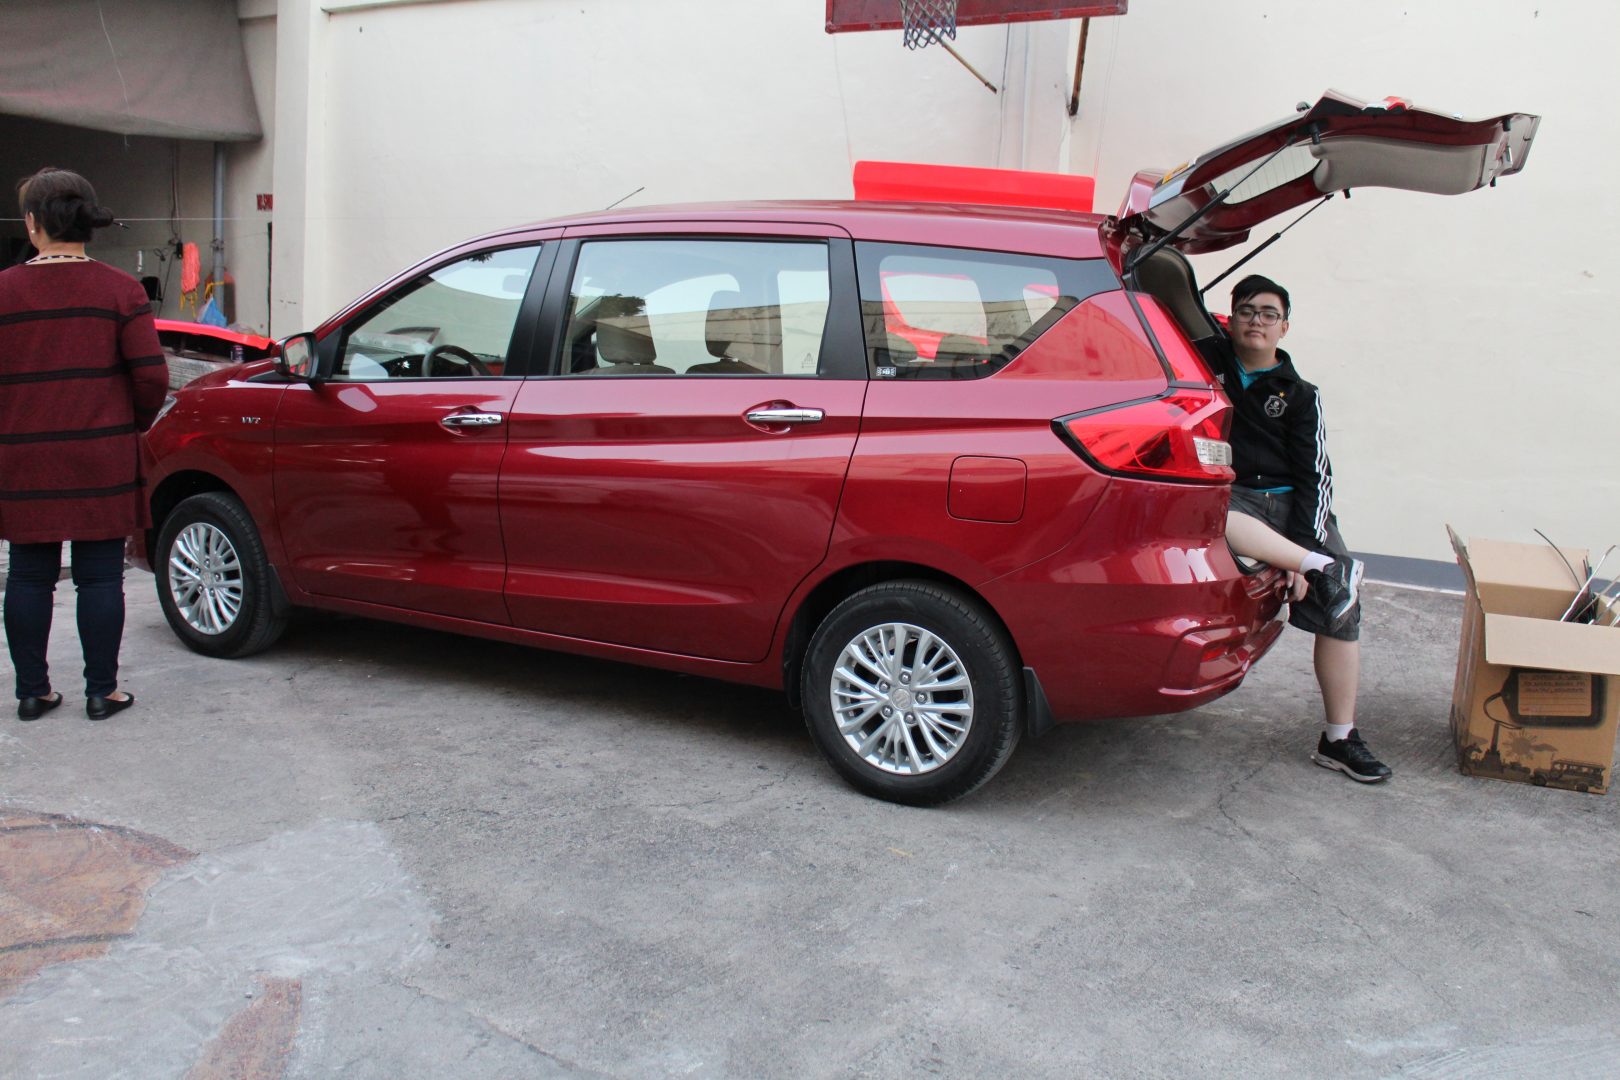
Chevy Martin resting at the back of the Ertiga…
… after all that (whew) heavy lifting. Get your kids involved in auto restoration!
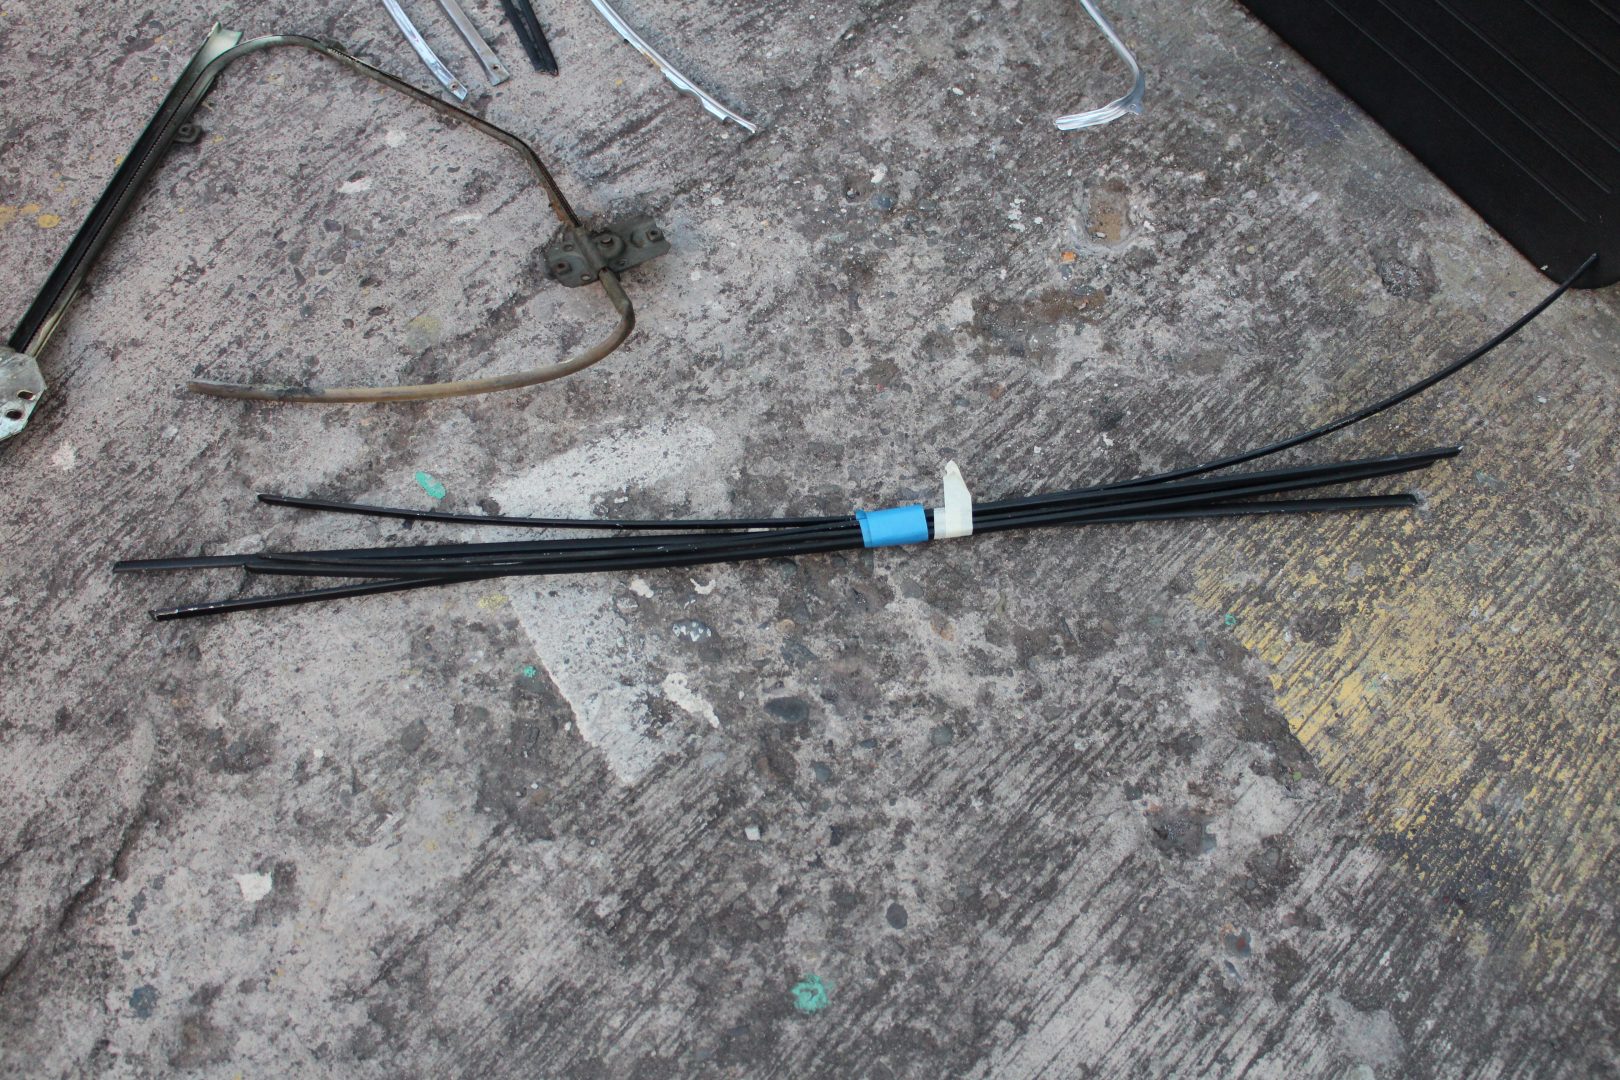
When we got to the JSK workshop in Marulas, Valenzuela City, the JSK shop foreman, Erene, took stock of the spare parts, examined each part, and recorded them one-by-one. He arranged the parts according to their function, such as door mechanisms and door trim, window glass, lights and electrical, bumpers and running boards, and weather strips / rubber parts. He noticed that some of the rubber parts were deteriorated beyond economical repair so he told me to ask Fons if we can get new ones. “Sayang lang kung ikakabit natin itong mga lumang sirang goma. Tatagas lang ang ulan sa loob at masisira lang yung kotse. (It would be a waste if we will install these old broken rubber parts. The rains will just seep in and ruin the car.)” He then kept the parts in storage after cataloging each one.
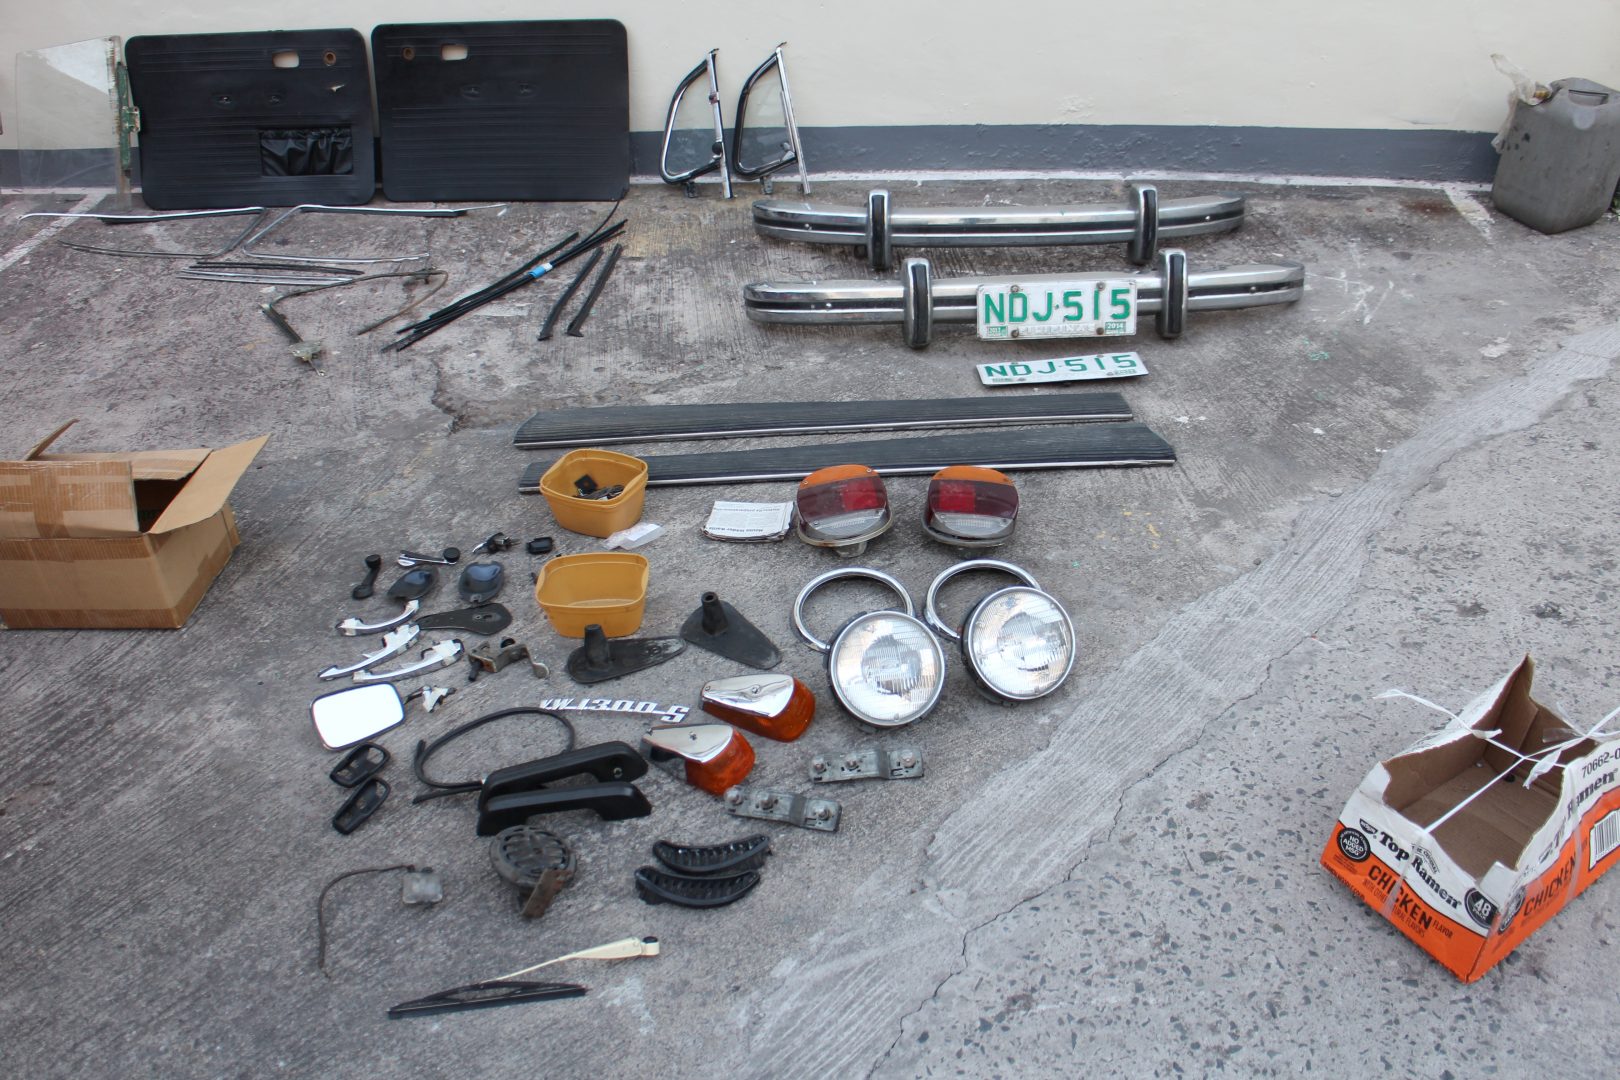
These are the parts we got from Fons that were stored in several boxes and containers.
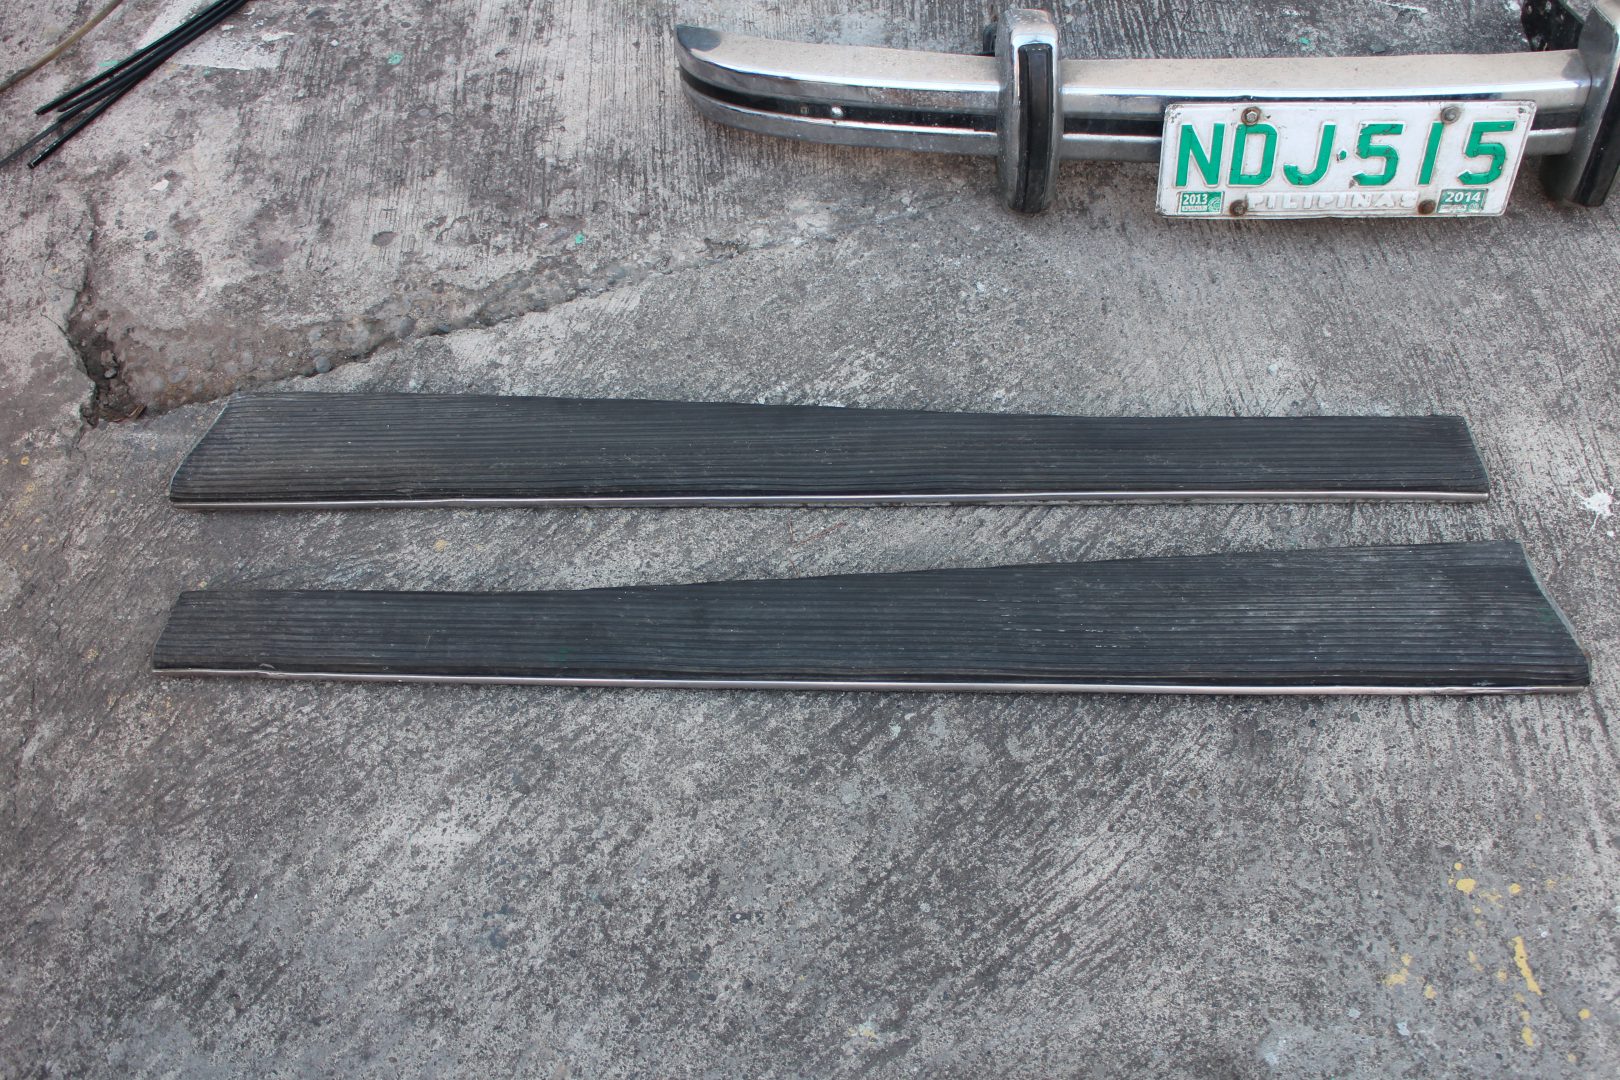
The running boards were in fairly good condition.
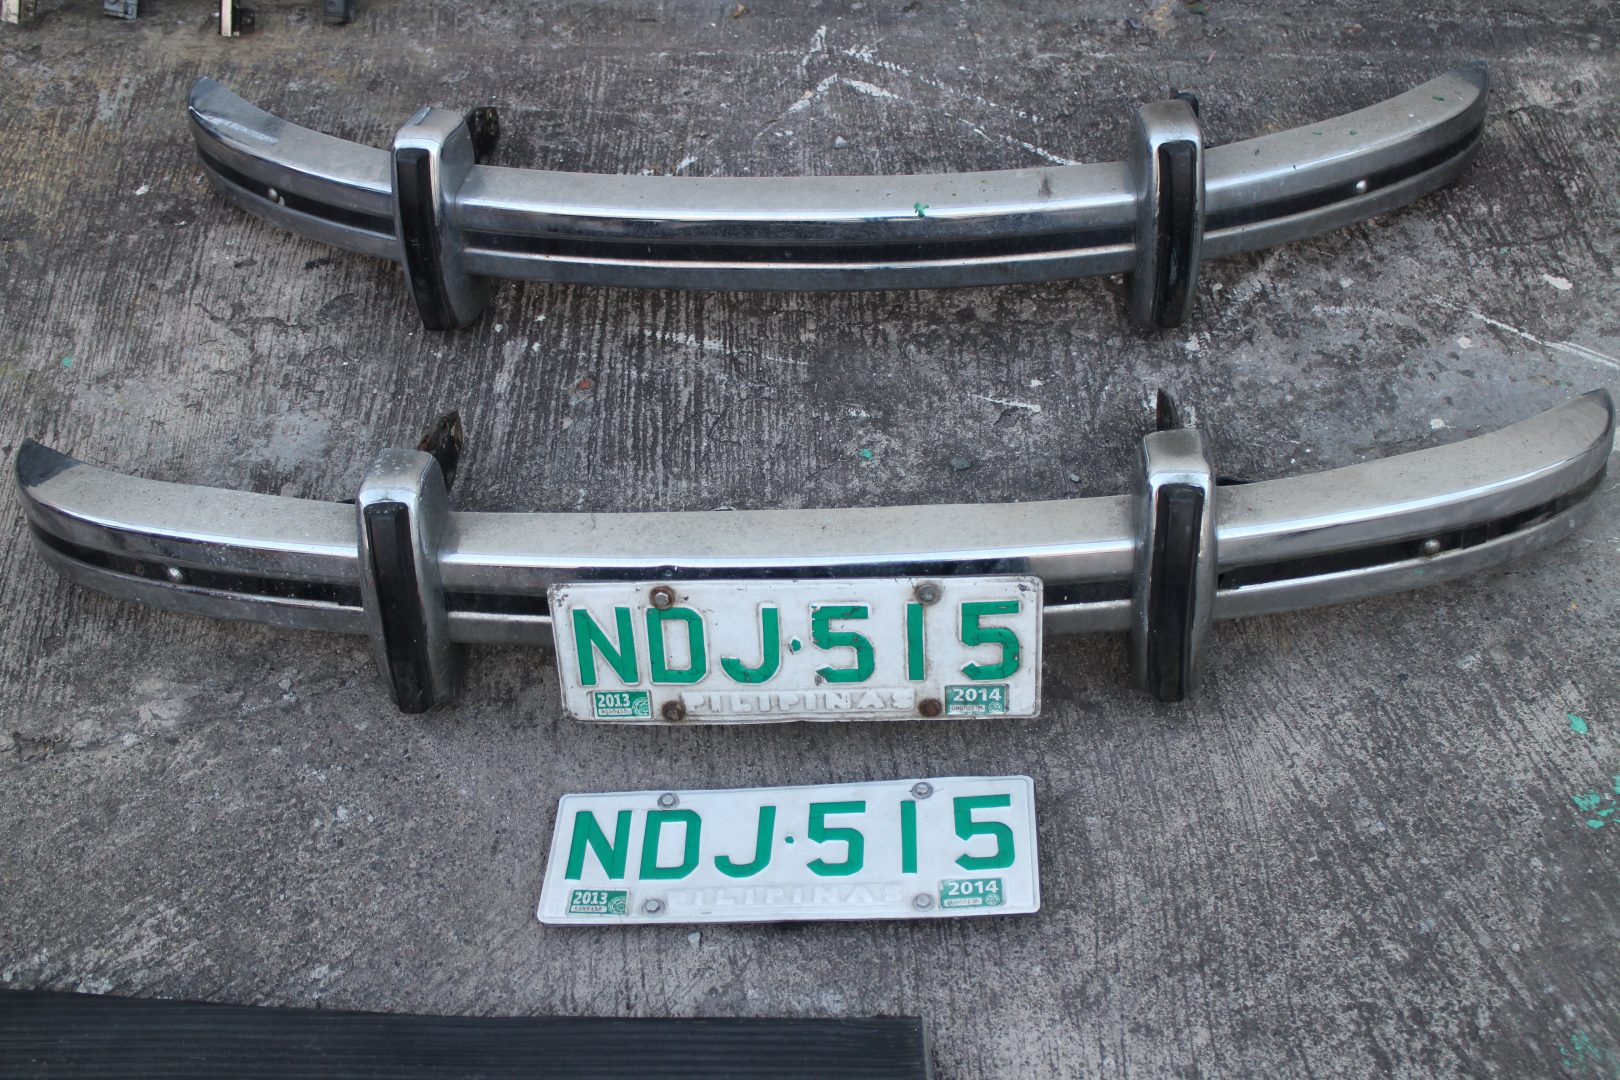
The front bumpers still has the plate attached.
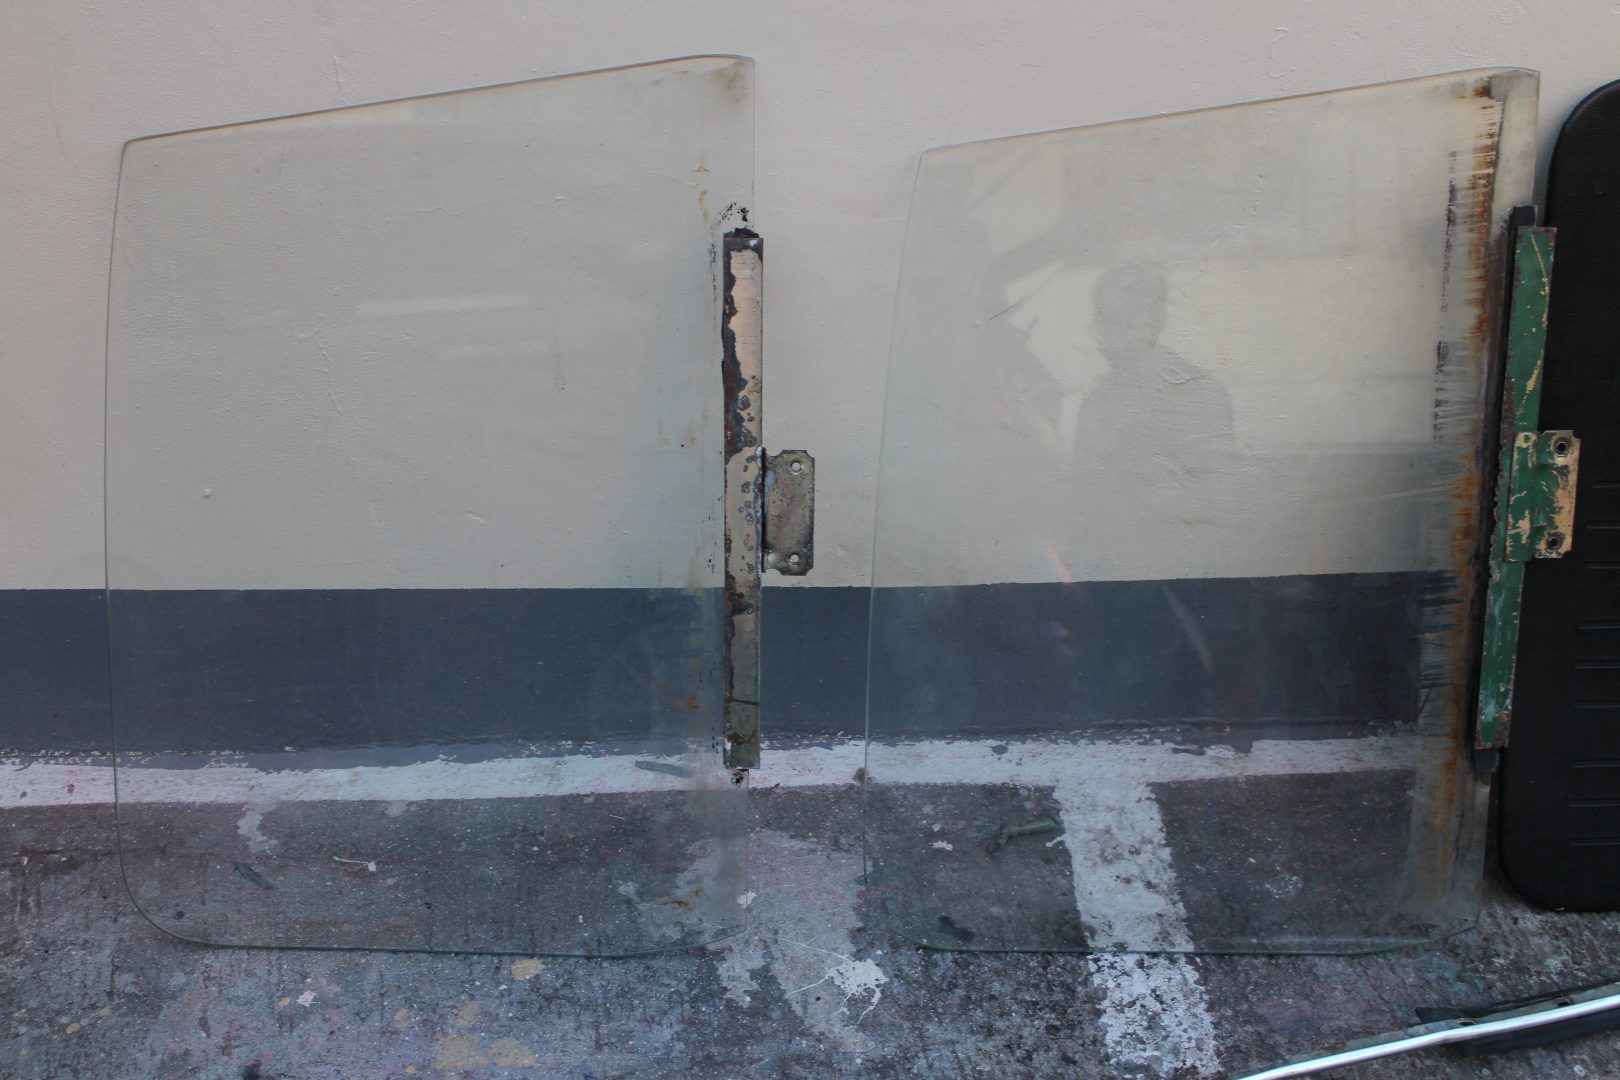
The side windows are relatively clean. The metal holders will need some cleaning.
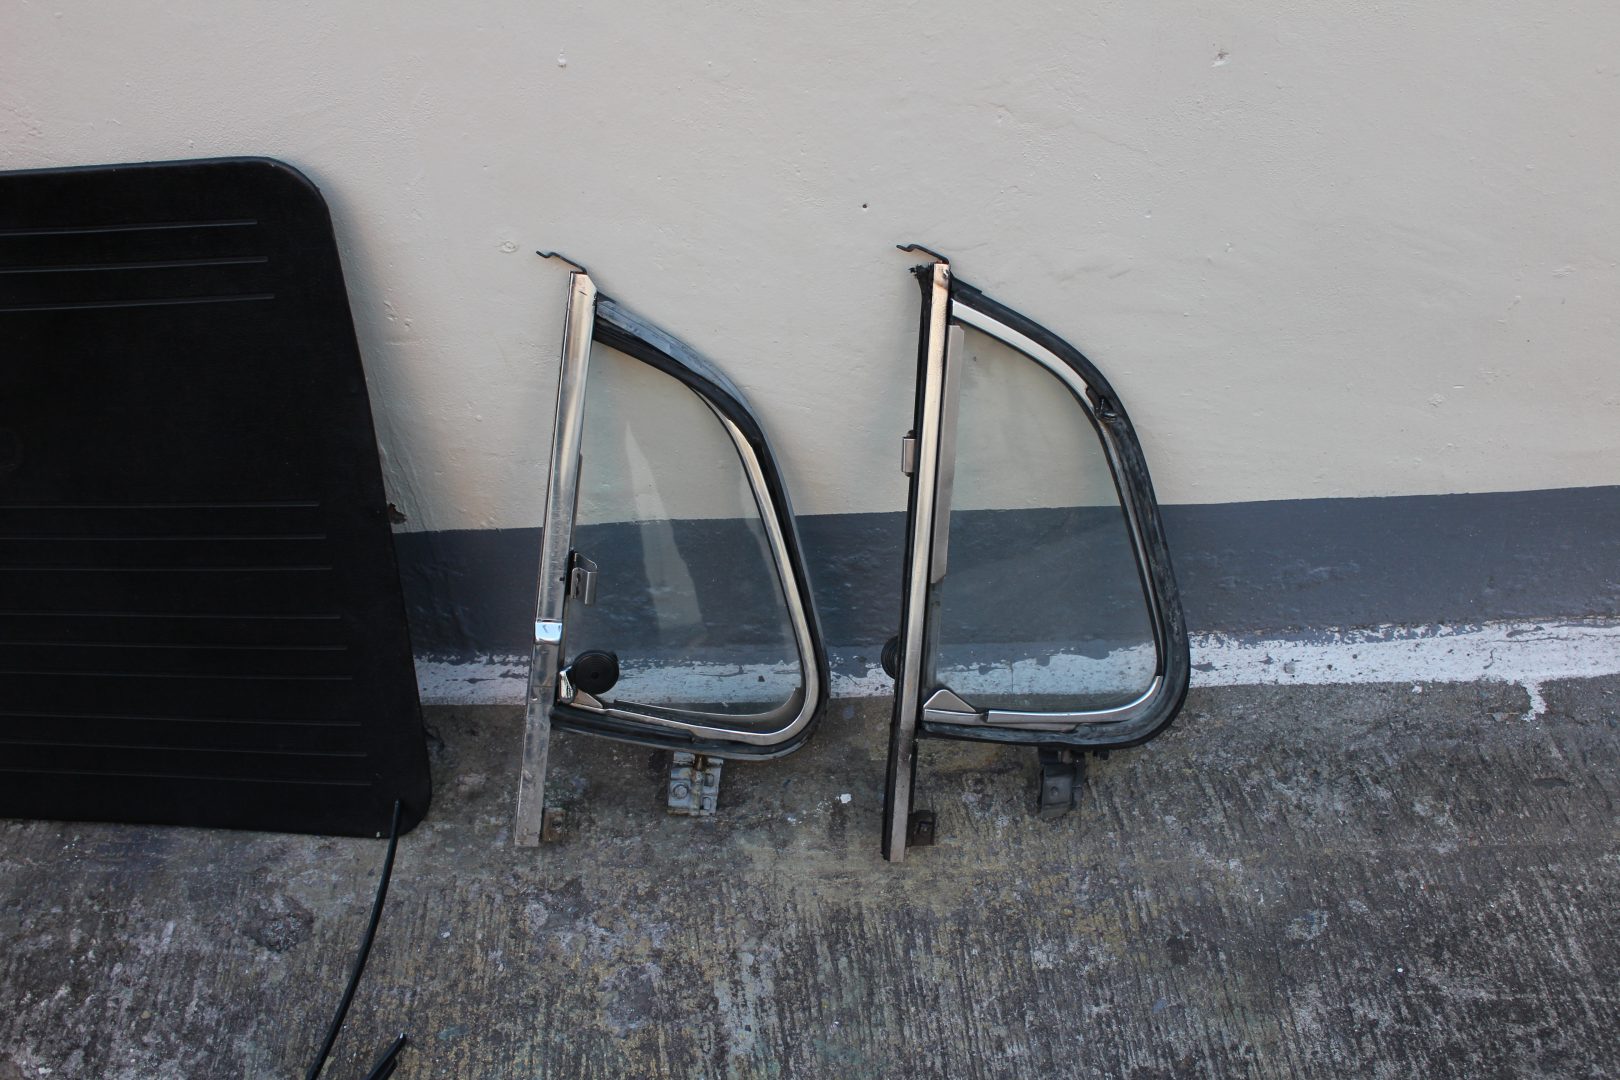
Wing vents are serviceable and will require just a little elbow grease.

Passenger side window regulator will need some repairs.
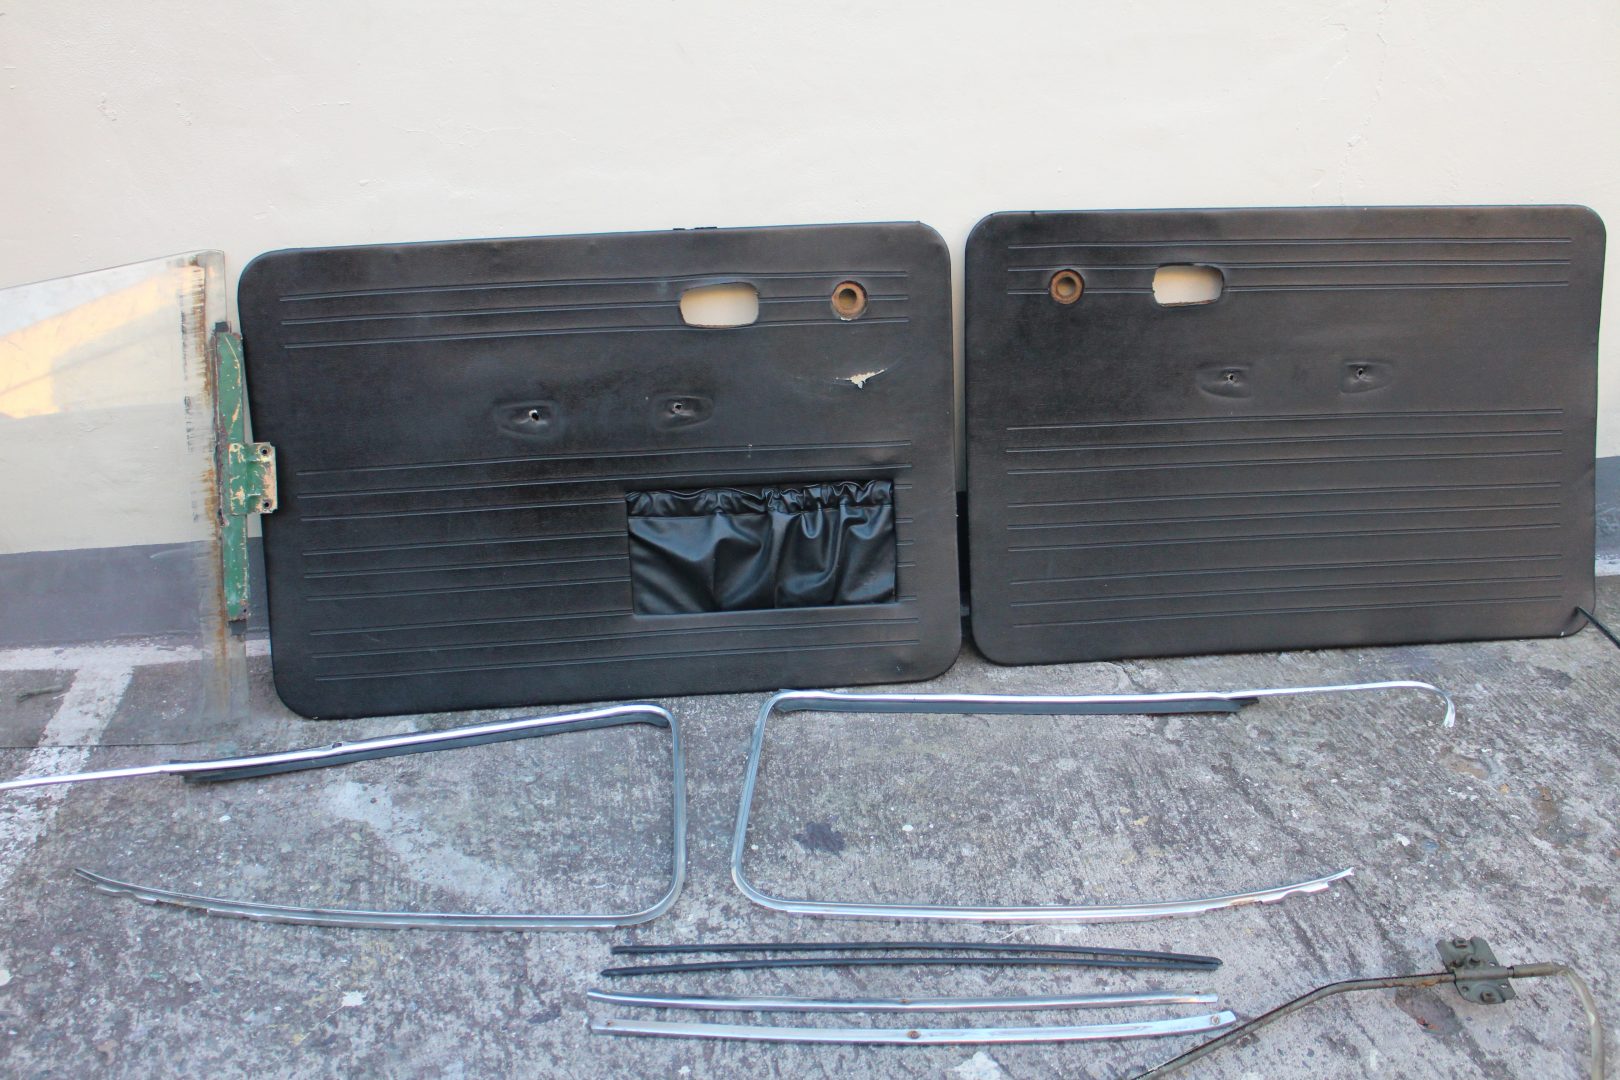
Door cards (sidings) are serviceable, although a bit worn. Window chrome trim needs to be massaged.
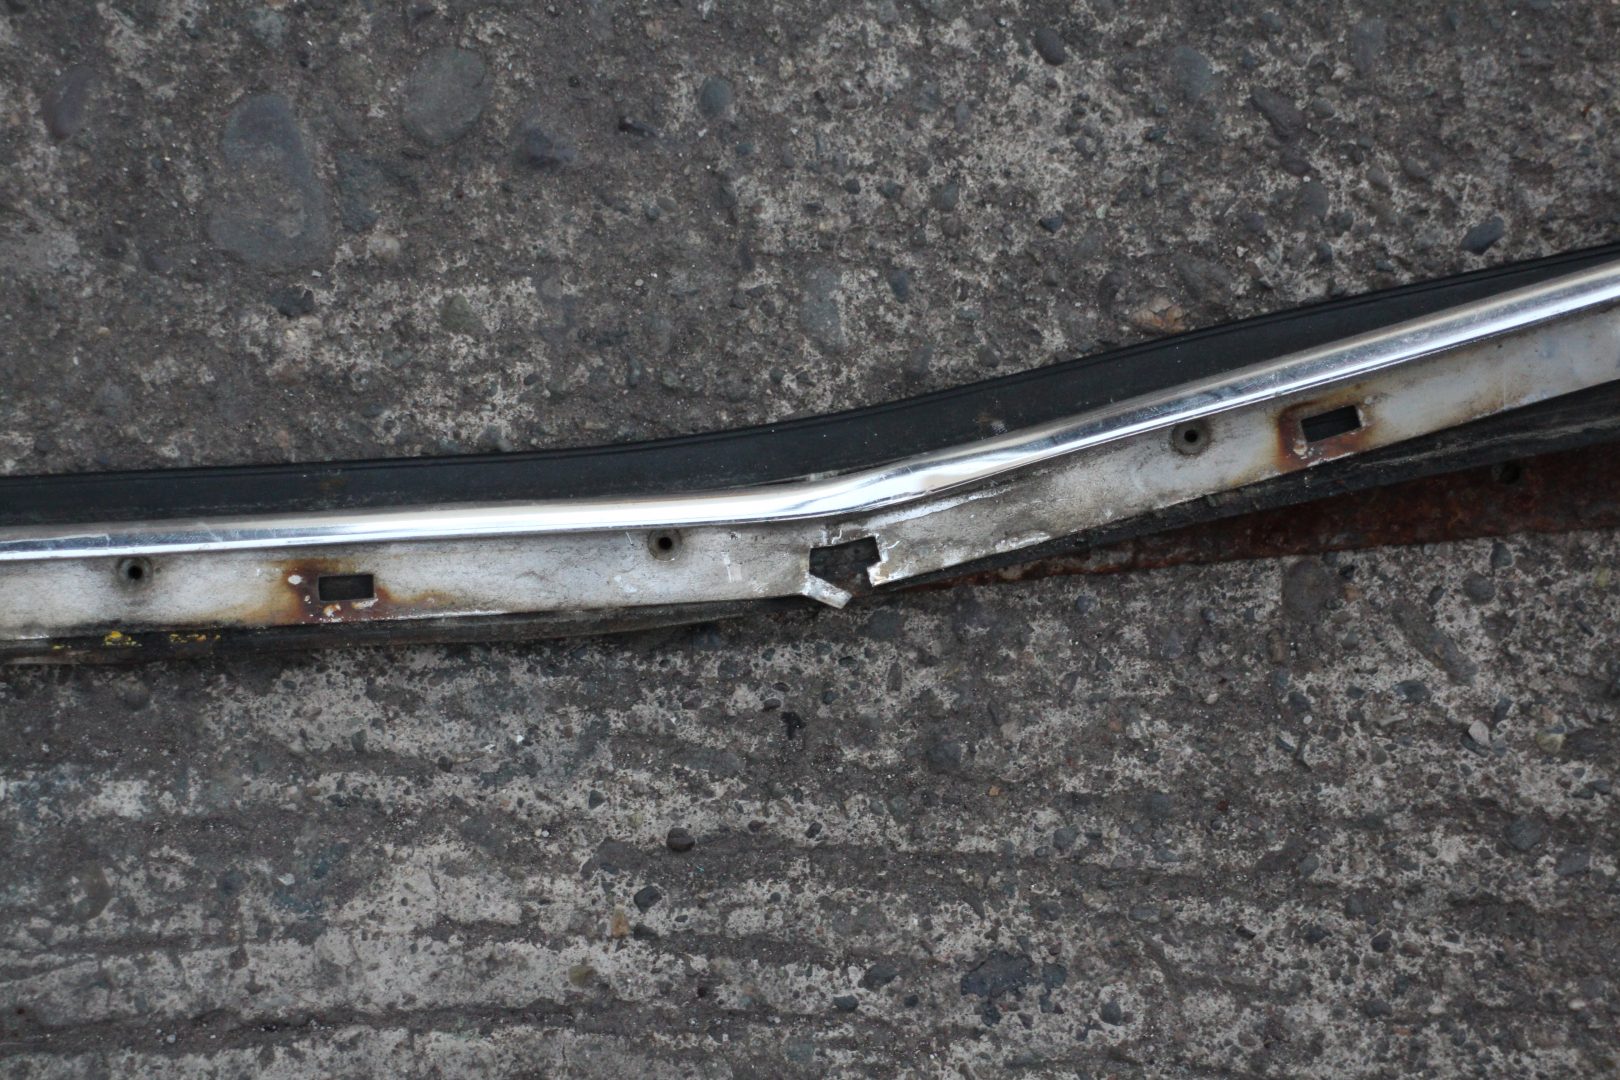
These hard-to-find window trims were bent during hurried dismantling…

… but thankfully, these can be repaired and “massaged” back to shape.
Trim pieces were painted black instead of chrome. The owner wants them that way.
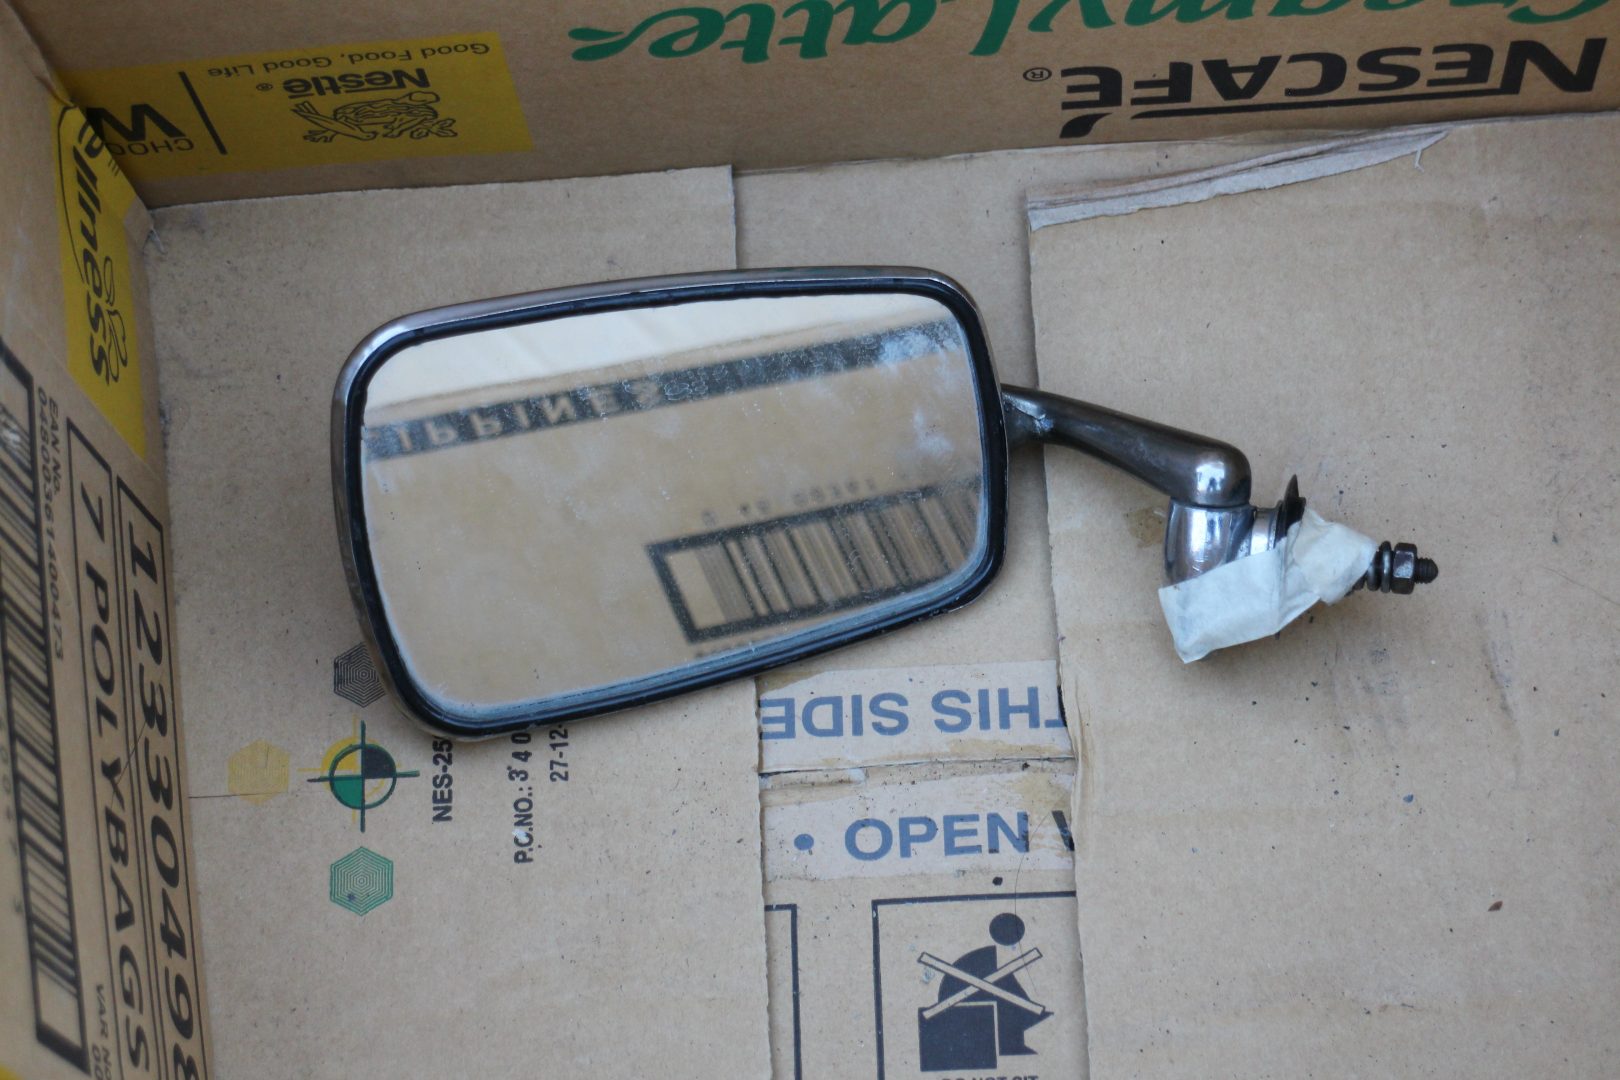
The original left side mirror was intact and clean.

The headlights and tail lamps needed some TLC…
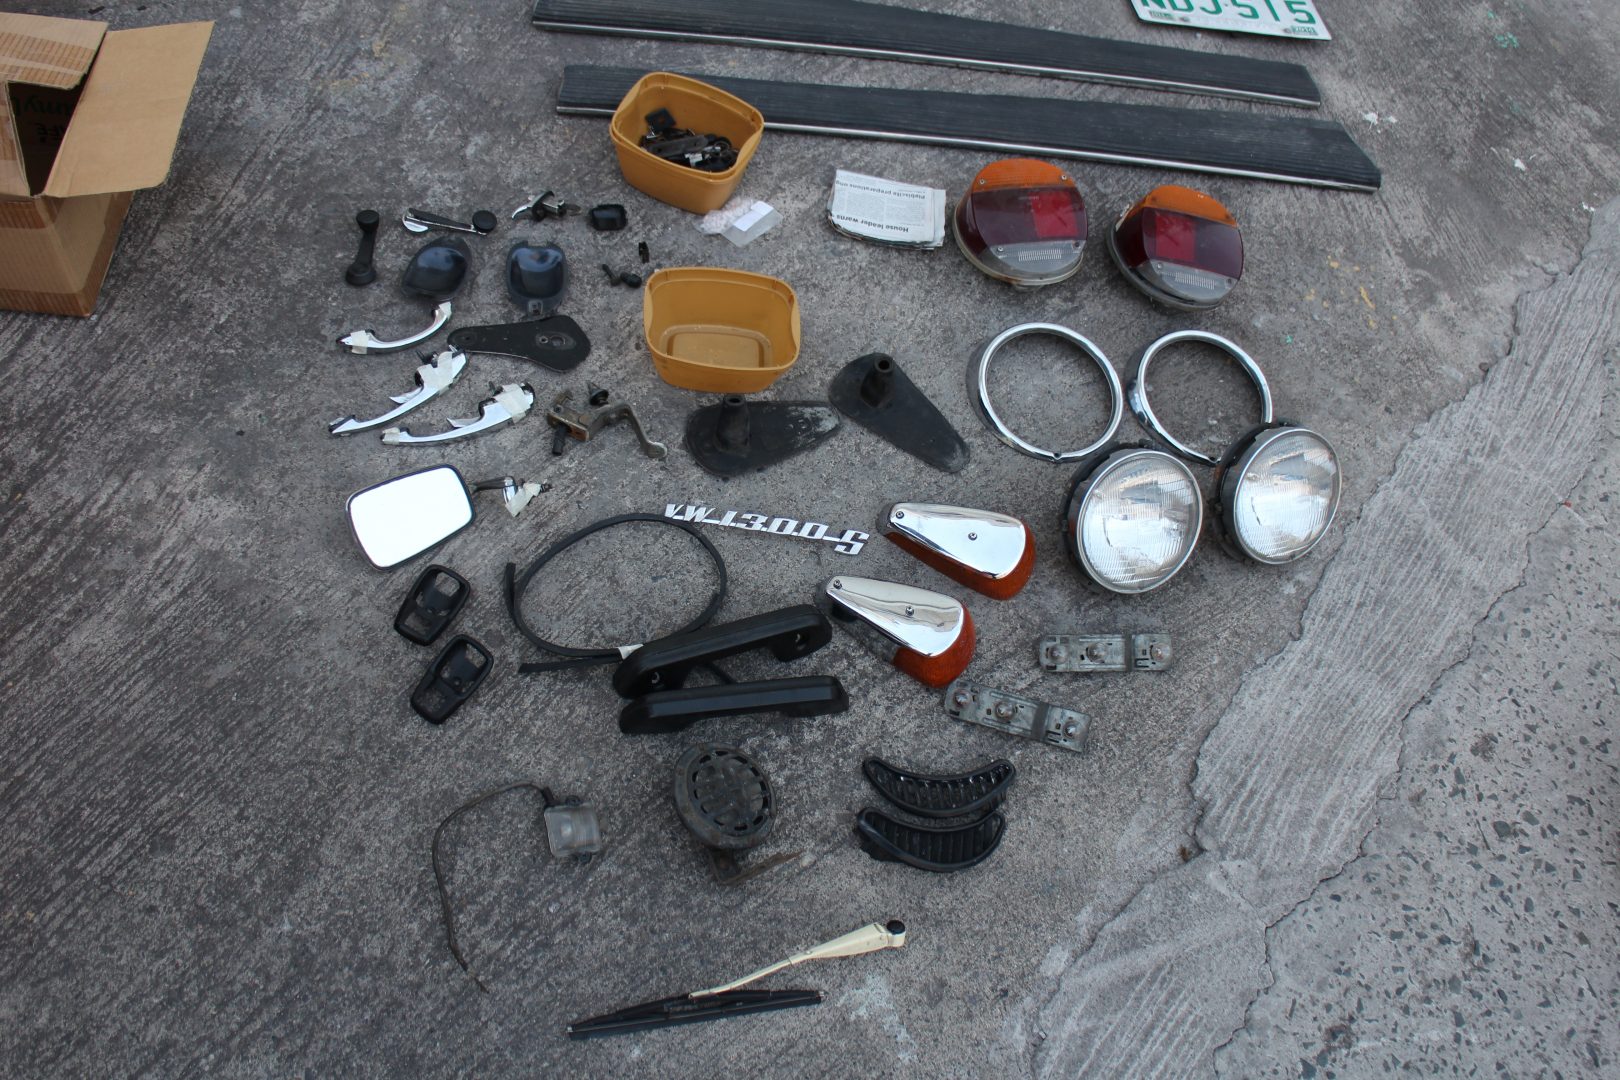
… and most of the parts needed sorting.
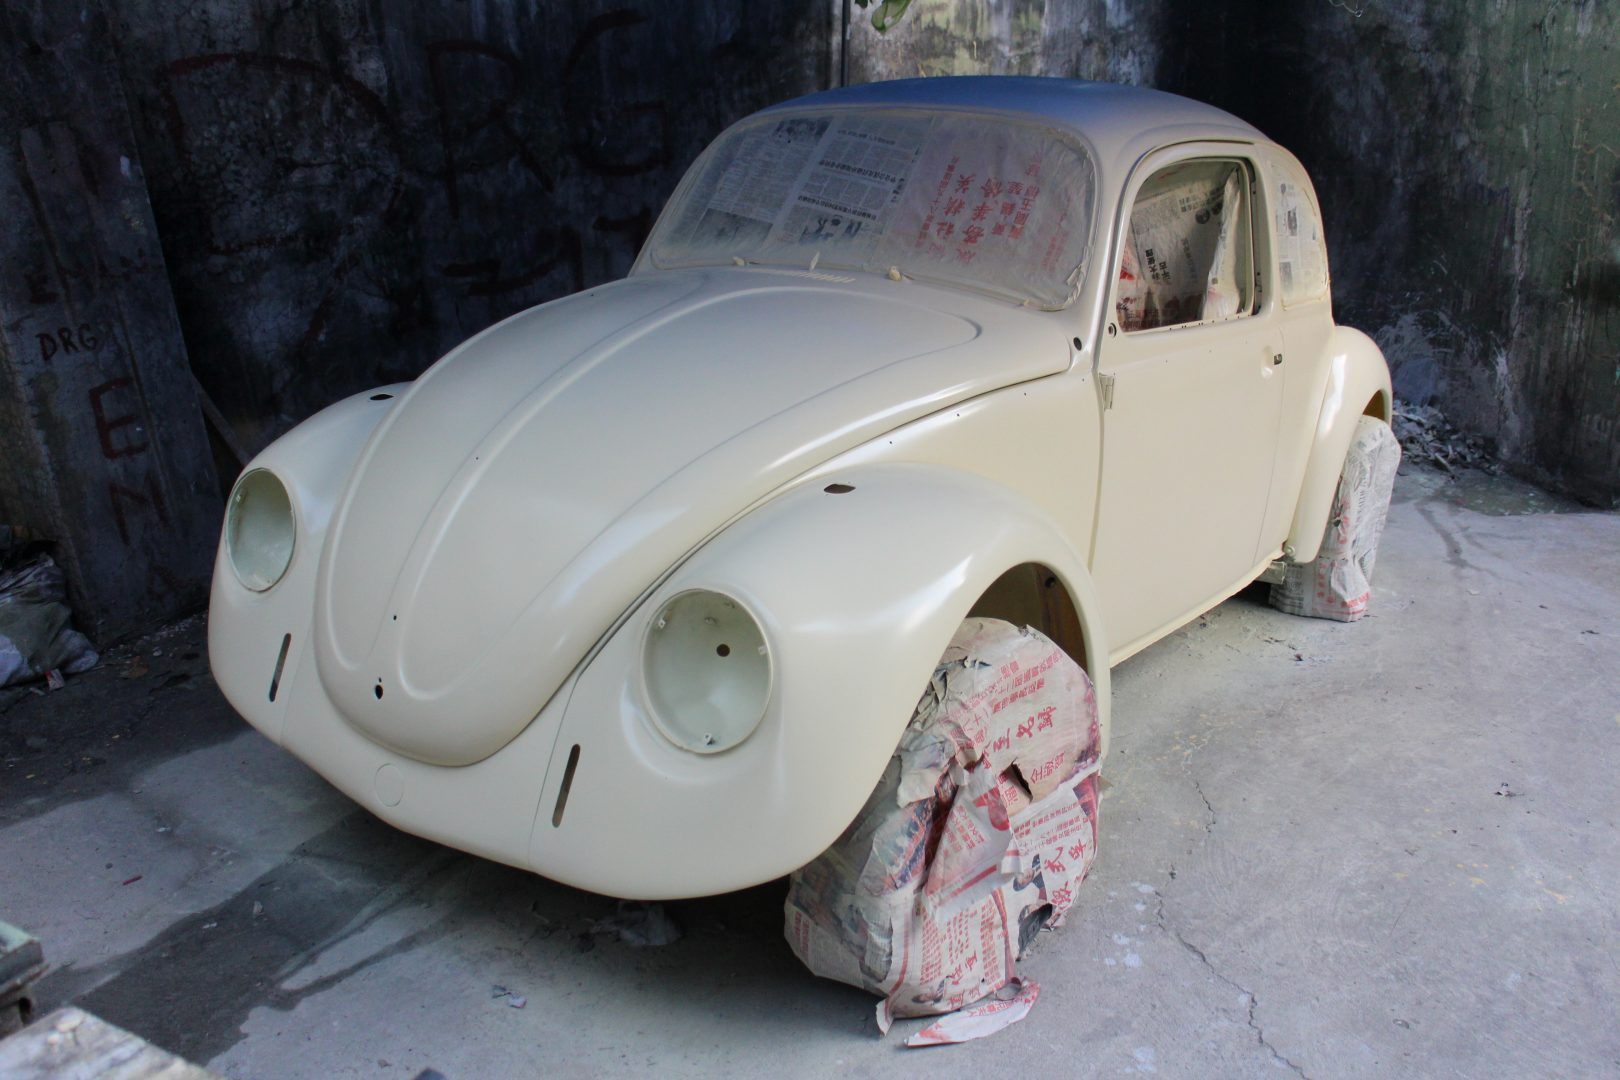
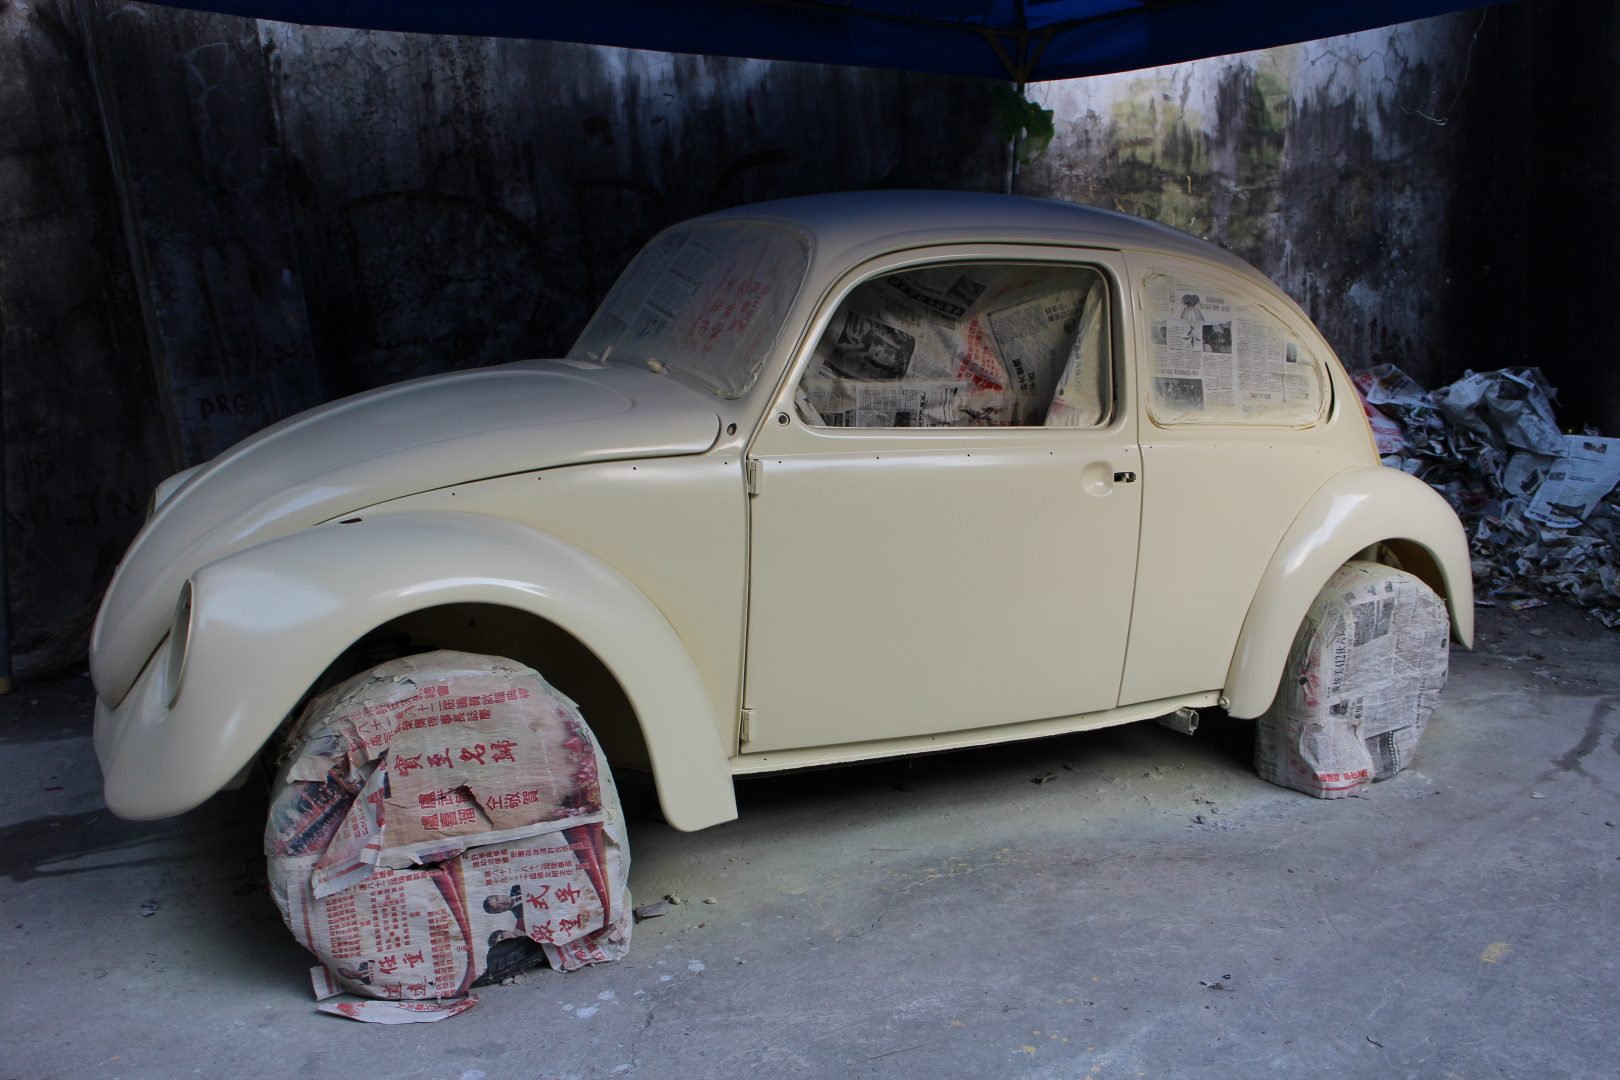
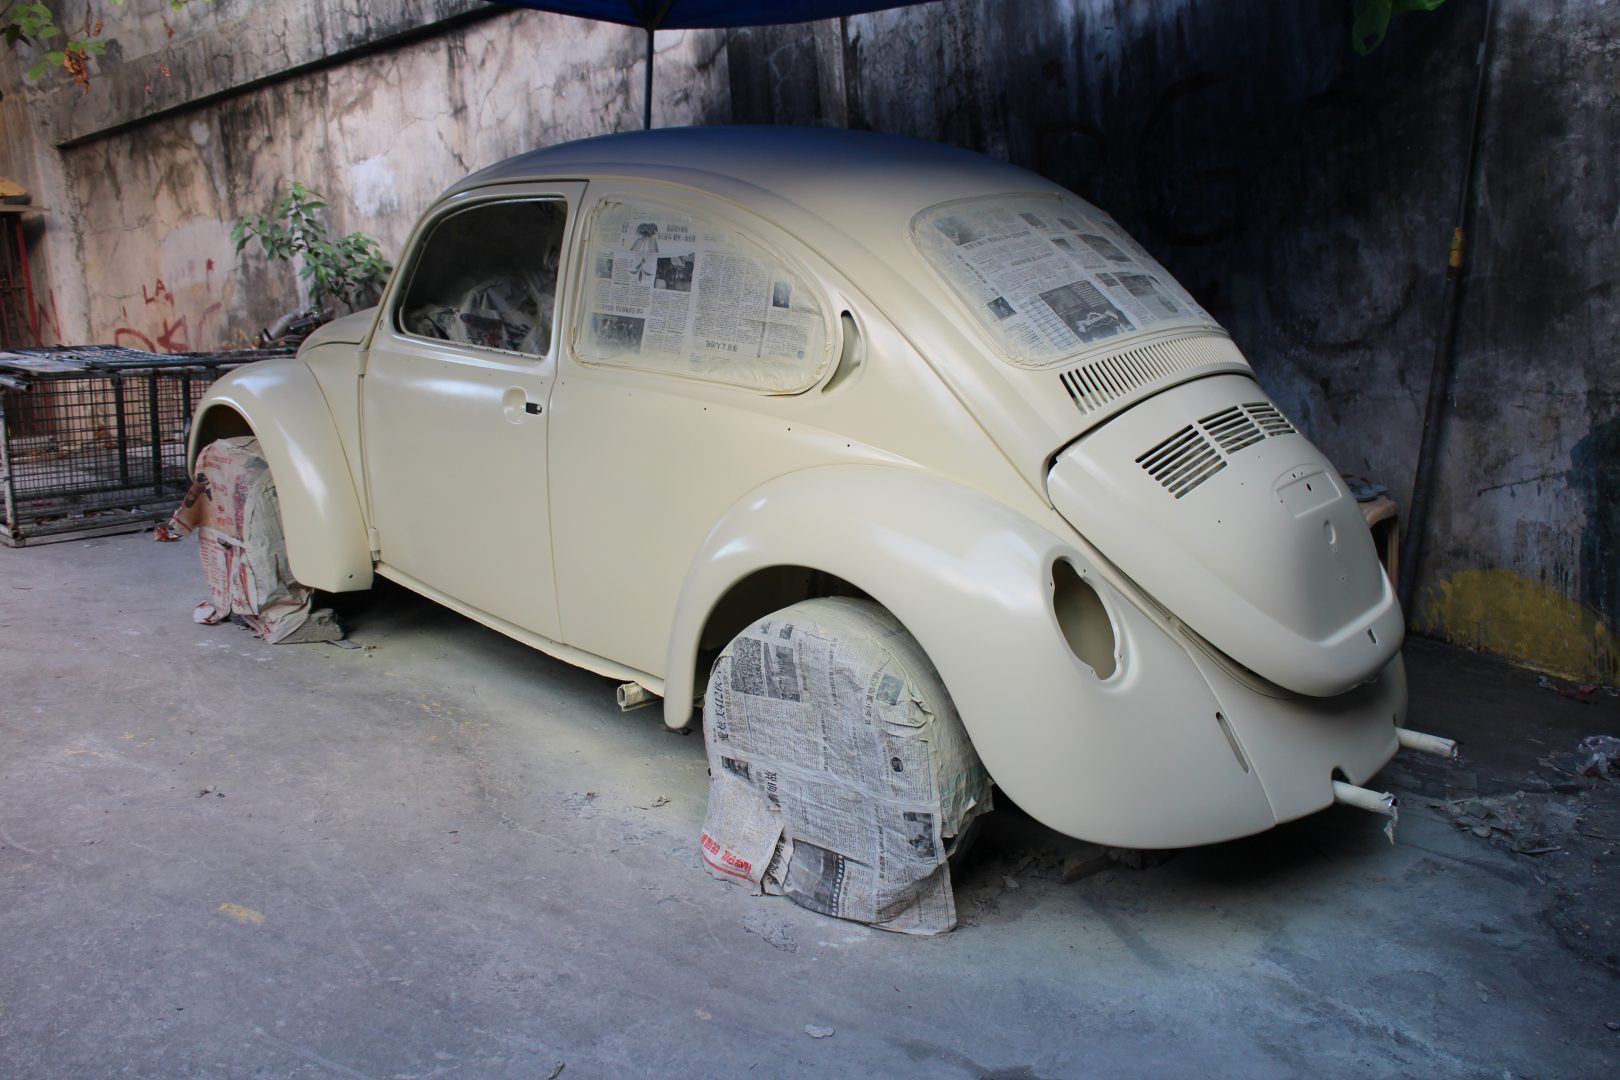
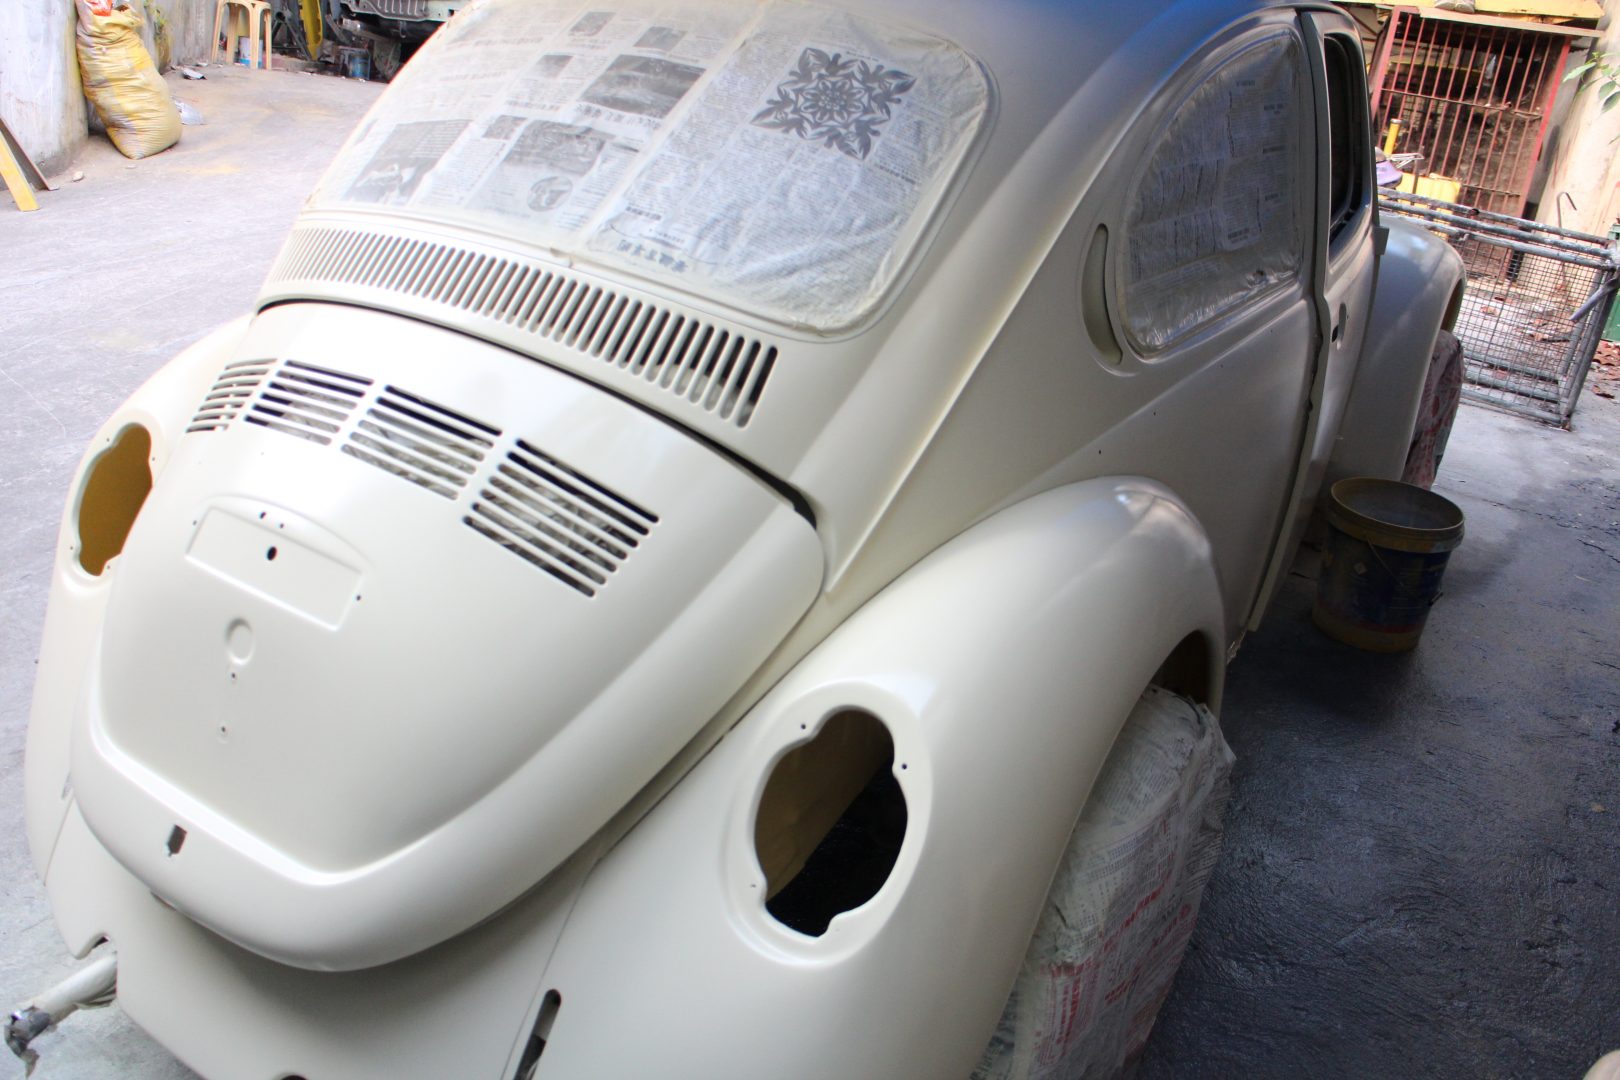
Getting Creamed
We went to the area of the workshop where our Project Car was being painted and we were pleasantly surprised to find that the JSK painter had already sprayed on the first coat of cream paint. The paint was a bit rough and almost matte because it will receive several more coats of paint, including gloss clear coat, before it will be sanded down to produce the expected shine and luster. We learned from Fons that when he got the Beetle in the early ‘80s, it was yellow. He then changed it to cream because he preferred a more vintage vibe for his “baby”.
We also learned from Fons that his “baby” was a rare and special VW model. He narrated that he was close friends with Ben Buizon, who was then the Service Manager of DMG, the former Philippine distributor of Volkswagens. Fons stated that his Beetle was originally a 1300 S model but DMG replaced the engine with a 1600cc from the new Super Beetle 1303S. The transplanted bigger engine made the lighter Beetle 1300 more responsive, faster, and competitive for rally races that were in vogue during those days. He said that a then youthful Benjie Guevarra, the son of DMG owner Domingo M. Guevarra, was quite enthusiastic with modifying Beetles for better performance. Fons never ceases to amaze us with his stories about Volkswagens.
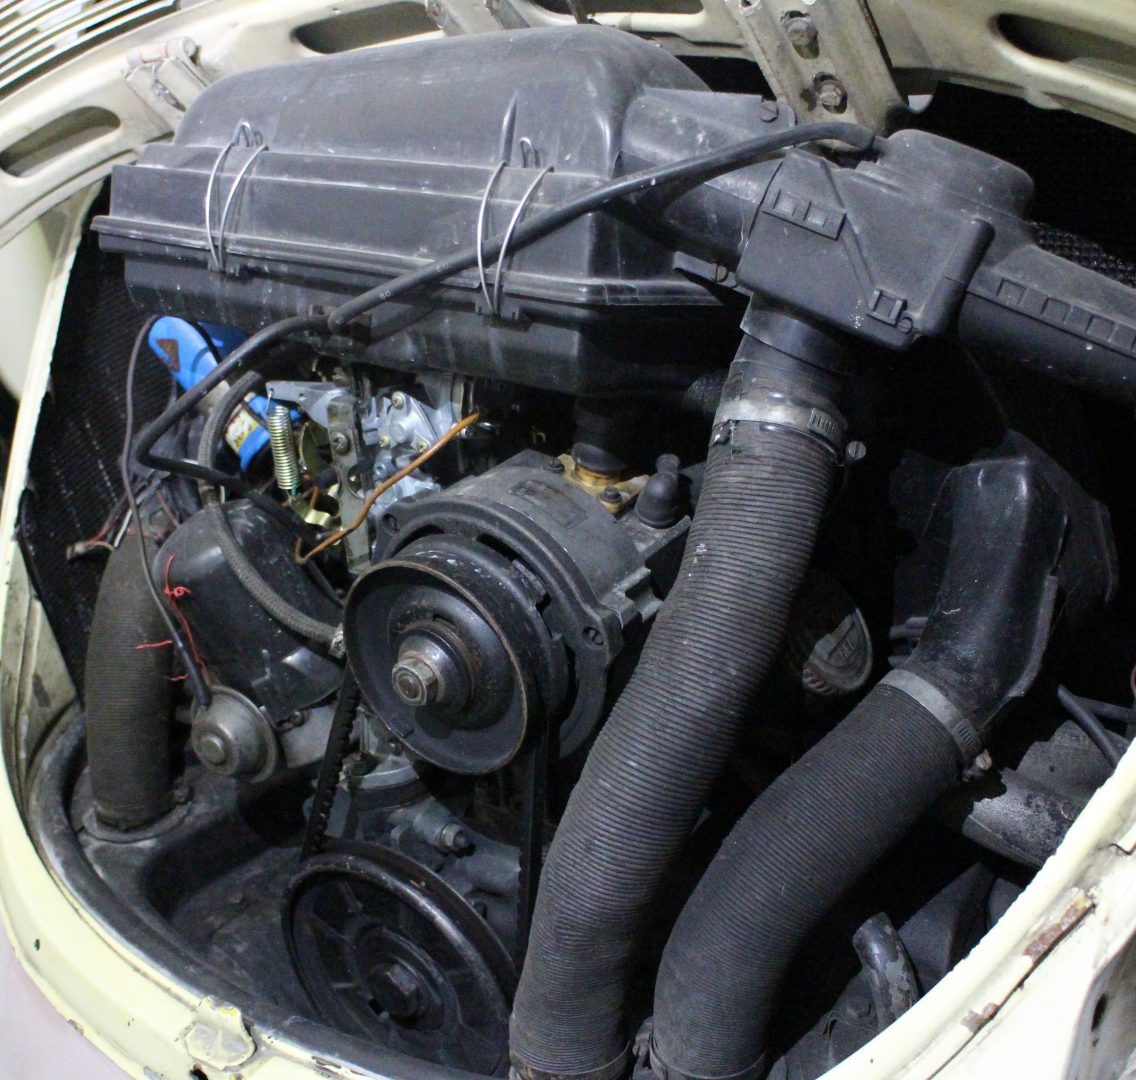
Thus, armed with this new information, we owe our reader Norby Sison lunch, because he was one of the first to identify our Bug as a 1300 model instead of a 1600. Of course, we’re still partially right because the owner, Fons, calls it as a “13/16” or a Beetle 1300 with a 1600 motor. Log in again next week to find out how we fared in the final assembly of our Project Car!